1. Introduction
This manual provides detailed instructions for the installation, operation, and maintenance of your JOOAN 4G Solar Security Camera. This outdoor wireless surveillance camera is designed for areas without traditional power or network infrastructure, utilizing 4G cellular connectivity and solar power for continuous operation. Please read this manual thoroughly before use to ensure proper setup and functionality.

Image 1.1: JOOAN 4G Solar Security Camera with its solar panel and a smartphone displaying the camera's live feed, highlighting its 4MP/5MP HD resolution capability.
2. caractéristiques du produit
- Connectivité 4G : Operates independently using a SIM card, ideal for remote locations.
- Alimentation solaire : Equipped with a solar panel for continuous charging, reducing the need for external power sources.
- Résolution haute définition : Capture des vidéos clairestage for effective surveillance.
- Vision nocturne couleur: Offers multiple night vision modes including infrared, full-color, and smart color night vision for enhanced visibility in low-light conditions up to 10 meters.
- Stockage local et cloud : Supports up to 256GB SD card storage and optional cloud storage for recorded footage.
- Installation facile : Designed for straightforward setup and mounting.
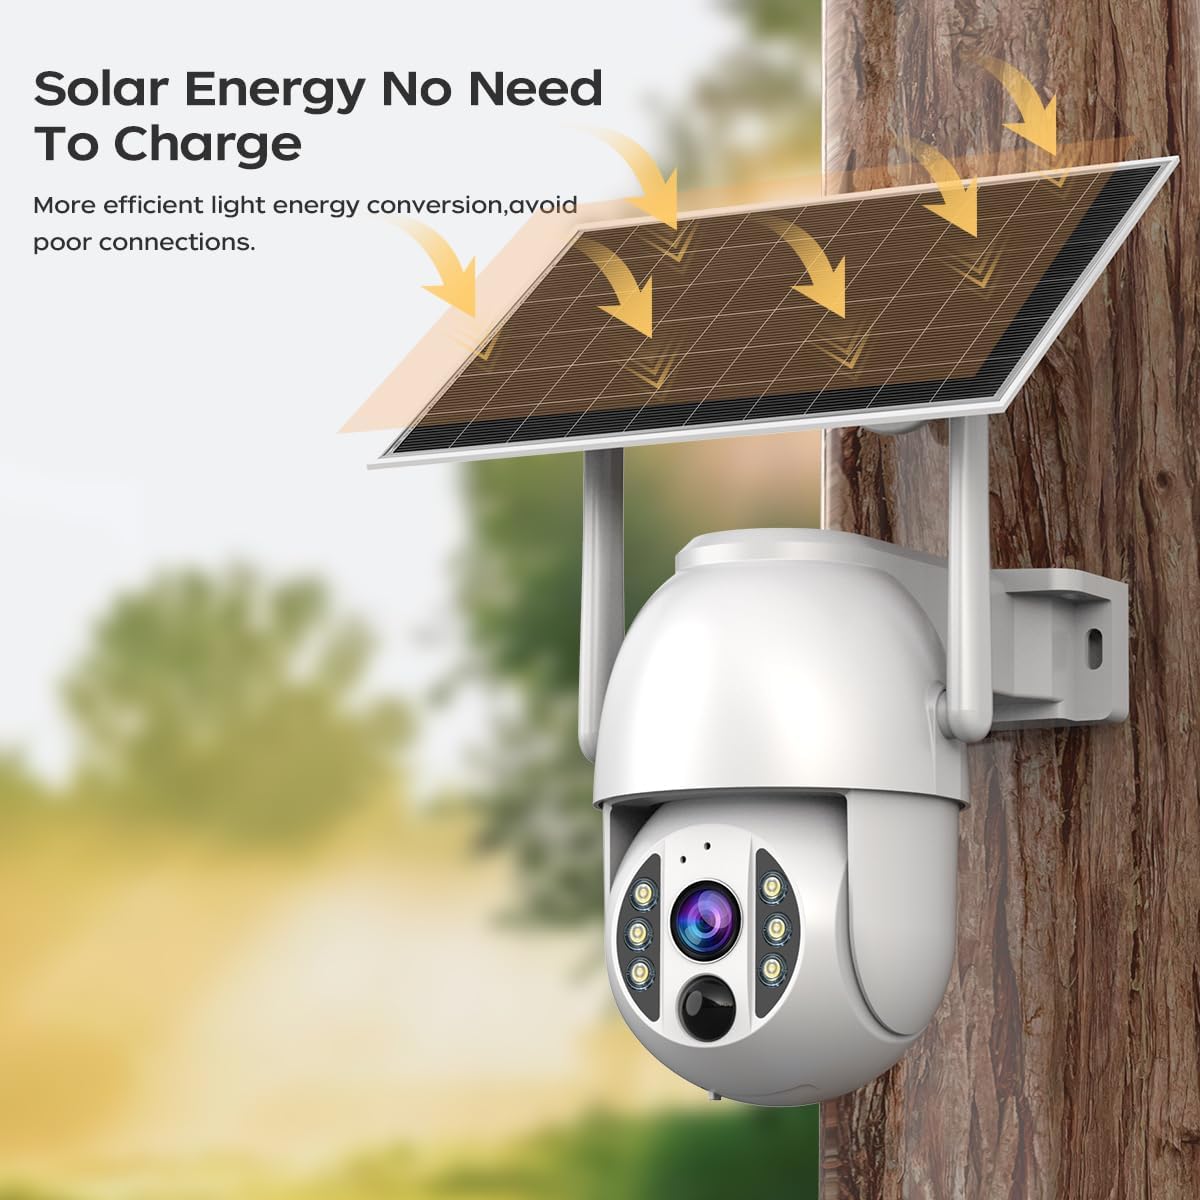
Image 2.1: The JOOAN 4G Solar Security Camera mounted with its solar panel, illustrating its solar energy capability for efficient light energy conversion and avoiding poor connections.
3. Configuration et installation
3.1. Installation de la carte SIM et de la carte SD
Before mounting, install a 4G SIM card (not included) and an SD card (up to 256GB, not included) into the designated slots on the camera. Ensure the camera is powered off before inserting or removing cards.

Image 3.1 : Un gros plan view of the JOOAN camera's SD card slot, indicating support for cloud storage and a maximum 256GB SD card.
3.2. Étapes de montage
- Positioning and Punching: Select a suitable location for the camera and solar panel. Mark the drilling points on the wall. Use a drill to create holes at the marked positions.
- Insérer des vis d'expansion : Gently tap the expansion screws into the drilled holes until they are flush with the surface.
- Montez la caméra : Align the camera bracket with the expansion screws and secure it using the provided screws.
- Installation complète : Attach the solar panel to the camera bracket or mount it separately in a location with ample sunlight. Ensure all connections are secure.

Image 3.2: Visual guide showing the four installation steps: 1. Positioning and punching, 2. Inserting expansion screws, 3. Mounting the camera with screws, and 4. Completing the installation with the solar panel.
3.3. Connexion à l'application
Download the official JOOAN app from your smartphone's app store. Follow the in-app instructions to add your camera. There are typically two methods:
- Add APP Phone Code: Scan the QR code displayed on your mobile phone APP with the camera lens from a distance of 20-30cm to add the distribution network.
- Add Camera Body Code: Scan the QR code located on the camera body using the mobile phone APP to add the distribution network.

Image 3.3: Illustration of the two connection methods: scanning the APP phone code or scanning the camera body code to establish a network connection.
4. Fonctionnement
4.1. Mise sous/hors tension
The camera automatically powers on when sufficient solar power is available or when connected to a power source. To power off, disconnect the power source and allow the battery to deplete, or use the app if a power-off function is available.
4.2. Vivre View et enregistrement
Once connected to the app, you can access the live video feed. The camera supports continuous recording to the SD card or cloud storage (subscription may be required). You can also manually record video or capture screenshots from the live view.
4.3. Détection de mouvement et alertes
Configure motion detection sensitivity and alert settings within the app. The camera will send notifications to your smartphone when motion is detected. Recorded events can be reviewajouté dans la section lecture de l'application.
4.4. Modes de vision nocturne
The camera offers three night vision modes, selectable via the app:
- Vision nocturne infrarouge: Fournit des images nettes en noir et blanc dans l'obscurité totale.
- Vision nocturne en couleur : Utilise des projecteurs intégrés pour fournir des images en couleur dans des conditions de faible luminosité.
- Vision nocturne couleur intelligente : Automatically switches from infrared to full-color vision upon detection of motion or specific events.

Image 4.1: Comparison of the three night vision modes: Infrared night vision, Full color night vision, and Smart color night vision, demonstrating the camera's ability to pick out details in darkness up to 10 meters away.
5. Entretien
- Nettoyage de la lentille : Nettoyez régulièrement l'objectif de l'appareil photo avec un chiffon doux et sec pour garantir une image nette. Évitez les produits nettoyants abrasifs.
- Nettoyage des panneaux solaires : Keep the solar panel free from dust, dirt, and debris to maximize charging efficiency. Clean with a damp chiffon selon les besoins.
- Mises à jour du micrologiciel : Vérifiez régulièrement l'application pour détecter les mises à jour du micrologiciel disponibles afin de garantir des performances et une sécurité optimales.
- État de la batterie : Ensure the solar panel receives adequate sunlight to maintain battery charge. Prolonged periods without sunlight may require temporary charging via a USB power adapter (not included).
6. Dépannage
6.1. La caméra ne se connecte pas au réseau 4G
- Vérifiez que la carte SIM est correctement insérée et activée avec un forfait de données valide.
- Vérifiez la puissance du signal 4G à l'emplacement de la caméra.
- Restart the camera by briefly disconnecting and reconnecting its power.
6.2. No Video Feed or Poor Quality
- Verify the camera has sufficient power.
- Check the 4G signal strength.
- Nettoyez l'objectif de l'appareil photo.
6.3. Panneau solaire ne chargeant pas
- Veillez à ce que le panneau solaire soit positionné de manière à recevoir la lumière directe du soleil pendant plusieurs heures par jour.
- Clean any dirt or obstructions from the solar panel surface.
- Vérifiez le câble de connexion entre le panneau solaire et la caméra.
6.4. Enregistrement sur carte SD impossible
- Assurez-vous que la carte SD est correctement insérée et formatée dans l'application.
- Vérifiez si la carte SD dispose de suffisamment d'espace libre.
- Vérifiez les paramètres d'enregistrement dans l'application.
7. Spécifications
| Fonctionnalité | Détail |
|---|---|
| Marque | JOOAN |
| Modèle | B0GCFGYCLX |
| Source d'énergie | Alimentation solaire |
| Protocole de connectivité | 4G Cellular (SIM card required), Wi-Fi (for initial setup/local access if applicable) |
| Utilisations recommandées | Indoor/Outdoor Surveillance |
| Dossier spécial | Facile à installer |
| Stockage | Supports up to 256GB SD card, Cloud Storage (subscription may apply) |
8. Garantie et assistance
For warranty information and technical support, please refer to the JOOAN official webConsultez le site ou contactez directement leur service client. Conservez votre reçu d'achat comme preuve d'achat.
Pour obtenir de l’aide supplémentaire, veuillez visiter : Boutique JOOAN sur Amazon


