1. Introduction
This manual provides detailed instructions for the assembly, operation, and maintenance of your QUW Farmhouse 6 Drawer Dresser with an integrated charging station. Please read this manual thoroughly before assembly and use to ensure safe and proper operation.
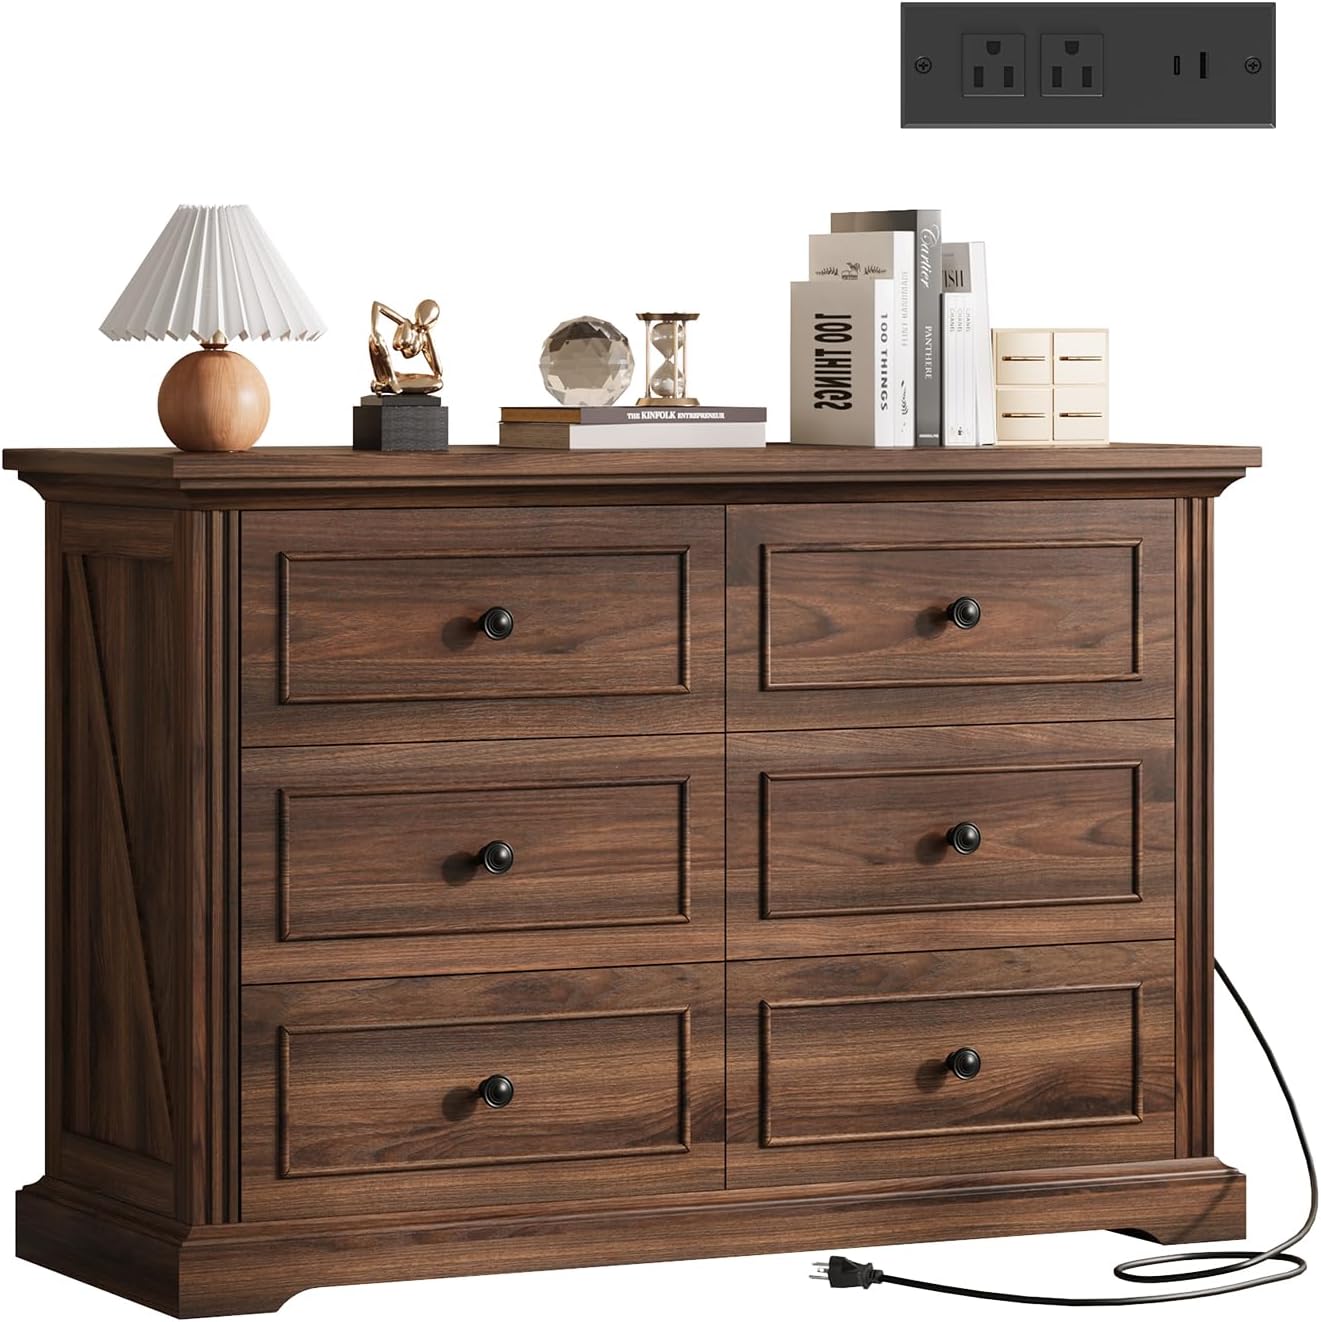
Image 1.1: The QUW Farmhouse 6 Drawer Dresser in Dark Walnut, featuring six drawers and an integrated charging station on the top surface.
2. Consignes de sécurité
To prevent injury and damage, adhere to the following safety guidelines:
- Dispositif anti-basculement : Always install the included anti-tipping device. This is crucial for preventing the dresser from falling over, especially in households with children or pets.
- La répartition du poids: Distribute weight evenly across drawers. Place heavier items in lower drawers to enhance stability.
- Assemblée: Assemble the dresser on a soft, clean surface to prevent scratches. Ensure all screws and fasteners are securely tightened before use. Periodically check and retighten fasteners as needed.
- Sécurité électrique : The charging station is designed for indoor use only. Do not expose it to moisture. Do not overload the outlets. If the power cord is damaged, discontinue use and contact customer support.
- Placement: Place the dresser on a level surface. Avoid placing it near heat sources or in direct sunlight to prevent material degradation.
3. Contenu du colis
Before beginning assembly, verify that all components and hardware are present. Refer to the included assembly diagram for a complete list of parts. If any parts are missing or damaged, do not proceed with assembly; contact QUW customer support immediately.
4. Configuration et assemblage
Assembly is required for this dresser. Follow the step-by-step instructions provided in the separate assembly guide included with your product. Key steps include:
- Déballage: Déballez soigneusement tous les composants et disposez-les sur une surface protégée.
- Assemblage du cadre : Assemble the main frame of the dresser according to the diagrams.
- Assemblage du tiroir : Construct each of the six drawers, ensuring smooth operation of the drawer slides.
- Installation de la borne de recharge : Securely install the charging station into the designated slot on the dresser top.
- Installation du dispositif anti-basculement : Attach the anti-tipping device to the back of the dresser and secure it to a wall stud. This step is mandatory for safety.

Image 4.1: The assembled QUW Farmhouse 6 Drawer Dresser positioned in a bedroom, showcasing its aesthetic integration into a living space.

Image 4.2 : Détail view highlighting the stable and sturdy base, decorative side strips, and chic metal handles of the dresser.
5. Operating Instructions (Charging Station)
La station de recharge intégrée offre un accès pratique à l'alimentation pour vos appareils électroniques.
- Connexion électrique : After assembly, plug the 6.5-foot power cord from the charging station into a standard wall outlet.
- Prises secteur : Use the two AC outlets for devices requiring standard wall power.
- Ports USB : Use the USB-A and USB-C ports for charging compatible smartphones, tablets, and other USB-powered devices.
- Usage: Ensure devices are properly connected. The charging station is designed for low-power electronics. Avoid plugging in high-wattage appareils.

Image 5.1 : Vue aérienne view of the dresser, illustrating the integrated charging station with AC and USB ports, and the spacious drawers open for storage.
6. Entretien
Un entretien approprié prolongera la durée de vie et préservera l'apparence de votre commode :
- Nettoyage: Essuyez les surfaces avec un chiffon doux, damp Chiffon. Évitez les produits chimiques agressifs ou les nettoyants abrasifs, qui peuvent endommager la finition.
- Déversements : Nettoyez immédiatement les liquides renversés pour éviter les taches ou les dégâts d'eau.
- Matériel: Vérifiez régulièrement le serrage de toutes les vis et fixations. Resserrer si nécessaire.
- Glissières de tiroirs : If drawers become stiff, a small amount of silicone lubricant can be applied to the slides.
7. Dépannage
| Problème | Cause possible | Solution |
|---|---|---|
| Les tiroirs ne coulissent pas facilement. | Glissières mal alignées, vis desserrées ou débris dans les rails. | Check alignment of drawer slides. Ensure all screws are tight. Clean tracks of any debris. Apply silicone lubricant if needed. |
| La borne de recharge ne fonctionne pas. | Not plugged in, power outlet issue, or overloaded. | Ensure the power cord is securely plugged into a functional wall outlet. Test the outlet with another device. Do not overload the charging station with high-power devices. |
| La commode semble instable. | Anti-tipping device not installed, uneven floor, or loose fasteners. | Verify the anti-tipping device is correctly installed and secured to the wall. Place the dresser on a level surface. Check and tighten all assembly fasteners. |
8. Spécifications
| Fonctionnalité | Détail |
|---|---|
| Marque | QUW |
| Nom du modèle | 6 Tiroirs |
| Numéro de modèle | FHC48SC6D-DW |
| Couleur | Noyer foncé |
| Dimensions du produit (P x L x H) | 15"P x 47"L x 33"H |
| Poids de l'article | 112.6 livres |
| Borne de Recharge | 2 prises secteur, 1 port USB-A, 1 port USB-C |
| Longueur du cordon d'alimentation | 6.5 pieds |
| Assemblage requis | Oui |
| Type de chambre | Bedroom, Living Room, Hallway, Entryway |

Image 8.1: A detailed diagram illustrating the overall dimensions of the dresser (47"W x 15.6"D x 33.3"H), inner drawer dimensions (18.7"L x 11.2"W x 5.1"D), and the 6.5-foot power cord length for the charging station.
9. Garantie et assistance
For warranty information or technical support, please contact QUW customer service. Keep your purchase receipt and model number (FHC48SC6D-DW) handy for faster service. You can typically find contact information on the manufacturer's websur le site ou auprès de votre détaillant.
Fabricant: QUW
ASIN: B0FSZ18Y5H


