1. Introduction
This manual provides detailed instructions for the installation, operation, and maintenance of the OOYCYOO 60A MPPT Solar Charge Controller, Model EC60A. This device is designed to efficiently manage power flow from solar panels to various battery types, including 12V, 24V, 36V, and 48V systems.
Veuillez lire attentivement ce manuel avant l'installation et l'utilisation afin de garantir un fonctionnement correct et une sécurité optimale.
2. Principales caractéristiques
- 60A MPPT Charging: Utilizes Maximum Power Point Tracking technology for efficient solar energy conversion.
- Multi-Stage Chargement : Dispose d'un 4-stage battery charging algorithm (Bulk Charge, Boost Charge, Float Charge, Equalization) for optimal battery health.
- Vol largetage Assistance : Automatically detects and supports 12V, 24V, 36V, and 48V battery systems.
- Entrée PV élevée : Supports solar panel open circuit voltage up to 160VDC and input power up to 2800W (for 48V systems).
- Compatibilité de la batterie : Compatible with various battery types including AGM, Gel, Flooded, and Lithium (LFP), with pre-set and user-defined charging parameters.
- Haute efficacité : Tracking efficiency not less than 98.1% and peak conversion efficiency up to 98%.
- Protection avancée : Includes PV over current/power, PV short circuit, PV reverse polarity, night reverse charging, battery reverse polarity, over voltage, over discharge, overheating, lithium battery low temperature, load short circuit, load overload, and TVS high voltage transitoires.
- Écran LCD : Integrated blacklight LCD for monitoring system status, including KWH charge amount.
- Refroidissement efficace : Die-cast aluminum construction with built-in cooling fan for effective heat dissipation.
3. Consignes de sécurité
Veuillez respecter les consignes de sécurité suivantes lors de l'installation et du fonctionnement :
- Vérifiez que toutes les connexions sont correctes et sécurisées avant de mettre l'alimentation électrique.
- Branchez toujours d'abord la batterie, puis le panneau solaire, et enfin la charge. Débranchez-les dans l'ordre inverse.
- Ne démontez pas et n'essayez pas de réparer vous-même la manette. Contactez un technicien qualifié pour toute intervention.
- Installez le contrôleur dans un endroit bien ventilé, à l'écart des matériaux inflammables et de la lumière directe du soleil.
- Portez un équipement de protection individuelle (EPI) approprié lorsque vous travaillez sur des systèmes électriques.
- Assurez-vous que le système voltage ne dépasse pas le volume d'entrée maximal du contrôleurtage (160 Vcc).
4. Produit terminéview
The OOYCYOO 60A MPPT Solar Charge Controller features a robust design with an intuitive LCD display and clearly labeled terminals for easy connection.

Figure 4.1 : Face avant view of the OOYCYOO 60A MPPT Solar Charge Controller, showing the LCD display, control buttons, and terminal connections.

Figure 4.2 : Détaillé view of the controller highlighting the LCD display, control buttons (SET, A, B, C, D), 5-second reset function, and clearly marked Solar Panel, Battery, and Load terminals.
4.1. Composants et interface
- Écran LCD : Shows real-time system parameters such as PV input voltage, vol de batterietage, load output, and charging status.
- Control Buttons (A, B, C, D, SET): Used for navigating menus, adjusting settings, and confirming selections.
- Solar Panel Terminals: Connect positive and negative leads from the solar array.
- Bornes de batterie : Connect positive and negative leads to the battery bank.
- Bornes de chargement : Connect positive and negative leads to DC loads.
5. Installation et configuration
5.1. Montage du contrôleur
Mount the controller vertically on a wall or a stable surface in a dry, well-ventilated indoor location. Ensure adequate clearance around the unit for proper airflow and heat dissipation. Avoid direct sunlight, high temperatures, and humid environments.
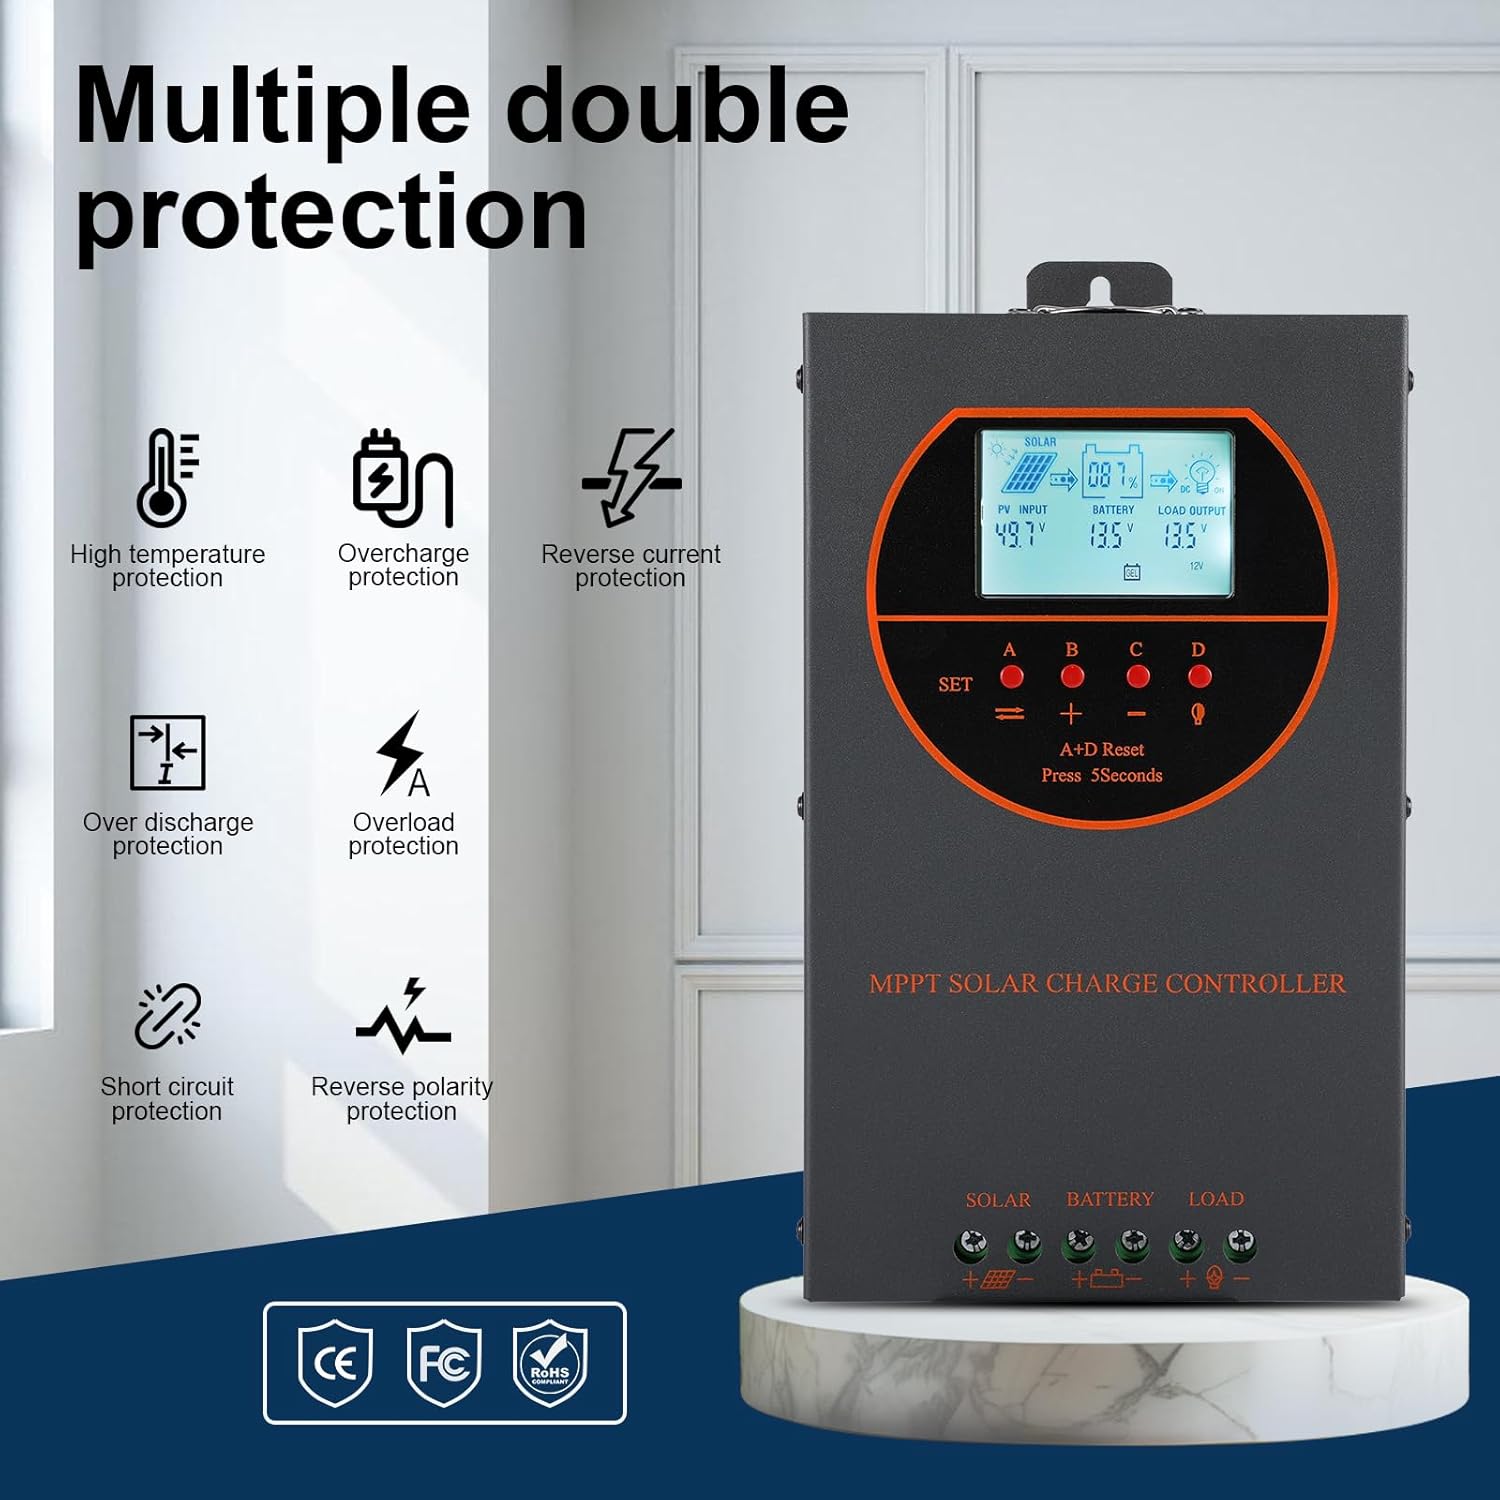
Figure 5.1: Dimensions of the OOYCYOO 60A MPPT Solar Charge Controller, showing approximate measurements of 14cm (5.5in) width, 5.5cm (2.2in) depth, and 23cm (9.1in) length.
5.2. Séquence de câblage
Follow this wiring sequence carefully to prevent damage to the controller or other components:
- Connectez la batterie : Connectez les bornes positive et négative de la batterie aux bornes correspondantes du contrôleur. Veillez à respecter la polarité. Le contrôleur détectera automatiquement la tension de la batterie.tage (12V/24V/36V/48V).
- Connecter le panneau solaire : Connect the positive and negative leads from the solar panel array to the corresponding PV input terminals on the controller. Ensure correct polarity.
- Raccordez la charge CC (facultatif) : Connect the positive and negative leads of your DC load to the corresponding load terminals on the controller.
Important: Lors du démontage du système, branchez toujours d'abord la batterie et débranchez d'abord le panneau solaire.

Figure 5.2: Illustrative wiring diagram showing connections from solar panels to the controller, then to the battery, and finally to DC and AC loads via an inverter. This diagram also shows the possibility of connecting two 60A controllers in parallel for increased capacity.
5.3. Volume systèmetage and Power Configuration
The controller automatically identifies the battery system voltage. Ensure your solar panel array's open circuit voltage (Voc) and maximum input power are within the specified limits for your battery system:
| Système de batterie | Max. Volume de circuit ouvert PVtage VOC) | Puissance d'entrée PV max. |
|---|---|---|
| 12V | ≤72V | 720 W |
| 24V | ≤108V | 1440 W |
| 36V | ≤144V | 2100 W |
| 48V | ≤160V | 2800 W |

Figure 5.3: Diagram illustrating the connection of multiple PV modules in series to the controller, with a table detailing recommended system parameters for 12V, 24V, and 48V systems, including battery float voltage, sous voltage protection, récupération voltage, and maximum input power.
6. Fonctionnement
6.1. Écran LCD et indicateurs
The LCD display provides real-time information about the solar charging system. Key indicators include:
- Entrée photovoltaïque : Affiche le volume actueltage and power from the solar panels.
- Batterie: Affiche le volume actuel de la batterietage et l'état de charge.
- Sortie de chargement : Indicates the status of the DC load output.
- KWH: Displays the total accumulated charge in kilowatt-hours.
6.2. Sélection du type de batterie
The controller is compatible with various battery types. You can select the appropriate battery type through the controller's settings menu to ensure optimal charging. Supported types include:
- GEL
- Assemblée générale annuelle
- USER (user-defined parameters)
- SEL (Scellé)
- FLD (Inondé)
- LI (Lithium)
- LiFePO4

Figure 6.1: Diagram illustrating the controller's strong adaptability to various battery types (GEL, AGM, USER, SEL, FLD, LI, LiFePO4) and a graph showing the 4-stage charging process: Bulk Charge, Constant Charging (Boost), and Float Charge.
6.3. Algorithme de facturation
Le contrôleur utilise un système à 4 temps.tage charging algorithm to maximize battery life and performance:
- Frais de gros : Fournit un courant maximal pour charger rapidement la batterie à environ 80 % de sa capacité.
- Charge d'appoint : Charges the battery at a higher voltage to ensure full charge and equalization.
- Charge flottante: Maintient la batterie à un niveau de tension sûrtage pour éviter l'autodécharge et la surcharge.
- Égalisation: Surcharge périodique des batteries à électrolyte liquide pour équilibrer le volume des cellulestages and prevent sulfation. (Applicable to flooded batteries only, if enabled).
7. Entretien
Un entretien régulier garantit la longévité et les performances optimales de votre régulateur de charge solaire :
- Vérifier les connexions : Vérifiez régulièrement le serrage et l'absence de corrosion de tous les raccordements électriques.
- Contrôleur propre : Keep the controller clean and free from dust. Use a dry cloth to wipe the exterior. Ensure ventilation openings are not obstructed.
- Surveiller les performances : Regularly check the LCD display for normal operating parameters. Note any unusual readings.
- Inspection de la batterie : Inspect batteries for any signs of damage, leakage, or corrosion. Clean battery terminals as needed.
8. Dépannage
This section addresses common issues you might encounter with the OOYCYOO 60A MPPT Solar Charge Controller.
8.1. Problèmes courants et solutions
| Problème | Cause possible | Solution |
|---|---|---|
| Aucun écran/Manette ne s'allume pas | Batterie non connectée ou faible tensiontage ; polarité inversée. | Vérifiez les connexions de la batterie et le voltage. Assurez-vous de la polarité correcte. Chargez la batterie si le volumetage est trop bas. |
| Pas de recharge solaire | Solar panel not connected; reverse polarity; low sunlight; PV over-voltage/courant. | Vérifiez les connexions et la polarité des panneaux solaires. Assurez-vous d'un ensoleillement suffisant. Vérifiez le volume PV.tage and current are within limits. |
| Chargement impossible | Load not connected; load short circuit; overload; battery low voltage. | Check load connections. Inspect for short circuits or overloads. Ensure battery has sufficient charge. |
| Surchauffe du contrôleur | Poor ventilation; excessive load/PV input. | Ensure adequate airflow around the controller. Reduce load or PV input if consistently overheating. |
8.2. Fonctions de protection
The controller includes multiple protection features to safeguard the system:
- PV surintensité/puissance
- Court-circuit PV
- Polarité inversée PV
- Charge inversée de nuit
- Polarité inversée de la batterie
- Survol de la batterietage
- Surcharge de la batterie
- Battery Overheating, Controller Overheating
- Batterie au lithium basse température
- Court-circuit de charge
- Surcharge de charge
- TVS haut volumetage Transitoires

Figure 8.3: Visual representation of the multiple protection features integrated into the controller, including low voltage, overheat, short circuit, reverse protection, overload, and overcurrent protection.

Figure 8.4 : Interne view of the controller, highlighting key components such as copper coil transformers and capacitors, which contribute to its robust performance and protection features.
9. Spécifications techniques
| Paramètre | Spécification |
|---|---|
| Courant de charge nominal | 60A |
| Volume nominal du systèmetage | 12V/24V/36V/48V DC Auto Identifying |
| Vol batterietaget gamme | 9 V à 55 V |
| Max. Volume de circuit ouvert PVtage | 160 V CC |
| Puissance d'entrée PV maximale (système 12 V) | 720 W |
| Puissance d'entrée PV maximale (système 24 V) | 1440 W |
| Puissance d'entrée PV maximale (système 36 V) | 2100 W |
| Puissance d'entrée PV maximale (système 48 V) | 2800 W |
| Borne d'alimentation | 6-12 AWG |
| Dimensions (L x l x H) | 11 x 6 x 2.5 pouces (environ 27.9 x 15.2 x 6.3 cm) |
| Poids | 4.07 livre (environ 1.8 kg) |
| Efficacité du suivi | ≥ 98.1 % |
| Efficacité de conversion maximale | Jusqu'à 98% |
| Refroidissement | Die-cast aluminum housing, built-in cooling fan |
| Types de batterie pris en charge | AGM, Gel, Flooded, Lithium (LFP), Sealed, User-defined |
| Matériel | Aluminium |
| Numéro de modèle de l'article | EC60A |
| Code UPC | 750864834470 |
10. Assistance et contact
For technical support, warranty claims, or further assistance, please contact OOYCYOO customer service through the retailer where the product was purchased or visit the official OOYCYOO store on Amazon:

