Introduction
Merci pour votre achatasing the CHEREEKI Digital LED Alarm Clock. This manual provides detailed instructions for setting up and operating your new alarm clock. Please read it thoroughly before use and keep it for future reference.
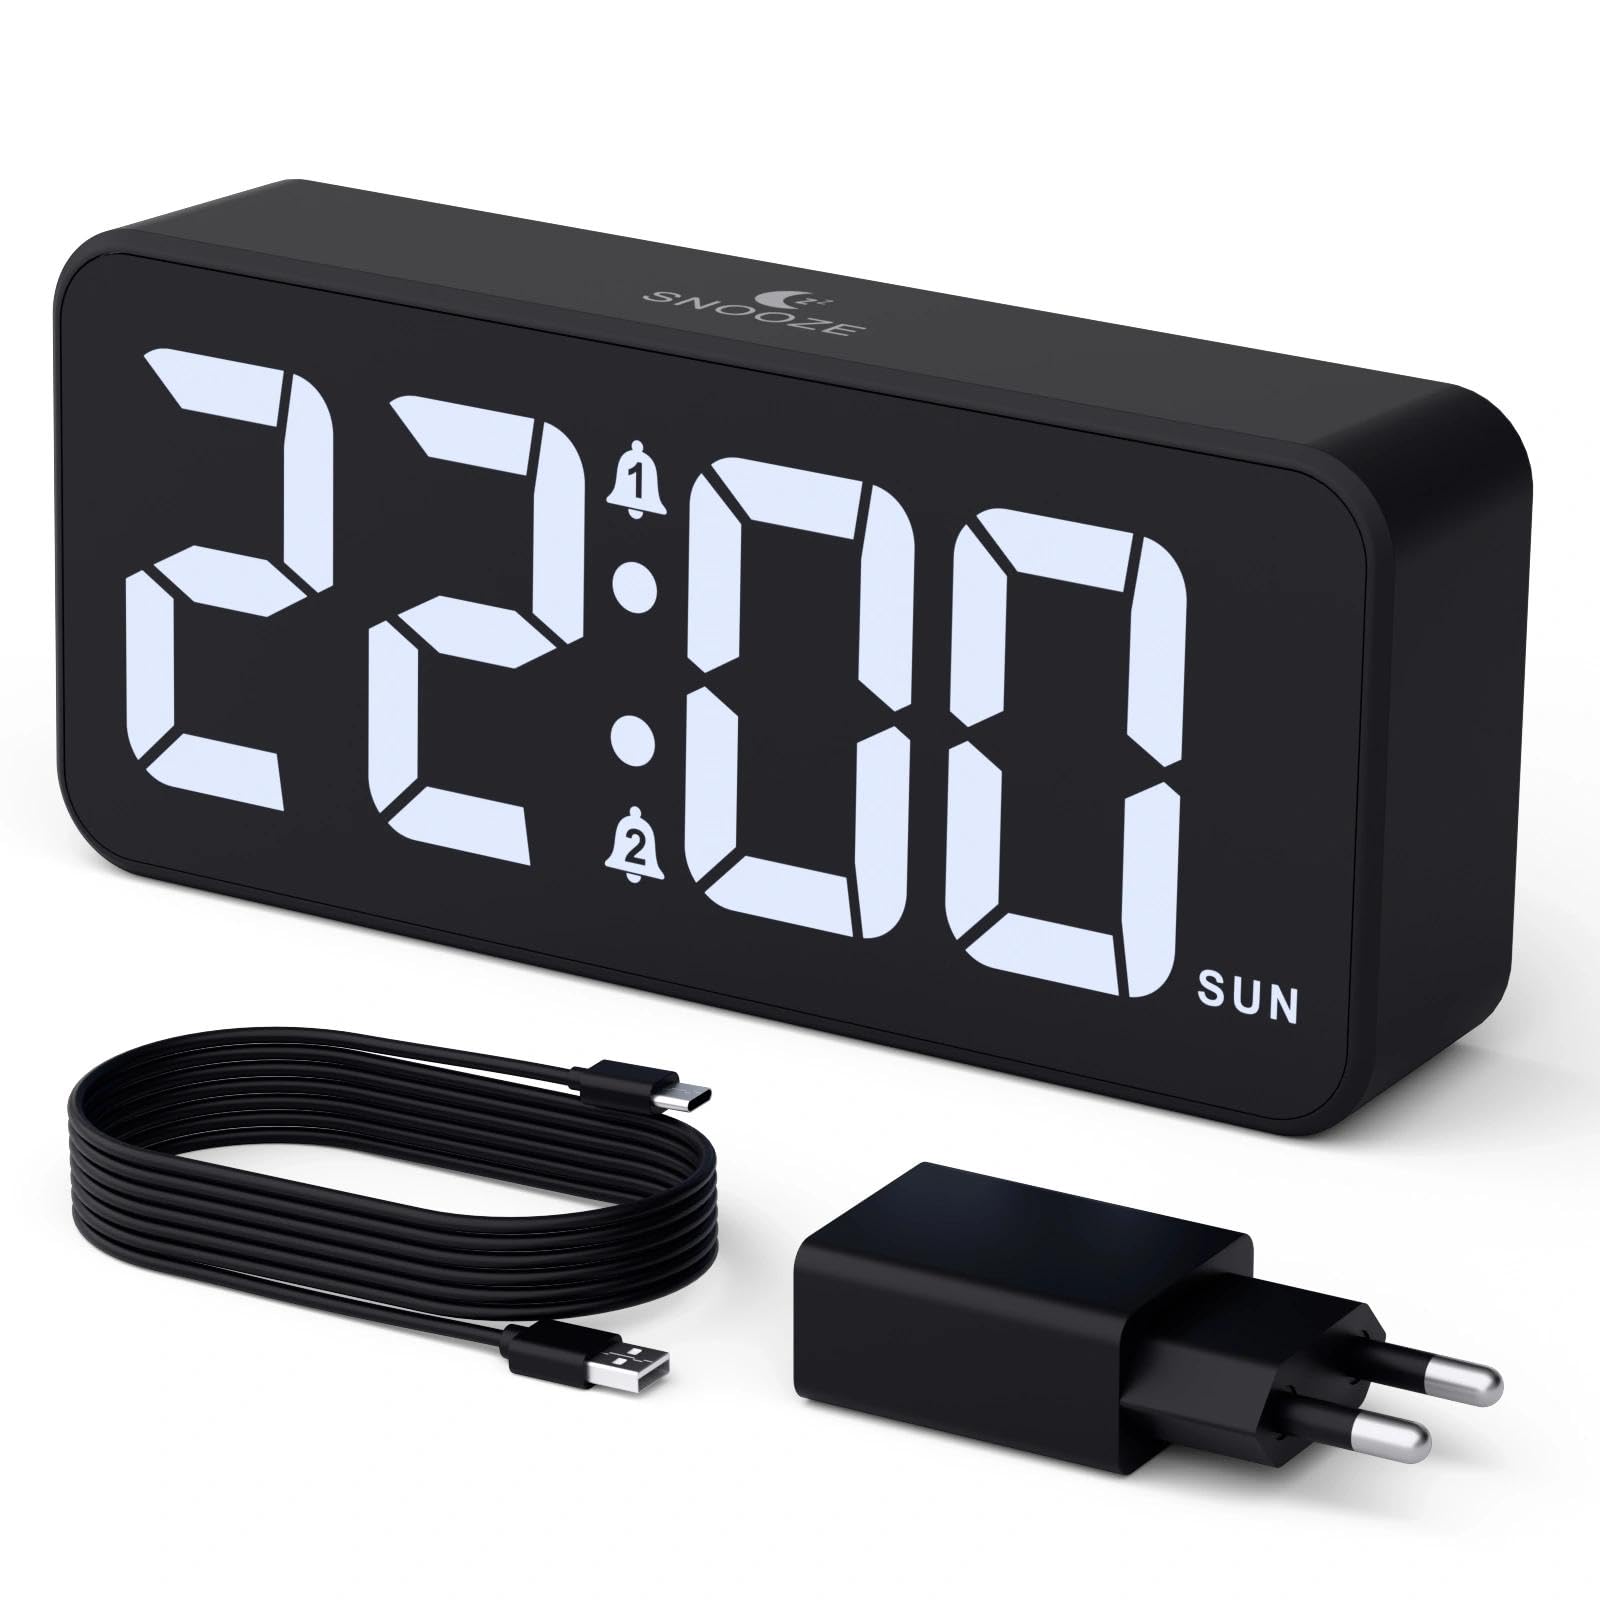
Image: The CHEREEKI Digital LED Alarm Clock, showcasing its large LED display and key features.
Consignes de sécurité
- Ensure the power adapter and cable are compatible with the device's voltage requirements (5V/1A or 5V/2A).
- N’exposez pas l’appareil à l’eau ou à une humidité excessive.
- Évitez de placer l'appareil à proximité de sources de chaleur ou à la lumière directe du soleil.
- N’essayez pas de démonter ou de réparer l’appareil vous-même. Contactez le service client en cas de problème.
- Tenir hors de portée des enfants.
Contenu du colis
- CHEREEKI Digital LED Alarm Clock
- Power Adapter (5V/1A or 5V/2A)
- Câble de chargement USB (1.5 m)
- Manuel d'utilisation
- Pile de secours CR2032 (préinstallée ou incluse)

Image: Illustration of the items included in the product package.
Agencement et commandes du produit

Image: Rear panel of the alarm clock with labels for all buttons and ports.
- Bouton de réglage de l'heure : Appuyez pour accéder au mode de réglage de l'heure.
- Bouton Alarme 1 : Appuyez pour régler l'alarme 1.
- Bouton Alarme 2 : Appuyez pour régler l'alarme 2.
- Boutons haut/bas : Ajustez les valeurs lors du paramétrage.
- Bouton variateur : Rotate to adjust display brightness (0-100%).
- Bouton de volume : Rotate to adjust alarm volume (10 levels).
- Port de sortie USB : Pour recharger des appareils externes.
- Port d'entrée de type C : For power supply to the alarm clock.
- Bouton DST : Pour le passage à l'heure d'été.
- Compartiment à piles : Houses the CR2032 backup battery.
Installation
1. Connexion électrique
The alarm clock operates solely on AC power. Connect the provided USB cable to the Type-C input port on the back of the clock and plug the adapter into a standard wall outlet (5V/1A or 5V/2A). The display will light up.

Image: The alarm clock connected to a power source via its adapter.
2. Batterie de secours
A CR2032 backup battery is included to retain time and alarm settings during power outages. This battery does not power the display or alarm functions; it only preserves memory. Ensure the battery is correctly installed in the compartment on the back of the clock.

Image: Close-up of the backup battery compartment, indicating its purpose to retain settings during power loss.
Mode d'emploi
Réglage de l'heure
- Press the "TIME SET" button. The hour digits will flash.
- Utilisez les boutons « HAUT » ou « BAS » pour régler l'heure.
- Press "TIME SET" again to confirm the hour and move to minute setting. The minute digits will flash.
- Utilisez les boutons « HAUT » ou « BAS » pour régler les minutes.
- Press "TIME SET" once more to confirm the minutes and exit time setting mode.
Réglage des alarmes (Alarme 1 et Alarme 2)
This clock supports two independent alarms with three scheduling options.
- Press the "ALARM 1" or "ALARM 2" button. The alarm hour digits will flash.
- Use the "UP" or "DOWN" buttons to adjust the alarm hour.
- Appuyez de nouveau sur le bouton d'alarme correspondant pour confirmer l'heure et passer au réglage des minutes. Les chiffres des minutes clignoteront.
- Use the "UP" or "DOWN" buttons to adjust the alarm minutes.
- Press the alarm button again to select the alarm schedule:
- Jours de la semaine: Du lundi au vendredi
- Week-ends : du samedi au dimanche
- Tous les jours: Du lundi au dimanche
- Press the alarm button once more to confirm the schedule and exit alarm setting mode.
- To enable/disable an alarm, press the "ALARM 1" or "ALARM 2" button briefly outside of setting mode. An alarm icon will appear/disappear on the display.

Image: The alarm clock demonstrating dual alarm settings with various scheduling options.
Fonction de répétition
When the alarm sounds, touch the top of the clock to activate the 5-minute snooze function. The alarm will temporarily stop and sound again after 5 minutes. To turn off the alarm completely, press any other button on the back of the clock.
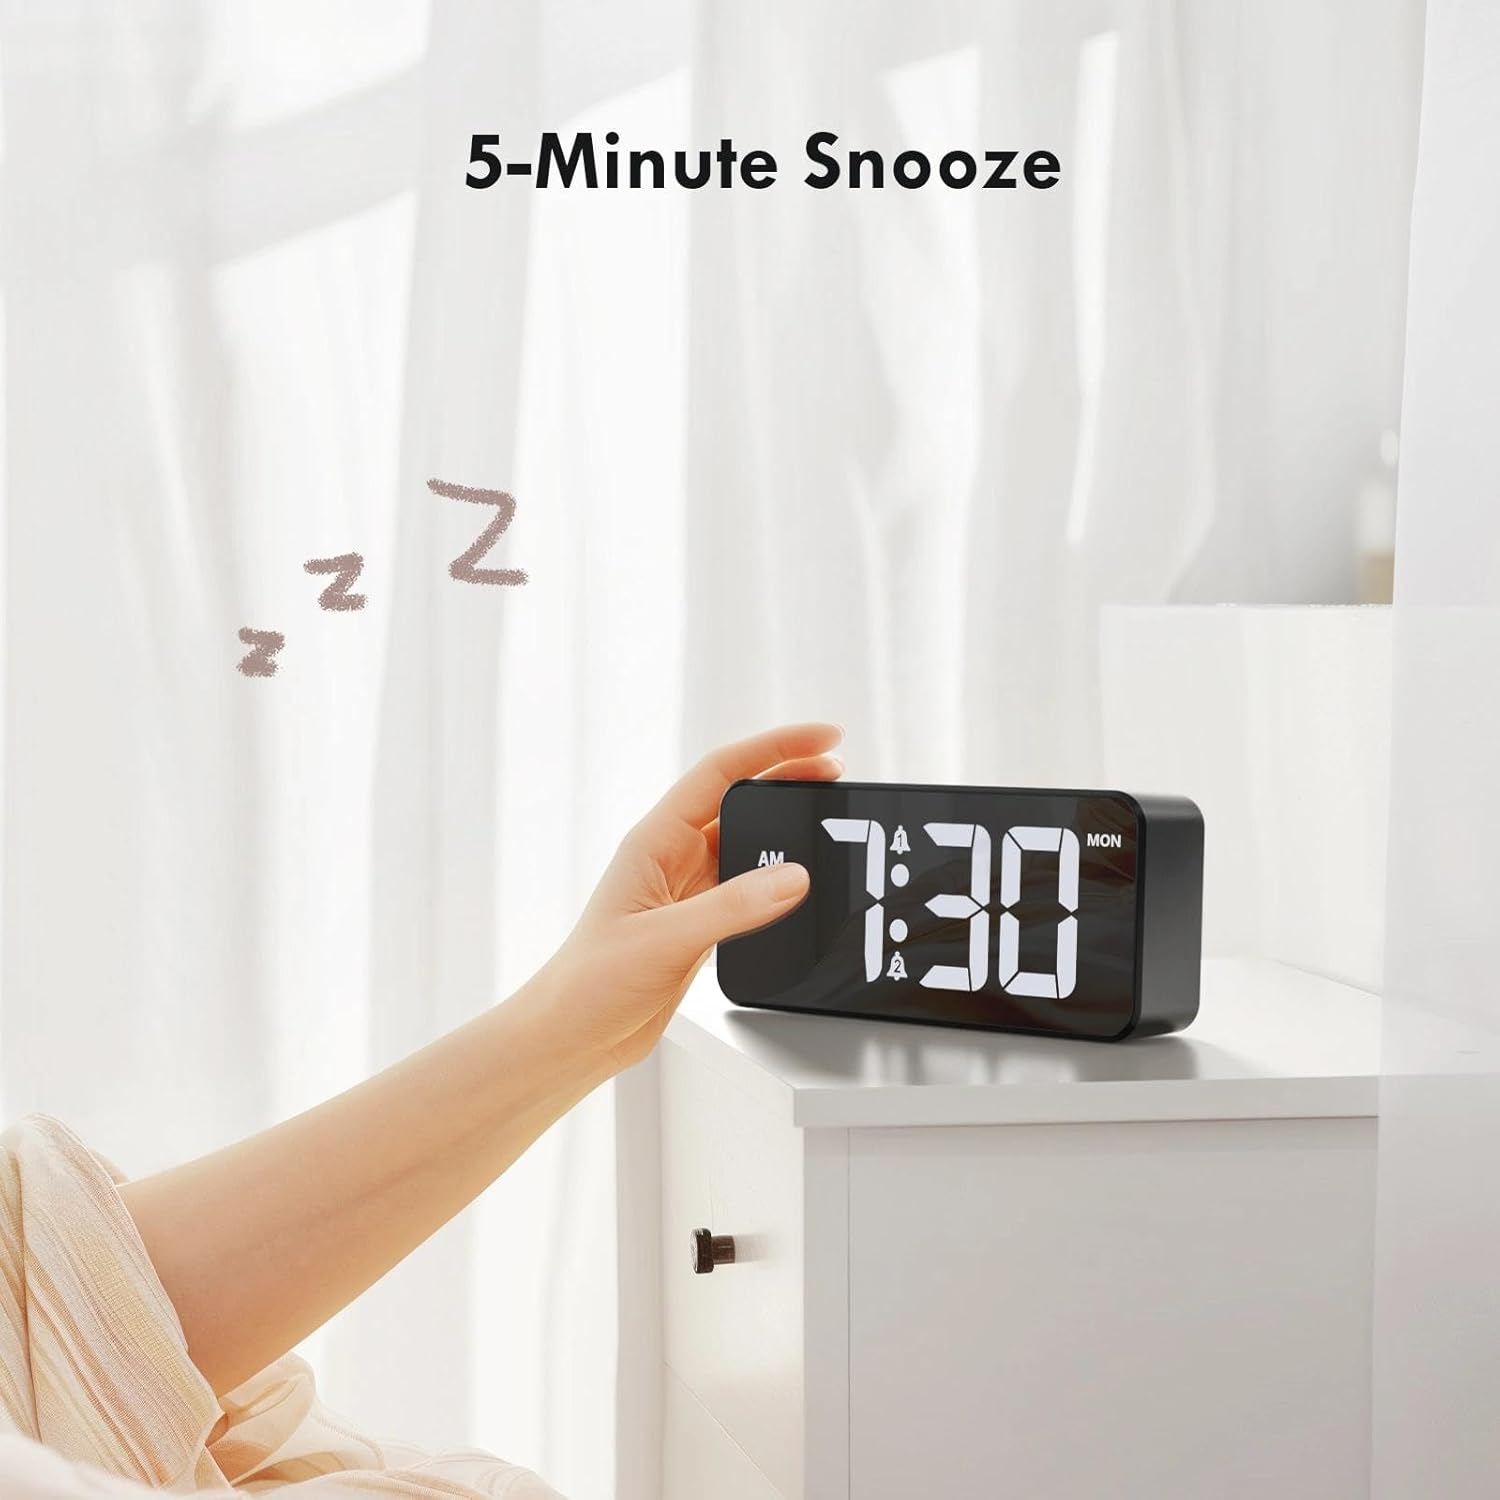
Image: A user activating the snooze function by touching the top of the alarm clock.
Réglage de la luminosité de l'écran
Rotate the "DIMMER" knob on the back of the clock to adjust the display brightness from 0% (off) to 100% (maximum brightness). This allows for comfortable viewdans toutes les conditions d'éclairage.

Image: Visual representation of the adjustable brightness feature and the dimmer knob.
Réglage du volume de l'alarme
Rotate the "VOLUME" knob on the back of the clock to select one of the 10 available alarm volume levels. Choose a volume that suits your preference.

Image: The volume control knob and a visual scale indicating adjustable volume levels.
Format 12/24 heures
To switch between 12-hour and 24-hour time formats, press and hold the "TIME SET" button for a few seconds until the format changes. In 12-hour format, "AM" or "PM" indicators will be displayed.

Image: The alarm clock showing both 12-hour and 24-hour time display options.
Port de chargement USB
The USB-A output port on the back of the clock allows you to charge other devices, such as smartphones or tablets. Simply connect your device's charging cable to this port.

Image: The alarm clock charging a smartphone via its integrated USB port.
Heure d'été (DST)
To adjust for Daylight Saving Time, press the "DST" button on the back of the clock. This will advance or set back the time by one hour. Press it again to revert.
Entretien
- Nettoyez la surface de l'horloge avec un chiffon doux et sec. N'utilisez pas de produits nettoyants abrasifs ni de solvants.
- Gardez l'appareil exempt de poussière et de débris.
- If the backup battery needs replacement, use a CR2032 coin cell battery. Ensure correct polarity.
Dépannage
| Problème | Cause possible | Solution |
|---|---|---|
| L'affichage est éteint. | Not connected to power; Dimmer set to 0%. | Ensure the clock is plugged into a working power outlet. Rotate the Dimmer knob to increase brightness. |
| L'alarme ne sonne pas. | Alarm not activated; Volume set to minimum. | Press the ALARM 1/2 button to activate the alarm (icon should appear). Rotate the Volume knob to increase volume. |
| Paramètres perdus après une coupure de couranttage. | La batterie de secours est déchargée ou manquante. | Remplacez la pile de secours CR2032. |
| Le chargement USB ne fonctionne pas. | Clock not powered; Device cable faulty. | Ensure the alarm clock is powered. Try a different USB cable or device. |
Caractéristiques
- Marque: CHEREEKI
- Modèle: B0FHHKMP1X
- Couleur: Noir
- Type d'affichage : LED numérique
- Matériel: Acrylonitrile butadiène styrène (ABS)
- Dimensions du produit : 14.5 x 3.81 x 6.5 cm (5.7 x 1.5 x 2.5 pouces)
- Poids de l'article : 230 grammes (0.5 livres)
- Source d'alimentation : Wired Electric (5V/1A or 5V/2A adapter)
- Batterie de secours : CR2032 (for memory retention only)
- Caractéristiques spéciales : Adjustable Brightness, Dual Alarm, Snooze, USB Charging Port, 12/24H Format, Adjustable Volume, Day of Week Display
Garantie et assistance
This CHEREEKI Digital LED Alarm Clock comes with a Garantie à vie. For any product inquiries, technical support, or warranty claims, please contact CHEREEKI customer service through the retailer where you purchased the product or visit the official CHEREEKI website pour les coordonnées.
Veuillez conserver votre preuve d'achat à des fins de garantie.
