Introduction
This manual provides comprehensive instructions for the setup, operation, and maintenance of your V7 Dual Bay Docking Station USB 3.0. This device is designed to provide convenient access to 2.5-inch and 3.5-inch SATA hard disk drives (HDDs) and solid-state drives (SSDs), offering high-speed data transfer and a standalone cloning function.
Veuillez lire attentivement ce manuel avant d'utiliser le produit afin d'assurer son bon fonctionnement et d'éviter tout dommage.
Contenu du colis

Image: The side of the V7 Dual Bay Docking Station packaging, detailing the included items.
Vérifiez que tous les éléments énumérés ci-dessous sont présents dans votre colis :
- 1x V7 Dual Bay Docking Station
- 1x USB 3.0 A to B Cable
- 1 adaptateur secteur CC 12 V/3 A
- 1x Manuel d'utilisation (ce document)
Produit terminéview
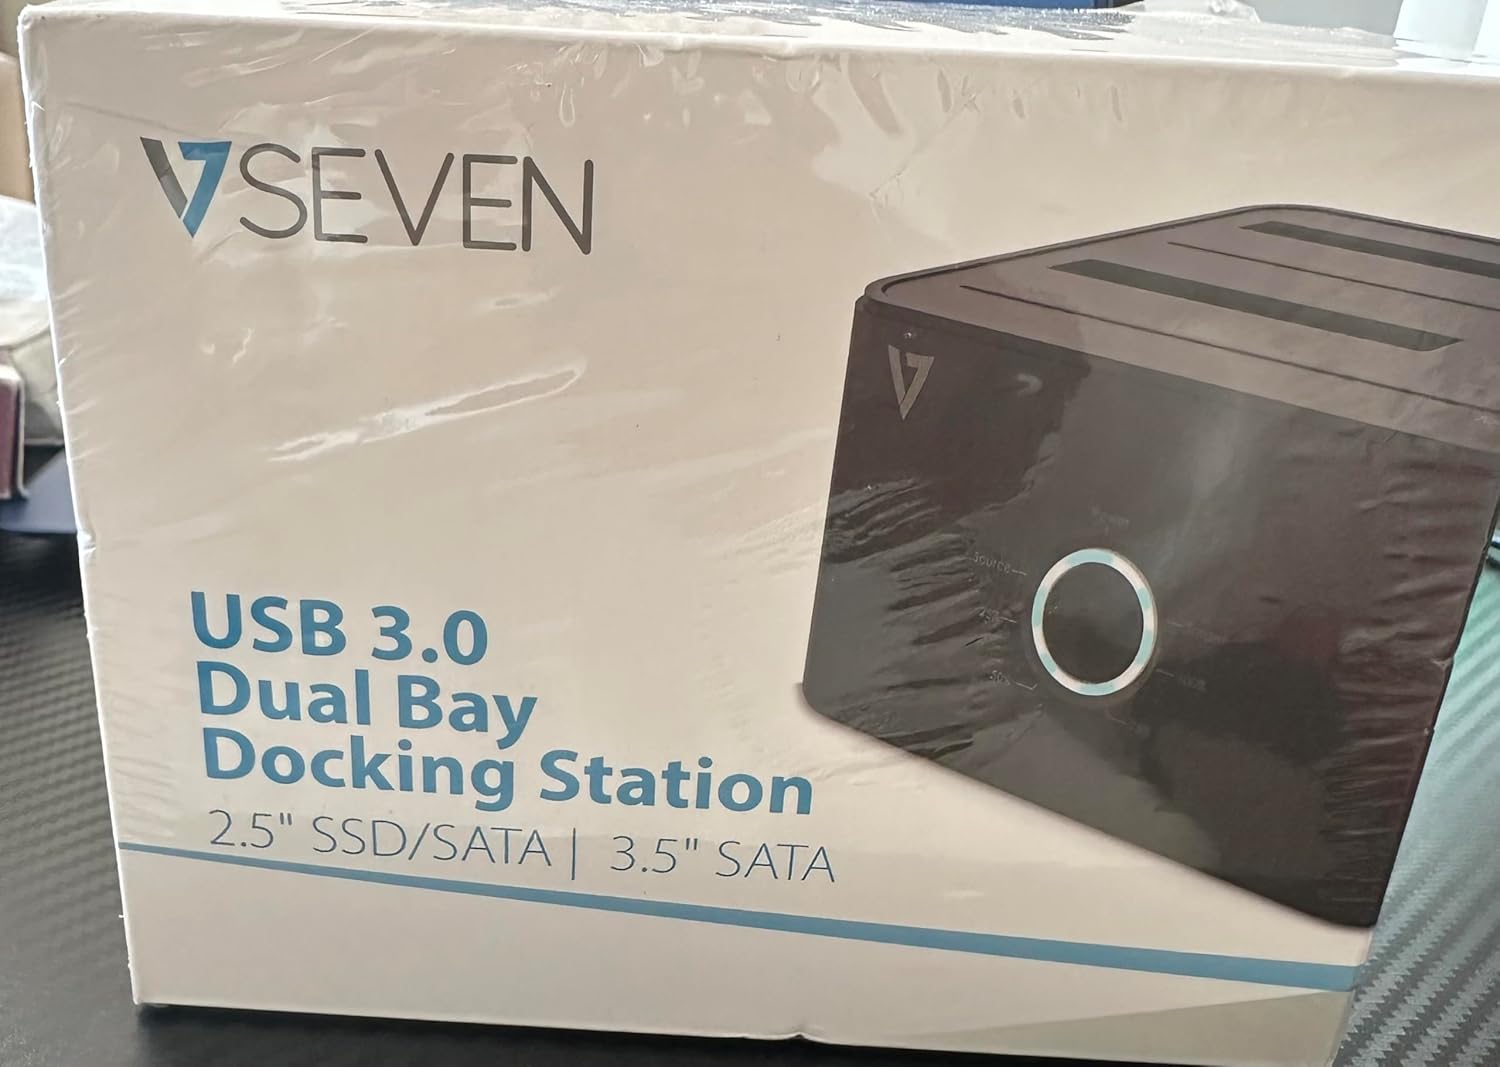
Image: The front of the V7 Dual Bay Docking Station packaging, displaying the product and its name.
The V7 Dual Bay Docking Station provides a versatile solution for managing your 2.5-inch and 3.5-inch SATA drives. Key features include:
- USB 3.0 Super-Speed Data Transfer: Achieves speeds up to 5 Gbps, significantly faster than USB 2.0.
- Conception à double baie : Supports two SATA I/II/III HDDs or SSDs simultaneously.
- Standalone Clone Function: Allows direct cloning of one drive to another without requiring a computer.
- Affichage LED: Provides status indication during operation, especially for cloning.
- Matériaux recyclés : Fabriqué à partir de matériaux recyclés, contribuant ainsi au développement durable.

Image: The back of the V7 Dual Bay Docking Station packaging, illustrating key features and benefits, including the use of recycled materials.
Ports et indicateurs :
- USB-B Port (1x): Permet de connecter la station d'accueil à votre ordinateur.
- SATA Drive Bays (2x): Pour insérer des disques durs/SSD SATA de 2.5 ou 3.5 pouces.
- DC Power Input (1x): Pour connecter l'adaptateur secteur 12V/3A.
- Power Button/LED: Contrôle l'alimentation et indique l'état de fonctionnement.
- Clone Button/LEDs: Initiates the cloning process and indicates progress.
Installation
- Connecter l'alimentation : Insert the DC 12V/3A power adapter into the "DC Power Input" port on the docking station, then plug the adapter into a wall outlet.
- Lecteurs à insérer :
- Gently slide your 2.5-inch or 3.5-inch SATA HDD/SSD into the drive bay(s) until it is securely seated. Ensure the SATA connector aligns correctly.
- For cloning, insert the source drive into Bay 1 (Source) and the target drive into Bay 2 (Target). The target drive must be equal to or larger in capacity than the source drive.
- Connexion à l'ordinateur (pour le transfert de données) : If you intend to use the docking station for data transfer with a computer, connect one end of the USB 3.0 A to B cable to the USB-B port on the docking station and the other end to an available USB 3.0 port on your computer.
- Mise sous tension : Press the power button on the docking station. The power LED should illuminate.
Mode d'emploi
A. Data Transfer Mode (Connected to Computer)
- Assurez-vous que la station d'accueil est allumée et connectée à votre ordinateur via le câble USB 3.0.
- Insert one or two SATA drives into the bays.
- Your operating system should detect the drives as external storage. You may need to initialize and format new drives through Disk Management (Windows) or Disk Utility (macOS) before use.
- You can now access, read, and write data to the inserted drives as you would with any external storage device.
- Always safely eject the drives from your operating system before powering off the docking station or removing the drives.
B. Standalone Clone Function (Without Computer)
The clone function allows you to duplicate a source drive to a target drive without a computer connection. The target drive must have a capacity equal to or greater than the source drive.
- Préparation:
- Assurez-vous que la station d'accueil est déconnectée de tout ordinateur.
- Insérer le Lecteur source (le lecteur DEPUIS lequel vous souhaitez copier) dans Baie 1.
- Insérer le Lecteur cible (le lecteur sur lequel vous souhaitez copier) dans Baie 2.
- Warning: All data on the target drive will be erased during the cloning process. Back up any important data on the target drive before proceeding.
- Lancer le clonage :
- Allumez la station d’accueil.
- Press and hold the "Clone" button for approximately 3-5 seconds until the clone progress LEDs begin to flash.
- Confirmer le clonage :
- Release the "Clone" button. The 25% progress LED should start blinking.
- Press the "Clone" button again briefly to confirm and start the cloning process.
- Surveiller les progrès : The progress LEDs (25%, 50%, 75%, 100%) will illuminate sequentially to indicate the cloning status.
- Achèvement: When the 100% LED remains solid, the cloning process is complete.
- Mise hors tension et retrait : Mettez la station d'accueil hors tension avant de retirer les disques.
Entretien
- Veillez à ce que la station d'accueil reste propre et exempte de poussière. Utilisez un chiffon doux et sec pour la nettoyer.
- Évitez d'exposer l'appareil à des températures extrêmes, à l'humidité ou à la lumière directe du soleil.
- N’essayez pas de démonter ou de réparer l’appareil vous-même. Cela annulera la garantie.
- Assurez une ventilation adéquate autour de l'appareil pendant son fonctionnement.
Dépannage
| Problème | Cause possible | Solution |
|---|---|---|
| L'appareil ne s'allume pas. | Adaptateur secteur non connecté ou défectueux. | Ensure the power adapter is securely connected to both the docking station and a working power outlet. Try a different outlet. |
| Drives not detected by computer. | USB cable not connected properly; drive not seated correctly; drive uninitialized/unformatted. | Check USB cable connection. Re-seat the drive(s). For new drives, initialize and format them via Disk Management (Windows) or Disk Utility (macOS). Try a different USB port on your computer. |
| Clone function not starting. | Incorrect drive placement; target drive too small; clone button not held long enough. | Ensure source drive is in Bay 1 and target drive in Bay 2. Verify target drive capacity is equal to or larger than source. Hold the clone button for 3-5 seconds until LEDs flash. |
| Vitesses de transfert de données lentes. | Connected to USB 2.0 port; faulty USB cable. | Ensure the docking station is connected to a USB 3.0 port on your computer. Try a different USB 3.0 cable. |
Caractéristiques
- Modèle: 9UDBBS-BLK
- Interface matérielle: USB 3.0 (rétrocompatible avec USB 2.0)
- Vitesse de transfert des données : Up to 5 Gbps (USB 3.0 Super-Speed)
- Compatibilité du lecteur : 2.5" and 3.5" SATA I/II/III HDDs and SSDs
- Baies de lecteur: 2
- Ports: 1x USB-B (Host), 2x SATA (Internal), 1x DC Power Input
- Puissance d'entrée : DC 12V/3A (12 Watts)
- Code à barres : 662919116557
- Fabricant: Ingram Micro Inc
- Matériel: Made from Recycled Materials
Garantie et assistance
For warranty information and technical support, please refer to the official V7 webConsultez le site web ou contactez votre revendeur. Conservez votre preuve d'achat pour toute réclamation au titre de la garantie.
Pour obtenir de l’aide supplémentaire, veuillez visiter : www.v7world.com/support (Example lien (le lien réel peut varier)