1. Introduction
Thank you for choosing the ILEBYGO Mini Projector B0F83Q1HHT. This portable projector is designed to provide a versatile entertainment experience with its Android 13 operating system, WiFi 6, Bluetooth 5.0, 1080P Full HD resolution with 4K support, 320 ANSI lumens brightness, 270-degree rotation, auto keystone correction, and autofocus. This manual provides essential information for setting up, operating, and maintaining your projector.
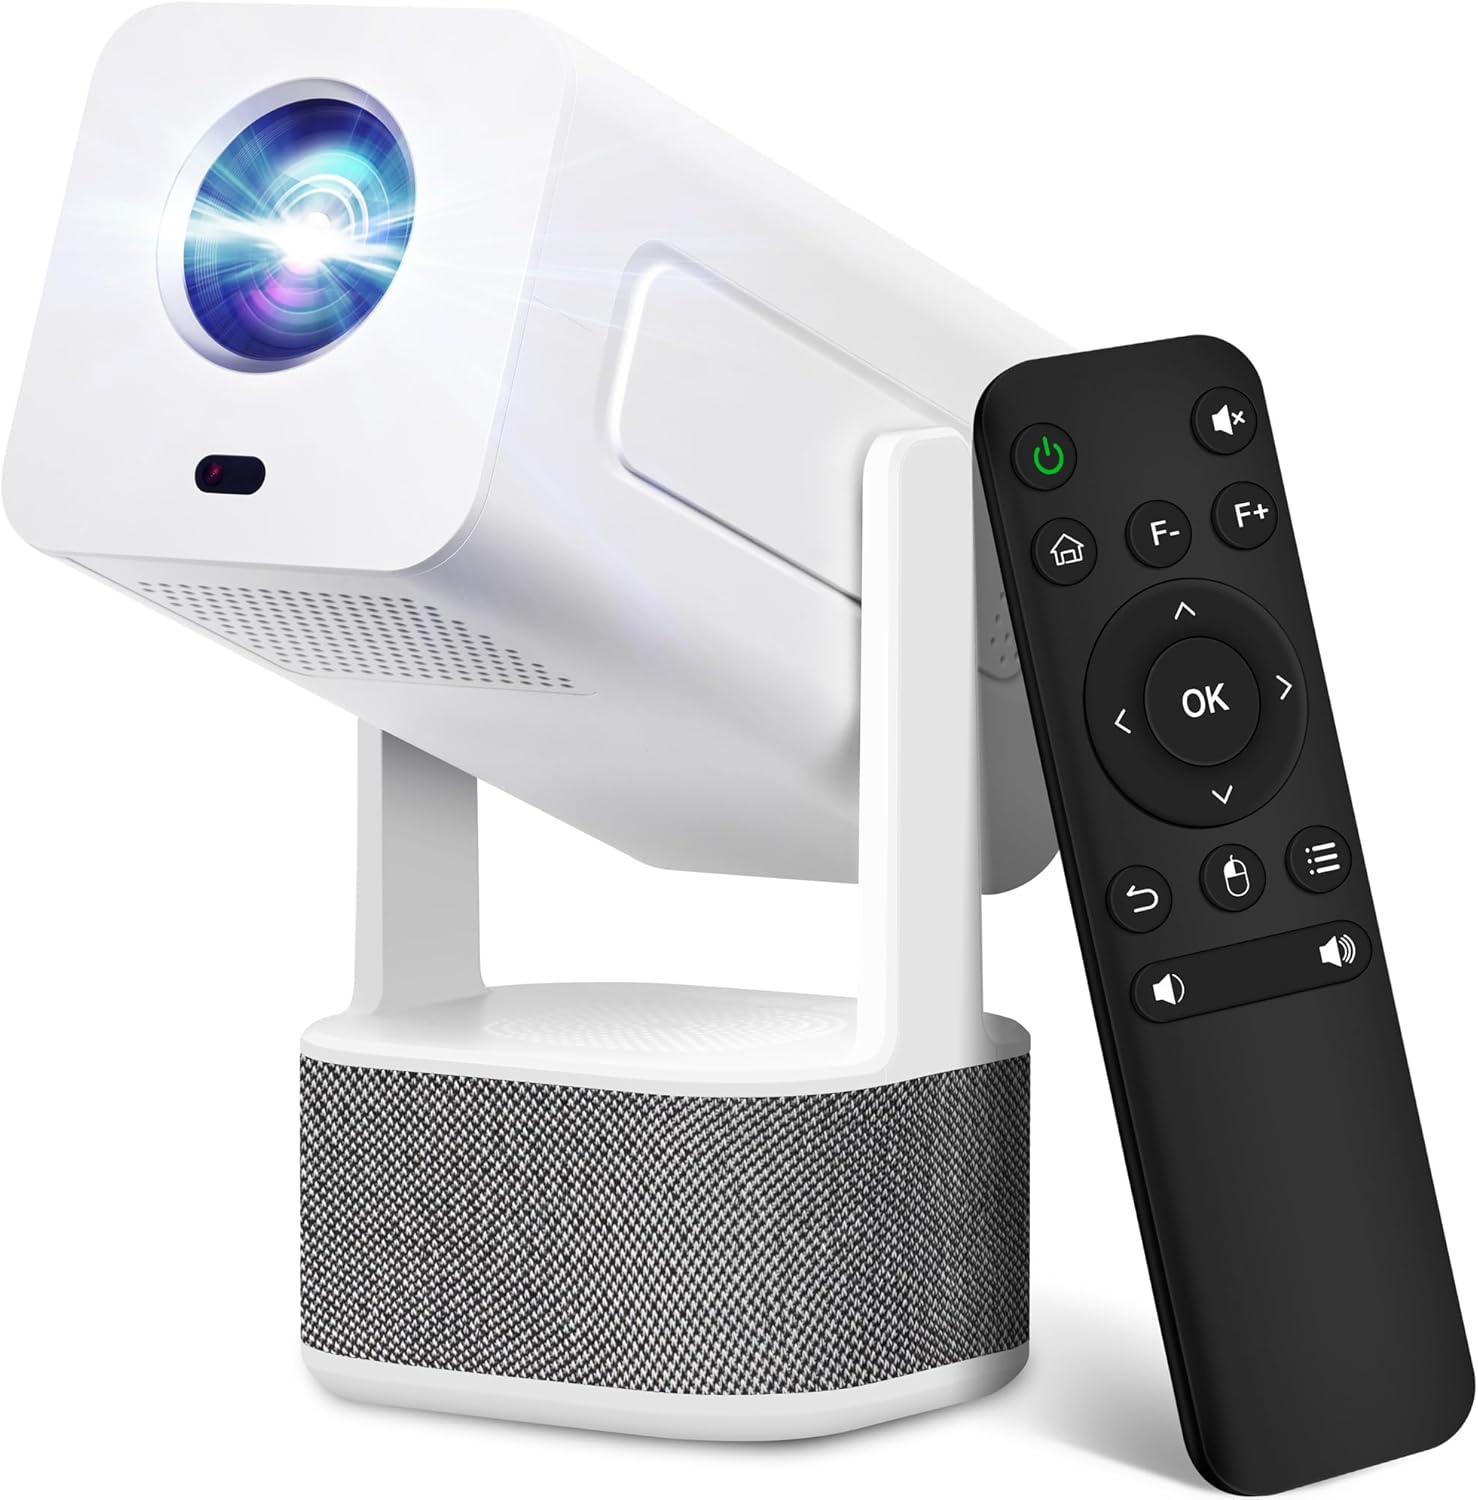
Image 1.1: ILEBYGO Mini Projector and Remote Control
The ILEBYGO Mini Projector B0F83Q1HHT offers a projection size ranging from 30 to 200 inches, making it suitable for various environments from small rooms to outdoor settings. Its dual 5W speakers deliver integrated audio, and multiple connectivity options ensure compatibility with a wide range of devices.
2. Contenu de la boîte
Veuillez vérifier le contenu de votre colis. Si des articles sont manquants ou endommagés, veuillez contacter le service client.
- 1x ILEBYGO Mini Projector
- 1x Manuel d'utilisation
- 1x Adaptateur secteur
- 1x Télécommande
3. Guide de configuration
3.1. Mise sous tension
- Branchez l'adaptateur secteur au port d'entrée CC du projecteur.
- Branchez l’adaptateur secteur sur une prise murale.
- Appuyez sur le bouton d'alimentation du projecteur ou de la télécommande pour allumer l'appareil.

Image 3.1: Projector Connectivity Ports (DC, HDMI, USB, Audio)
3.2. Mise en place et réglage initiaux
The projector features a 270-degree rotatable design, allowing flexible placement.
- Placez le projecteur sur une surface stable.
- Adjust the projector's angle to direct the image onto your desired projection surface (wall, screen, ceiling).
- The projector will automatically perform keystone correction and autofocus to optimize the image clarity and shape.
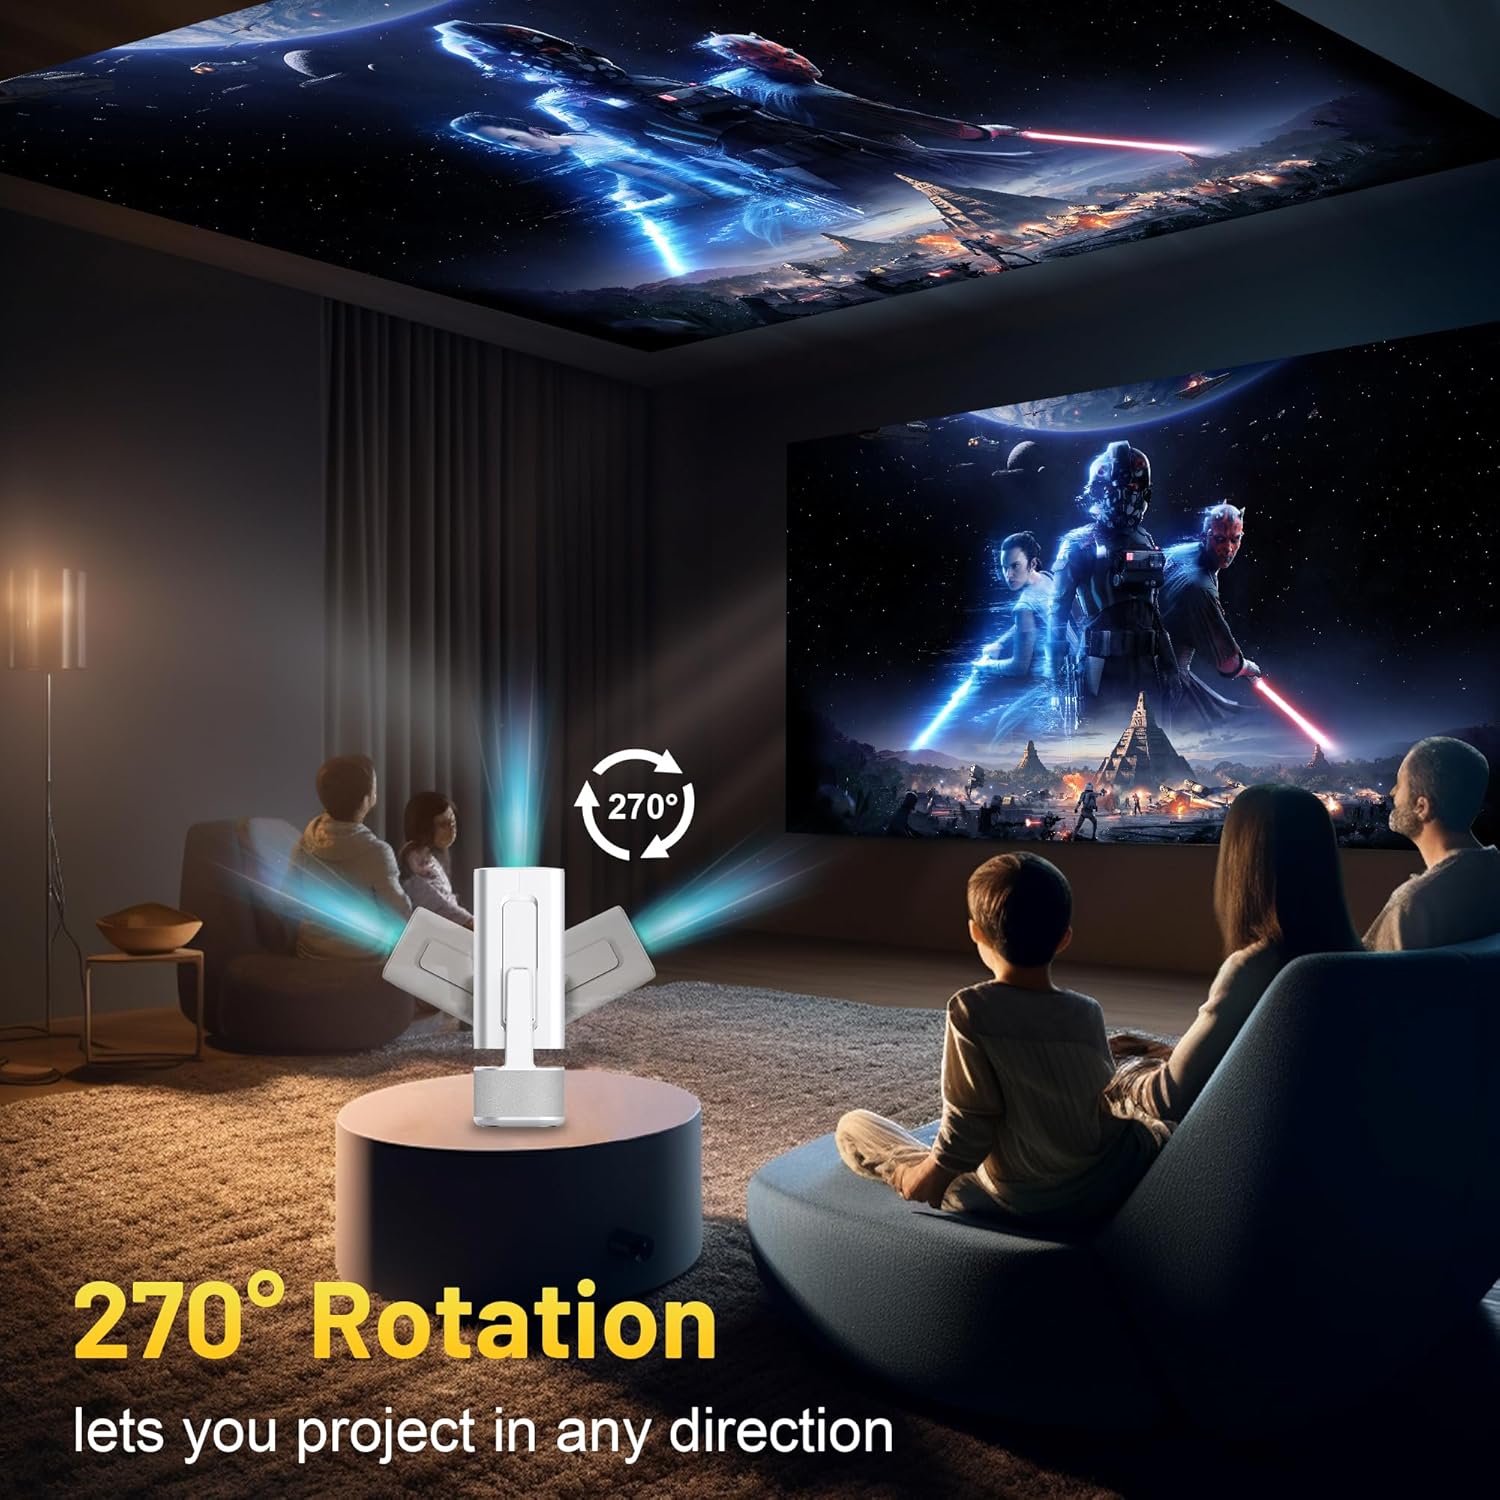
Image 3.2: 270-Degree Rotation Capability
3.3. Connexion réseau (WiFi)
Pour accéder aux contenus en ligne et aux services de streaming, connectez le projecteur à un réseau Wi-Fi.
- Depuis l'écran d'accueil, accédez à « Paramètres ».
- Sélectionnez « Réseau et Internet ».
- Activez le Wi-Fi et sélectionnez le réseau souhaité dans la liste.
- Saisissez le mot de passe Wi-Fi si le système vous y invite et connectez-vous.

Image 3.3: Dual Band WiFi 6 and Bluetooth 5.0
3.4. Couplage Bluetooth
Pair Bluetooth devices like external speakers or headphones for enhanced audio.
- Depuis l'écran d'accueil, accédez à « Paramètres ».
- Sélectionnez « Appareils connectés » ou « Bluetooth ».
- Activer le Bluetooth.
- Mettez votre appareil Bluetooth en mode d'appairage.
- Sélectionnez votre appareil dans la liste des appareils disponibles sur l'écran du projecteur pour l'appairer.
4. Mode d'emploi
4.1. Navigation
Use the included remote control to navigate the projector's interface. The directional buttons, 'OK' button, 'Back' button, and 'Home' button are primary controls.
4.2. App Usage (Android 13)
The projector runs on Android 13 and comes with pre-installed streaming applications.
- From the home screen, select the desired application (e.g., Netflix, YouTube, Prime Video).
- Connectez-vous avec vos identifiants de compte si nécessaire.
- Browse and play content as you would on any Android smart device.
- Additional apps can be downloaded from the Google Play Store.

Image 4.1: Built-in Android 13 System with Apps
4.3. Screen Mirroring/Casting
Diffusez sans fil le contenu de votre smartphone, tablette ou ordinateur.
- Assurez-vous que le projecteur et votre appareil sont connectés au même réseau Wi-Fi.
- On the projector, select the screen mirroring/casting application (e.g., Miracast, AirPlay).
- On your mobile device, enable screen mirroring or casting and select the projector from the list of available devices.
4.4. External Device Connection (HDMI, USB)
Connect external devices such as laptops, gaming consoles, or USB drives.
- HDMI: Connect an HDMI cable from your device to the HDMI port on the projector. Select the HDMI input source from the projector's input menu.
- USB: Insert a USB drive into the USB port. The projector's file manager will typically open automatically, allowing you to browse and play media files.

Image 4.2: Multi-Device Compatibility
4.5. Réglage de l'image
The projector features automatic adjustments for convenience.
- Correction trapézoïdale automatique : The projector automatically corrects vertical image distortion. If manual adjustment is needed, navigate to 'Settings' > 'Projection Settings' > 'Keystone Correction'.
- Autofocus: The image will automatically focus when the projector is moved or powered on. Manual focus adjustment can be found in 'Settings' > 'Projection Settings' > 'Focus'.
- Zoom: Adjust the projection size from 50% to 100% without moving the projector. This setting is typically found in 'Settings' > 'Projection Settings' > 'Zoom'.

Image 4.3: Auto Keystone Correction and Autofocus
5. Entretien
5.1. Nettoyage
- Lentille: Utilisez un chiffon doux non pelucheux spécialement conçu pour les lentilles optiques. Évitez les matériaux abrasifs et les produits chimiques agressifs.
- Extérieur: Essuyez l'extérieur du projecteur avec un chiffon doux et sec. N'utilisez pas de nettoyants liquides directement sur l'appareil.
- Ventilation: Veillez à ce que les ouvertures de ventilation soient dégagées de poussière et d'obstructions afin d'éviter toute surchauffe.
5.2. Stockage
Lorsqu'il n'est pas utilisé, rangez le projecteur dans un endroit frais et sec, à l'abri de la lumière directe du soleil et des températures extrêmes. Utilisez l'emballage d'origine ou un étui de protection pour éviter l'accumulation de poussière et les dommages physiques.
6. Dépannage
Consultez le tableau ci-dessous pour connaître les problèmes courants et leurs solutions.
| Problème | Cause possible | Solution |
|---|---|---|
| Pas de courant | Câble d'alimentation non connecté ; dysfonctionnement de la prise électrique | Vérifiez que le câble d'alimentation est bien branché. Essayez une autre prise de courant. |
| Aucune image | Source d'entrée incorrecte ; appareil non connecté ; projecteur en mode veille | Select correct input source (HDMI, USB). Ensure external device is powered on and connected. Press power button to wake projector. |
| Image floue | Out of focus; Keystone not corrected | Allow autofocus to adjust. Manually adjust focus in settings if needed. Check keystone correction settings. |
| Pas de son | Volume too low; Muted; External audio device not connected/paired | Increase volume. Unmute projector. Ensure Bluetooth audio device is paired and connected, or external speakers are properly connected via audio jack. |
| Problèmes de connexion Wi-Fi | Incorrect password; Network interference; Router issues | Vérifiez le mot de passe Wi-Fi. Rapprochez le projecteur du routeur. Redémarrez le routeur. |
| Échec du jumelage Bluetooth | Device not in pairing mode; Interference; Device too far | Ensure Bluetooth device is in pairing mode. Keep devices close. Turn off other Bluetooth devices to reduce interference. |
7. Spécifications
| Fonctionnalité | Détail |
|---|---|
| Marque | ILEBYGO |
| Modèle | B0F83Q1HHT |
| Résolution d'affichage | 1920 x 1080 (Full HD), 4K Support |
| Luminosité | 320 ANSI Lumens |
| Technologie de connectivité | Bluetooth 5.0, HDMI, USB, Wi-Fi 6 (2.4G+5G) |
| Système opérateur | Android 13 |
| Caractéristiques spéciales | Auto Keystone Correction, Autofocus, 270° Rotation, Built-in Dual 5W Speakers |
| Taille de la projection | 30''-200'' |
| Rapport hauteur/largeur | 16:9 / 4:3 |
| Poids de l'article | 2.72 livres |
| Dimensions du colis | 13.54 x 5.39 x 5.2 pouces |
8. Garantie et assistance
The ILEBYGO Mini Projector B0F83Q1HHT comes with a standard manufacturer's warranty. Please refer to the warranty card included in your package for specific terms and conditions.
For technical support, troubleshooting assistance, or warranty claims, please contact ILEBYGO customer service through the retailer's platform or the contact information provided in your product documentation.


