1. Introduction et présentation du produitview
This manual provides essential information for the proper installation, operation, and maintenance of your Walker CalCat CARB 84719 Universal Catalytic Converter. This product is designed, tested, and validated to meet CARB standards, ensuring compliance for OBDII (1996 and newer) and non-OBD (1995 and older) vehicles.
The Walker CalCat converter features superior technology with an optimal high-technology washcoat for performance, consistent emissions compliance through a precise OE-style coating process, and a durable stainless-steel body with aluminized pipe and heat shields. Its flexible design includes expandable bushings for adaptable fitment.
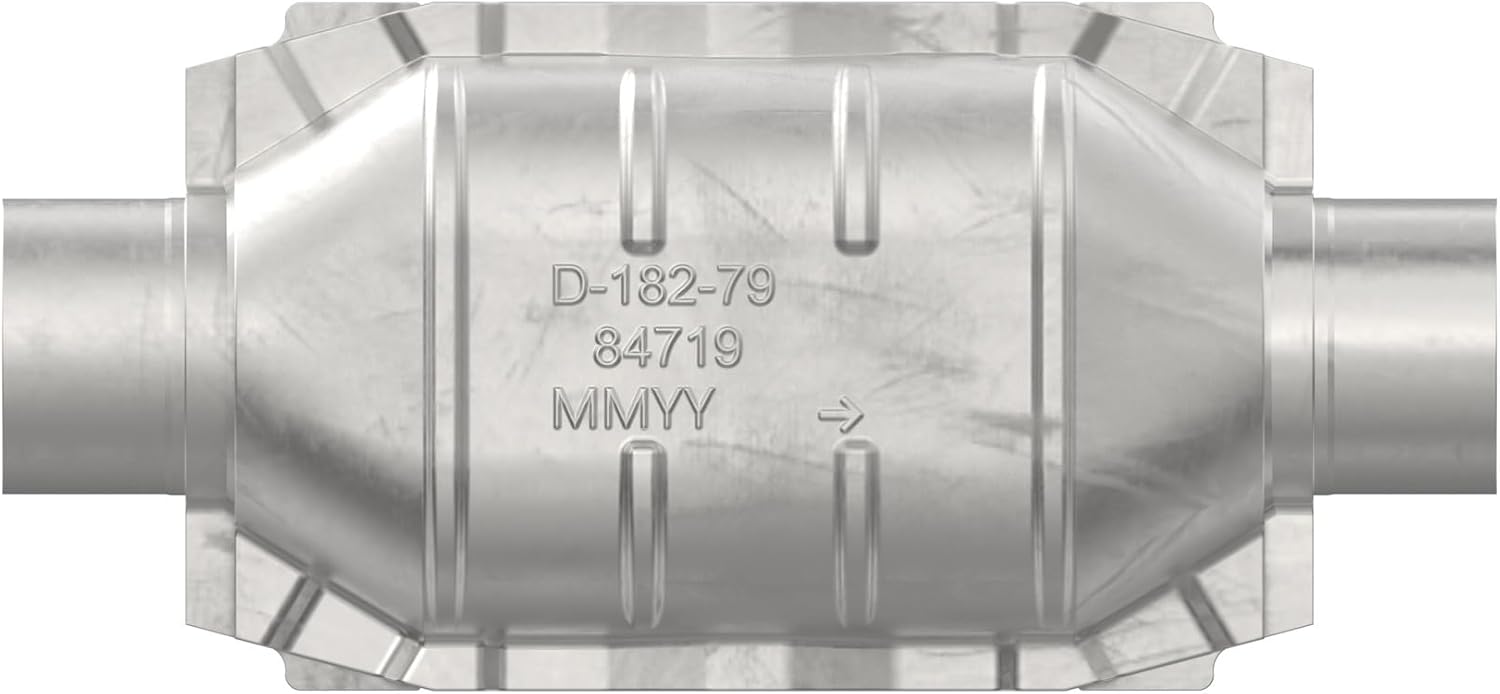
Image 1.1: The Walker CalCat CARB 84719 Universal Catalytic Converter, showing its robust construction and identification markings.

Image 1.2: Official CARB Compliant logo, indicating the converter meets California Air Resources Board standards for emissions.
2. Consignes de sécurité
Installation of automotive exhaust components can be hazardous. Always follow these safety precautions:
- Avant d'intervenir sous le véhicule, assurez-vous qu'il soit bien calé sur des chandelles ou un pont élévateur. Ne vous fiez jamais uniquement au cric.
- Laissez le système d'échappement refroidir complètement avant de commencer les travaux afin d'éviter les brûlures.
- Portez l'équipement de protection individuelle (EPI) approprié, notamment des lunettes de sécurité, des gants et une protection auditive.
- Work in a well-ventilated area to avoid inhaling exhaust fumes or welding fumes.
- Débranchez la batterie du véhicule avant d'effectuer toute intervention électrique.
- If welding is required, ensure proper fire safety measures are in place and use appropriate welding safety gear.
- Consultez un mécanicien professionnel si vous avez des doutes sur une étape quelconque du processus d'installation.
3. Contenu de la boîte
À l'ouverture de l'emballage, vérifiez que tous les composants sont présents et non endommagés :
- One (1) Walker CalCat CARB Universal Catalytic Converter (Model 84719)
Note: Additional hardware such as gaskets, bolts, or clamps may be required for installation and are typically sold separately.
4. Spécifications du produit
| Fonctionnalité | Spécification |
|---|---|
| Marque | Marcheur |
| Modèle | CalCat CARB |
| Numéro de modèle de l'article | 84719 |
| Fabricant | DRiV Incorporated |
| Poids de l'article | 5.48 livres |
| Dimensions du colis | 16.14 x 7.99 x 5.08 pouces |
| Finition extérieure | Usiné |
| Conformité | CARB Compliant (Legal for sale in CA, CO, NY & other states requiring CARB-compliant replacement converters) |
| Application | OBDII (1996 and newer) and non-OBD (1995 and older) vehicles |
5. Directives d'installation
The Walker CalCat CARB 84719 is a universal catalytic converter designed for adaptable fitment. Installation typically requires specialized fabrication and/or welding. Professional installation by a certified mechanic is highly recommended.
5.1. Étapes de pré-installation
- Préparation du véhicule : Garez le véhicule sur une surface plane et serrez le frein de stationnement. Laissez le système d'échappement refroidir complètement.
- Véhicule élévateur : Safely raise the vehicle using a hydraulic lift or sturdy jack stands.
- Inspecter le système existant : Examine the current exhaust system for any damage, leaks, or worn components that may need replacement.
- Mesurer et planifier : Carefully measure the space available and compare it to the dimensions of the new converter. Plan the cutting and welding points.

Image 5.1: A mechanic inspecting the vehicle's undercarriage, preparing for the installation of an exhaust component.
5.2. Removal of Old Converter (if applicable)
- Locate the existing catalytic converter.
- Remove any oxygen sensors connected to the converter.
- Carefully cut or unbolt the old converter from the exhaust pipes. Be prepared for potential rust and seized fasteners.
5.3. New Converter Installation
- Positionnement : Position the new Walker CalCat converter in the desired location. The universal design with expandable bushings allows for flexibility.
- Cutting and Fitting: Cut the existing exhaust pipes to match the length and angle required for the new converter. Ensure a snug fit.
- Welding/Clampment: Securely weld or clamp the converter into place. If welding, ensure strong, leak-free seams.
- Sensor Reinstallation: Reinstall any oxygen sensors into the new converter or adjacent exhaust pipes as per vehicle specifications.
- Vérification des fuites : After installation, start the engine and check for any exhaust leaks. Address any leaks immediately.

Image 5.2: A mechanic carefully positioning and installing a new exhaust component, demonstrating the hands-on nature of the process.

Image 5.3: A close-up of welding work on an exhaust component, highlighting the customizable fit aspect of the converter.

Image 5.4 : Détail view of exhaust flanges, which are critical for secure and leak-free connections in the exhaust system.
6. Fonctionnement et fonction
A catalytic converter is an emissions control device that converts toxic pollutants in exhaust gas from an internal combustion engine into less toxic pollutants by catalyzing redox reactions. The Walker CalCat CARB 84719 utilizes a precise OE-style coating process to apply catalyst material to the substrate, ensuring consistent performance for assured emissions compliance.
This converter is designed to operate immediately upon installation, with no break-in period required. Its application-specific converter shell design and mat compression contribute to its readiness for operation.

Image 6.1: The catalytic converter shell, emphasizing that no break-in period is needed for immediate operation.
7. Entretien
Catalytic converters are generally maintenance-free components. However, their longevity and efficiency are directly tied to the overall health of your vehicle's engine and exhaust system.
- Entretien régulier du moteur : Ensure your engine is properly tuned, and perform regular oil changes and spark plug replacements. A poorly running engine can send unburnt fuel to the converter, causing it to overheat and fail prematurely.
- Vérifiez les fuites : Periodically inspect the exhaust system for any leaks, especially around the converter and its connections. Leaks can affect sensor readings and converter efficiency.
- Address Warning Lights: If the "Check Engine" light illuminates, have the vehicle diagnosed promptly. Issues indicated by this light, such as misfires or rich fuel mixtures, can damage the catalytic converter.
- Éviter les contaminants : Prevent engine coolants, oil, or other fluids from entering the exhaust system, as these can contaminate the catalyst material.
8. Dépannage
If you experience issues after installing your catalytic converter, consider the following common problems and solutions:
- Voyant « Check Engine » allumé :
- Cause: Often related to oxygen sensor readings or catalytic converter efficiency below threshold.
- Solution: Have the vehicle scanned for diagnostic trouble codes (DTCs). Ensure oxygen sensors are correctly installed and functioning. Verify there are no exhaust leaks.
- Rattling Noise from Exhaust:
- Cause: May indicate a loose heat shield or a broken internal substrate within the converter.
- Solution: Inspect heat shields for loose fasteners. If the noise is internal, the converter may be damaged and require replacement.
- Reduced Engine Performance or Power:
- Cause: A clogged or restricted catalytic converter can impede exhaust flow.
- Solution: This typically requires professional diagnosis to confirm a clogged converter. If confirmed, replacement is necessary.
- Strong Exhaust Odor:
- Cause: An inefficient converter or an exhaust leak.
- Solution: Check for exhaust leaks. If no leaks are found, the converter may not be functioning optimally and might need inspection or replacement.
Pour les problèmes persistants, consultez un technicien automobile qualifié.
9. Garantie et assistance
Walker products are manufactured to high standards and are backed by a manufacturer's warranty. For specific warranty details, including coverage period and terms, please refer to the documentation provided with your purchase or visit the official Walker website.
For technical support, installation assistance, or warranty claims, please contact Walker customer service:
- Website: www.walkerexhaust.com
- Service client: Veuillez vous référer à la section contact du site officiel. website pour obtenir des numéros de téléphone ou une assistance par courriel.
Veuillez avoir à portée de main le numéro de modèle de votre produit (84719) et les informations d'achat lorsque vous contactez l'assistance.


