1. Introduction
This manual provides instructions for the safe and effective use of the Streamlight TLR RM 1 HL-X Rail-Mounted Rechargeable Tactical Flashlight. This device is designed for secure attachment to a broad range of weapons and offers powerful illumination for tactical applications. Please read this manual thoroughly before operation.
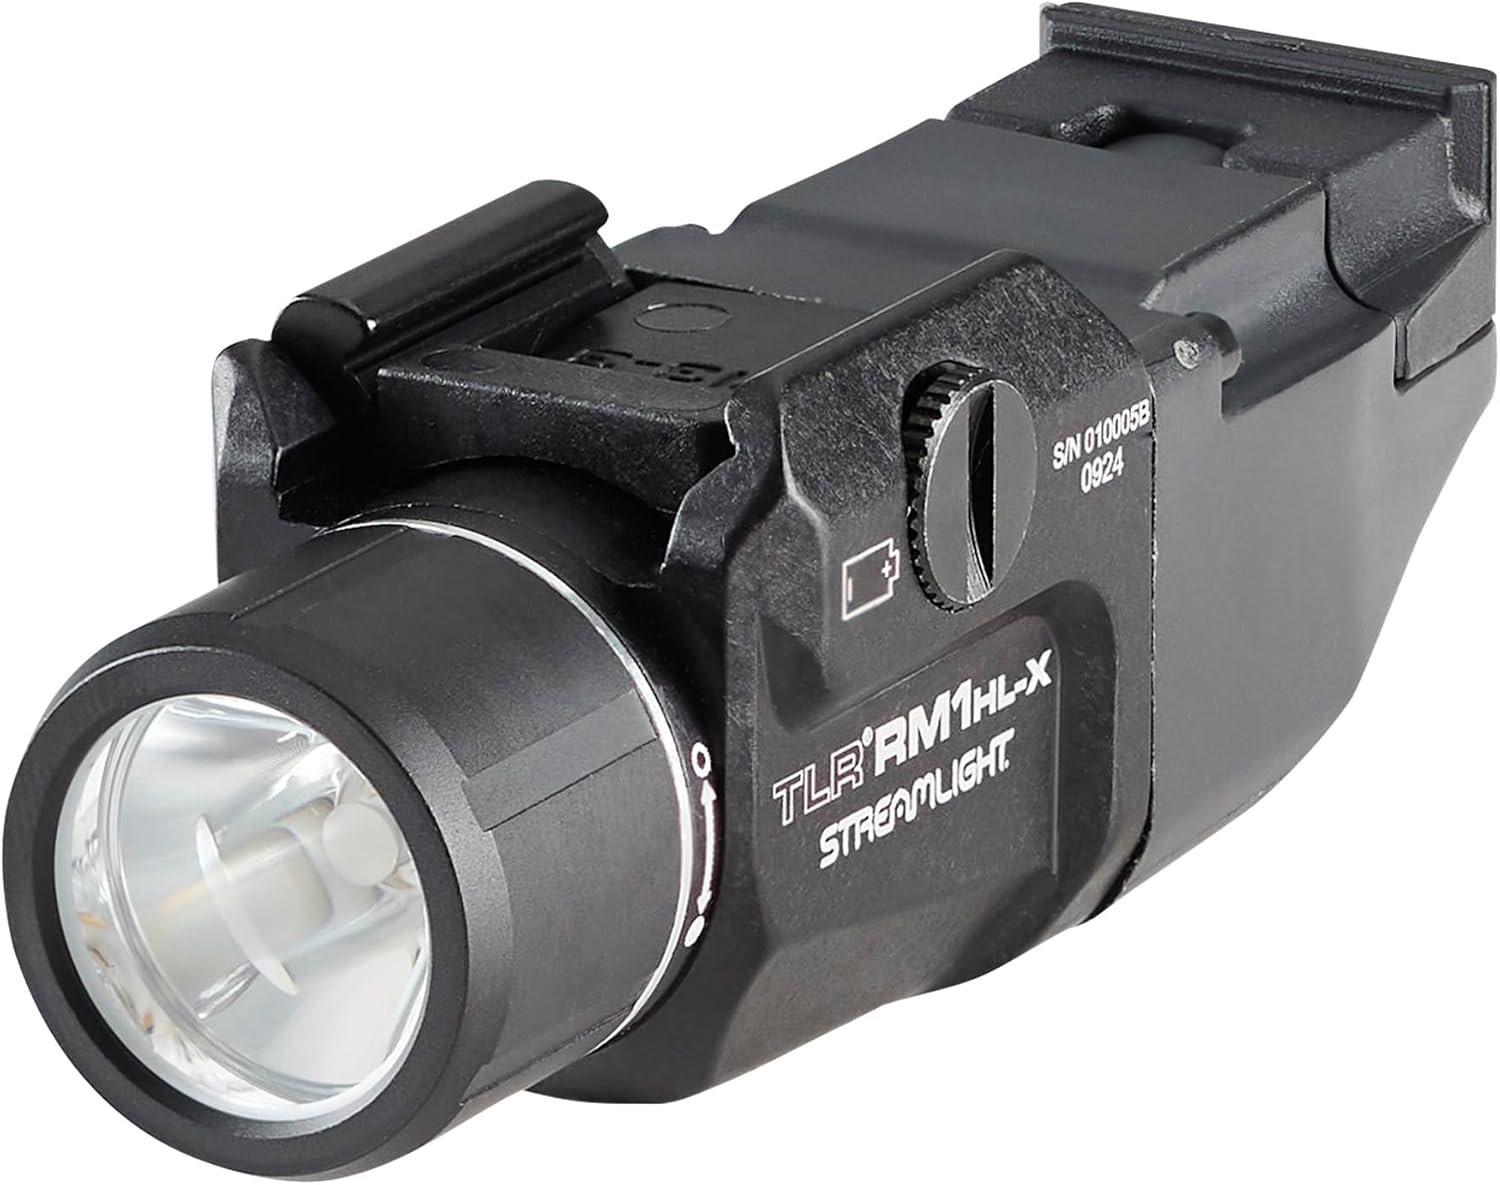
Figure 1 : Face avant view of the Streamlight TLR RM 1 HL-X Tactical Flashlight.
2. Consignes de sécurité
Respectez toujours les consignes de sécurité suivantes afin d'éviter les blessures ou d'endommager l'appareil :
- Do not look directly into the light beam. High intensity light can cause temporary vision impairment or eye damage.
- Ensure the flashlight is securely mounted before use.
- Tenir hors de portée des enfants.
- Use only the specified rechargeable battery pack (SL-B9).
- Do not attempt to disassemble or modify the flashlight. This will void the warranty and may cause damage or injury.
- Fonctionner dans les plages de température spécifiées.
- Jetez les piles conformément aux réglementations locales.
3. Installation
3.1 Installation de la batterie
The TLR RM 1 HL-X is powered by one Streamlight SL-B9 rechargeable battery pack.
- Dévissez le capuchon arrière de la lampe de poche.
- Insert the SL-B9 battery with the positive (+) end facing towards the head of the flashlight.
- Screw the tail cap back on securely until hand-tight.
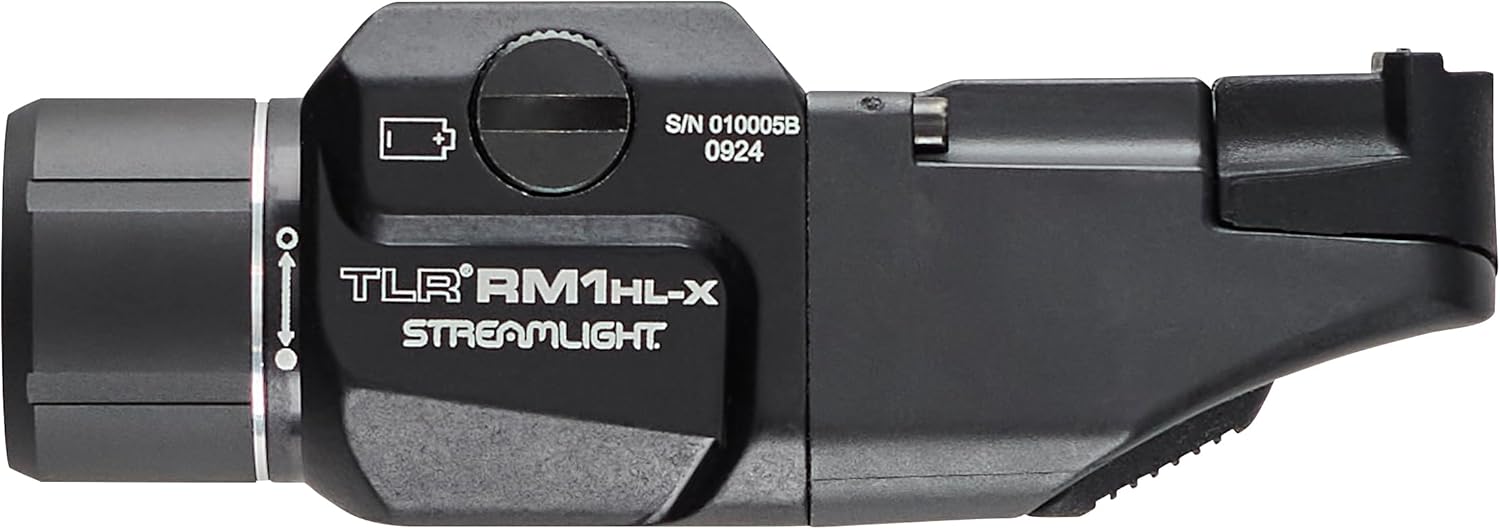
Figure 2 : Côté view of the flashlight, indicating the battery compartment area.
3.2 Montage sur rail
The TLR RM 1 HL-X is designed for rail-mounted applications and comes with a key kit for compatibility with various weapon rails.
- Select the appropriate key from the provided kit that matches your weapon's rail system.
- Insert the key into the flashlight's mounting slot.
- Align the flashlight's rail clamp with the weapon's rail.
- Tighten the mounting screw until the flashlight is firmly secured to the rail. Ensure there is no wobble.
- Verify compatibility and fitment with your specific weapon before permanent attachment or use.

Figure 3 : Retour view of the flashlight, highlighting the rail clamp mécanisme.
4. Mode d'emploi
4.1 Sélection de la mise sous/hors tension et du mode
The TLR RM 1 HL-X features a high mode for maximum illumination.
- Momentané activé : Press and hold the activation switch. Release to turn off.
- Allumé en permanence : Press and release the activation switch quickly. Press and release again to turn off.
- Mode élevé : This model operates primarily in a high output mode, providing 1000 lumens of bright light.

Figure 4 : View of the flashlight from another angle, showing the activation switch.
In high mode, the flashlight delivers 1000 lumens, 22,000 candela, and has a beam distance of 297 meters. The run time on a fully charged battery is approximately 30 minutes.
5. Entretien
5.1 Nettoyage
Pour conserver des performances optimales, veillez à ce que la lentille et le corps de la lampe torche restent propres.
- Wipe the lens with a soft, clean cloth. For stubborn dirt, use a mild lens cleaning solution.
- Nettoyez le corps avec une annonceamp chiffon. Évitez les nettoyants abrasifs.
- Ensure O-rings are free of debris and lightly lubricated to maintain water resistance.
5.2 Chargement de la batterie
The included SL-B9 rechargeable battery pack should be charged regularly to ensure readiness. Refer to the SL-B9 battery charging instructions for detailed procedures.
- Always use the charger specified by Streamlight for the SL-B9 battery.
- Ne surchargez pas la batterie.
- Chargez dans un endroit bien aéré.
5.3 Résistance à l'eau
The TLR RM 1 HL-X is rated IPX7, meaning it is waterproof to 1 meter for 30 minutes. Ensure all seals and the tail cap are properly secured before exposing the flashlight to water.
6. Dépannage
| Problème | Cause possible | Solution |
|---|---|---|
| La lumière ne s'allume pas. | La batterie est morte ou mal installée. | Charge or replace battery. Ensure battery is inserted with correct polarity. |
| La lumière est faible. | Batterie faible. | Recharge the SL-B9 battery pack. |
| La lumière clignote. | Capuchon arrière desserré ou contacts sales. | Tighten tail cap. Clean battery and flashlight contacts with a clean cloth. |
| Flashlight is loose on rail. | Mounting screw is not tight enough or incorrect key used. | Tighten mounting screw. Ensure the correct key from the kit is used for your rail type. |
7. Spécifications
| Fonctionnalité | Détail |
|---|---|
| Modèle | TLR RM 1 HL-X (Part No. 69484) |
| Flux lumineux (élevé) | 1000 lumens |
| Candela (High) | 22,000 XNUMX Candela |
| Distance du faisceau (élevée) | 297 mètres |
| Durée d'exécution (élevée) | 30 minutes |
| Source d'énergie | 1 x SL-B9 Rechargeable Battery Pack (included) |
| Résistance à l'eau | IPX7 (Waterproof to 1m for 30 minutes) |
| Matériel | Aluminium |
| Couleur | Noir |
| Caractéristiques spéciales | Adjustable Light Modes, Durable, High Lumens, Mountable, Rechargeable |
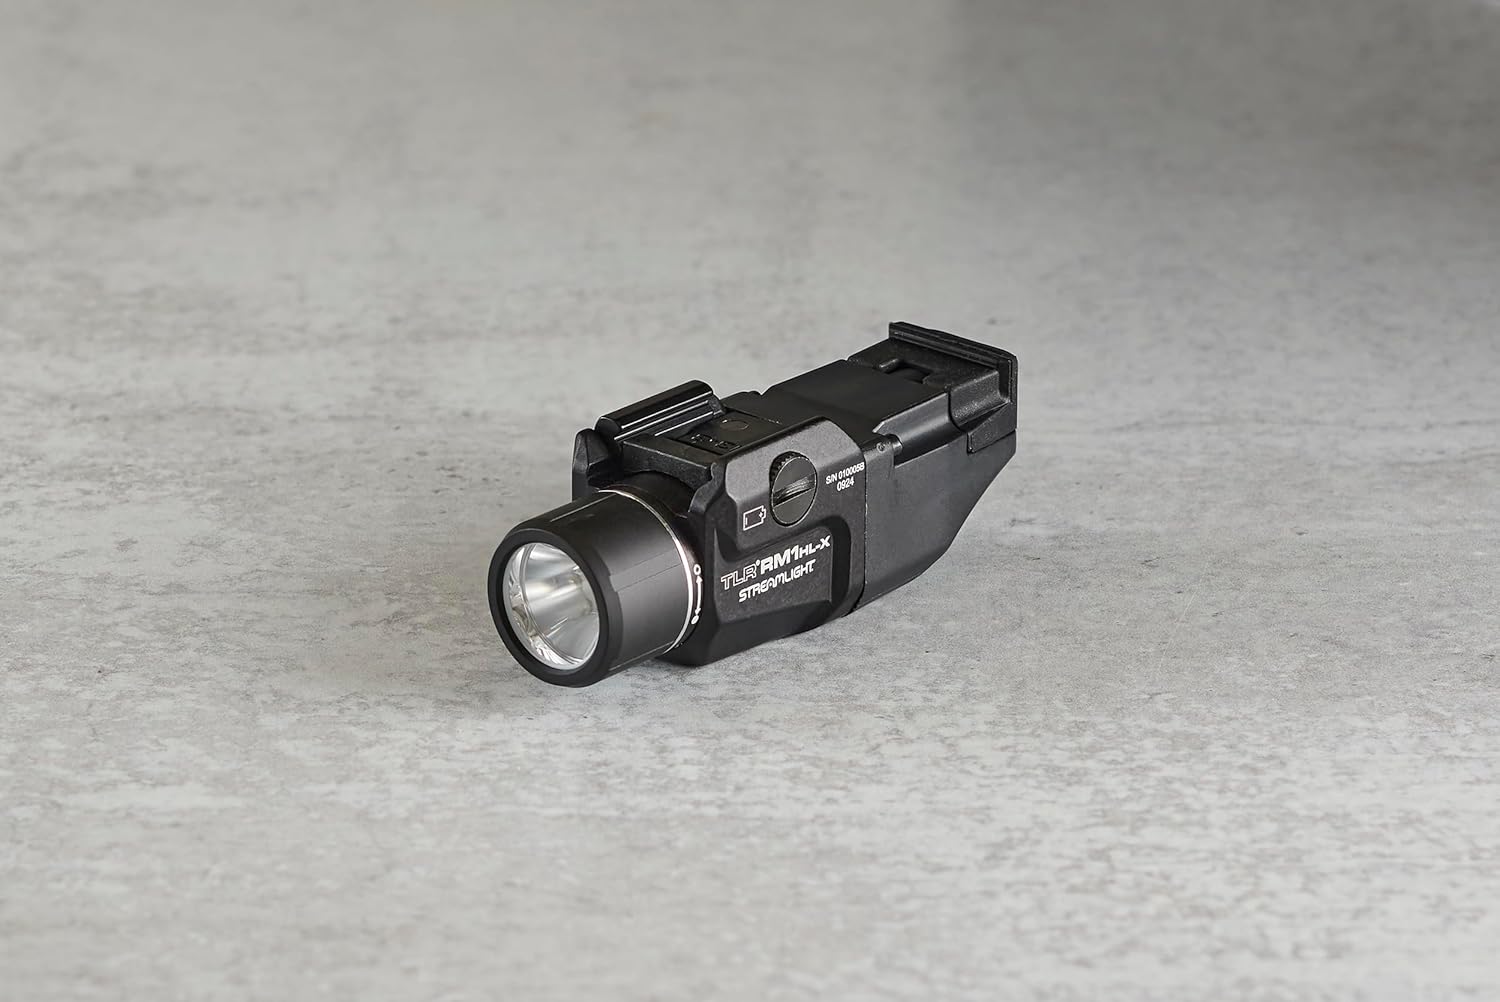
Figure 5: The Streamlight TLR RM 1 HL-X Tactical Flashlight.
8. Garantie et assistance
Streamlight products are known for their quality and durability. For detailed warranty information, please refer to the official Streamlight website ou la carte de garantie fournie avec votre produit.
For technical support, replacement parts, or service inquiries, please contact Streamlight Customer Service directly.
Streamlight Official Website: www.streamlight.com


