1. Introduction
This manual provides essential information for the proper setup, operation, and maintenance of your NexiGo NG17QH 4K Portable Monitor. Please read this manual thoroughly before using the device to ensure optimal performance and to prevent damage. Keep this manual for future reference.

Image: The NexiGo NG17QH 4K Portable Monitor, showcasing its sleek design and smart cover.
2. Contenu du colis
Verify that all items listed below are included in your package. If any items are missing or damaged, please contact NexiGo customer support.
- NexiGo NG17QH 4K Portable Monitor
- Smart Cover / Stand
- Câble USB-C vers USB-C
- Câble mini HDMI vers HDMI
- Câble d'alimentation USB-A vers USB-C
- Adaptateur secteur
3. Produit terminéview
Familiarize yourself with the ports and controls on your NexiGo NG17QH portable monitor.
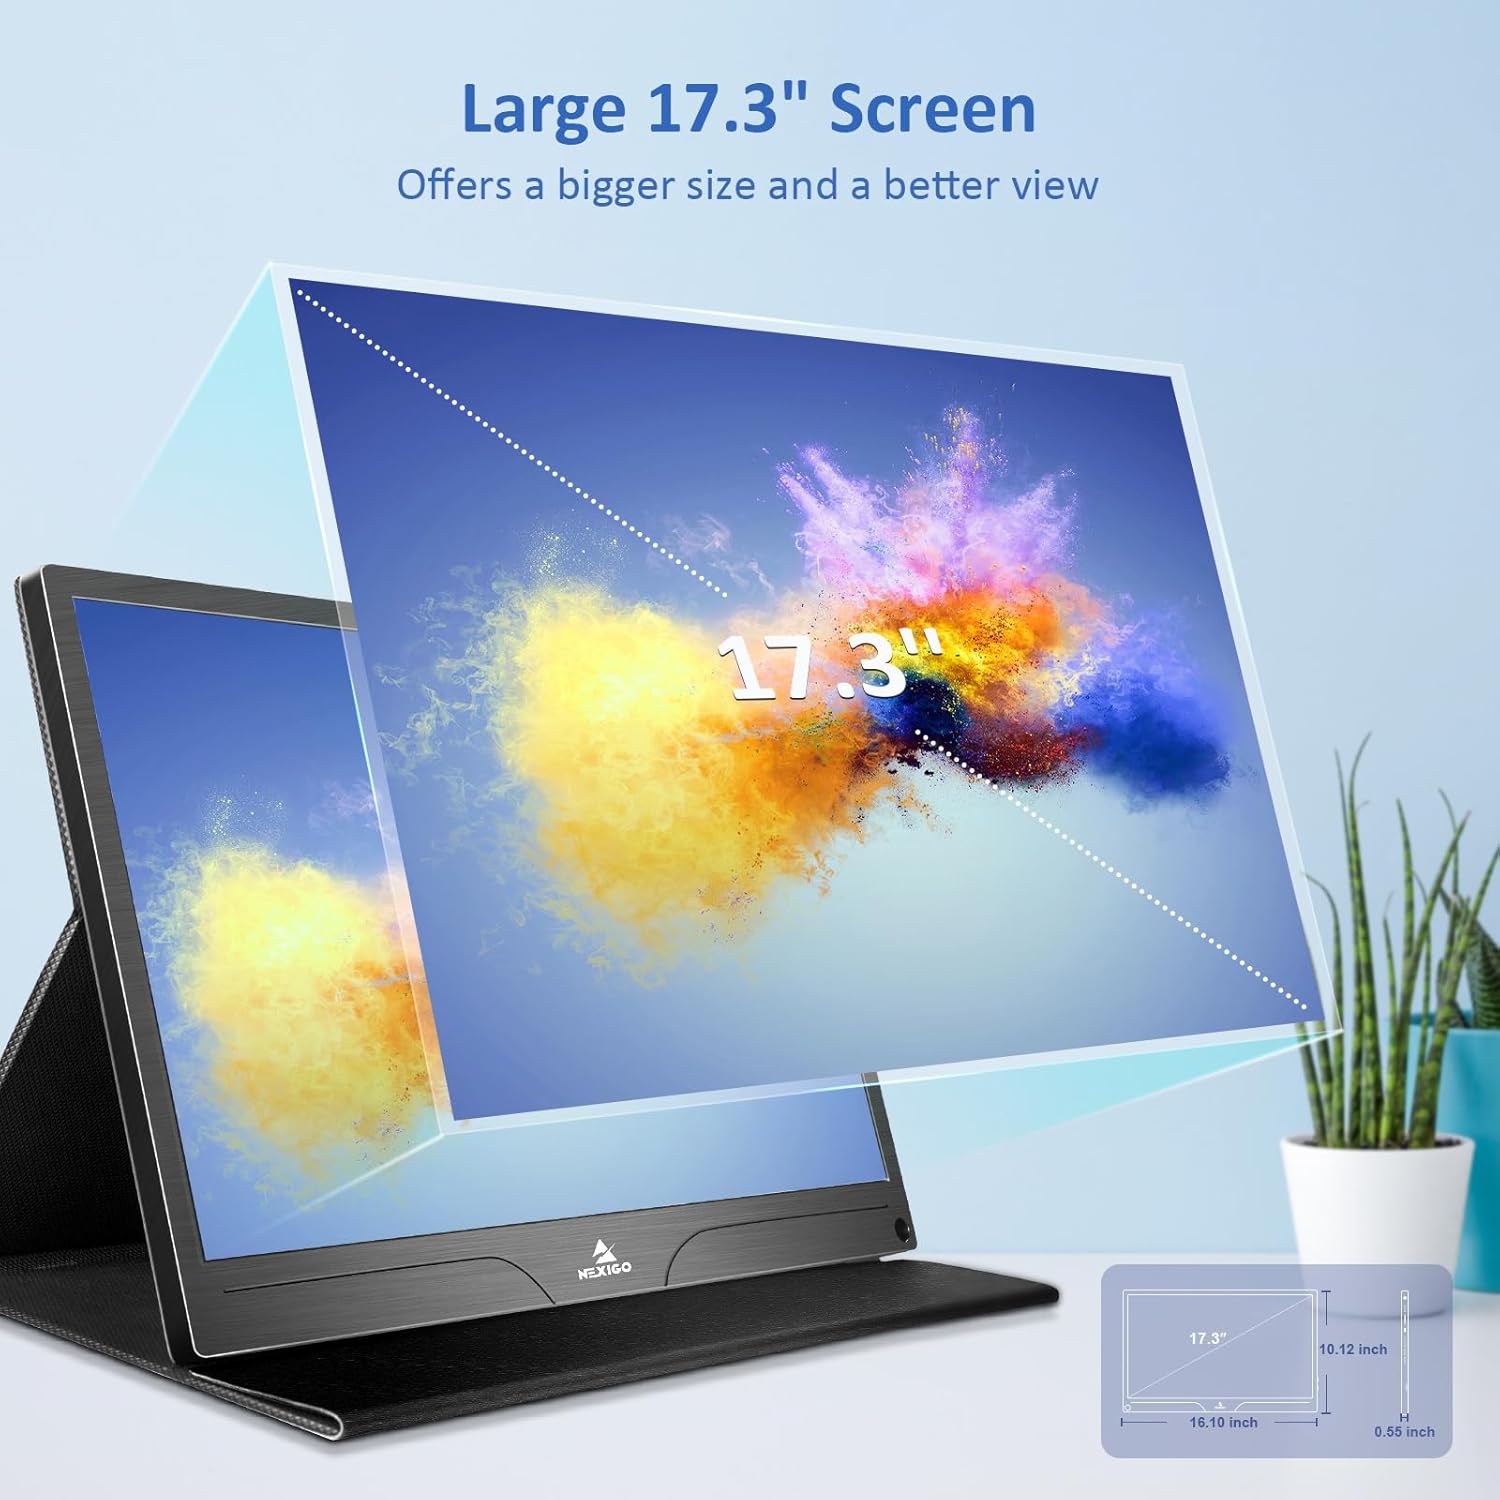
Image : détaillée view of the monitor's ports and controls.
Ports et boutons :
- Port USB-C complet : Used for power, video, and audio transmission with compatible devices.
- Port mini-HDMI : Used for video and audio transmission with HDMI-compatible devices.
- Bouton d'alimentation : Press and hold to power the monitor on or off. Short press to access the OSD menu.
- Témoin lumineux d'alimentation: Indicates the monitor's power status.
- Multi-Function Key: Used to navigate the OSD menu and adjust settings.
- OTG Interface (USB-C): Allows connection of USB peripherals like keyboards or mice when the monitor is connected via the full-featured USB-C port.
- Prise casque 3.5 mm: Pour connecter des périphériques audio externes.
4. Installation
Follow these steps to set up your NexiGo NG17QH portable monitor.
4.1 Alimentation du moniteur
- Using a single USB-C cable (Full-Featured): If your device (laptop, smartphone) supports full-featured USB-C output, connect the monitor to your device using the provided USB-C to USB-C cable. This single cable can provide both power and display signal.
- Using an external power adapter: If your device does not provide sufficient power or if you are using the Mini HDMI port, connect the provided USB-A to USB-C power cable to the monitor's full-featured USB-C port and plug the USB-A end into the power adapter, then into a wall outlet.
4.2 Connexion aux appareils
- Laptop/PC (USB-C): Connect the monitor to your laptop/PC using the USB-C to USB-C cable. Ensure your laptop's USB-C port supports DisplayPort Alternate Mode.
- Ordinateur portable/PC (HDMI) : Connect the monitor to your laptop/PC using the Mini HDMI to HDMI cable. Ensure the monitor is powered externally via the USB-C power cable.
- Consoles de jeux (PS5, Xbox, Switch) : Connect the monitor to your console using the Mini HDMI to HDMI cable. Ensure the monitor is powered externally via the USB-C power cable.
- Téléphone intelligent: Connect the monitor to your smartphone using the USB-C to USB-C cable. Ensure your smartphone's USB-C port supports video output.
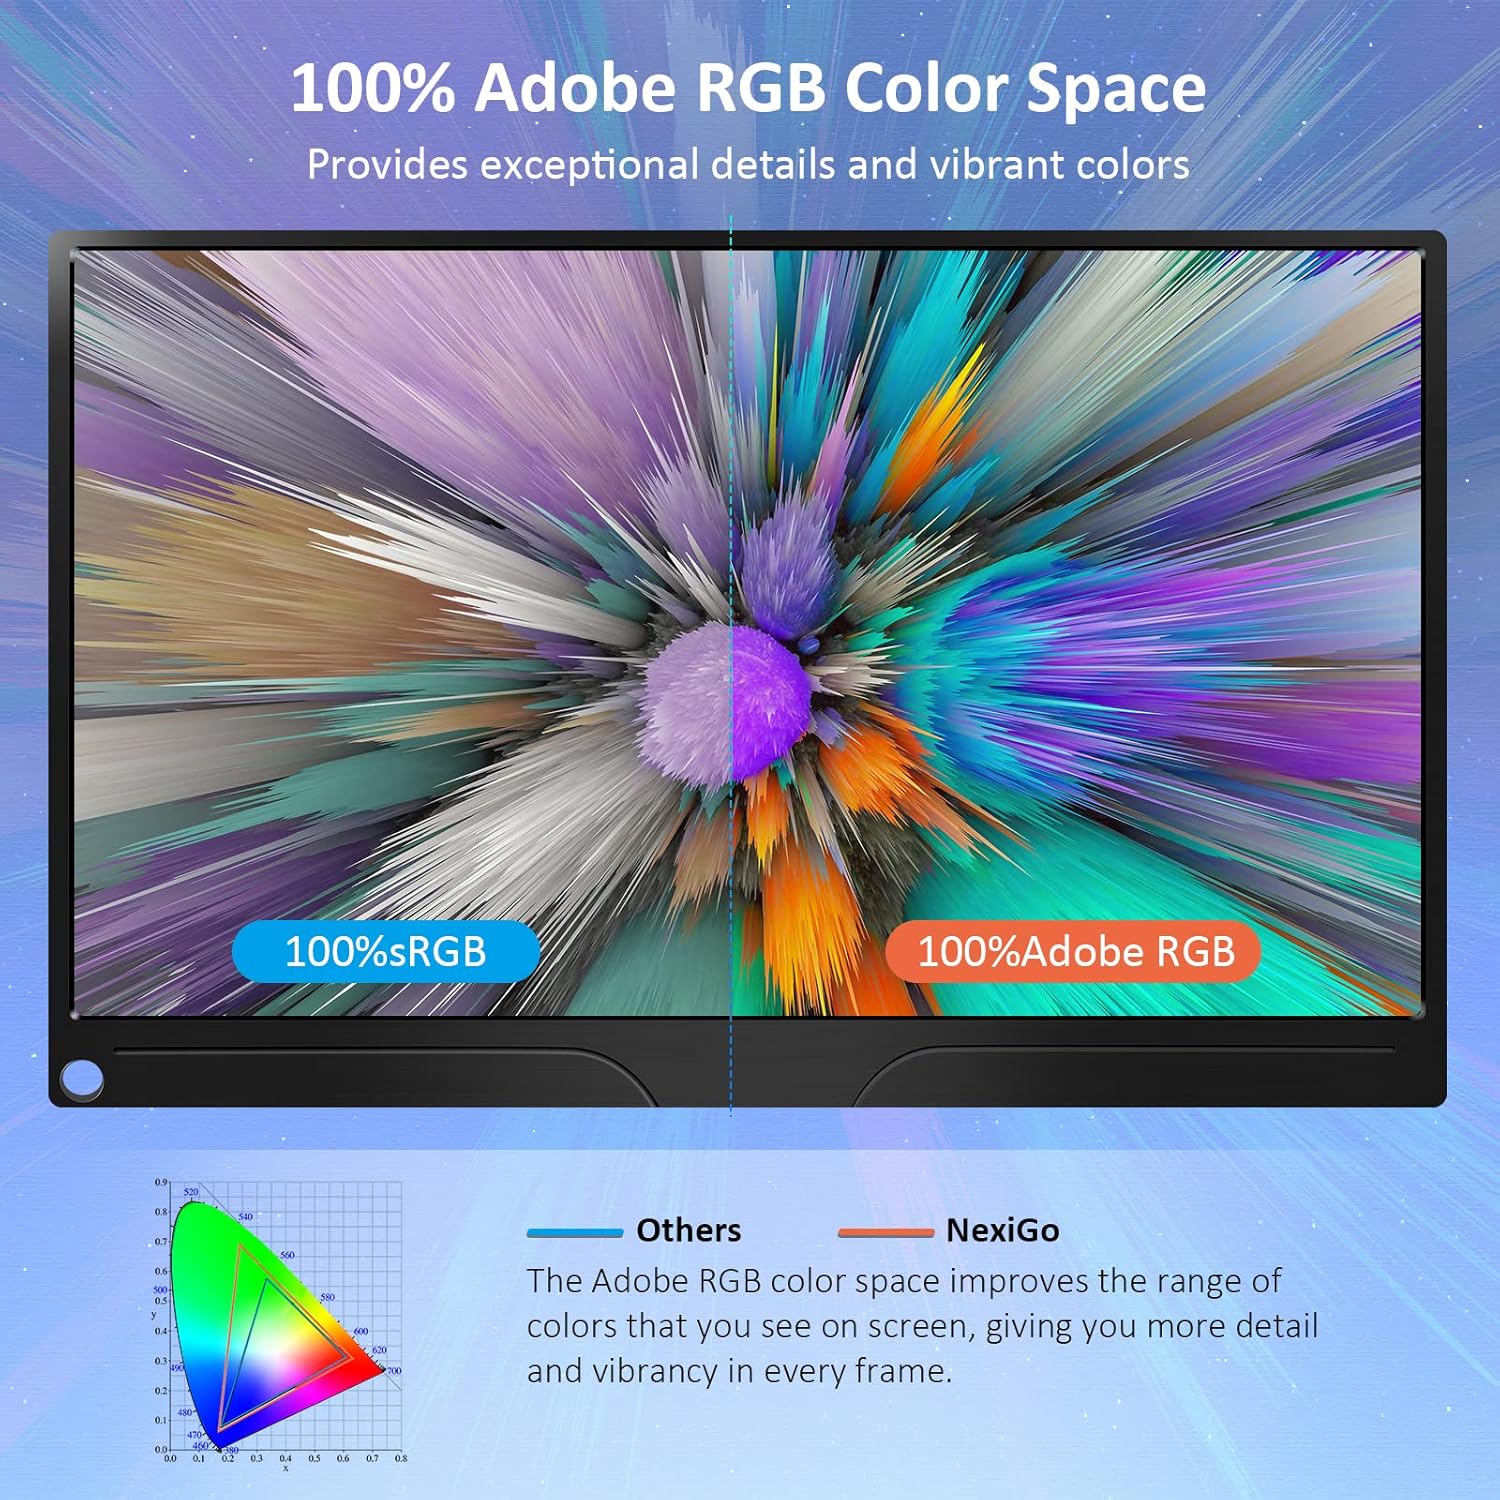
Image: The portable monitor connected to a laptop, demonstrating an extended display setup.
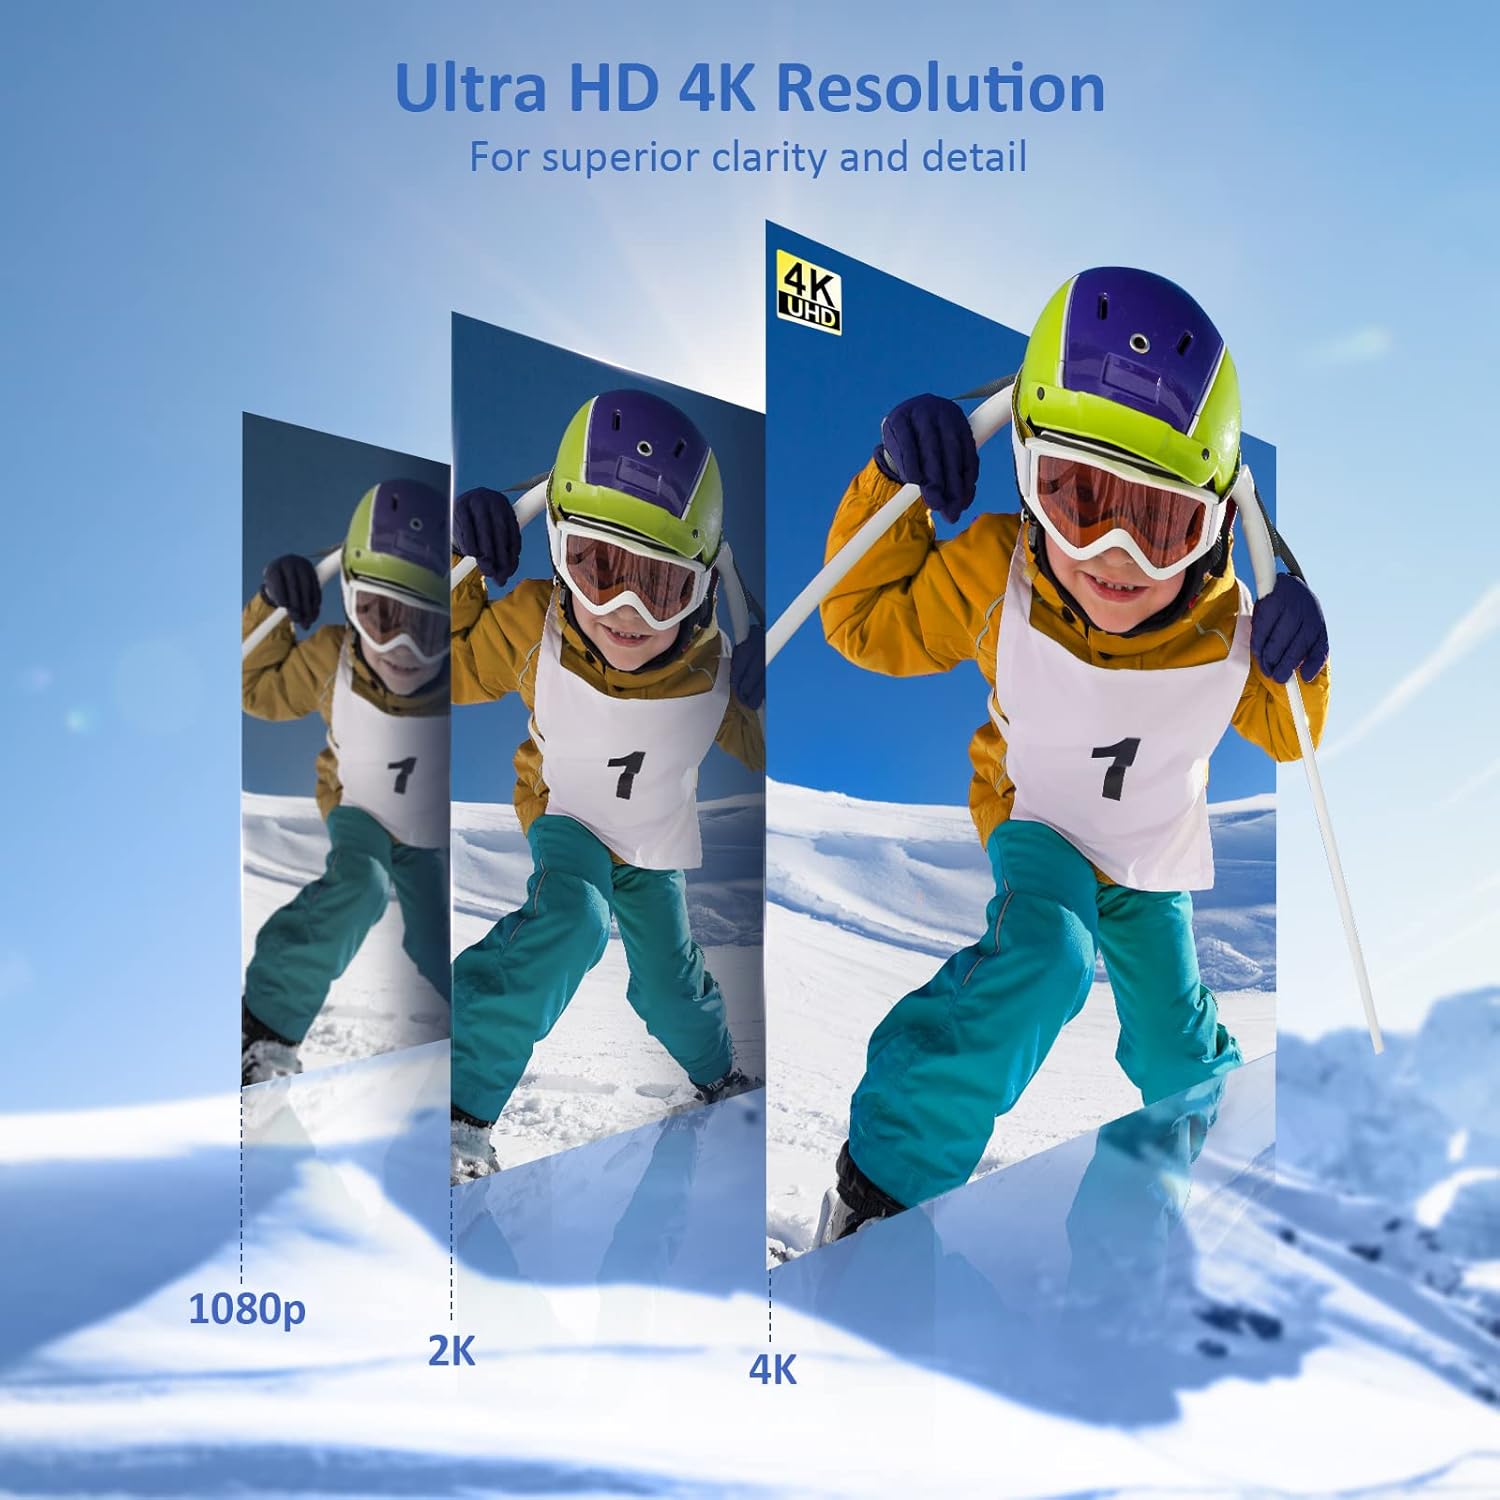
Image: The portable monitor connected to a smartphone, displaying content.
4.3 Montage VESA
The monitor is compatible with VESA mounts (75x75mm). To mount the monitor, remove the smart cover and attach it to a compatible VESA arm or wall mount using appropriate screws (not included).
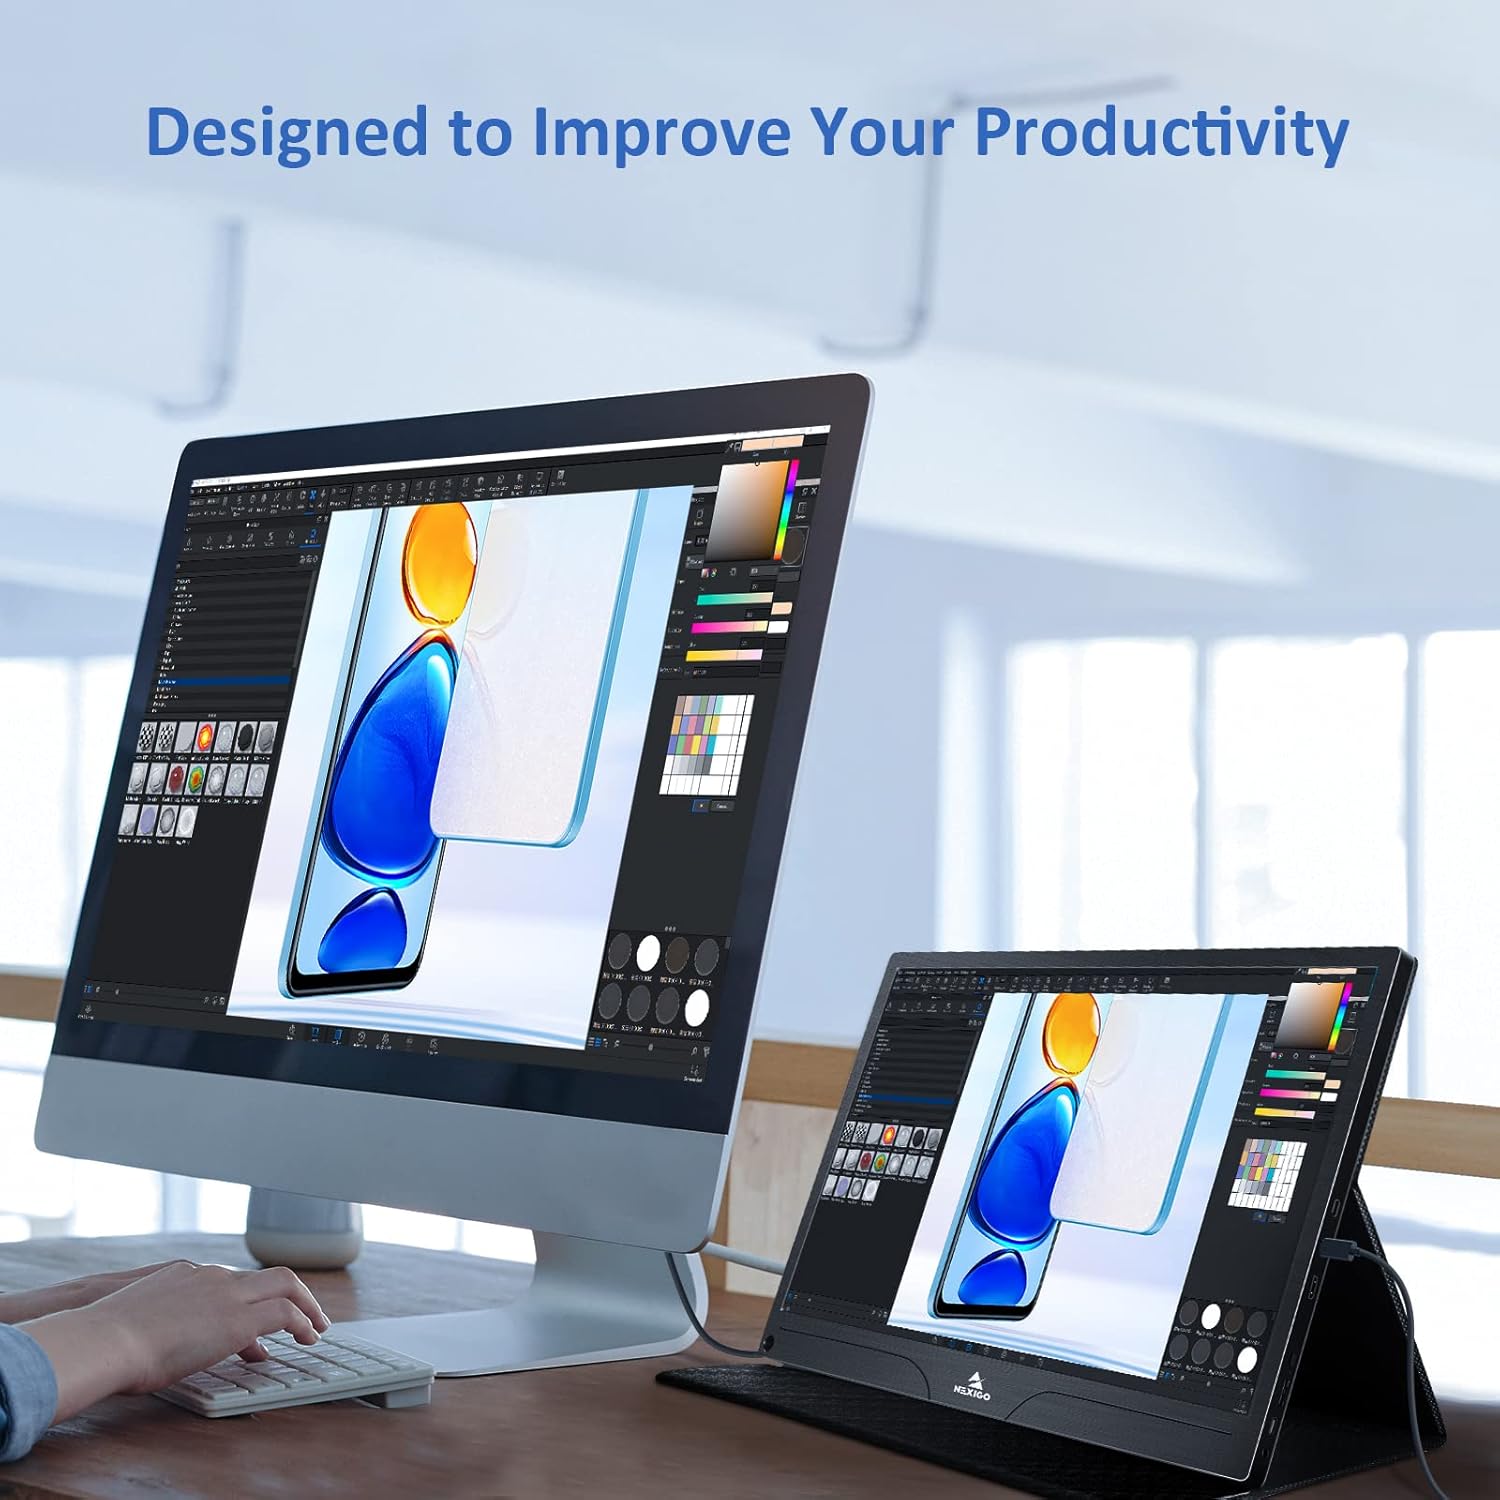
Image: The monitor mounted on a VESA-compatible desk arm.
5. Utilisation du moniteur
5.1 Mise sous/hors tension
Appuyez et maintenez enfoncé le Bouton d'alimentation for approximately 3 seconds to turn the monitor on or off.
5.2 Menu d'affichage à l'écran (OSD)
The OSD menu allows you to adjust various display settings. Short press the Bouton d'alimentation to open the OSD menu. Use the Clé multifonction pour naviguer et sélectionner des options.
- Haut/Bas : Move the Multi-Function Key up or down to navigate through menu options.
- Entrer: Press the Multi-Function Key inward to select an option or confirm a setting.
- Sortie: Press the Power Button to exit the current menu or the OSD.
5.3 Paramètres d'affichage
- Le contraste de luminosité: Ajustez la luminance et le contraste globaux de l'écran.
- Paramètres de couleur : Modifier la température de couleur, la teinte et la saturation.
- Mode HDR : Activez ou désactivez la plage dynamique étendue (HDR) pour une qualité visuelle améliorée avec les contenus compatibles.
- Synchronisation libre : Enable FreeSync for smoother gaming experiences by synchronizing the monitor's refresh rate with your GPU's frame rate.
- Rapport hauteur/largeur : Ajustez le format d'image (par exemple, 16:9, 4:3).
5.4 Paramètres audio
Adjust the volume of the built-in dual speakers or connected headphones through the OSD menu.
6. Entretien
- Nettoyage de l'écran : Utilisez légèrement un chiffon doux et non pelucheux.ampNettoyez à l'eau ou avec un nettoyant pour écran non abrasif. Ne vaporisez pas de liquide directement sur l'écran.
- Nettoyage du Casing: Essuyez le moniteur casing with a soft, dry cloth. Avoid using harsh chemicals or solvents.
- Stockage: When not in use, store the monitor in a cool, dry place, preferably in its original packaging or smart cover to protect it from dust and scratches.
- Évitez les conditions extrêmes : N’exposez pas le moniteur à des températures extrêmes, à l’humidité ou à la lumière directe du soleil.
7. Dépannage
Si vous rencontrez des problèmes avec votre moniteur, reportez-vous au tableau suivant pour connaître les problèmes courants et leurs solutions.
| Problème | Cause possible | Solution |
|---|---|---|
| Aucun affichage / Message « Aucun signal » | Connexion de câble incorrecte, alimentation insuffisante, source d'entrée incorrecte. | Ensure cables are securely connected. Verify external power is supplied if needed. Check the input source setting in the OSD menu. |
| L'écran ne s'allume pas. | No power supply, faulty cable. | Ensure the power adapter is connected and working. Try a different USB-C cable or power source. |
| Écran clignotant | Faulty cable, unstable power, incompatible resolution/refresh rate. | Replace the cable. Ensure stable power. Adjust the display resolution or refresh rate on your connected device. |
| Pas de son | Volume too low, incorrect audio output setting, faulty cable. | Increase volume via OSD or connected device. Ensure the monitor is selected as the audio output device on your source. Check cable connections. |
| OTG port not working | Monitor not powered via full-featured USB-C, device incompatibility. | Ensure the monitor is connected to a device via the full-featured USB-C port that supports OTG functionality. |
8. Spécifications
Detailed technical specifications for the NexiGo NG17QH 4K Portable Monitor.
| Fonctionnalité | Spécification |
|---|---|
| Numéro de modèle | NG17QH |
| Taille de l'écran | 17.3 pouces |
| Résolution | 3840 x 2160 (4K UHD) |
| Type de panneau | IPS |
| Luminosité | 400 cd/m² |
| Gamme de couleurs | 100% Adobe RVB |
| Rapport hauteur/largeur | 16:9 |
| ViewAngle d'attaque | 178° |
| Caractéristiques | FreeSync, HDR, Eye Care Screen |
| Intervenants | Deux haut-parleurs intégrés |
| Connectivité | Full-Featured USB-C (x1), Mini HDMI (x1), OTG USB-C (x1), 3.5mm Audio Jack (x1) |
| Compatibilité VESA | 75 x 75 mm |
| Dimensions du produit | 16.1 x 10.12 x 0.55 pouces |
| Poids de l'article | 6.39 livres |

Image: Visual comparison of 1080p, 2K, and 4K resolutions, demonstrating the clarity of the 4K display.
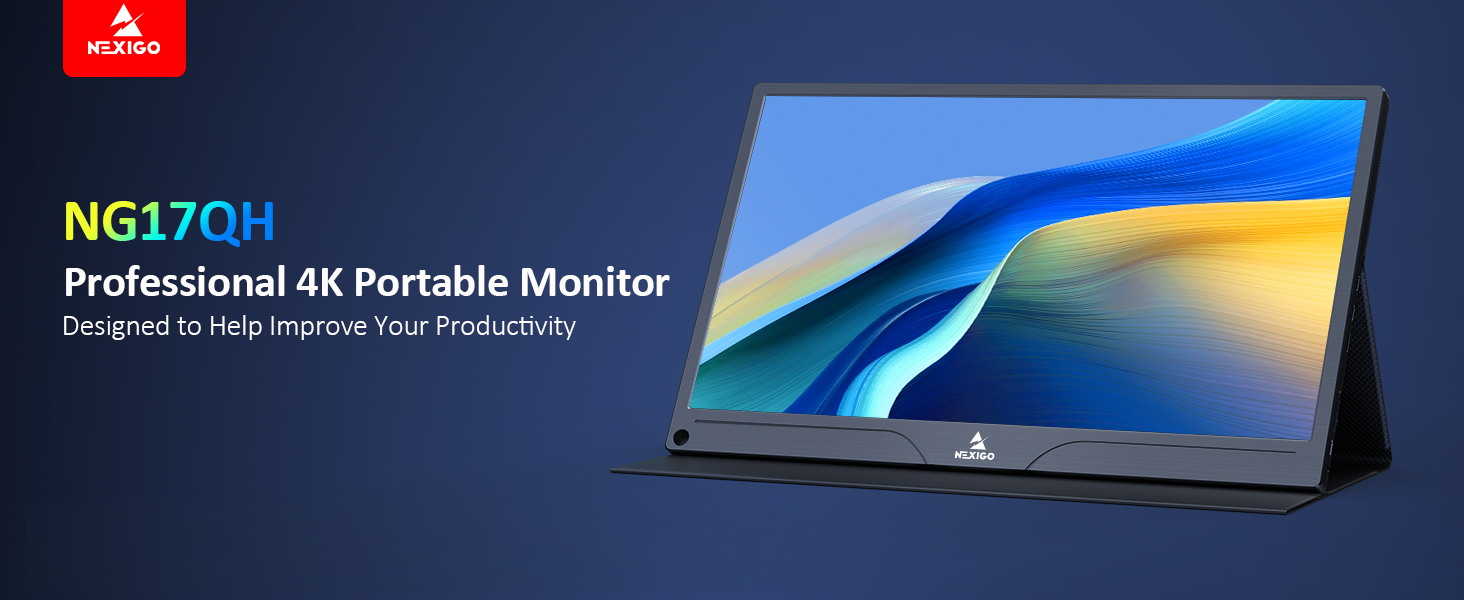
Image: A visual representation of 100% Adobe RGB color space coverage, indicating vibrant and detailed color reproduction.
9. Garantie et assistance
Your NexiGo NG17QH Portable Monitor comes with a manufacturer's warranty. For detailed warranty information, product registration, or technical support, please visit the official NexiGo webConsultez leur site web ou contactez directement leur service client. Conservez votre reçu d'achat comme preuve d'achat pour toute réclamation au titre de la garantie.
NexiGo Official Website: www.nexigo.com


