1. Introduction
Thank you for choosing the DYONDER Wired PC Controller. This manual provides essential information for the proper setup, operation, and maintenance of your new game controller. Please read this manual thoroughly before use to ensure optimal performance and longevity of the product.

Image 1.1: Users enjoying the DYONDER Wired PC Controller.
2. Produit terminéview et compatibilité
The DYONDER Wired PC Controller is designed for a wide range of gaming platforms, offering a reliable and responsive gaming experience. Its plug-and-play functionality ensures quick setup across various systems.
2.1 Large compatibilité
This controller is compatible with Windows operating systems, Vista, PS3 consoles, Android TV boxes, and Tesla systems (Android 4.0 or above with OTG function required for Android devices). No additional drivers are typically needed for basic functionality.

Image 2.1 : Terminéview of controller compatibility and key features.
2.2 Principales caractéristiques
- Vibrateurs doubles : Embedded motors provide distinct feedback, enhancing game immersion.
- Conception ergonomique : Asymmetrical joystick layout for comfortable thumb positioning during extended play.
- Hall Trigger Buttons: Provides precise and durable trigger input.
- Fonction Turbo: Customize any button for rapid-fire input.
- Connexion filaire : 2-meter (6.5 feet) USB cable for stable, lag-free gaming.
Video 2.1: A brief demonstration of the Pink PC Game Controller's design and features.
3. Instructions de configuration
3.1 Connexion du contrôleur
- Locate an available USB port on your PC, PS3, Android TV Box, or Tesla system.
- Plug the USB connector of the DYONDER Wired PC Controller into the USB port.
- Le système devrait détecter et installer automatiquement les pilotes nécessaires. Ce processus peut prendre quelques instants.
- Une fois l'installation terminée, le contrôleur est prêt à l'emploi.
Note: For Android TV Boxes or Tesla systems, ensure the device supports OTG (On-The-Go) functionality for USB peripheral connection.
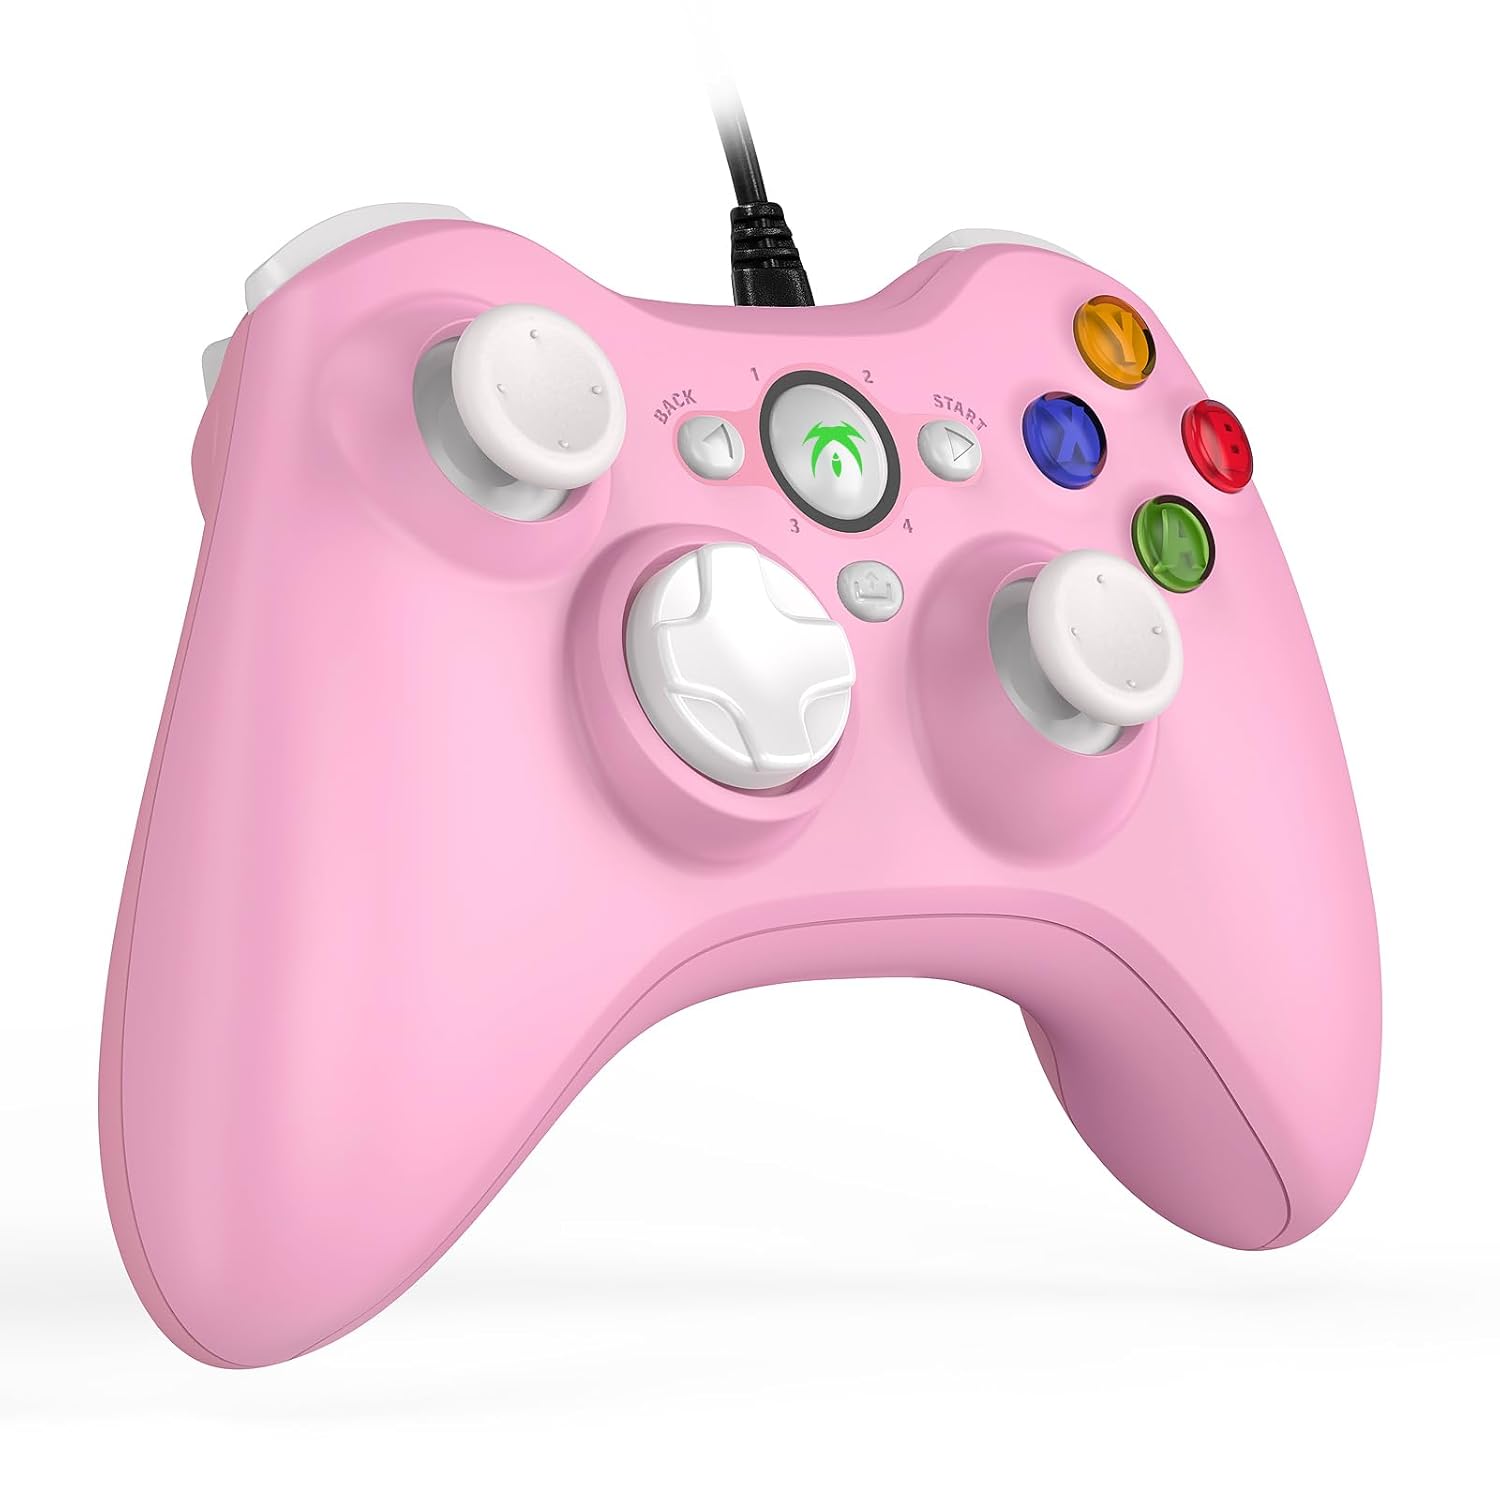
Image 3.1: The DYONDER Wired PC Controller with its USB cable.
4. Mode d'emploi
Disposition à 4.1 boutons
The controller features a standard layout including two analog sticks, a D-pad, action buttons (A, B, X, Y), shoulder buttons (LB, RB), and triggers (LT, RT), along with Start, Back, and Guide buttons.

Illustration 4.1 : Avant view of the controller highlighting button placement.
4.2 Utilisation de la fonction Turbo
The Turbo function allows for rapid, repeated input of a button press without continuous manual pressing. To activate:
- Appuyez et maintenez enfoncé le Turbo bouton.
- While holding Turbo, press the desired action button (e.g., A, B, X, Y, LB, RB, LT, RT) you wish to set for rapid fire.
- Release both buttons. The selected action button will now activate its Turbo function.
To deactivate the Turbo function for a specific button, repeat the steps above.

Image 4.2: Location of the Turbo button.
4.3 Double retour de vibration
The controller features dual vibration motors that provide tactile feedback during gameplay. This enhances realism by simulating in-game events such as impacts, explosions, or engine rumble. Vibration intensity is typically controlled by the game itself.

Image 4.3: Illustration of the dual vibration mechanism.
4.4 Hall Trigger Buttons
The Hall Trigger buttons utilize magnetic sensors for input, offering greater precision and durability compared to traditional mechanical triggers. This results in smoother and more accurate control, especially in racing or shooting games.

Image 4.4: Detail of a Hall Trigger button.

Image 4.5: Hall Trigger vs. standard trigger comparison.
5. Entretien
5.1 Nettoyage
- Regularly wipe the controller with a soft, dry cloth to remove dust and grime.
- Pour les saletés tenaces, appliquez légèrementampNettoyez le chiffon avec de l'eau ou un nettoyant doux non abrasif. Évitez l'humidité excessive.
- N’utilisez pas de produits chimiques agressifs, de solvants ou de matériaux abrasifs, car ils pourraient endommager la finition de la manette.
5.2 Stockage
- Rangez la manette dans un endroit frais et sec, à l'abri de la lumière directe du soleil et des températures extrêmes.
- Avoid wrapping the cable too tightly around the controller to prevent damage to the wire or connection points.
6. Dépannage
If you encounter issues with your DYONDER Wired PC Controller, please refer to the following common solutions:
6.1 Manette non reconnue
- Vérifiez la connexion USB : Vérifiez que le câble USB est bien branché à la fois à la manette et à l'appareil. Essayez un autre port USB.
- Redémarrer l'appareil : Sometimes, a simple restart of your PC, console, or TV box can resolve connection issues.
- Test sur un autre appareil : Si possible, testez la manette sur un autre appareil compatible afin de déterminer si le problème provient de la manette ou de l'appareil d'origine.
- Mettre à jour les pilotes : For PC, ensure your operating system's USB drivers are up to date. While typically plug-and-play, system updates can sometimes affect peripheral recognition.
6.2 Boutons ou joysticks non réactifs
- Vérifier les paramètres du jeu : Verify that the game you are playing supports controllers and that the input settings are correctly configured.
- Recalibrer (PC) : On Windows, you can recalibrate game controllers through the 'Set up USB game controllers' option in the Control Panel.
- Inspecter les dommages physiques : Check for any visible damage or debris obstructing the buttons or joysticks.
6.3 Vibration non fonctionnelle
- Support de jeu: Vérifiez que le jeu auquel vous jouez prend en charge le retour de vibration.
- Paramètres en jeu : Vérifiez le menu des options du jeu pour vous assurer que les vibrations sont activées.
- Paramètres système : On some platforms, vibration can be disabled in system-level controller settings.
7. Spécifications
| Modèle | B0CNSXM48W |
| Marque | DYONDER |
| Connectivité | USB filaire |
| Longueur du câble | 2 mètres (6.5 pieds) |
| Compatibilité | Windows, Vista, PS3, Android TV Box (Android 4.0+ with OTG), Tesla |
| Caractéristiques | Dual Vibration, Hall Trigger Buttons, Turbo Function, Ergonomic Design |
| Poids de l'article | 8.8 onces |
| Dimensions du colis | 6.5 x 5.04 x 2.83 pouces |
8. Garantie et assistance
8.1 Informations sur la garantie
DYONDER products are manufactured with quality and care. For specific warranty details regarding your controller, please refer to the warranty card included with your purchase or visit the official DYONDER webConsultez le site. Conservez votre preuve d'achat pour toute réclamation au titre de la garantie.
8.2 Assistance clientèle
If you require further assistance, have questions, or encounter issues not covered in this manual, please contact DYONDER customer support. Contact information can typically be found on the product packaging, the official DYONDER websur le site, ou auprès de votre détaillant.
Nous nous engageons à fournir un excellent service et un excellent support pour nos produits.
