Introduction
This manual provides detailed instructions for the safe and proper installation, operation, and maintenance of your SANUS Preferred SLF428-B1 Full-Motion TV Mount. Please read all instructions carefully before beginning installation. If you have any questions, contact SANUS customer support.
This mount is designed to fit most 37-inch to 90-inch flat-panel TVs weighing up to 135 lbs (61.2 kg).
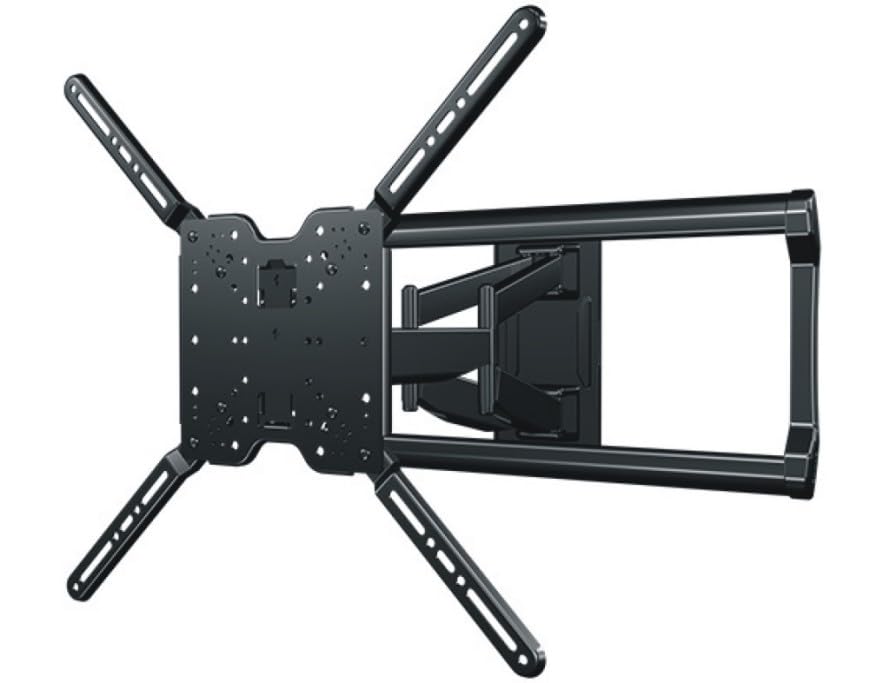
Image: The SANUS Preferred SLF428-B1 Full-Motion TV Mount, showing its articulating arm and wall plate components.
Consignes de sécurité importantes
AVERTISSEMENT: Failure to read and follow these instructions can result in serious personal injury, property damage, or voiding of your warranty. If you do not understand these instructions or have doubts about the safety of the installation, contact SANUS customer support or a qualified installer.
- Do not install this product on walls that are not structurally sound. Ensure the mounting surface can safely support the combined weight of the mount and the TV.
- This mount is intended for use with TVs weighing up to 135 lbs (61.2 kg). Exceeding this weight limit may result in instability and potential injury.
- Utilisez toujours une autre personne pour soulever et positionner le téléviseur.
- Tighten all screws firmly, but do not overtighten. Overtightening can damage screws and components.
- Veillez à ce que tous les câbles soient acheminés en toute sécurité et n'entravent pas le mouvement du support.
Contenu du colis
Verify that all components are present and undamaged before installation. If any parts are missing or damaged, contact SANUS customer support.
- Ensemble de plaque murale
- TV Bracket Set (Left and Right)
- Kit de fixation (vis, rondelles et entretoises diverses pour le montage du téléviseur et du mur)
- Clips de gestion des câbles
- Manuel d'instructions (ce document)
Outils requis (non inclus)
- Recherche de goujons
- Crayon
- Drill with appropriate drill bits (e.g., 7/32" for wood studs, 1/2" for concrete)
- Niveau
- Mètre à ruban
- Tournevis cruciforme
- Socket Wrench (typically 1/2" or 13mm)
Configuration et installation
Suivez attentivement ces étapes pour garantir une installation sûre et correcte.
Étape 1 : Vérification avant l'installation
- Déterminer le type de mur : Use a stud finder to locate the center of wood studs. For concrete or brick walls, ensure you have appropriate anchors (sold separately if not included).
- Vérifiez la compatibilité avec votre téléviseur : Check your TV's VESA mounting pattern and weight against the mount's specifications.
- Choisissez l'emplacement de montage : Considérer viewing height, glare, and proximity to power outlets and cable access.
Étape 2 : Installer la plaque murale
This step involves securing the main wall plate to your chosen wall location.

Image: Illustrative image showing the wall plate being mounted to a wall, with drill holes marked and screws being tightened. (Placeholder image)
- Position the wall plate at the desired height and use a pencil to mark the pilot hole locations. Use a level to ensure it is straight.
- Drill pilot holes at the marked locations. For wood studs, use a 7/32" (5.5 mm) drill bit. For concrete/brick, use a 1/2" (13 mm) drill bit and insert concrete anchors (if applicable).
- Attach the wall plate to the wall using the provided lag bolts and washers. Tighten securely with a socket wrench. Do not overtighten.
Étape 3 : Fixez les supports du téléviseur au téléviseur
Prepare your TV by attaching the vertical mounting brackets.

Image: Illustrative image showing the TV brackets being attached to the VESA mounting holes on the back of a television. (Placeholder image)
- Placez soigneusement votre téléviseur face contre une surface douce et propre afin d'éviter d'endommager l'écran.
- Select the correct diameter and length screws from the hardware kit that fit your TV's VESA mounting holes. Use spacers if the TV back is uneven or if cables need clearance.
- Attach the left and right TV brackets to the back of your TV using the selected screws and washers. Ensure the brackets are centered and level. Tighten firmly with a Phillips head screwdriver.
Étape 4 : Fixer le téléviseur à la plaque murale
With assistance, lift and secure the TV onto the wall plate.

Image: Illustrative image showing two people carefully lifting a television and hooking its attached brackets onto the wall plate. (Placeholder image)
- With an assistant, carefully lift the TV and hook the TV brackets onto the wall plate. Ensure the brackets are fully seated on the wall plate's arms.
- Locate the safety screws or locking mechanisms on the bottom of the TV brackets. Tighten these to secure the TV to the mount and prevent accidental dislodging.
Étape 5 : Gestion des câbles
Organize and conceal cables for a clean appearance and safe operation.

Image: Illustrative image showing cables being routed through the integrated cable channels or secured with clips along the mount's articulating arm. (Placeholder image)
- Route all necessary cables (power, HDMI, etc.) through the integrated cable channels on the mount's arm or use the provided cable management clips.
- Ensure cables have enough slack to allow for full range of motion of the TV without being stretched or pinched.
Utilisation du mont
The SANUS Preferred SLF428-B1 mount offers various adjustments for optimal viewing.
- Étendre/Rétracter : Gently pull or push the TV to extend or retract the articulating arm. The mount extends up to 28 inches (71.1 cm) from the wall.
- Pivot: Inclinez le téléviseur vers la gauche ou la droite pour obtenir l'angle souhaité. viewangle de vue.
- Inclinaison: Loosen the tilt adjustment knobs (if present, refer to specific mount design) on the TV brackets, adjust the TV to the desired vertical angle, and then retighten the knobs to secure. The mount allows for tilting to reduce glare.
- Réglage du niveau: Some mounts allow for post-installation leveling. If your TV appears slightly unlevel, consult the specific instructions for minor rotational adjustments.
Entretien
Un entretien régulier garantit la longévité et le bon fonctionnement de votre support TV.
- Contrôles périodiques : Every few months, check all mounting screws and bolts to ensure they remain tight. Retighten if necessary, but do not overtighten.
- Nettoyage: Dust the mount with a soft, dry cloth. Avoid using abrasive cleaners or solvents that could damage the finish.
- Lubrification: The mount's moving parts are designed for smooth operation and typically do not require lubrication. If movement becomes stiff, contact SANUS customer support.
Dépannage
- Le téléviseur n'est pas de niveau :
- Ensure the wall plate was installed level. If not, minor adjustments may be possible with the TV brackets (refer to specific bracket design).
- Check if the TV brackets are securely tightened to the TV and the mount. - Le support semble lâche ou instable :
- Immediately remove the TV from the mount.
- Recheck all wall mounting bolts and TV bracket screws for tightness. Ensure they are properly seated in the wall studs or anchors.
- Verify that the wall structure is sound and can support the weight. - Difficulty adjusting the TV (tilt, swivel, extension):
- Ensure no cables are snagged or preventing movement.
- Check for any overtightened bolts that might restrict movement. Some joints may have adjustable tension screws.
Caractéristiques
| Numéro de modèle | SLF428-B1 |
| Gamme de tailles de téléviseur | 37" - 90" |
| Poids maximal du téléviseur | 135 livres (61.2 kg) |
| Type de montage | Support mural |
| Type de mouvement | Articulating, Tilt, Swivel |
| Extension du mur | Jusqu'à 28 pouces (71.1 cm) |
| Faible Profile Conception | 2.4" (6.1 cm) from wall when retracted |
| Dimensions du produit | 15 x 6 x 5 pouce (emballage) |
| Poids de l'article | 31.4 livres (14.2 kg) |
| Matériel | Plastic (components), Metal (main structure) |
| Couleur | Noir |
| Code UPC | 793795535856 |
Garantie et support client
For warranty information or technical assistance, please contact SANUS customer support. Details regarding specific warranty periods and terms can typically be found on the official SANUS website ou carte de garantie incluse.
SANUS Customer Support: Visite www.sanus.com/support for contact information, FAQs, and additional resources.
Vidéos officielles des produits
No official seller videos were found for this product in the provided data. Please refer to the written instructions and diagrams for installation and operation guidance.


