1. Introduction
Thank you for choosing the SILENTWARE Air 1000 Black ATX Midi Tower PC Case. This manual provides essential information for the proper installation, operation, and maintenance of your new PC case. Please read this manual thoroughly before beginning the assembly process to ensure a smooth and successful build.
2. Consignes de sécurité
- Débranchez toujours l'alimentation de la prise murale avant d'installer ou de retirer un composant quelconque à l'intérieur du boîtier du PC.
- Manipulez les composants avec précaution afin d'éviter tout dommage dû aux décharges électrostatiques (DES). Pensez à utiliser un bracelet antistatique.
- Be cautious of sharp edges inside the case.
- N’essayez pas de modifier le boîtier ou ses composants, car cela pourrait annuler votre garantie et présenter des risques pour votre sécurité.
- Conservez l'étui à l'abri de l'eau, de l'humidité et des températures extrêmes.
3. Contenu du colis
Veuillez vérifier que tous les articles sont présents dans votre colis :
- SILENTWARE Air 1000 Black ATX Midi Tower PC Case
- Pre-installed 4x 120mm ARGB Fans
- Accessory box (screws, cable ties, standoffs, etc.)
- Manuel de l'utilisateur (ce document)
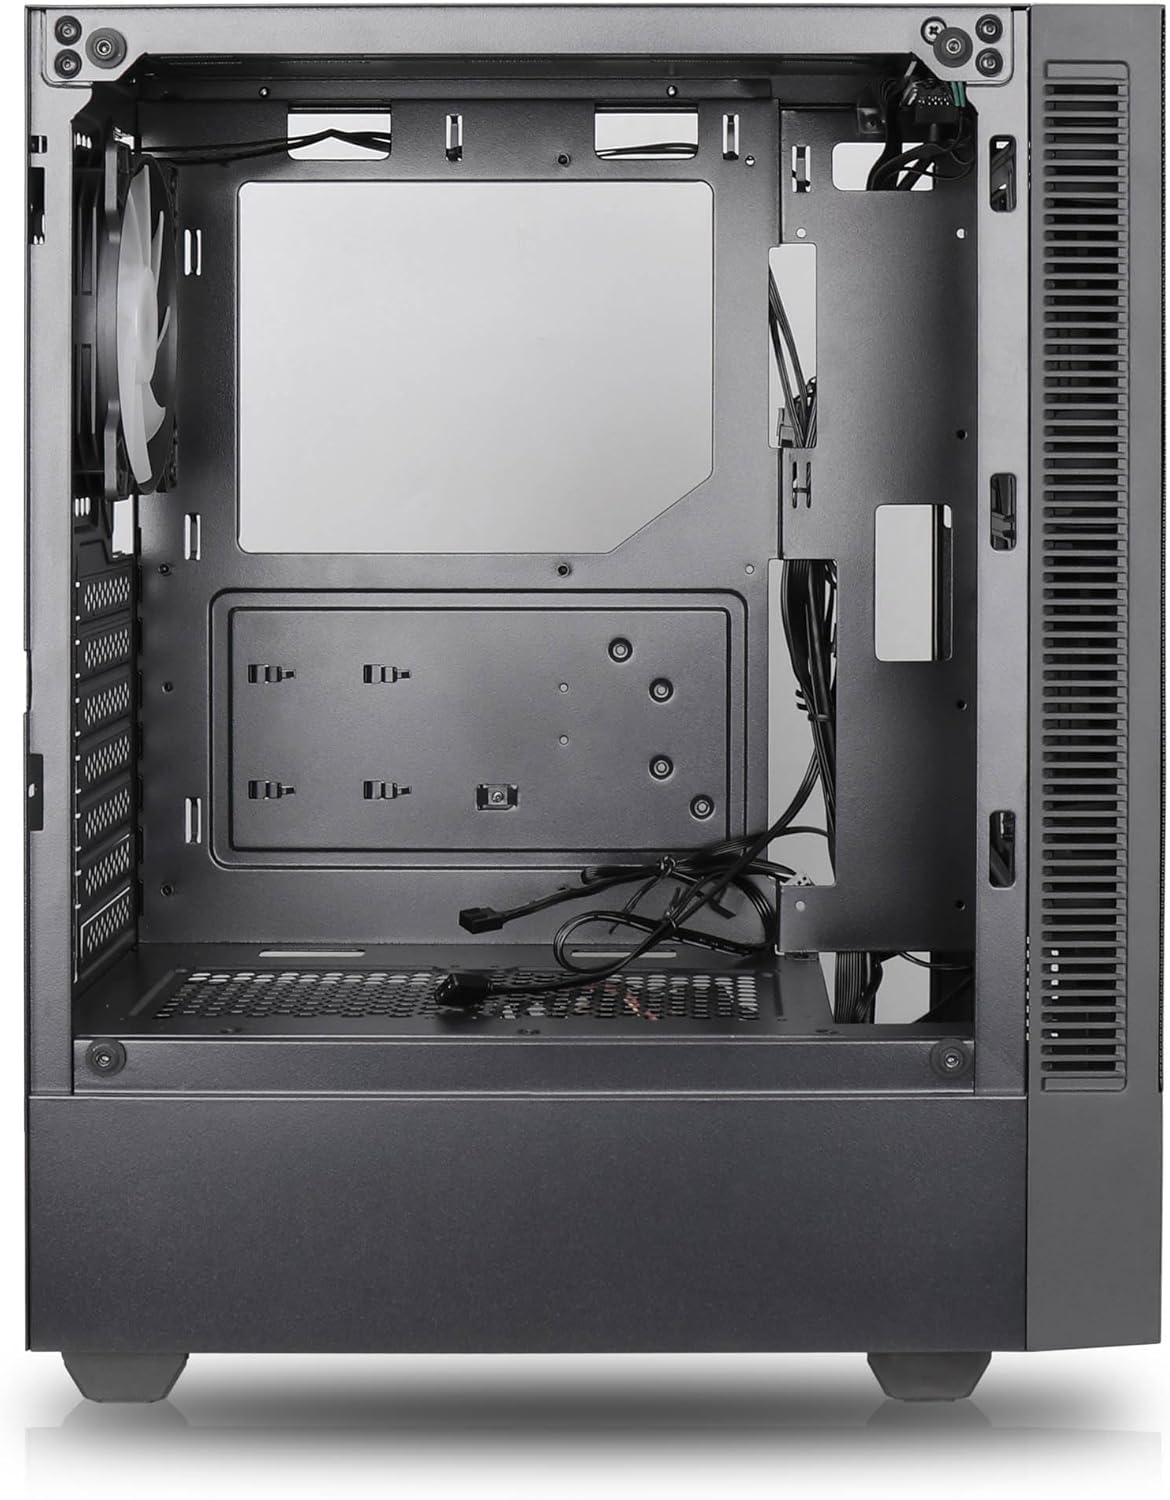
4. Produit terminéview
The SILENTWARE Air 1000 is an ATX Midi Tower PC case designed for optimal airflow and component compatibility. It features a mesh front panel for maximum ventilation and a tempered glass side panel to showcase your build.


Caractéristiques principales :
- Débit d'air maximal: Large mesh front panel and four pre-installed 140mm A-RGB fans with hydraulic bearings ensure excellent ventilation.
- Easy PC Building: Thoughtful design with daisy-chain connections simplifies installation, eliminating the need for additional adapters or controllers.
- Conception de haute qualité : Genuine tempered glass side panel showcases installed components and provides a minimalist, premium aesthetic.
- Flexible Lighting and Control: 3-pin A-RGB fans and 4-pin fan control allow for impressive lighting effects and easy adjustment of fan speed and curves directly from the motherboard.
- Powerful Component Compatibility: Supports GPUs up to 400mm long, radiators up to 360mm (front and top) and 140mm (rear), and space for up to 4 fans.
- Compact Case with Ampl'Espace: Midi tower format accommodates E-ATX, ATX, mATX, and ITX motherboards, up to two 2.5" SSDs, two 3.5" HDDs, and ATX power supplies.
5. Guide d'installation
Follow these steps for component installation. Refer to your individual component manuals for specific instructions.
5.1. Préparation du dossier
- Placez l'étui sur une surface plane et stable.
- Carefully remove the tempered glass side panel by unscrewing the thumb screws and gently pulling it away. Set it aside on a soft, non-abrasive surface.
- Remove the solid right side panel by unscrewing the thumb screws and sliding it backward.
5.2. Installation de la carte mère
- Installez la plaque d'E/S dans l'ouverture arrière du boîtier.
- Ensure the correct standoffs are installed for your motherboard form factor (E-ATX, ATX, mATX, ITX). Adjust or add standoffs as needed.
- Placez soigneusement votre carte mère sur les entretoises en alignant les trous de vis.
- Fixez la carte mère à l'aide des vis fournies. Ne serrez pas trop fort.
5.3. Installation du bloc d'alimentation (PSU)
- Placez le bloc d'alimentation dans le compartiment dédié situé à l'arrière, en bas du boîtier.
- Ensure the PSU fan faces downwards (if the case has a bottom vent) or upwards, depending on your cooling preference.
- Fixez le bloc d'alimentation au boîtier à l'aide des vis fournies, par l'arrière.
5.4. Installation du disque de stockage
SSD 2.5 pouces :
- Locate the 2.5" drive mounts (typically behind the motherboard tray).
- Secure the SSDs using the provided screws.
Disques durs 3.5 pouces :
- Locate the 3.5" drive cages (usually near the PSU shroud).
- Slide the HDDs into the drive trays and secure them with screws or tool-less mechanisms if available.
5.5. Installation de la carte graphique (GPU)
- Retirez les caches des emplacements PCIe nécessaires à l'arrière du boîtier.
- Align your GPU with the PCIe slot on the motherboard and press firmly until it clicks into place.
- Fixez la carte graphique au boîtier à l'aide de vis.
5.6. Gestion des câbles
Utilisez les ouvertures et les points de fixation situés derrière le plateau de la carte mère pour gérer les câbles. Cela améliore la circulation de l'air et l'esthétique.
6. Fonctionnement
6.1. Mise sous tension
After all components are installed and cables are connected, reattach the side panels. Connect the power cable to the PSU and a wall outlet, then press the power button on the top I/O panel of the case.
6.2. Contrôle du ventilateur ARGB
The pre-installed ARGB fans feature 3-pin ARGB connectors for lighting control and 4-pin connectors for fan speed control. These can be connected directly to compatible headers on your motherboard. Use your motherboard's software or BIOS settings to customize lighting effects and fan curves.
7. Entretien
7.1. Nettoyage
- Nettoyez régulièrement les filtres à poussière (le cas échéant) pour maintenir un flux d'air optimal.
- Use a can of compressed air to remove dust from inside the case and components.
- Essuyez les surfaces extérieures avec un chiffon doux et sec.amp tissu. Évitez les produits chimiques agressifs.
- For the tempered glass panel, use a glass cleaner and a microfiber cloth.
8. Dépannage
- L'ordinateur ne s'allume pas : Check all power connections, including the 24-pin motherboard power, 8-pin CPU power, and GPU power cables. Ensure the PSU switch is in the 'ON' position.
- Ventilateurs non fonctionnels/RGB non fonctionnels : Verify that fan and ARGB headers are correctly connected to the motherboard. Check motherboard software for fan speed and lighting control settings.
- Surchauffe: Ensure proper airflow by checking fan orientation and cleaning dust filters. Verify CPU cooler and GPU cooler are properly seated.
- Pas d'affichage : Confirm the monitor cable is connected to the graphics card (not the motherboard integrated graphics, unless you are using integrated graphics). Reseat the graphics card and RAM modules.
9. Spécifications
| Fonctionnalité | Spécification |
|---|---|
| Marque | SILENTWARE |
| Nom du modèle | Silentware Flow 100 ARGB |
| Numéro de modèle de l'article | FLOW100 |
| ASIN | B0CB8CZ5GF |
| Couleur | Noir |
| Type de cas | Mid Tower |
| Matériel | Verre trempé |
| Compatibilité de la carte mère | ATX, Micro ATX, Mini ITX |
| Appareils compatibles | ATX, mATX, ITX motherboards, GPUs up to 325mm, radiators up to 360mm, 2.5" and 3.5" storage drives |
| Utilisations recommandées | Jeux |
| Méthode de refroidissement | Air |
| Ventilateurs préinstallés | 4 ventilateurs ARGB de 120 mm |
| Taille du ventilateur | 140 Millimeters (Note: Product description mentions 140mm fans, while pre-installed are 120mm. Please verify with product packaging.) |
| Type de montage de l'alimentation | Montage par le bas |
| Longueur maximale du GPU | 400 mm |
| Radiator Support (Front/Top) | Jusqu'à 360 mm |
| Support de radiateur (arrière) | Jusqu'à 140 mm |
| Baies de lecteur de 2.5 pouces | Jusqu'à 2 |
| Baies de lecteur de 3.5 pouces | Jusqu'à 2 |
10. Garantie et assistance
For warranty information and technical support, please refer to the official SILENTWARE website or contact your retailer. Specific details regarding spare parts availability and software updates are not available in the provided product information.


