1. Introduction
The ETENWOLF T300 Digital Tire Pressure Gauge is designed for precise and reliable tire pressure measurement across a wide range of vehicles. This manual provides essential information for the proper setup, operation, and maintenance of your device to ensure optimal performance and longevity.
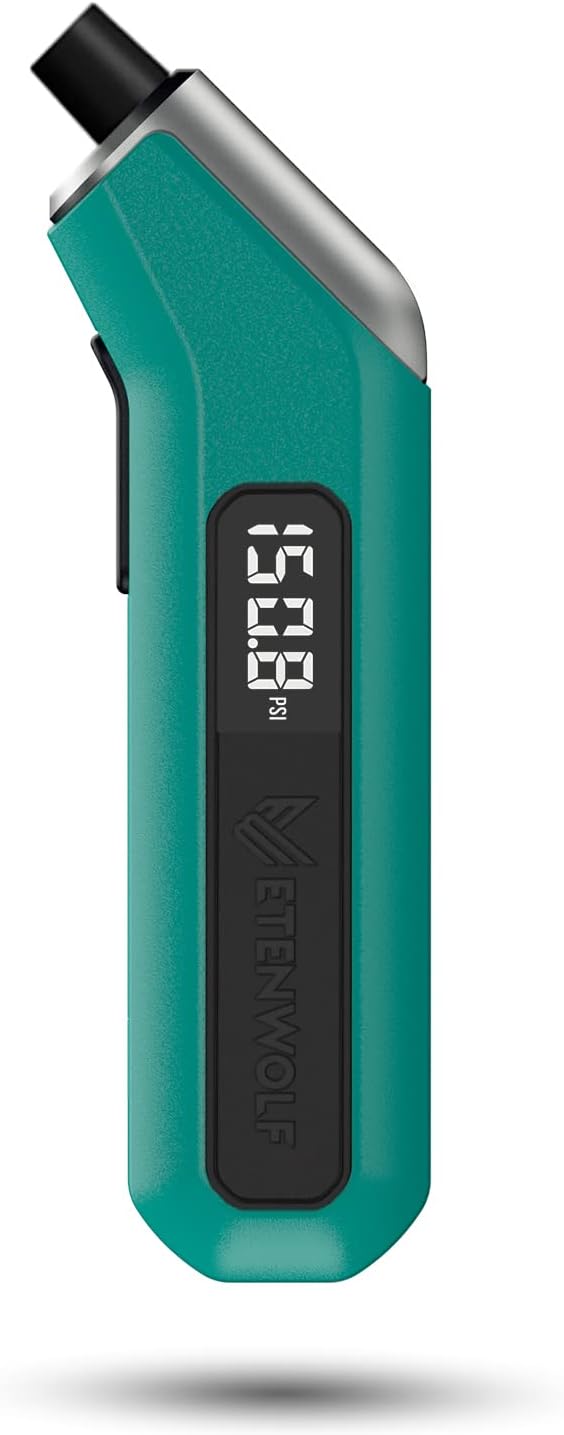
Image 1: ETENWOLF T300 Digital Tire Pressure Gauge. This image displays the dark cyan colored gauge from a side angle, highlighting its digital display and ergonomic design.
2. Contenu du colis
Vérifiez que tous les éléments sont présents dans le colis :
- 1 x ETENWOLF T300 Digital Tire Pressure Gauge
- 2 piles AAA (préinstallées ou fournies séparément)
- 1 x Manuel d'utilisation (ce document)

Image 2: Package Contents. This image shows the ETENWOLF T300 gauge, two AAA batteries, and the user manual, all neatly arranged next to the product packaging.
3. caractéristiques du produit
- Process Level Accuracy: Calibrated to ANSI B40.7 Grade 2A (±0.5% of span), ensuring precise measurements.
- Large plage de pression : Measures tire pressure from 3 to 200 PSI, suitable for various vehicle types including pickups, RVs, and heavy-duty vehicles.
- Performances en conditions climatiques extrêmes : Features a built-in AI chip with thermal compensation, allowing normal operation in temperatures ranging from -4°F to 130°F (-20°C to 54°C).
- Piles AAA remplaçables : Utilizes easily replaceable AAA batteries for extended lifespan and convenience.
- Lumière LED intégrée : Illuminates dark areas for easy tire pressure reading in low-light conditions.
- Construction durable : Designed to withstand impacts and provide long-term reliable service.
- Arrêt automatique: S'éteint automatiquement après 30 secondes d'inactivité pour économiser la batterie.

Image 3: Laboratory-Tested Precision. This image illustrates the gauge's accuracy, showing a table with accuracy grades and permissible errors, emphasizing its 2A Grade ANSI B40.7 calibration.
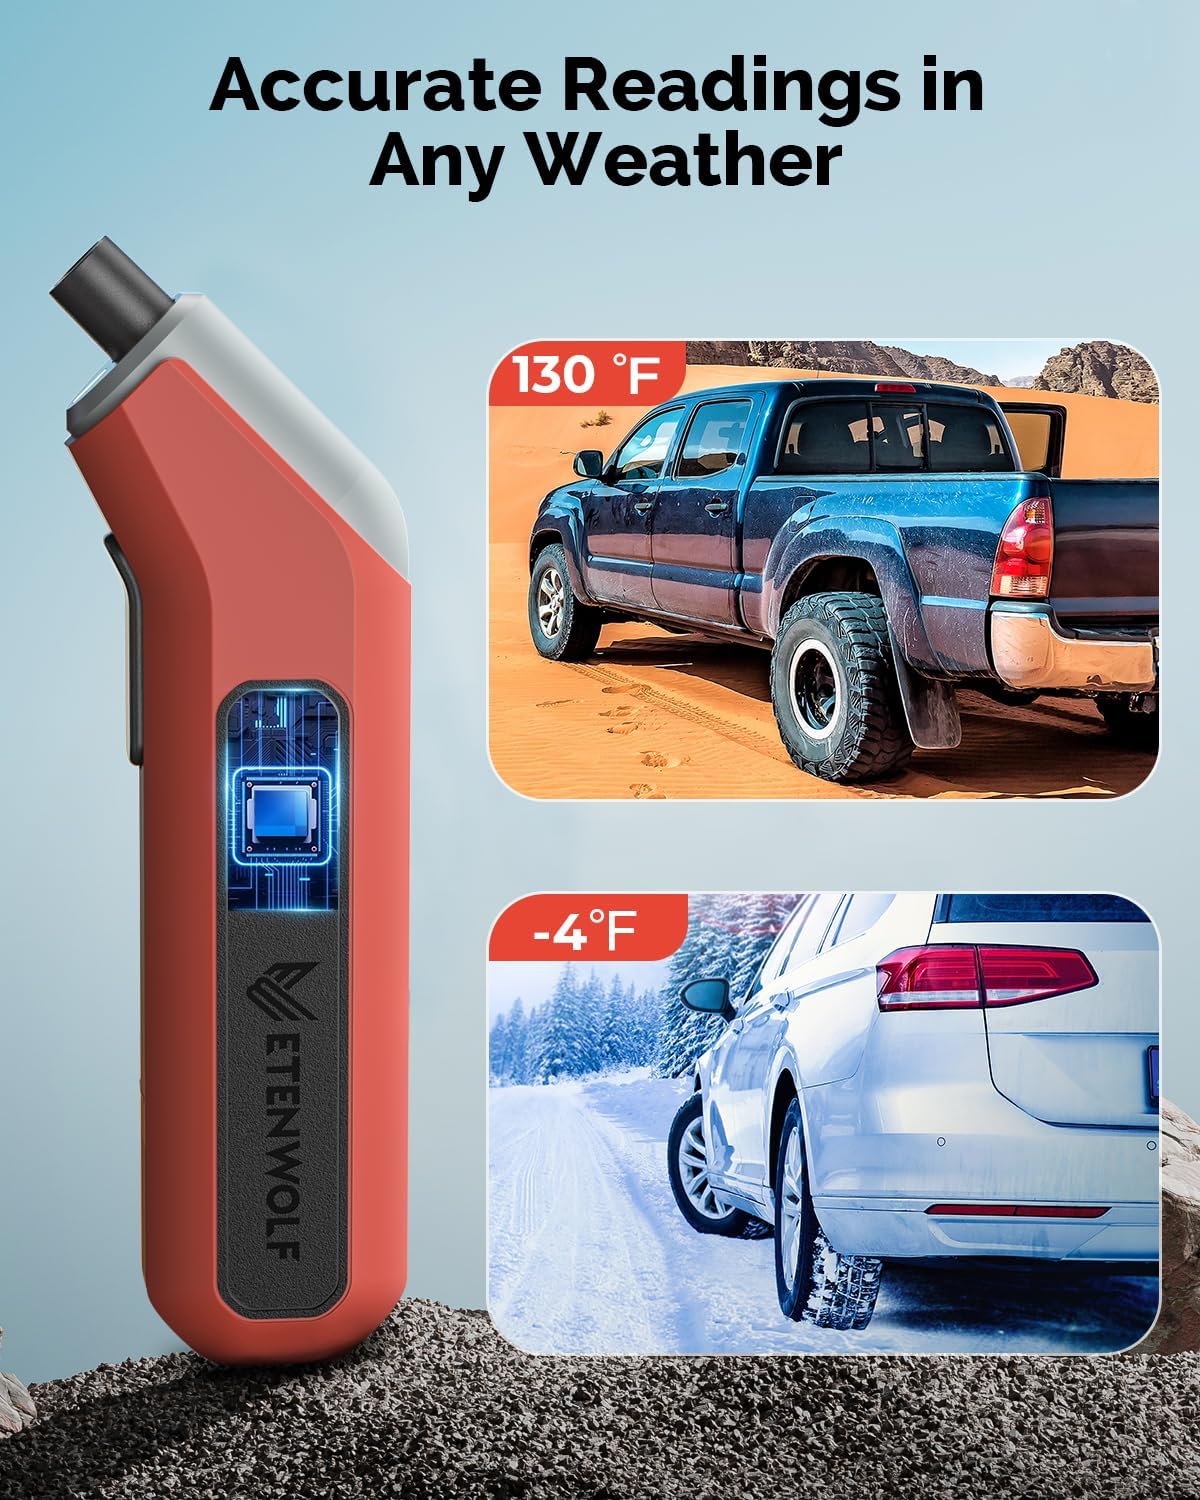
Image 4: Accurate Readings in Any Weather. This image depicts the gauge's ability to function reliably in extreme temperatures, showing a vehicle in a hot desert environment (130°F) and another in a cold, snowy environment (-4°F).
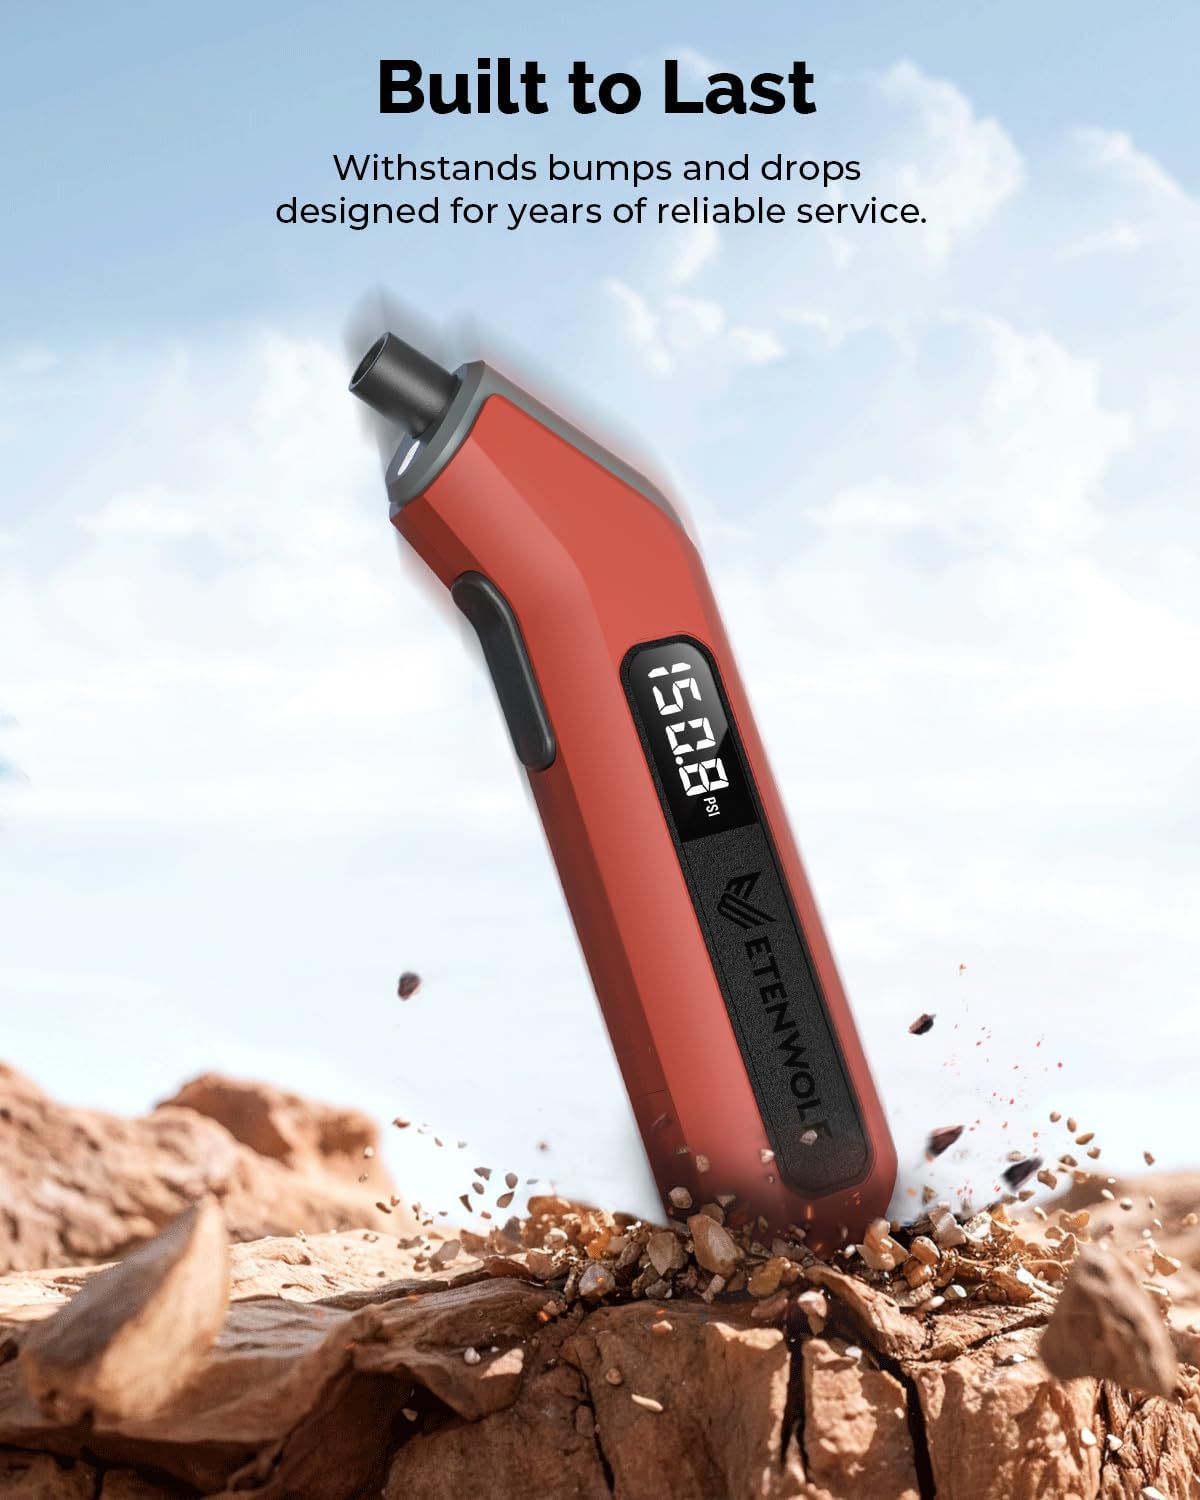
Image 5: Built to Last. This image visually represents the gauge's robust construction, showing it amidst rocks and debris, suggesting its durability against bumps and drops.
4. Installation
4.1 Installation de la batterie
The ETENWOLF T300 uses two AAA batteries. These may be pre-installed. If not, or if replacement is needed:
- Repérez le couvercle du compartiment à piles à l'arrière de l'appareil.
- Faites glisser ou déclipsez le couvercle pour l'ouvrir.
- Insérez deux piles AAA en veillant à respecter la polarité (+/-) indiquée à l'intérieur du compartiment.
- Replacez soigneusement le couvercle du compartiment à piles.

Image 6: Long-Lasting Readiness. This image shows the transparent battery compartment of the gauge with two AAA batteries inserted, illustrating the ease of battery replacement.
4.2 Mise sous tension et étalonnage initiaux
Upon first use or after battery replacement, the gauge will perform an automatic calibration.
- Appuyez sur le bouton d'alimentation pour allumer l'appareil.
- The display will show a calibration sequence.
- Wait for the display to show "0.0" (or similar indication of readiness) before use. Do not use the gauge until calibration is complete.
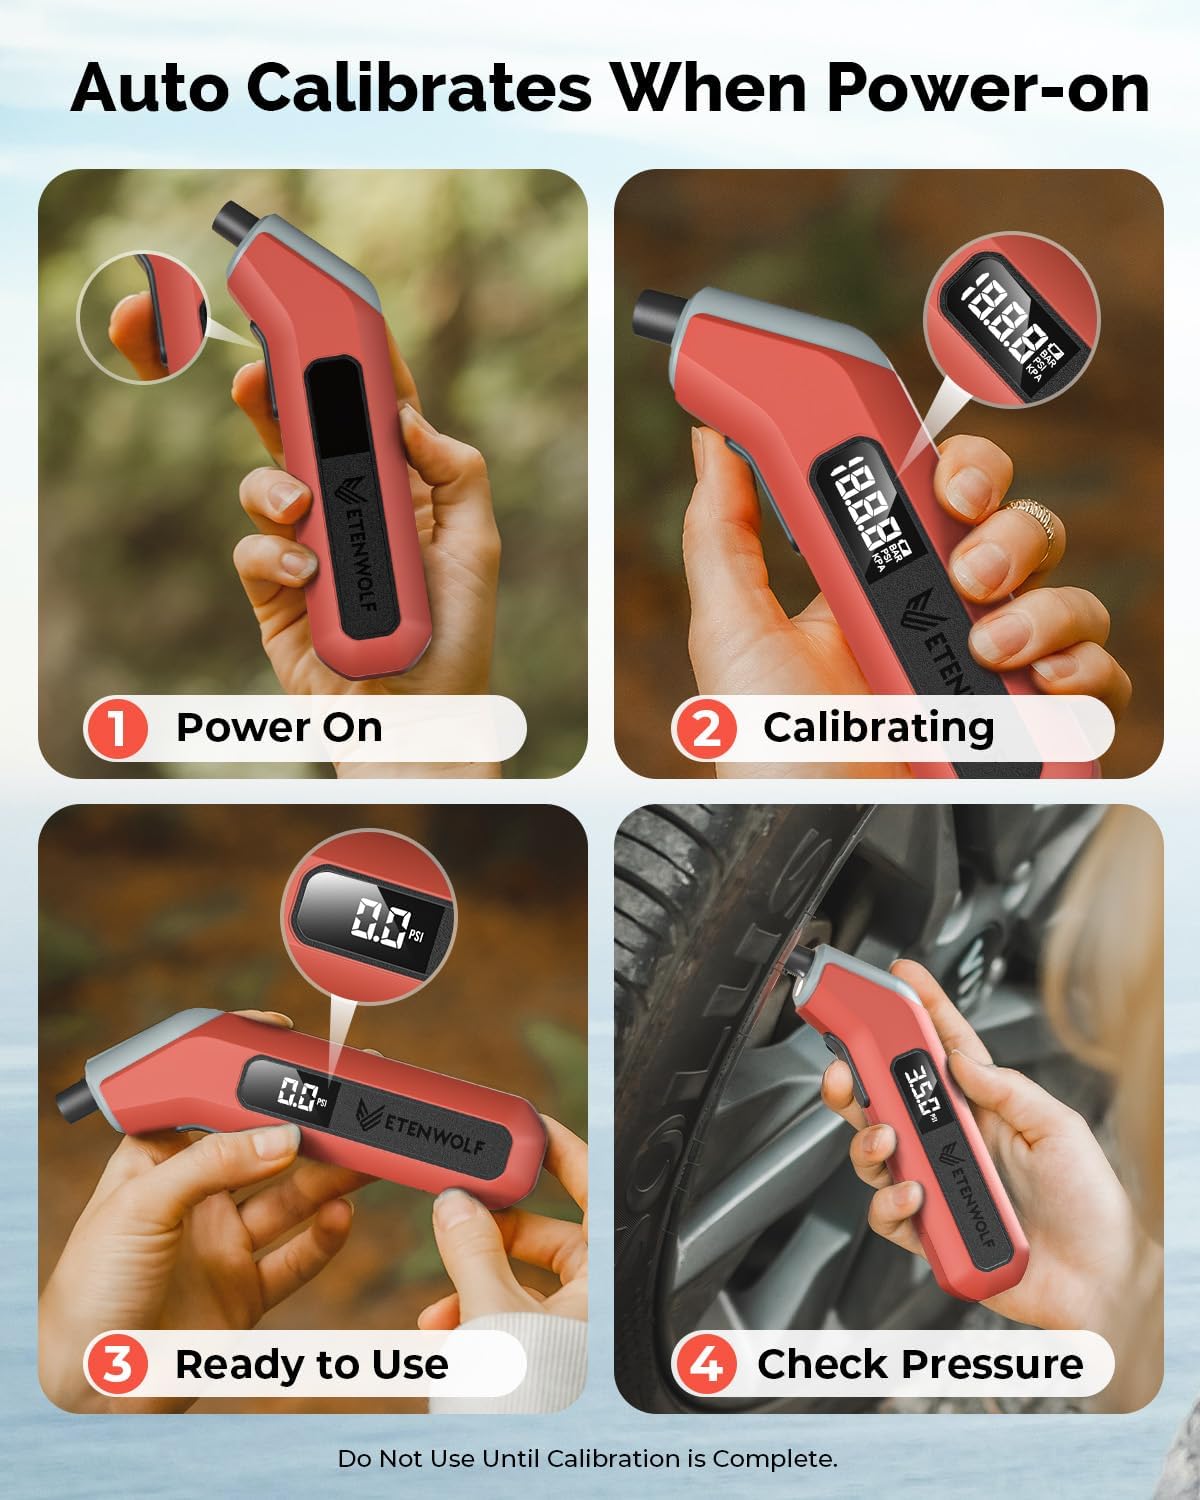
Image 7: Auto Calibrates When Power-on. This four-panel image visually guides the user through the power-on, calibration, readiness, and pressure checking steps of the gauge.
5. Mode d'emploi
5.1 Vérification de la pression des pneus
- Ensure the gauge is powered on and calibrated (displaying "0.0").
- Retirez le bouchon de la valve du pneu.
- Firmly press the nozzle of the gauge onto the tire valve stem. A brief hiss of air is normal. Maintain a tight seal.
- The digital display will show the tire pressure reading.
- Retirez la jauge de la tige de valve et remplacez le capuchon de valve.
5.2 Lecture de l'écran
The large backlit LCD provides clear pressure readings. The reading will remain on the screen for approximately 45 seconds after removal from the valve stem, allowing for easy viewing.

Image 8: Digital Pressure Reading. This image focuses on the gauge's digital display, showing a clear pressure reading in PSI, BAR, and KPA units, emphasizing its intuitive readability.
5.3 Changement d'unités de mesure
The ETENWOLF T300 supports multiple units of measurement (PSI, kPa, Bar). To cycle through the units, press the power button briefly while the device is on and not actively measuring pressure. The current unit will be displayed on the screen.
5.4 Utilisation de la lumière LED
The integrated LED light assists in checking tire pressure in dim light or at night. The light activates automatically when the gauge is powered on and positioned to measure pressure.

Image 9: Light Up Your Tire Checks. This image shows a hand holding the gauge, with its LED light illuminating the tire valve area, demonstrating its utility in low-light conditions.
6. Entretien
6.1 Remplacement de la batterie
When the display dims or the gauge fails to power on, replace the AAA batteries as described in Section 4.1. Always use fresh, high-quality AAA alkaline batteries.
6.2 Nettoyage et stockage
- Nettoyez la jauge avec un chiffon doux et sec.amp tissu. N'utilisez pas de nettoyants abrasifs et ne plongez pas l'appareil dans l'eau.
- Rangez le manomètre dans un endroit frais et sec, à l'abri de la lumière directe du soleil et des températures extrêmes.
- If storing for an extended period, it is recommended to remove the batteries to prevent leakage.
7. Dépannage
- Gauge does not power on: Vérifiez l'installation des batteries et assurez-vous qu'elles sont neuves.
- Lectures inexactes : Ensure the gauge is properly calibrated (displays "0.0" before use). Verify a tight seal between the nozzle and the tire valve stem. Note that altitude and temperature can influence readings; the T300 shows 0.0 based on sea-level air pressure.
- L'écran est sombre : Remplacez les piles AAA.
- Adaptateur de valve Presta : A Presta valve adapter is not included with this model. If needed for bicycles, it must be purchased separately.
8. Spécifications
| Fonctionnalité | Spécification |
|---|---|
| Modèle | T300 |
| Plage de pression | 3-200 PSI |
| Précision | ANSI B40.7 Grade 2A (±0.5% of span) |
| Température de fonctionnement | -4°F à 130°F (-20°C à 54°C) |
| Source d'énergie | 2 piles AAA |
| Arrêt automatique | Après 30 secondes d'inactivité |
| Dimensions (L x l x H) | 6.3 x 1.46 x 1.06 pouces |
| Poids de l'article | 3.88 once (110 grammes) |
| Matériel | Plastique |
9. Consignes de sécurité
- Gardez l’appareil hors de portée des enfants.
- Do not attempt to disassemble or modify the gauge.
- Jetez les piles usagées de manière responsable conformément aux réglementations locales.
- Always check tire pressure when tires are cold for the most accurate readings.
10. Garantie et assistance
ETENWOLF products are manufactured to high-quality standards. For warranty information, technical support, or service inquiries, please refer to the contact information provided on the product packaging or visit the official ETENWOLF webVeuillez conserver votre preuve d'achat pour toute réclamation au titre de la garantie.


