1. Introduction
This manual provides essential information for the safe and effective operation of your VOLTCRAFT VC-WL 60/200 Charger and Starter. Please read these instructions carefully before use and retain them for future reference. This device is designed for charging and jump-starting 12V and 24V lead-acid batteries, including STD (WET, MF), AGM, and GEL types.
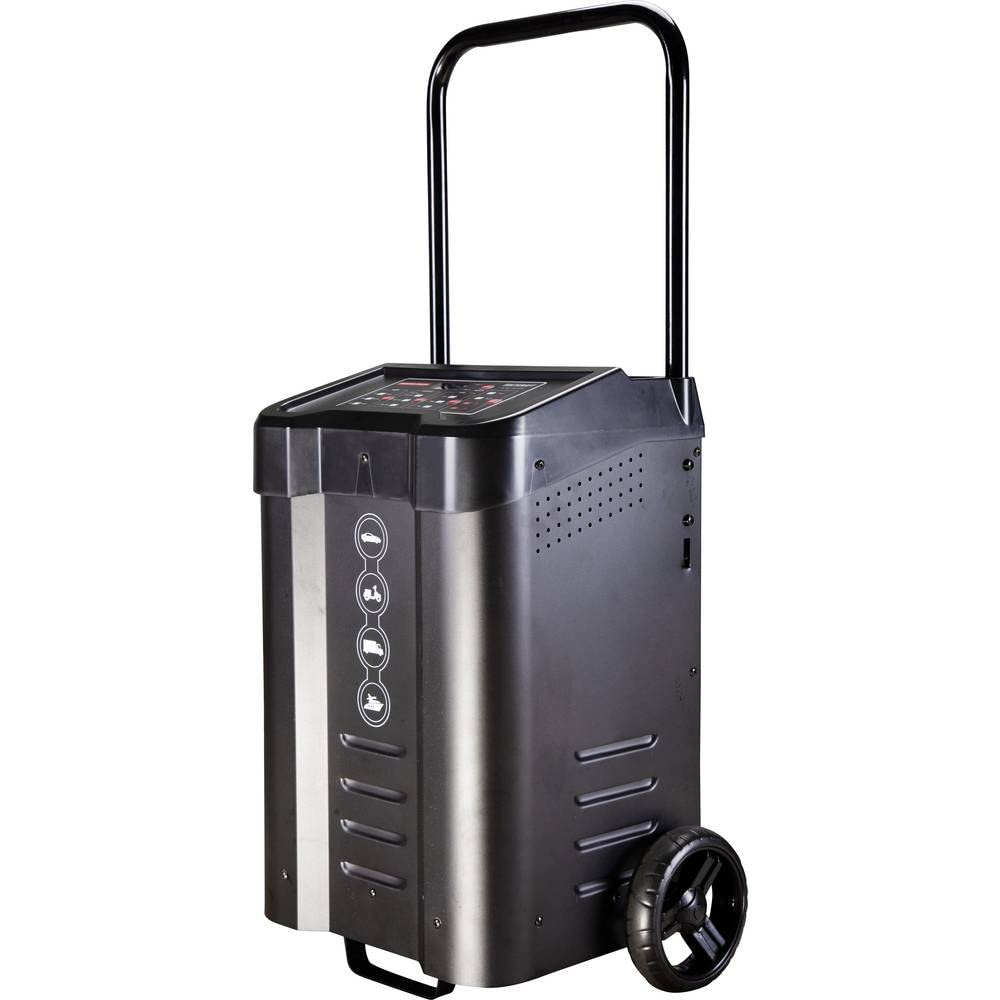
Image 1.1 : Inclinée view of the VOLTCRAFT VC-WL 60/200 Charger and Starter, showing the control panel, cables, and wheels.
2. Consignes de sécurité
Respectez toujours les consignes de sécurité suivantes afin d'éviter les blessures ou d'endommager l'appareil :
- Ensure proper ventilation during operation to prevent gas accumulation.
- Portez un équipement de protection individuelle approprié, y compris des lunettes de protection et des gants.
- N'exposez pas l'appareil à la pluie ou à l'humidité.
- Tenez les enfants et les personnes non autorisées éloignés de l'appareil pendant son fonctionnement.
- Débranchez l’alimentation électrique avant d’établir ou de déconnecter les connexions à la batterie.
- Do not attempt to charge or jump-start damaged or frozen batteries.
- Refer to the vehicle's owner's manual for specific battery connection procedures.
3. caractéristiques du produit
The VOLTCRAFT VC-WL 60/200 Charger and Starter offers the following key features:
- IP 20 Protection Rating: Provides protection against solid objects over 12.5mm, but no protection against water.
- Fonctionnement à un seul bouton : Simplifies the user interface for ease of use.
- Integrated Storage Compartment and Wheels: Enhances portability and convenient storage of cables.
- Fonction boost : Delivers a high current for jump-starting vehicles with discharged batteries.
- Compatibilité avec plusieurs types de batteries : Supports 12V/24V lead-acid STD (WET, MF), AGM, and GEL batteries.
4. Contenu du colis
Veuillez vérifier que le colis contient les éléments suivants :
- VOLTCRAFT VC-WL 60/200 Charger and Starter Unit
- Integrated Charging Cables with Clamps
- Cordon d'alimentation
- Manuel d'instructions (ce document)
5. Installation
Suivez ces étapes pour la configuration initiale :
- Déballage: Carefully remove the charger/starter from its packaging. Inspect for any signs of damage.
- Positionnement : Place the unit on a stable, level surface in a well-ventilated area, away from flammable materials. The integrated wheels allow for easy movement.
- Connexion électrique : Connect the power cord to a suitable grounded electrical outlet. Ensure the outlet voltage correspond aux exigences de l'appareil.

Illustration 5.1 : Avant view of the charger and starter, highlighting the control panel and battery type selection icons.

Image 5.2 : Arrière view of the charger and starter, showing the power cord and battery cables neatly stored.
6. Mode d'emploi
6.1. Charger une batterie
- Préparez la batterie : Vérifiez que les bornes de la batterie sont propres et exemptes de corrosion. Si vous rechargez une batterie embarquée, assurez-vous que le contact est coupé et que tous les accessoires sont débranchés.
- Connexion à la batterie : Connectez le positif rouge (+) clamp to the positive (+) battery terminal. Connect the black negative (-) clamp to the negative (-) battery terminal. For in-vehicle charging, connect the black clamp à une partie métallique du châssis du véhicule, éloignée de la batterie et de la conduite de carburant.
- Select Battery Type/Voltage: Use the one-button operation on the control panel to select the appropriate battery type (STD, AGM, GEL) and voltage (12V or 24V). The display will indicate the current selection.
- Commencer à charger : The device will automatically begin the charging process. Monitor the display for charging status.
- Déconnecter: Once charging is complete, disconnect the power cord from the outlet first, then remove the black negative (-) clamp, followed by the red positive (+) clamp.
6.2. Jump-Starting a Vehicle
Use the boost function for jump-starting a vehicle with a discharged battery.
- Préparer le véhicule : Ensure the vehicle's ignition is off and all non-essential electrical loads are turned off.
- Connexion à la batterie : Connectez le positif rouge (+) clamp to the positive (+) terminal of the discharged battery. Connect the black negative (-) clamp to a solid, unpainted metal part of the vehicle's engine block or chassis, away from the battery and fuel lines.
- Activer la fonction Boost : Sélectionnez le volume appropriétage (12V or 24V) and then activate the boost function via the control panel.
- Démarrer le véhicule : Attempt to start the vehicle. If it does not start after 5-10 seconds, wait a few minutes before trying again to allow the charger to cool. Do not crank for more than 10 seconds at a time.
- Déconnecter: Une fois le véhicule démarré, débranchez le câble noir négatif (-).amp d'abord, puis le positif rouge (+) clamp. Allow the vehicle to run for some time to recharge its battery.
7. Entretien
Regular maintenance ensures the longevity and optimal performance of your device:
- Nettoyage: Disconnect the unit from power before cleaning. Wipe the exterior with a soft, dry cloth. Do not use abrasive cleaners or solvents.
- Inspection des câbles : Inspectez régulièrement les câbles de charge et les câbles.ampSoyez attentif à tout signe de dommage, d'effilochage ou de corrosion. Remplacez immédiatement les composants endommagés.
- Stockage: Store the charger/starter in a cool, dry place when not in use. Utilize the integrated storage compartment for cables to prevent damage.
8. Dépannage
En cas de problème, veuillez vous référer au tableau suivant :
| Problème | Cause possible | Solution |
|---|---|---|
| L'unité ne s'allume pas | Pas de courant à la prise ; cordon d'alimentation défectueux | Check power outlet; Inspect power cord for damage. |
| La batterie ne charge pas | Incorrect battery connection; Battery severely discharged or damaged; Incorrect battery type/voltage sélectionné | Ensure correct polarity and secure connections; Have battery tested by a professional; Verify selected battery type and voltage. |
| Vehicle does not jump-start | Poor connection; Battery too low; Vehicle issue | Assurez-vous que clamps are securely attached; Allow more time for boost function; Consult a mechanic for vehicle issues. |
| Surchauffe | Insufficient ventilation; Prolonged use at high current | Ensure adequate airflow around the unit; Allow unit to cool down before resuming operation. |
Si les problèmes persistent après avoir suivi ces étapes, contactez le service client.
9. Spécifications
Key technical specifications for the VOLTCRAFT VC-WL 60/200 Charger and Starter:
- Marque: VOLTCRAFT
- Numéro de modèle : VC-12362515
- ASIN: B0BVSMKGS9
- Volume de sortietage: 12 volts (CC), 24 volts (CC)
- Évaluation actuelle : 60 A
- Types de batterie compatibles : Lead-acid STD (WET, MF), AGM, GEL
- Indice de protection : IP 20
- Poids de l'article : 16 kilogrammes
10. Garantie et assistance
The VOLTCRAFT VC-WL 60/200 Charger and Starter comes with a warranty period as per local regulations. Spare parts availability is guaranteed for 1 year from the date of purchase.
For technical support, warranty claims, or service inquiries, please refer to the contact information provided with your purchase documentation or visit the official VOLTCRAFT website.


