1. Introduction
The xTool 1064nm Infrared Laser Module is designed to enhance the capabilities of your xTool D1 Pro laser engraver, specifically for engraving on various metals and plastics. This module features a 0.03mm ultra-fine laser spot and 15KW peak power, enabling precise and detailed work on materials typically challenging for blue diode lasers.
This manual provides essential information for the safe and effective use of your laser module, including setup, operation, and maintenance guidelines.
2. Précautions de sécurité
- Always wear safety goggles: Infrared lasers are invisible and can cause severe eye damage. Ensure appropriate laser safety goggles are worn by all individuals in the operating area.
- Ventilation: Operate the laser engraver in a well-ventilated area to dissipate fumes and smoke produced during engraving.
- Matériaux inflammables : Avoid engraving flammable materials or operating near combustible substances.
- Fonctionnement sans surveillance : Never leave the device unattended while it is working.
- Éteindre : Always power off and unplug the device before performing any maintenance or module changes.
3. Guide de configuration
3.1 Déballage et composants
Avant de commencer, assurez-vous que tous les composants sont présents :
- xTool 1064nm Infrared Laser Module
- Lunettes de sécurité
- Outils de nettoyage
- xTool D1 Pro (main unit, sold separately)
- Laptop with xTool Creative Space software
- RA2 Pro Rotary Attachment (optional, for cylindrical objects)
3.2 Installation du module laser
The 1064nm Infrared Laser Module is designed for quick and easy installation on your D1 Pro. This process involves replacing the existing laser module.
- Supprimer le module existant : Loosen the toggle screw on the current laser module. Gently pull the module upwards to detach it from the machine. Disconnect the cable from the top of the module.
- Connect New Module: Connect the cable to the top of the 1064nm Infrared Laser Module.
- Installer un nouveau module : Insert the new module into the machine's carriage. Tighten the toggle screw to secure it in place.
Vidéo: xTool 1064 Laser Module for xTool D1 Pro Laser Engraver. This video demonstrates the quick installation process of the 1064nm laser module onto the D1 Pro machine.

Image: One-step installation of the xTool 1064nm Infrared Laser Module. This image illustrates the simple process of installing the laser module onto the D1 Pro, highlighting its ease of setup.
3.3 Connecting RA2 Pro (for Rings)
For engraving cylindrical objects like rings, the RA2 Pro rotary attachment is required. Ensure the honeycomb panel is removed and the D1 Pro is raised to accommodate the RA2 Pro.
- Prepare RA2 Pro: Secure the ring onto the appropriate pillars of the RA2 Pro, ensuring it is stable.
- Connect RA2 Pro: Disconnect the Y-axis motor cable from the D1 Pro. Connect the RA2 Pro cable to the Y-axis port on the D1 Pro.
- Place RA2 Pro: Position the RA2 Pro onto the D1 Pro's working area.
4. Mode d'emploi
4.1 Compatibilité des matériaux
The 1064nm Infrared Laser Module is specifically designed for engraving on a wide range of materials, including:
- Métaux : Gold, Silver, Platinum, Copper, Aluminum, Zinc, Titanium, Iron, Stainless Steel, Metal Oxides, and Alloys.
- Plastiques : Various types of plastic and acrylic, including opaque plastic and opaque acrylic.
- Autres matériaux : Leather, Painted Ceramics, Rock, Glass, Circuit Boards, Paper.
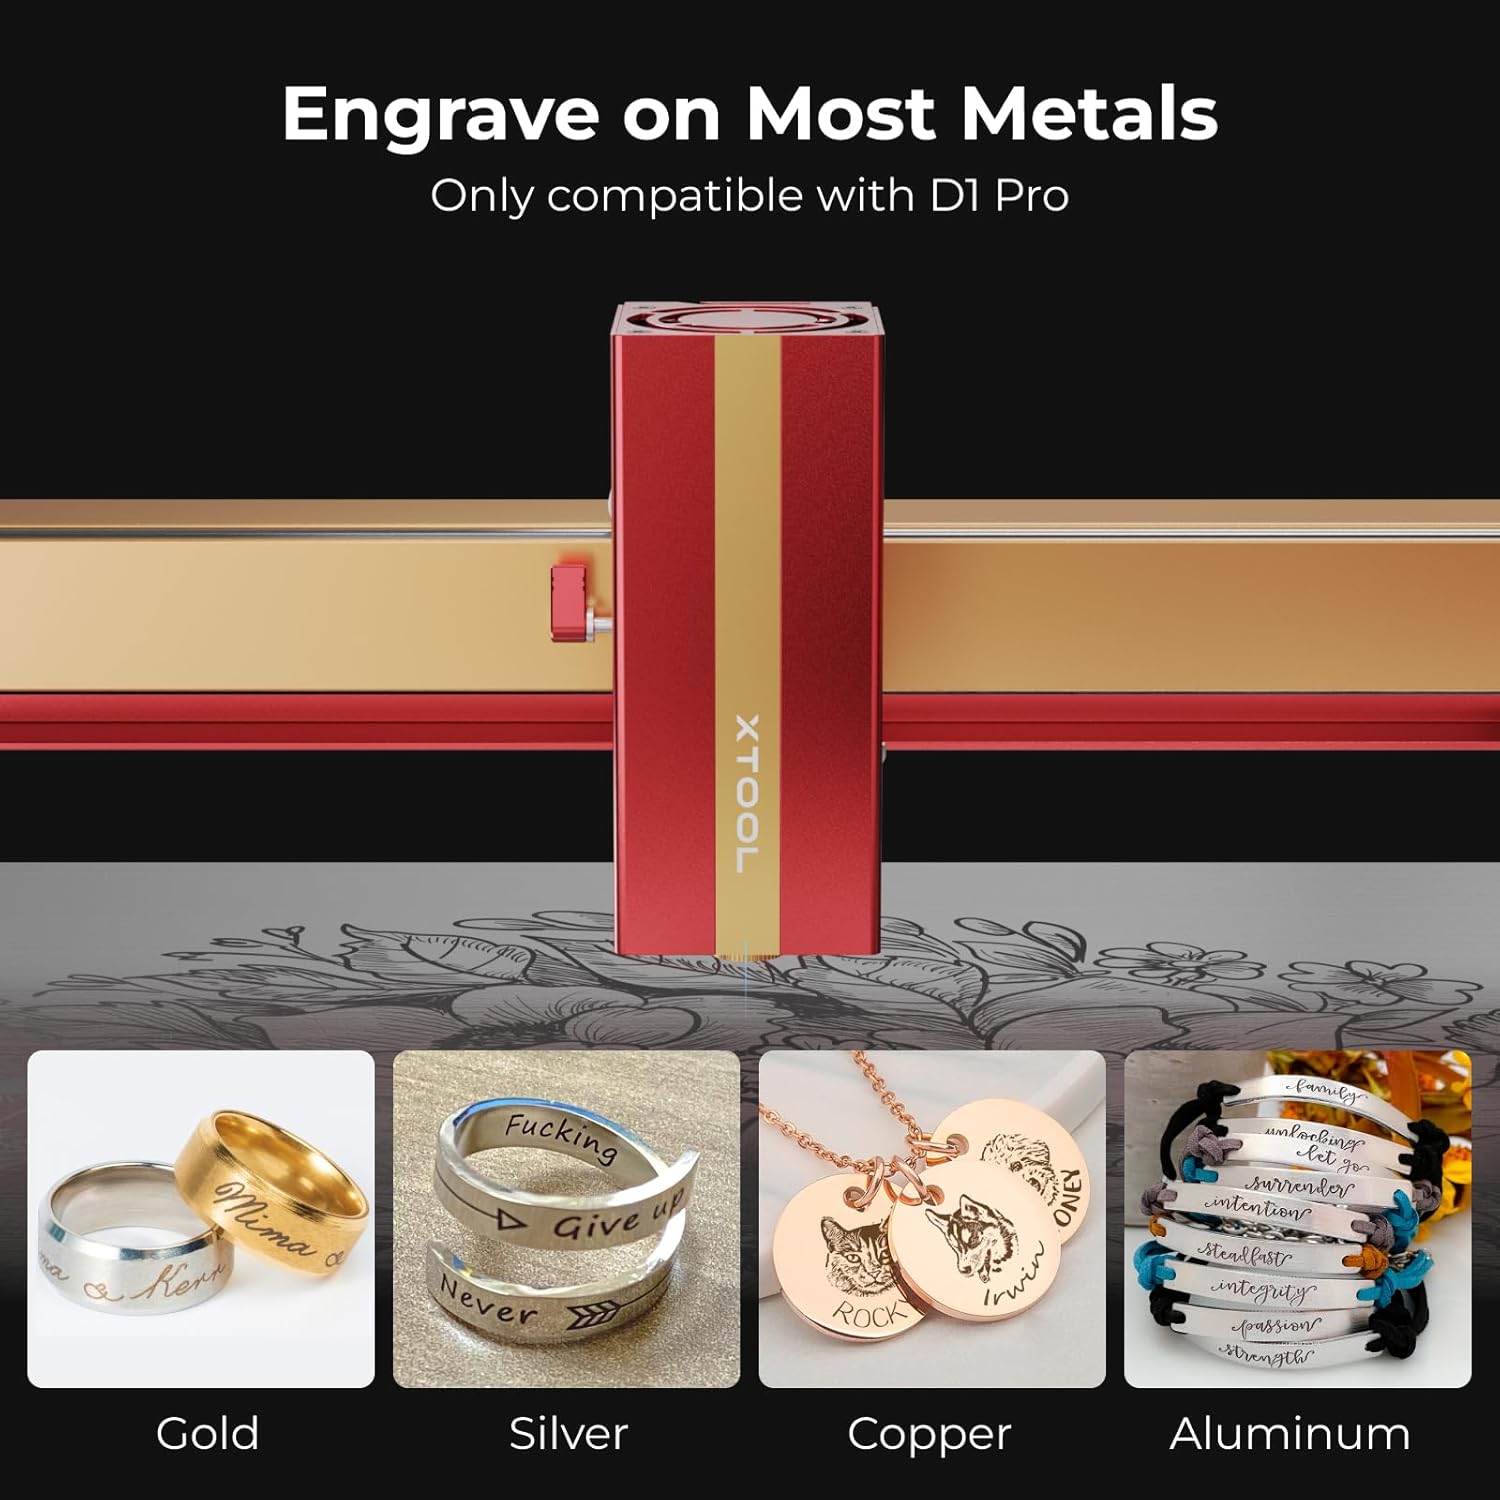
Image: Engraving on Most Metals. This image showcases the module's capability to engrave on different metal types, including gold, silver, copper, and aluminum.
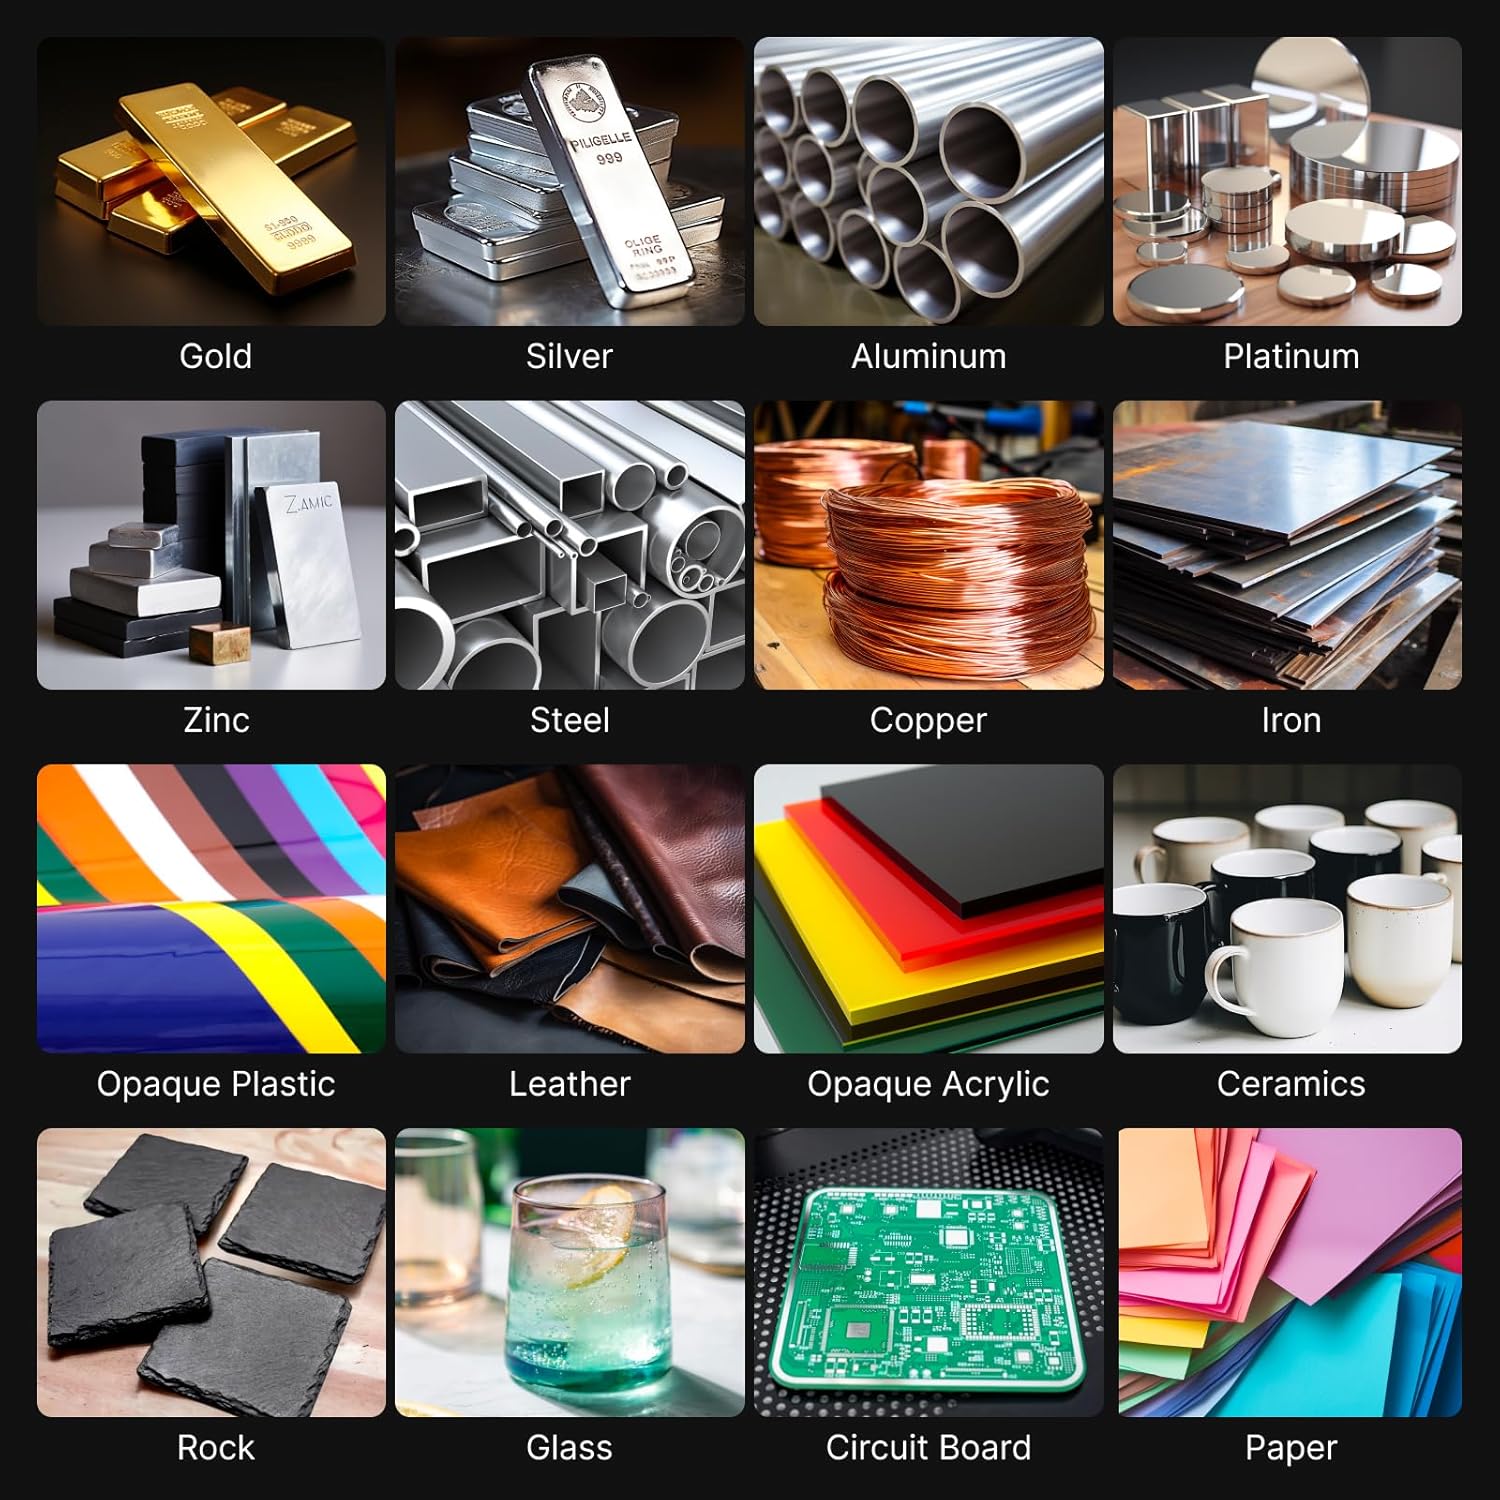
Image: Diverse Material Compatibility. This image displays a wide array of materials that can be engraved with the 1064nm laser module, from various metals to plastics, leather, and more.
4.2 Focalisation du laser
Une mise au point précise est essentielle pour obtenir des résultats de gravure optimaux.
- Lower Setting Bar: Pull down the setting bar located on the side of the laser module.
- Ajuster la hauteur : Loosen the toggle screw and move the laser module up or down until the tip of the setting bar just touches the highest surface of your material.
- Module sécurisé : Tighten the toggle screw to lock the module in place.
- Retract Setting Bar: Push the setting bar back up into its original position.
4.3 Using xTool Creative Space Software
The xTool Creative Space software is used to design and control your engraving projects.
- Connecter l'appareil : Ensure your D1 Pro is connected to your computer via USB.
- Logiciel libre : Launch xTool Creative Space.
- Conception/Importation : Create your design or import an existing one. For text, use the text tool and input your desired message.
- Définir les paramètres :
- Taille: Adjust the size of your design. Ensure the lock icon is engaged to maintain aspect ratio.
- Mode laser : Select "Laser flat" for flat materials or "Laser cylindrical" for use with the RA2 Pro. If using RA2 Pro, select "Chuck" mode and input the diameter of your object (e.g., 24mm for a ring).
- Matériel: Choose "stainless steel (304)" or the appropriate material from the dropdown. The software will automatically suggest reference parameters.
- Opération: Select "Engrave".
- Puissance/Vitesse : Adjust power and speed settings as needed. For stainless steel, typical settings might be 100% power and 80mm/s speed.
- Encadrement: Click the "Framing" button in the software. The laser will outline the engraving area on your material. Adjust the material's position if necessary. Press the button on the D1 Pro to start framing.
- Commencer la gravure : Once framing is complete and you are satisfied with the placement, click "Start" in the software, then press the button on the D1 Pro to begin the engraving process.
Vidéo: How to engrave with the 1064nm laser module? This detailed video guides users through the software interface, parameter settings, and the engraving process for various items like necklaces, bracelets, and rings.

Image: Ultra-Fine Engraving Result. This image highlights the precision of the 0.03mm laser spot, demonstrating significantly finer detail compared to larger spot sizes.

Image: No Burn Marks on Materials. This image illustrates the clean engraving results on acrylic and plastic using the 1064nm laser, contrasting with the burn marks left by a 455nm laser.
5. Entretien
Un entretien régulier garantit la longévité et les performances optimales de votre module laser.
- Cleaning Engraved Items: After engraving, use alcohol wipes or a soft cloth with alcohol to clean the engraved surface of your material. This removes any residue and enhances the clarity of the engraving.
- Nettoyage des lentilles laser : Periodically inspect the laser lens for dust or debris. Use a specialized lens cleaning kit or a soft, lint-free cloth with lens cleaning solution to gently clean the lens. Avoid abrasive materials.
- Nettoyage général : Keep the D1 Pro machine and the laser module free from dust and debris. Use a soft brush or compressed air to clean surfaces.
6. Spécifications
| Marque | Bloc de fabrication |
| Numéro de modèle | P5010177 |
| Type de laser | Laser infrarouge 1064 nm |
| Taille du spot laser | 0.03 mm x 0.03 mm |
| Puissance de pointe | 15 kW |
| Vitesse de travail | Jusqu'à 400 mm/s |
| Moving Accuracy | 0.01 mm |
| Dimensions du produit | 35.1 x 14.6 x 5.1 pouces |
| Poids de l'article | 3.83 livres |
| Compatibilité | xTool D1 Pro only |
7. Informations sur la garantie
The xTool 1064nm Infrared Laser Module comes with a Garantie constructeur d'un an. Please retain your proof of purchase for warranty claims. For detailed terms and conditions, refer to the official xTool website ou contacter le support client.
8. Assistance clientèle
For any questions, technical assistance, or support, please utilize the following resources:
- Assistance par e-mail : Pour toute question détaillée, veuillez nous contacter par courriel.
- Chat en direct : Access live chat for immediate assistance.
- Assistance téléphonique : Contact our technical service team by phone.
- Communauté en ligne : Join the xTool Facebook group for community support and tips.

Image: Multi-Channel Service. This image illustrates the various support channels available for xTool users, including email, live chat, phone, and community forums.

Image: Technical Service Team. A friendly face from the xTool technical support team, emphasizing readily available assistance.


