1. Introduction
This manual provides detailed instructions for the installation, operation, and maintenance of your OOYCYOO MPPT 60A Solar Charge Controller. This device is designed to efficiently manage power flow from your solar panels to your battery bank, ensuring optimal charging and system protection. It supports automatic 12V/24V system voltage identification and is compatible with various battery types.
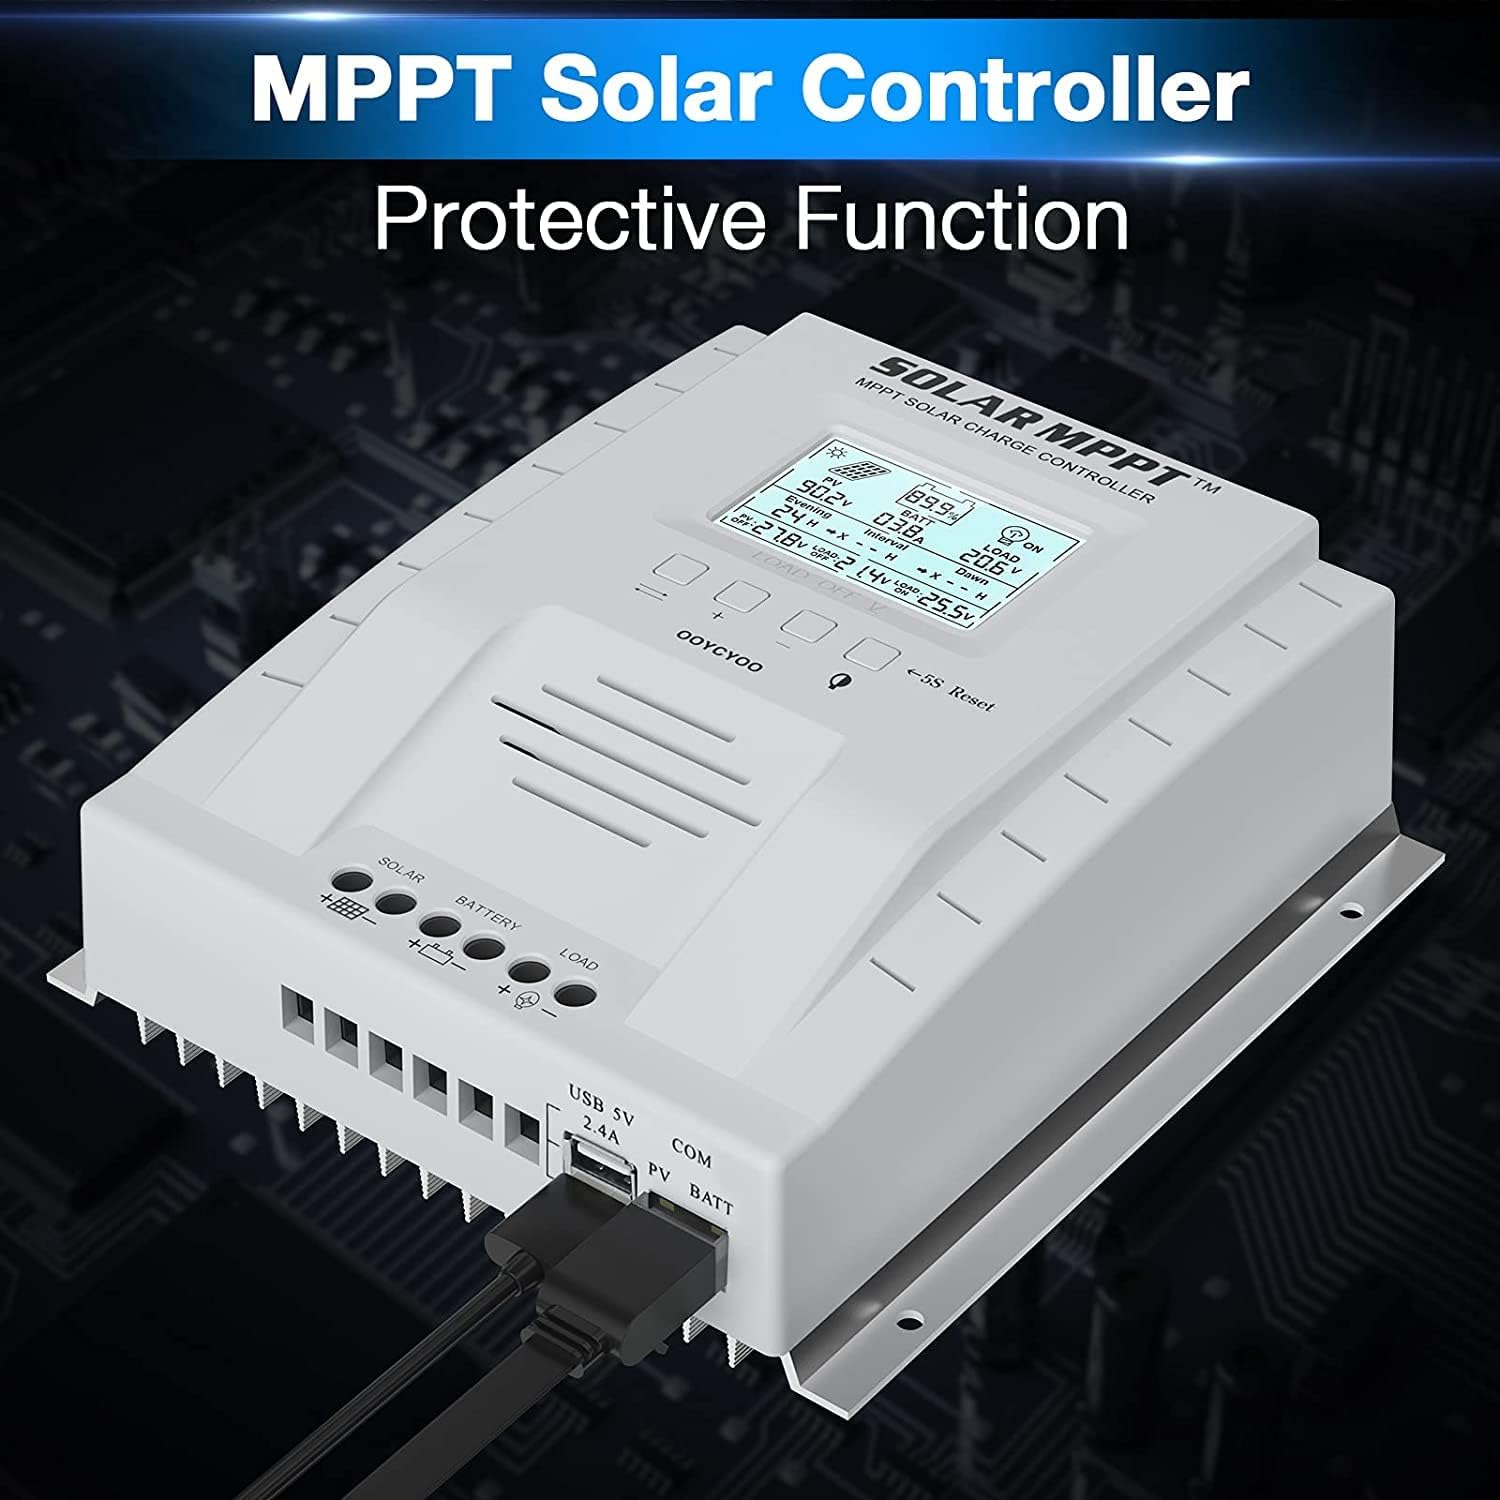
Key features include a backlit LCD display, a 4-stage battery charging algorithm, and comprehensive protection functions.
2. Consignes de sécurité
- Branchez toujours d'abord la batterie, puis le panneau solaire, et enfin la charge. Débranchez-les dans l'ordre inverse.
- Ensure all wiring is correctly polarized to prevent damage.
- Do not connect inverters or inductive loads directly to the controller's load terminals.
- Installez le contrôleur dans un endroit bien ventilé, à l'écart des matériaux inflammables.
- The controller generates heat during operation; ensure adequate airflow. The integrated cooling fan activates when the temperature exceeds 45°C and turns off below 40°C.
- Utilisez des disjoncteurs et des fusibles appropriés pour tous les branchements.
- This device is for indoor use only. Protect it from water and moisture.
3. Produit terminéview
The OOYCYOO MPPT 60A Solar Charge Controller is designed for efficient solar power management. It features an LCD display for real-time data, multiple protection functions, and support for various battery types.
3.1 Contenu du paquet
- 1 x Contrôleur de charge solaire OOYCYOO MPPT 60A
- Capteur de température 1 x
- 1 x Manuel d'utilisation (anglais)
3.2 Identification des composants

The controller features a clear LCD display on the front for monitoring system status. Below the display are control buttons for navigation and settings. Connection terminals for solar panels, battery, and load are located at the bottom. USB ports and an RS485 communication port are on the side.
4. Configuration et installation
Une installation correcte est essentielle au bon fonctionnement et à la sécurité de votre régulateur de charge solaire. Suivez attentivement ces étapes.
4.1 Montage du contrôleur
- Choisissez un endroit sec et bien ventilé, protégé de la lumière directe du soleil, des températures élevées et de l'eau.
- Veillez à laisser suffisamment d'espace autour du contrôleur pour permettre la dissipation de la chaleur.
- Mount the controller vertically on a wall or stable surface using the provided mounting holes.
4.2 Connexions de câblage
Follow the connection order precisely to avoid damage to the controller or other components.
- Connectez la batterie : Connect the positive and negative terminals of the battery to the corresponding battery terminals on the controller. Ensure correct polarity. The controller will automatically detect the system voltage (12V ou 24V).
- Raccordez les panneaux solaires : Connect the positive and negative leads from your solar panel array to the corresponding PV terminals on the controller. Ensure correct polarity. Do not exceed the maximum PV input voltage de 100V DC.
- Raccordez la charge (facultatif) : Connect your DC loads to the load terminals on the controller. Note that the load output is for DC loads only. Do not connect inverters or inductive loads directly to these terminals.
- Connect the Remote Temperature Sensor: Plug the temperature sensor into its dedicated port. This sensor helps the controller optimize charging based on battery temperature.

Remarque importante : Always connect the battery first and disconnect the solar panel last. Incorrect connection order can damage the controller.
5. Mode d'emploi
Once installed, the controller will begin operation automatically. The LCD display provides real-time system information.
Écran LCD 5.1 pouces et boutons

The backlit LCD displays critical system parameters such as PV voltage, vol de batterietage, charging current, load current, and accumulated energy (KWH). The four buttons below the display are used for navigation and settings adjustment:
- Clé à bascule : Used to cycle through display screens or confirm selections.
- '+' (Plus) Key: Augmente les valeurs ou permet de progresser dans les menus.
- '-' (Minus) Key: Diminue les valeurs ou recule dans les menus.
- Manual Switch Load Key: Toggles the load output on/off manually.
- 5S Reset: Appuyez et maintenez pendant 5 secondes pour restaurer les paramètres d'usine.
5.2 Battery Charging Algorithm
Le contrôleur utilise un système à 4 stagalgorithme de charge pour optimiser la durée de vie et les performances de la batterie :
- Frais de gros : Charge la batterie à courant maximal jusqu'à ce que le volumetage atteint le vol boosttage.
- Charge d'appoint : Charges à volume constanttage pendant une période déterminée afin de garantir une charge complète.
- Charge flottante: Maintient la batterie à un volume inférieurtage pour éviter l'autodécharge et la surcharge.
- Equalization (for specific battery types): Surcharge périodique de la batterie pour équilibrer le volume des cellulestaget prévenir la sulfatation.
5.3 Types de batteries pris en charge
The controller is compatible with various battery types, including:
- Lead-Acid (Sealed, Gel, Flooded)
- Lithium (LFP)
- User-defined parameters for other battery types.
Pre-set charging parameters are available for Sealed, Gel, Flooded, and LI (LFP) batteries. Users can customize parameters for other battery types as needed.
6. Fonctions de protection
The OOYCYOO MPPT 60A Solar Charge Controller incorporates multiple protection mechanisms to ensure system safety and longevity:
- PV Overcurrent/Overpower Protection
- Protection contre les courts-circuits PV
- Protection contre l'inversion de polarité PV
- Reverse Charging at Night Protection
- Protection contre l'inversion de polarité de la batterie
- Survol de la batterietaget protection
- Protection contre la décharge excessive de la batterie
- Battery Overtemperature Protection
- Controller Overtemperature Protection
- Lithium Battery Low Temperature Protection
- Protection contre les courts-circuits de charge
- Protection contre les surcharges de charge
- TVS haut volumetage Protection transitoire
7. Entretien
Un entretien régulier garantit des performances optimales et prolonge la durée de vie de votre régulateur de charge solaire.
- Vérifier les connexions : Vérifiez régulièrement le serrage et l'absence de corrosion de tous les raccords électriques. Resserrer les raccords desserrés.
- Nettoyer le contrôleur : Keep the controller clean and free of dust. Use a dry cloth to wipe the exterior. Ensure ventilation openings are not obstructed.
- Inspecter les dommages : Check for any signs of physical damage, overheating, or unusual odors.
- Inspection de la batterie : Suivez les instructions d'entretien du fabricant pour votre type de batterie.
8. Dépannage
Cette section aborde les problèmes courants que vous pourriez rencontrer avec votre régulateur de charge solaire.
| Problème | Cause possible | Solution |
|---|---|---|
| Manette ne s'allume pas / écran LCD vide | Aucune batterie connectée ou volume de batterietage trop bas. Connexion à polarité inversée. | Assurez-vous d'abord que la batterie est connectée et qu'elle a une tension suffisantetage. Vérifiez la polarité de la batterie. |
| Aucune recharge à partir de panneaux solaires | Solar panels not connected or reverse polarity. Insufficient sunlight. PV voltage trop bas ou trop haut. | Vérifiez les connexions et la polarité des panneaux solaires. Assurez-vous d'un ensoleillement suffisant. Vérifiez le volume PV.tage is within operating range (e.g., 18V-96V for 12V system, 36V-96V for 24V system). |
| Chargement impossible | Load output disabled. Load short circuit or overload. Battery voltage trop bas. | Check load output status on LCD. Disconnect load and check for short circuit. Ensure battery is sufficiently charged. |
| Surchauffe du contrôleur | Poor ventilation. Excessive load or charging current. | Ensure adequate airflow around the controller. Reduce load or charging current if possible. |
| Volume inexacttage lectures | Loose connections. Faulty temperature sensor. | Check all wiring connections. Ensure temperature sensor is properly connected. |
9. Spécifications
Technical specifications for the OOYCYOO MPPT 60A Solar Charge Controller.
| Paramètre | Valeur |
|---|---|
| Courant de charge nominal | 60A |
| Vol systèmetage | 12V/24V Auto Identification |
| Max. Volume de circuit ouvert PVtage | 100 V CC |
| Puissance d'entrée PV maximale (système 12 V) | 750 W |
| Puissance d'entrée PV maximale (système 24 V) | 1500 W |
| DC/DC Transfer Efficiency | Jusqu'à 98.7% |
| Température de fonctionnement | -20℃ à +55℃ |
| Taille des bornes | 10 AWG |
| Dimensions (L x l x H) | 8.3 x 8.4 x 3.4 pouces (21.2 x 20.8 x 8.4 cm) |
| Poids | 3 livres (1.28 kg) |
| Type d'affichage | Rétroéclairage LCD |
| Code UPC | 768461886785 |
| Numéro de modèle | P 60A |


10. Garantie et assistance
For warranty information or technical support, please contact your retailer or the manufacturer directly. Refer to the product packaging or purchase documentation for specific contact details.


