1. Mesures de sécurité importantes
Lors de l'utilisation d'appareils électriques, des précautions de sécurité de base doivent toujours être respectées pour réduire les risques d'incendie, de choc électrique et de blessures corporelles, notamment les suivantes :
- Lisez toutes les instructions avant d’utiliser l’appareil.
- N’utilisez pas d’appareil dont le cordon ou la fiche est endommagé, ou après un dysfonctionnement de l’appareil ou après qu’il a été endommagé de quelque manière que ce soit.
- Ne pas utiliser à l'extérieur.
- Ne plongez pas le cordon, les fiches ou l’appareil dans l’eau ou tout autre liquide.
- Une surveillance étroite est nécessaire lorsqu’un appareil est utilisé par ou à proximité d’enfants.
- Ne laissez pas le cordon pendre du bord d'une table ou d'un comptoir, ou toucher des surfaces chaudes.
- Ne pas placer sur ou à proximité d'un brûleur à gaz ou électrique chaud, ni dans un four chaud.
- Branchez toujours d'abord la fiche à l'appareil, puis branchez le cordon à la prise murale. Pour débrancher, mettez la commande sur « arrêt », puis retirez la fiche de la prise murale.
- N'utilisez pas l'appareil à d'autres fins que celles prévues.
- Always ensure the glass turntable is properly seated before operation.
- Ne chauffez pas de liquides ou d'autres aliments dans des récipients scellés car ils risquent d'exploser.
- Maintain the inside of the oven. Food particles or spilled liquids can cause arcing or fire.
- N'essayez pas de faire fonctionner ce four avec la porte ouverte car le fonctionnement avec porte ouverte peut entraîner une exposition nocive à l'énergie des micro-ondes.
- Ne placez aucun objet entre la face avant du four et la porte et ne laissez pas de saleté ou de résidus de nettoyant s'accumuler sur les surfaces d'étanchéité.
- Do not operate the oven if it is damaged. It is particularly important that the oven door closes properly and that there is no damage to the (1) door (bent), (2) hinges and latches (broken or loosened), (3) door seals and sealing surfaces.
- Le four ne doit pas être réglé ou réparé par quiconque, sauf par un personnel de service dûment qualifié.
2. Produit terminéview
The West Bend 900-Watt 0.9 Cu. Ft. Compact Microwave Oven (Model WBMW92W) is designed for convenient and efficient cooking in various settings. It features a compact footprint, electronic control panel, and a rotating glass turntable for even heating.

Figure 2.1 : The West Bend Microwave Oven (Model WBMW92W) positioned on a kitchen countertop, showcasing its compact design and white finish. The microwave features a black door and control panel, with a silver trim.
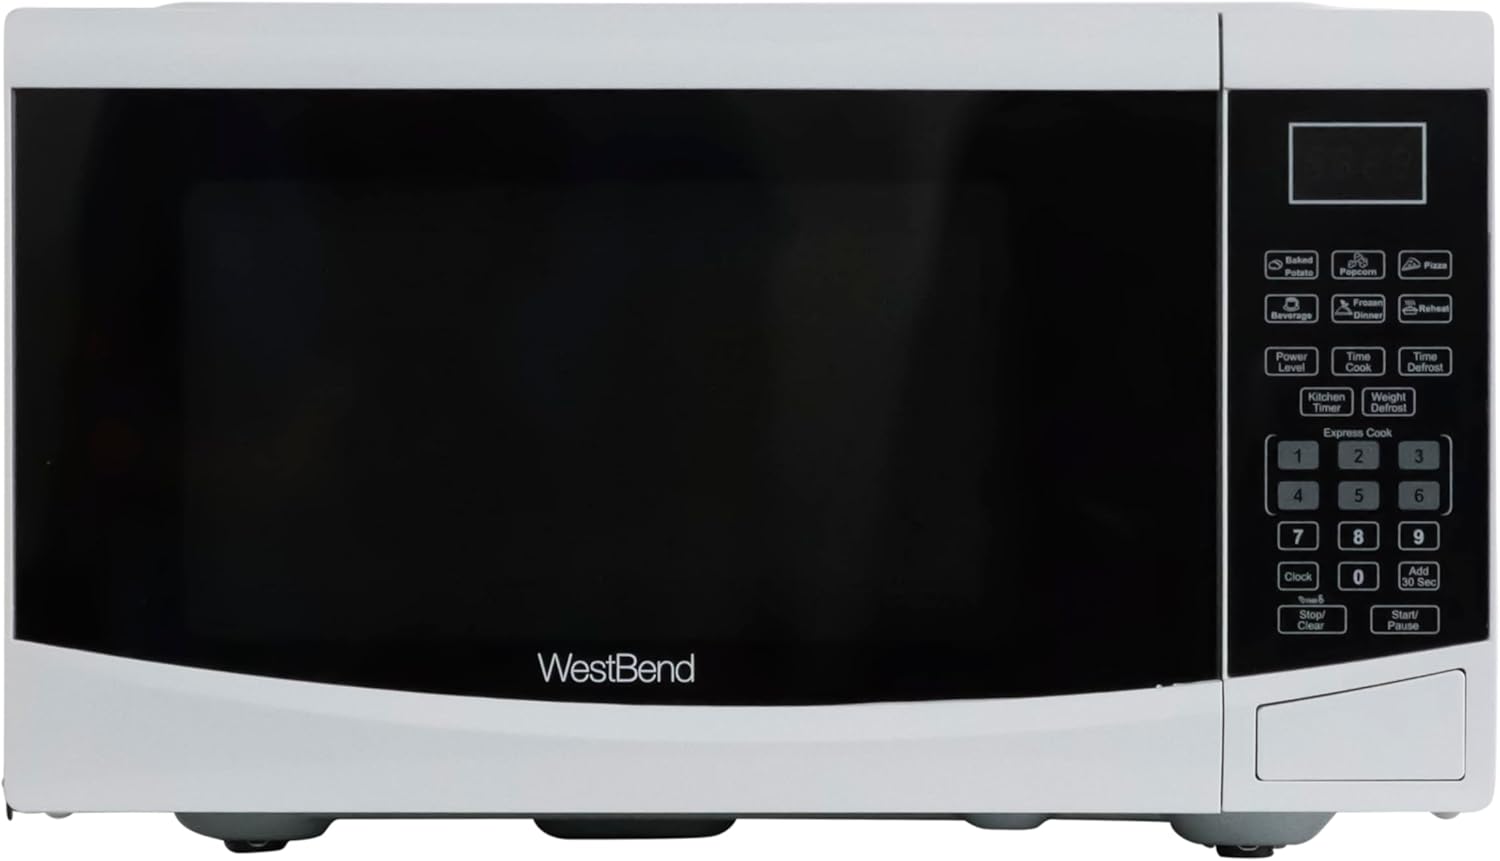
Figure 2.2 : Un front direct view of the West Bend Microwave Oven, highlighting the door, control panel, and the West Bend logo. The unit is white with a black door and silver accents.
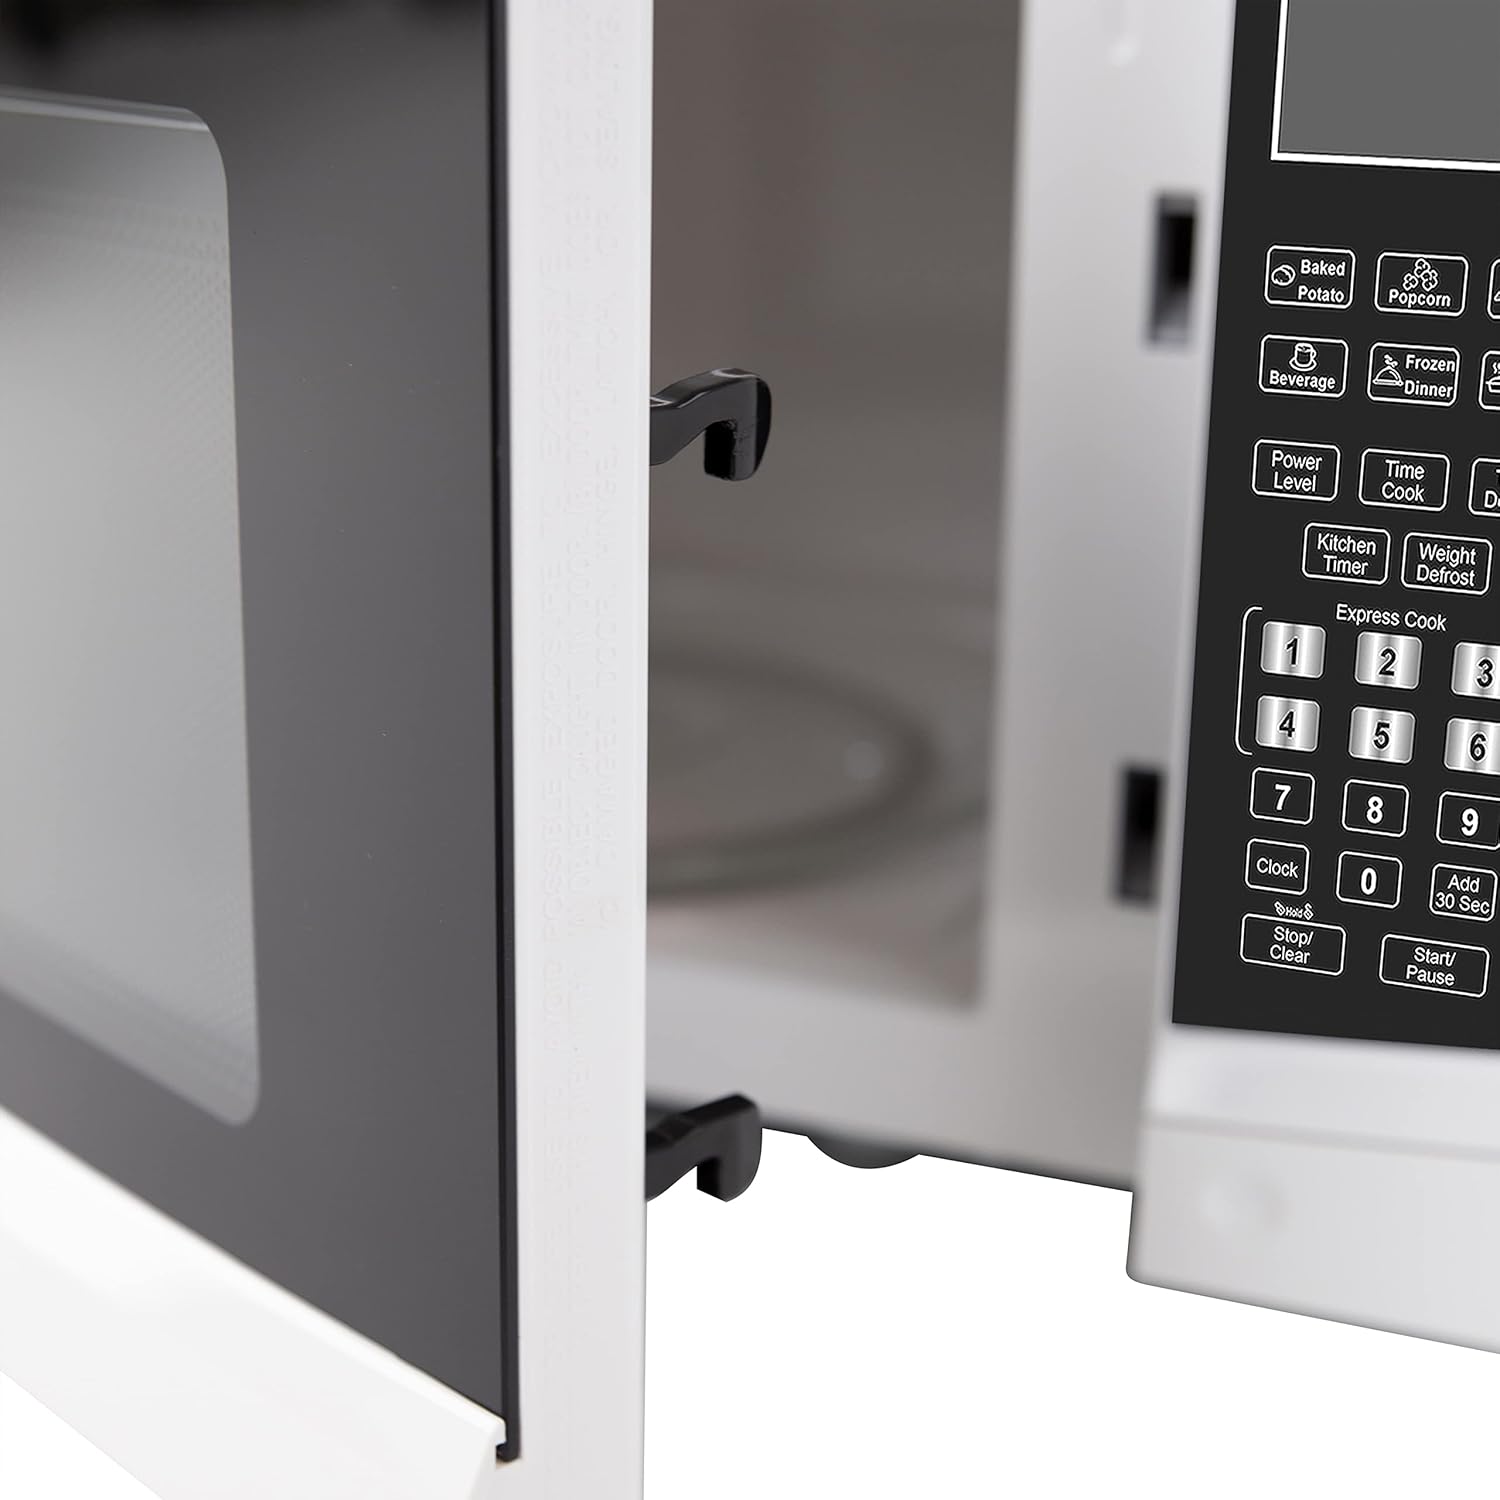
Figure 2.3 : The interior of the microwave oven with the door open, revealing the glass turntable and the oven cavity. The interior is white, and the 900 WATTS power rating is visible above the door opening.
3. Configuration et installation
3.1 Déballage
Carefully remove the microwave oven from its packaging. Remove all packing materials, including any protective film or tape from the oven surfaces. Check the oven for any damage, such as dents or a misaligned door. Do not operate the oven if it is damaged. Contact customer support if any damage is found.
3.2 Assemblage du plateau tournant
Place the roller ring in the depression in the bottom of the microwave oven. Place the glass turntable on top of the roller ring, ensuring it is securely seated in the center support.
- Ne placez jamais le plateau en verre à l'envers.
- The glass tray and roller ring must always be used during cooking.
- Tous les aliments et récipients contenant des aliments doivent toujours être placés sur le plateau en verre pour la cuisson.
3.3 Placement
Place the microwave oven on a flat, stable surface that can support its weight and the heaviest food item likely to be cooked in it. Ensure there is adequate ventilation around the oven. Maintain a minimum of 3 inches (7.5 cm) of space on the top, sides, and rear for proper airflow.
3.4 Exigences électriques
The microwave oven requires a standard 120V AC, 60Hz electrical outlet. Do not use an extension cord. Ensure the outlet is properly grounded.
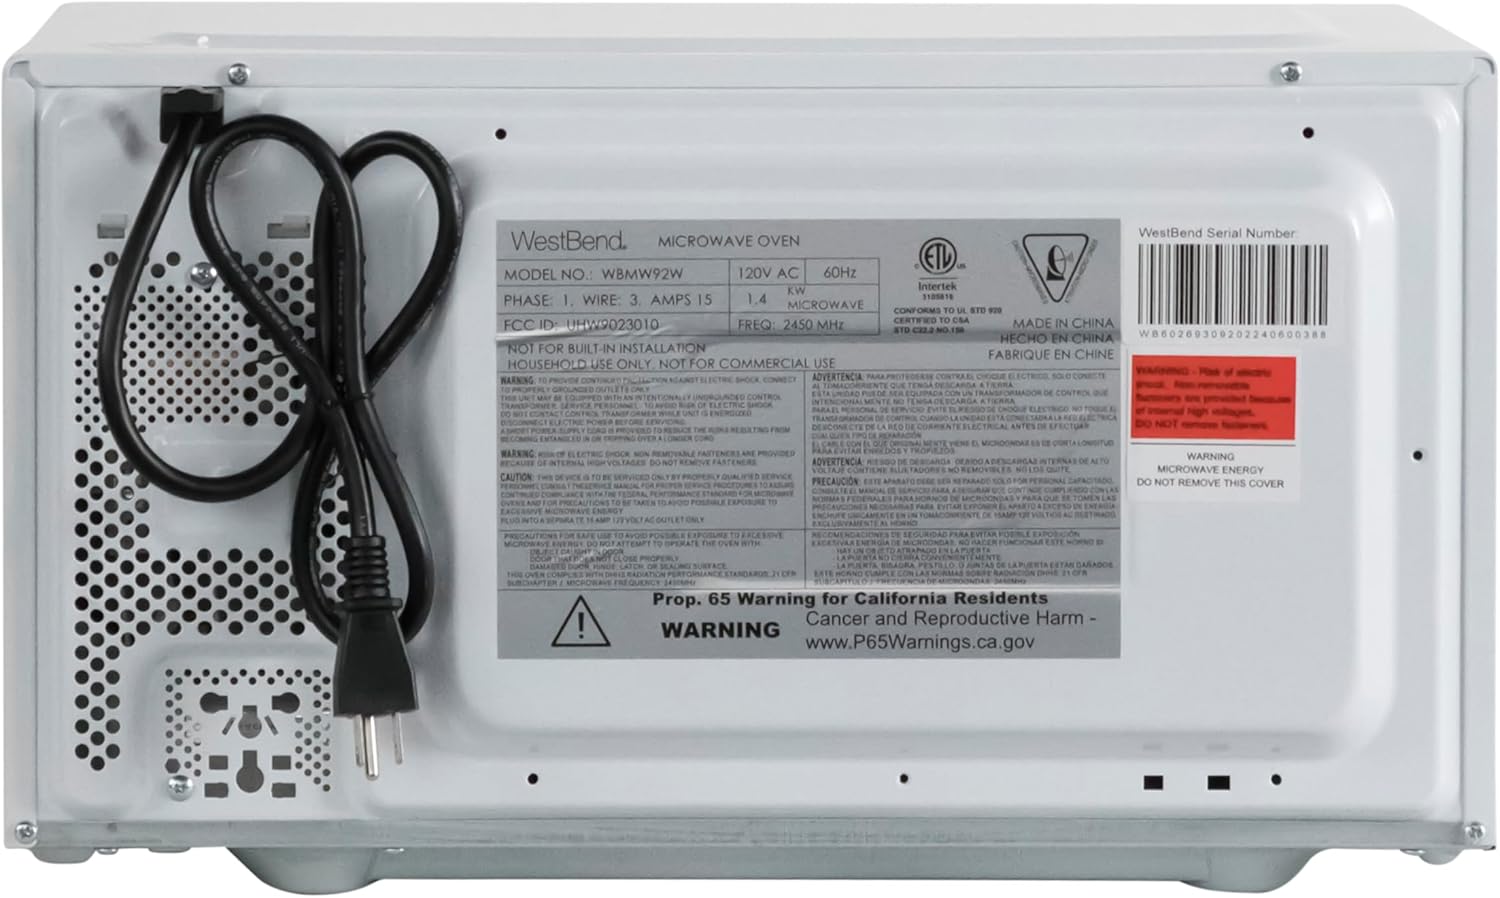
Figure 3.1 : The rear of the microwave oven, displaying the power cord and the product information label with electrical specifications and model number WBMW92W.
4. Mode d'emploi
The control panel allows you to set cooking times, power levels, and use pre-programmed functions.

Figure 4.1 : Un détail view of the electronic control panel, showing buttons for Time Cook, Time Defrost, Weight Defrost, Power Level, Clock, Kitchen Timer, Popcorn, Potato, Pizza, Frozen Vegetable, Beverage, Dinner Plate, Express Cook numbers, Stop/Clear, and Start/+30 Sec.
4.1 Réglage de l'horloge
- Appuyez sur le HORLOGE Appuyez une fois sur le bouton.
- Utilisez le pavé numérique pour saisir l'heure actuelle (par exemple, 12:30 pour 12:30 PM).
- Appuyez sur le HORLOGE Appuyez à nouveau sur le bouton pour confirmer.
4.2 Cuisson de base au micro-ondes (cuisson par minuterie)
- Placez les aliments au micro-ondes.
- Appuyez sur le TEMPS DE CUISSON bouton.
- Saisissez le temps de cuisson souhaité à l'aide du pavé numérique.
- (Facultatif) Pour régler le niveau de puissance, appuyez sur NIVEAU DE PUISSANCE puis un nombre de 1 à 10 (10 étant la puissance de 100 %).
- Presse DÉMARRER/+30 SEC pour commencer à cuisiner.
4.3 Express Cook
For quick cooking at 100% power, simply press one of the number buttons (1-6) to cook for that many minutes. Press DÉMARRER/+30 SEC to add 30 seconds to the current cooking time or to start cooking for 30 seconds at 100% power if no other function is selected.
4.4 Pre-Set Cooking Functions
The microwave includes 6 pre-set cooking options for common food items:
- POPCORN: For microwave popcorn.
- POMME DE TERRE: Pour cuire les pommes de terre au four.
- PIZZAS : Pour réchauffer des parts de pizza.
- FROZEN VEGETABLE: Pour la cuisson des légumes surgelés.
- BOISSON: Pour réchauffer les boissons.
- DINNER PLATE: Pour réchauffer une assiette.
To use a pre-set function, simply press the corresponding button. The oven will automatically set the cooking time and power level. For some functions, you may need to press the button multiple times to select the desired quantity (e.g., number of potatoes).

Figure 4.2 : The interior of the microwave oven with a bag of microwave popcorn placed on the glass turntable, ready for cooking using the Popcorn pre-set function.
4.5 Fonctions de dégivrage
Le four à micro-ondes propose deux modes de décongélation :
- DÉGEL TEMPOREL :
- Presse DÉCONGÉLATION À TEMPS.
- Saisissez la durée de dégivrage souhaitée.
- Presse DÉMARRER/+30 SEC.
- POIDS DÉGIVRAGE:
- Presse DÉCONGÉLATION PAR POIDS.
- Entrez le poids de l'aliment en onces (ex. : 16 pour 1 lb).
- Presse DÉMARRER/+30 SEC.
4.6 Minuterie de cuisine
The Kitchen Timer operates independently of the microwave cooking functions.
- Appuyez sur le MINUTERIE DE CUISINE bouton.
- Saisissez l'heure souhaitée à l'aide du pavé numérique.
- Presse DÉMARRER/+30 SEC. The timer will count down without activating the microwave.
4.7 Sécurité enfants
The Child Lock feature prevents unintended operation of the microwave oven, enhancing safety.
- Activer: Appuyez et maintenez enfoncé le ARRÊT/EFFACER Appuyez sur le bouton pendant 3 secondes. Un indicateur de verrouillage apparaîtra à l'écran.
- Pour désactiver : Appuyez et maintenez enfoncé le ARRÊT/EFFACER Appuyez de nouveau sur le bouton pendant 3 secondes. Le voyant de verrouillage disparaîtra.

Figure 4.3 : An informational graphic detailing the new mandatory 2-step child safety lock feature, explaining how it reduces risks by preventing the oven door from being opened during cooking cycles when enabled.
5. Entretien et maintenance
Un nettoyage et un entretien réguliers garantiront la longévité et les performances optimales de votre four à micro-ondes.
5.1 Nettoyage de l'extérieur
Essuyez les surfaces extérieures avec un chiffon doux, damp Chiffon. Évitez d'utiliser des nettoyants abrasifs ou des produits chimiques agressifs qui pourraient endommager la finition.
5.2 Nettoyage de l'intérieur
To clean the interior, wipe with a soft, damp cloth and mild soap. For stubborn food splatters, place a bowl of water with lemon slices inside and microwave on high for 2-3 minutes. The steam will loosen the residue, making it easier to wipe clean. Ensure the oven is unplugged before cleaning.
5.3 Nettoyage du plateau tournant en verre
Le plateau tournant en verre et l'anneau de roulement sont amovibles pour le nettoyage. Lavez-les à l'eau chaude savonneuse ou au lave-vaisselle. Assurez-vous qu'ils soient parfaitement secs avant de les remettre au four.
6. Guide de dépannage
Si vous rencontrez des problèmes avec votre four à micro-ondes, consultez le tableau suivant pour connaître les problèmes courants et leurs solutions.
| Problème | Cause possible | Solution |
|---|---|---|
| Le four ne démarre pas. | Cordon d'alimentation non branché ; porte mal fermée ; fusible grillé ou disjoncteur déclenché ; sécurité enfant activée. | Ensure power cord is securely plugged into a grounded outlet; Close the oven door firmly; Check household fuse/circuit breaker; Deactivate child lock by holding STOP/CLEAR for 3 seconds. |
| Les aliments ne chauffent pas. | Temps de cuisson ou niveau de puissance incorrects ; porte mal fermée. | Adjust cooking time and power level as needed; Ensure the door is fully closed and latched. |
| Le plateau tournant ne tourne pas. | Turntable or roller ring not positioned correctly; Obstruction under the turntable. | Remove and re-seat the turntable and roller ring; Check for any debris or obstructions. |
| Étincelles ou arcs électriques à l'intérieur du four. | Metal in microwave; Food splatters or grease buildup. | Remove any metal objects or containers; Clean the oven interior thoroughly. |
| L'écran affiche « E » ou un code d'erreur. | Dysfonctionnement interne. | Unplug the oven for 1 minute, then plug it back in. If the error persists, contact customer support. |
7. Spécifications
Key technical specifications for the West Bend 900-Watt 0.9 Cu. Ft. Compact Microwave Oven.
| Fonctionnalité | Détail |
|---|---|
| Numéro de modèle | WBMW92W |
| Capacité | 0.9 pieds cubes |
| Quoitage | 900 watts |
| Niveaux de puissance | 10 |
| Dimensions du produit (L x P x H) | 19 po x 14.5 po x 11 po (environ) |
| Poids de l'article | 27 livres |
| Couleur | Blanc |
| Matériau de la platine | Verre |
| Type d'installation | Comptoir |
| Composants inclus | Micro-ondes, plateau tournant en verre, manuel d'entretien et d'utilisation |

Figure 7.1 : A diagram illustrating the approximate dimensions of the microwave oven: 19 inches wide, 14.5 inches deep, and 11 inches high.
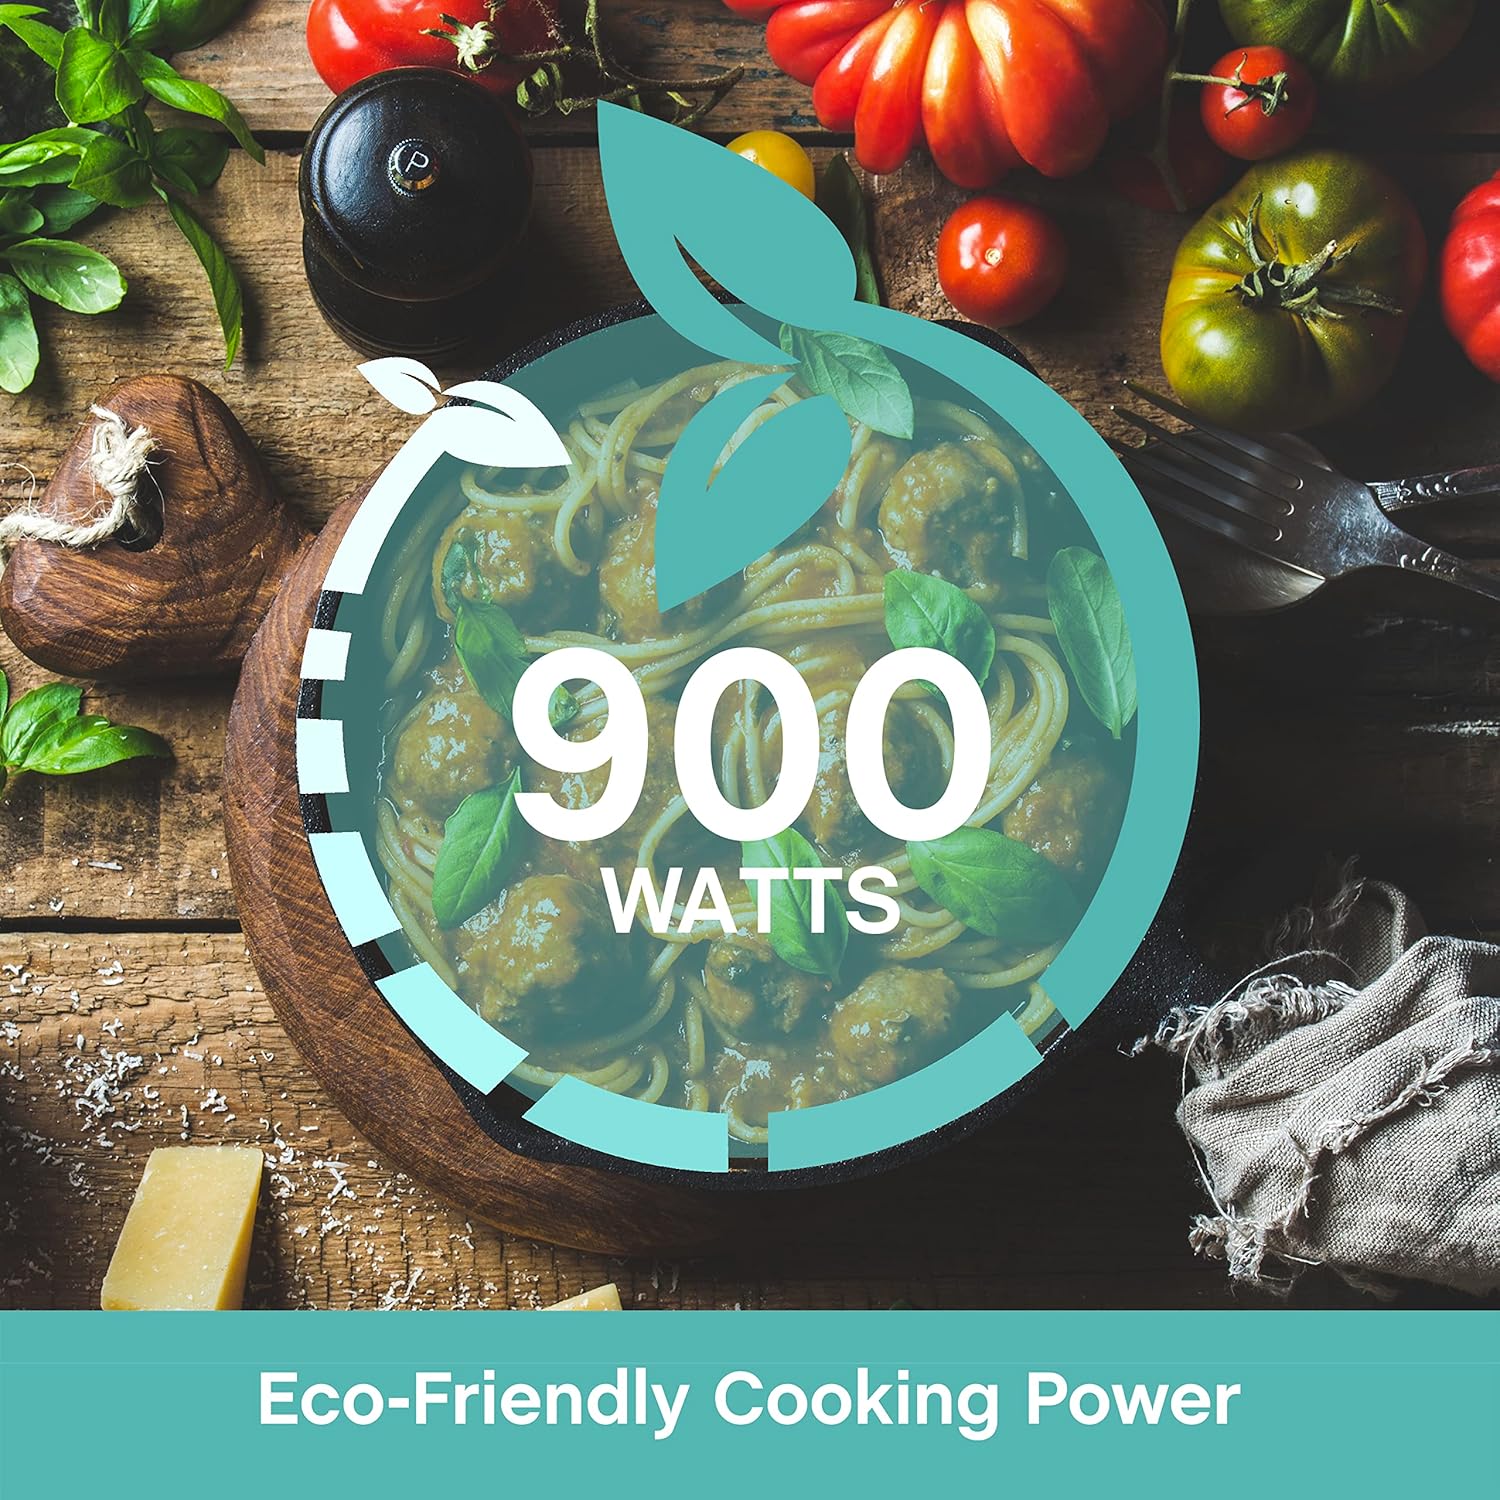
Figure 7.2 : A graphic emphasizing the 900 Watts of cooking power, indicating efficient performance.
8. Garantie et assistance
This West Bend microwave oven is covered by a manufacturer's warranty. Please refer to the included "Care and Use Manual" for specific warranty details, terms, and conditions. For technical assistance, troubleshooting beyond this guide, or warranty claims, please contact West Bend Customer Support.
Assistance clientèle : Refer to the official West Bend website or the contact information provided in your product's packaging for the most up-to-date support details.


