1. Introduction
Merci pour votre achatasing the IRRADIO VDP-4600HDW LCD/LED Projector. This manual provides essential information for the safe and efficient operation of your device. Please read it thoroughly before use and retain it for future reference.
2. Consignes de sécurité
- Ne pas obstruer les ouvertures de ventilation. Assurer une circulation d'air suffisante autour du projecteur afin d'éviter toute surchauffe.
- Ne regardez pas directement l'objectif du projecteur lorsque le lamp est allumée, car la lumière vive peut endommager les yeux.
- Tenez le projecteur éloigné de l'eau et de tout autre liquide. Ne l'utilisez pas dans des conditions d'obscurité.amp ou des conditions humides.
- Utilisez uniquement l'adaptateur secteur fourni avec le projecteur.
- N’essayez pas de réparer le projecteur vous-même. Confiez toute réparation à un personnel qualifié.
- Placez le projecteur sur une surface stable et plane pour éviter qu'il ne tombe.
3. Contenu du colis
Veuillez vérifier que tous les articles sont présents dans votre colis :
- IRRADIO VDP-4600HDW Projector
- Télécommande
- Câble d'alimentation
- Câble HDMI
- Câble AV
- Manuel d'utilisation
4. Produit terminéview
4.1. Composants du projecteur

Figure 4.1 : Dans l'ensemble view of the IRRADIO VDP-4600HDW Projector. This image displays the projector from an angled perspective, highlighting its compact design and the lens on the front left side, with ventilation grilles and control buttons visible on the top and sides.

Figure 4.2 : Devant view of the projector. This image focuses on the large projection lens on the left, with the IRRADIO logo and ventilation grilles on the right side of the front panel.

Figure 4.3 : Arrière view of the projector. This image shows the VGA port, focus adjustment knob, and keystone correction knob on the rear panel, along with additional ventilation.
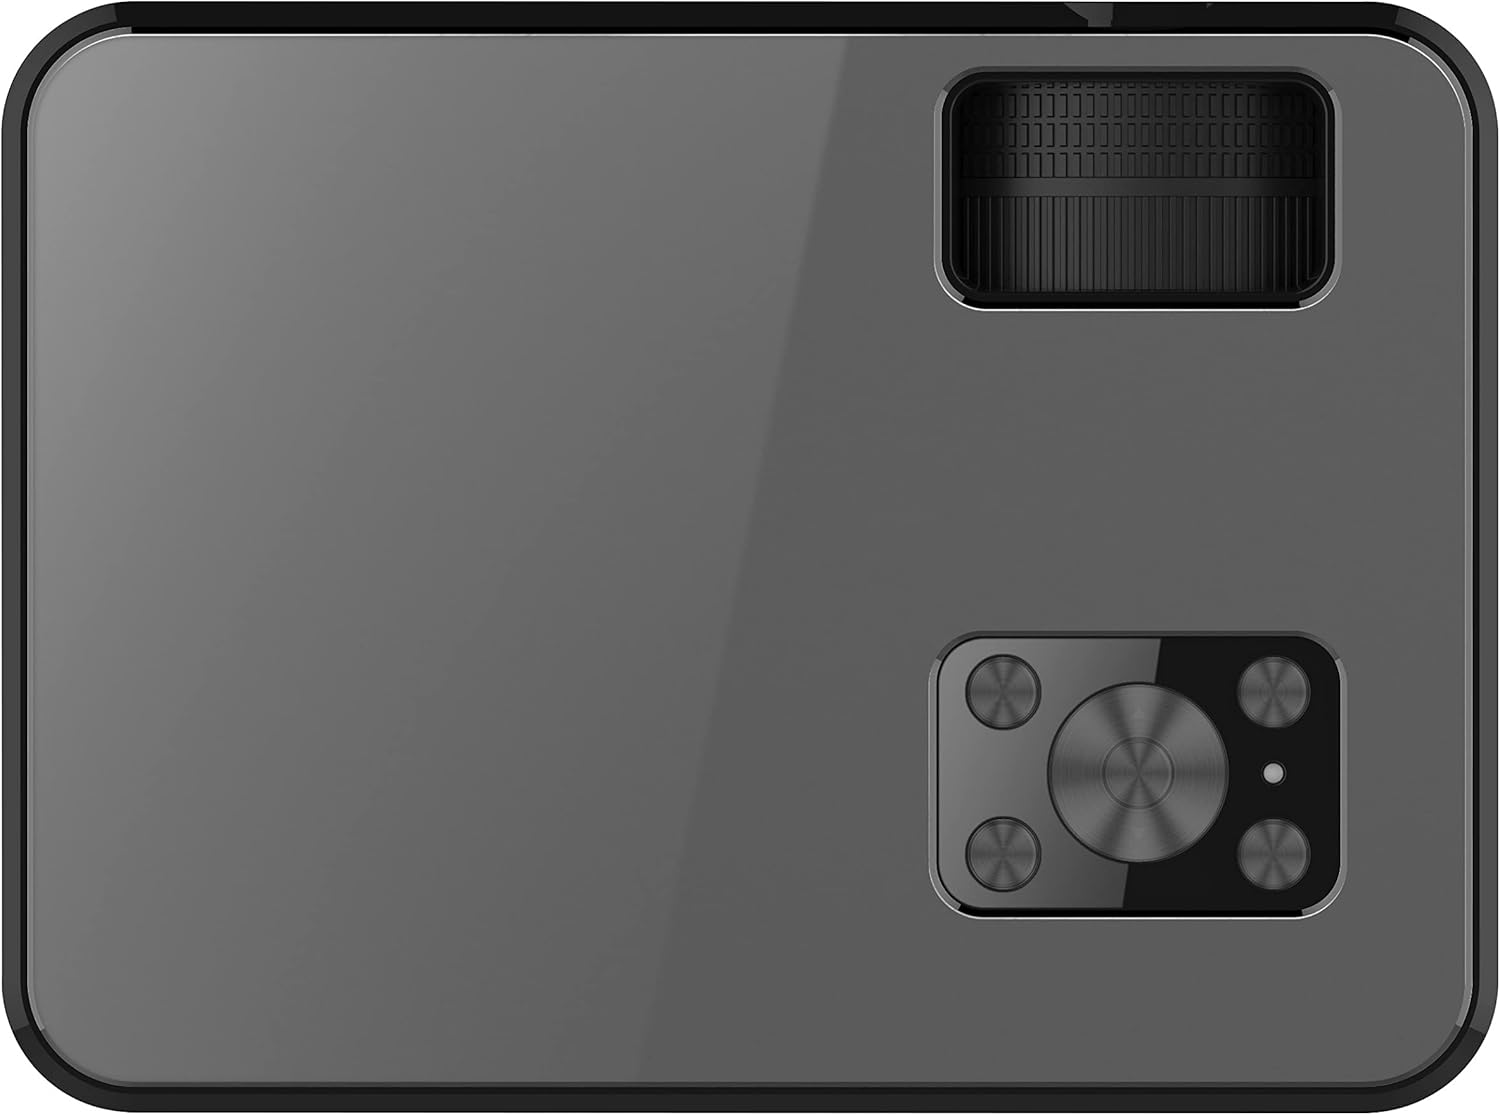
Figure 4.4 : Haut view of the projector. This image displays the control panel with navigation buttons (up, down, left, right, OK), source, menu, and exit buttons, along with the power button and volume controls.

Figure 4.5 : Côté view of the projector showing input/output ports. This image highlights two HDMI ports, AV input, two USB ports, and a 3.5mm headphone jack (audio out).

Figure 4.6 : Côté opposé view of the projector. This image shows the power input port and additional ventilation grilles.

Figure 4.7 : Bas view of the projector. This image displays the mounting points for ceiling installation and rubber feet for stable placement on a flat surface.
4.2. Télécommande
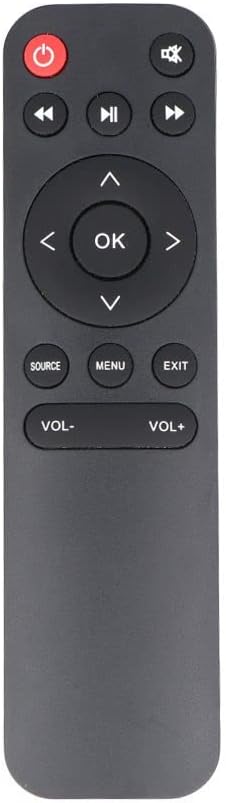
Figure 4.8 : The remote control for the IRRADIO VDP-4600HDW Projector. It features buttons for power, mute, navigation (up, down, left, right, OK), source selection, menu, exit, and volume control.
4.3. Ports and Controls Overview
- Bouton d'alimentation : Allume/éteint le projecteur.
- Lentille: Projette l'image.
- Bague de mise au point : Ajuste la netteté de l'image.
- Correction trapézoïdale : Corrige la distorsion de l'image.
- Ports HDMI (x2) : Se connecter aux appareils compatibles HDMI (ordinateurs portables, consoles de jeux, lecteurs Blu-ray).
- Ports USB (x2) : Connectez des clés USB pour la lecture multimédia.
- Port VGA : Se connecter aux ordinateurs dotés d'une sortie VGA.
- Port AV : Connect to older devices using composite video.
- Sortie audio 3.5 mm : Connectez des haut-parleurs externes ou un casque.
- Récepteur IR: Pour les signaux de télécommande.
5. Installation
5.1. Placement
Place the projector on a stable, flat surface or mount it to the ceiling. Ensure the projector is positioned directly in front of the projection screen or wall. The optimal projection distance ranges from 1.52 meters to 3.48 meters, yielding a screen size between 50 and 120 inches.
- Projection frontale : Placez le projecteur devant l'écran.
- Rétroprojection : Placez le projecteur derrière un écran translucide.
- Montage au plafond: The projector can be inverted and mounted to the ceiling. Adjust settings in the OSD menu for inverted projection.
5.2. Connexion électrique
- Branchez le câble d'alimentation au port d'entrée d'alimentation du projecteur.
- Plug the other end of the power cable into a standard electrical outlet (220V AC, 50Hz).
- Appuyez sur le bouton d'alimentation du projecteur ou de la télécommande pour l'allumer.
5.3. Réglage de la mise au point et de la correction trapézoïdale
- Allumez le projecteur et affichez une image.
- Faites pivoter le Bague de mise au point (located near the lens) until the image appears sharp and clear.
- Ajustez le Correction trapézoïdale knob (located on the rear panel) to correct any trapezoidal distortion, making the image rectangular.
6. Fonctionnement
6.1. Marche/Arrêt
Appuyez sur le bouton d'alimentation du projecteur ou sur la télécommande pour allumer ou éteindre l'appareil.
6.2. Sélection de la source d'entrée
Après la mise sous tension, appuyez sur le bouton SOURCE button on the remote control or the projector's control panel to cycle through available input sources (HDMI1, HDMI2, USB1, USB2, VGA, AV).
6.3. Connexion de périphériques externes
- HDMI: Connect an HDMI cable from your device (e.g., laptop, game console) to one of the projector's HDMI ports. Select the corresponding HDMI input.
- VGA: Connect a VGA cable from your computer to the projector's VGA port. Select the VGA input.
- UN V: Use the provided AV cable to connect to devices with composite video output. Select the AV input.
- USB: Insert a USB flash drive into a USB port. The projector's media player interface will appear automatically or can be accessed via the source menu.
6.4. Lecture multimédia (USB)
The integrated media player supports various formats:
- Formats d'image : JPEG, BMP, PNG, MPO
- Formats vidéo : MPEG1, MPEG2, H.263, H.264, AVS, MJPEG, RV30, RV40, HEVC
- Formats audio : MPEG1, MPEG2, LPCM, MP3
Naviguer à travers files using the remote control's arrow keys and press OK pour sélectionner.
6.5. Wireless Audio Connection
The projector features an integrated wireless audio function for connecting to external audio devices. Refer to the on-screen display (OSD) menu for specific pairing instructions. Typically, you will need to enable the wireless audio feature in the projector's settings and then pair it with your desired external speaker or headphone.
7. Entretien
7.1. Nettoyage des lentilles
Use a soft, lint-free cloth and a specialized lens cleaning solution to gently wipe the lens. Avoid abrasive materials or excessive pressure.
7.2. Nettoyage du filtre à poussière
Regularly check and clean the dust filters to ensure optimal airflow and prevent overheating. Use a soft brush or a vacuum cleaner with a brush attachment to remove dust from the ventilation grilles.
7.3. Stockage
When not in use for extended periods, store the projector in a cool, dry place, protected from dust and direct sunlight. Use the original packaging or a protective case.
8. Dépannage
- Pas d'alimentation : Vérifiez que le câble d'alimentation est bien branché et que la prise de courant est fonctionnelle.
- Pas d'image: Check the input source selection. Ensure the connected device is powered on and sending a signal. Verify cable connections.
- Image floue : Adjust the focus ring. Ensure the projection distance is within the optimal range.
- Image déformée : Réglez la correction trapézoïdale.
- Pas de son : Check the volume settings on both the projector and the connected device. If using external speakers, ensure they are properly connected or paired via wireless audio.
- La télécommande ne fonctionne pas : Remplacez les piles. Assurez-vous qu'aucun obstacle ne se trouve entre la télécommande et le récepteur infrarouge du projecteur.
9. Spécifications
| Fonctionnalité | Spécification |
|---|---|
| Système de projection | LCD panel with LED light source |
| Résolution native | 1920x1080 (Full HD 1080p) |
| Rapport de contraste dynamique | 2000:1 |
| Luminosité de la source lumineuse | 3000 lumens |
| DEL Lamp Vie | 50,000 heures |
| Lentille | Mise au point manuelle |
| Fonction audio sans fil | Intégré |
| Connectivité | 2x HDMI, 2x USB, VGA, AV Composite, 3.5mm Headphone Jack (output) |
| Rapport hauteur/largeur | 16:9 Native / 4:3 Compatible |
| Taille de projection optimale | 50" - 120" |
| Distance de projection optimale | 1.52 m à 3.48 m |
| Modes de projection | Front, Rear, Ceiling (Front/Rear) |
| Audio | 1x 3W Hi-Fi Speaker |
| Circuit de refroidissement | Système de refroidissement double |
| Langue OSD | 23 langues |
| Alimentation électrique | 220V AC 50Hz (single phase) |
| Poids | 1.4 kg |
| Dimensions (L x H x P) | 222 x 91 x 173 mm |
10. Garantie et assistance
Information regarding specific warranty terms and support contacts is not available in the provided product data. Please refer to the product packaging or the retailer's website Web pour obtenir des détails sur la garantie et des informations sur l'assistance clientèle.


