1. Introduction
This manual provides essential information for the proper installation, configuration, and operation of your Hikvision Turbo HD DVR 8-Channel, model DS-7108HGHI-K1(S). Please read this manual thoroughly before using the device to ensure safe and efficient operation. Keep this manual for future reference.
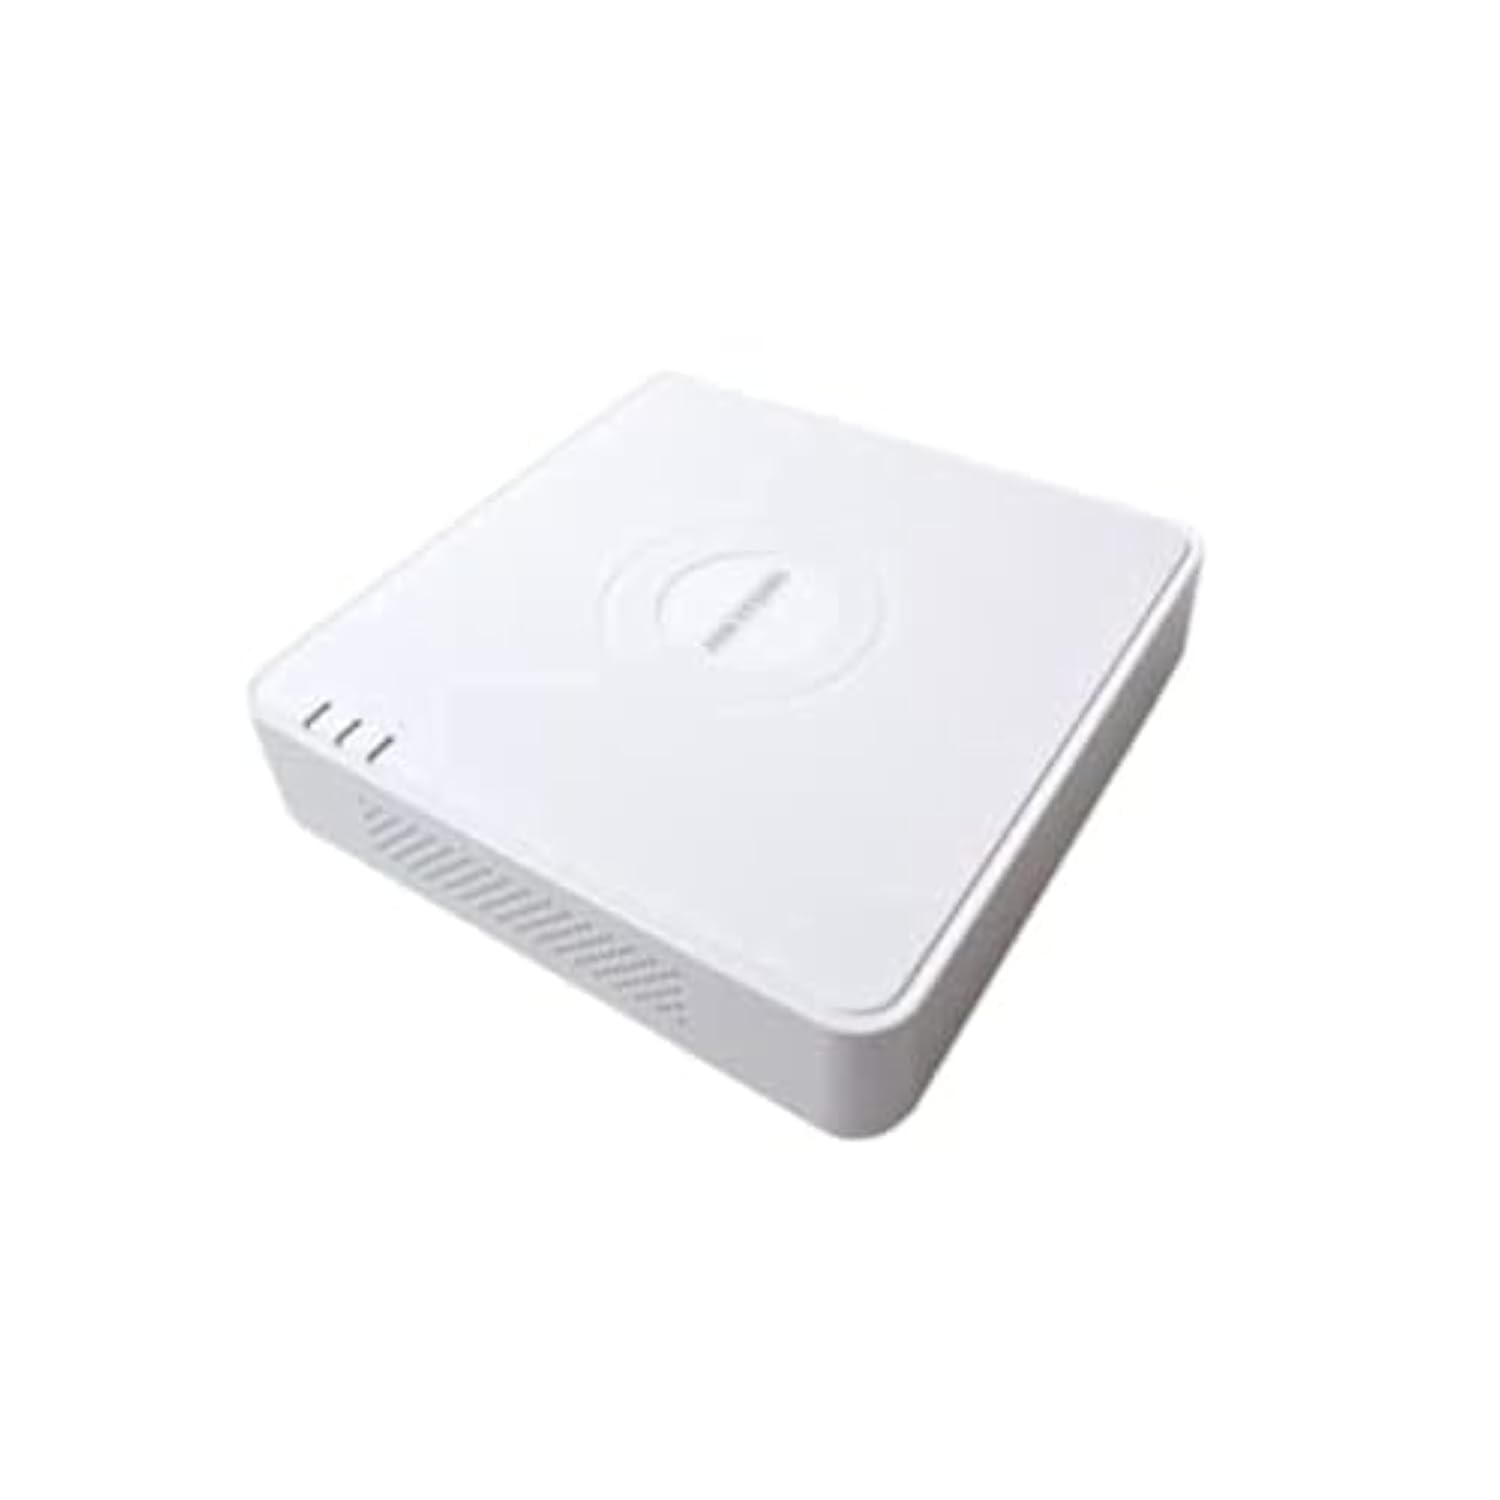
This image shows the Hikvision Turbo HD DVR unit from a front-side perspective, highlighting its compact design, ventilation grilles, and status indicator lights.
2. caractéristiques du produit
- High-definition 8-channel Turbo HD DVR
- Supports audio transmission over coaxial cable
- Equipped with one SATA interface for storage
- plastique durable casing for protection
- Video encoding capabilities up to 1080p Lite at 15 frames per second
- Advanced video compression: H.265 Pro+/H.265 Pro/H.265
3. Guide de configuration
3.1 Déballage et inspection
Carefully unpack the DVR and all accessories. Verify that all components are present and undamaged. If any items are missing or damaged, contact your supplier immediately.
3.2 Connexion du DVR
- Connectez le disque dur (s'il n'est pas préinstallé) : Ouvrez le DVR casing, connect the SATA data and power cables to the hard drive, and secure the drive.
- Connecter les caméras : Connect your Turbo HD cameras to the BNC video input ports on the rear panel.
- Connecter le moniteur : Utilisez un câble HDMI ou VGA pour connecter un moniteur au port de sortie correspondant du DVR.
- Connecter la souris : Branchez la souris USB sur un port USB du DVR.
- Connecter le réseau : Connectez un câble Ethernet de votre routeur/commutateur au port LAN du DVR pour l'accès au réseau et la prise en main à distance. viewing.
- Connecter l'alimentation : Connect the power adapter to the DVR's power input and then to a power outlet. The DVR will power on automatically.
3.3 Configuration initiale
Upon first power-on, the DVR will guide you through an initial setup wizard. This includes setting up a strong password, configuring network settings, and initializing the hard drive. Follow the on-screen prompts to complete the setup.
4. Mode d'emploi
4.1 En direct View
Après la configuration initiale, le DVR affichera le flux en direct. view depuis toutes les caméras connectées sur le moniteur. Vous pouvez basculer entre les vues d'une seule caméra. view et grille multicaméra view en utilisant les commandes à l'écran ou la souris.
4.2 Enregistrement
The DVR is typically configured for continuous recording by default. You can access the recording schedule settings via the main menu to customize recording modes (e.g., motion detection, scheduled recording) for each channel.
4.3 Lecture
Pour review enregistré footage, navigate to the Playback menu. Select the desired camera(s) and time range. You can use the timeline and playback controls to fast forward, rewind, or pause the video.
4.4 Accès à distance
Pour télécommande viewing on a mobile device or computer, ensure the DVR is connected to the internet. Download the official Hik-Connect app (or client software) and follow the instructions to add your DVR using its serial number or QR code. This allows you to view Accès aux flux en direct et aux enregistrements depuis n'importe où grâce à une connexion Internet.
5. Entretien
5.1 Nettoyage régulier
Keep the DVR clean by wiping its exterior with a soft, dry cloth. Ensure ventilation openings are free from dust and obstructions to prevent overheating.
5.2 mises à jour du micrologiciel
Consultez régulièrement le site officiel de Hikvision. webSite dédié aux mises à jour du micrologiciel. Maintenir le micrologiciel de votre enregistreur numérique à jour garantit des performances optimales, une sécurité renforcée et l'accès aux nouvelles fonctionnalités. Suivez attentivement les instructions fournies lors des mises à jour.
5.3 Sauvegarde des données
Sauvegardez régulièrement vos vidéos importantestage to an external USB drive or network storage. This helps prevent data loss in case of hard drive failure or other unforeseen issues.
6. Dépannage
6.1 Aucune sortie vidéo
- Check all video cable connections (BNC, HDMI, VGA) to ensure they are secure.
- Vérifiez que le moniteur est allumé et réglé sur la source d'entrée correcte.
- Ensure cameras are powered and functioning correctly.
6.2 Problèmes de connexion réseau
- Confirm the Ethernet cable is properly connected to both the DVR and the router/switch.
- Check network settings in the DVR menu (IP address, gateway, DNS). Ensure they are correct for your network.
- Restart your router/switch and the DVR.
6.3 Problèmes d'enregistrement
- Verify that a hard drive is installed and properly initialized.
- Check the recording schedule and settings for the affected channels.
- Assurez-vous qu'il y a suffisamment d'espace libre sur le disque dur.
7. Spécifications
| Fonctionnalité | Détail |
|---|---|
| Fabricant | Hikvision |
| Numéro de modèle | DS-7108HGHI-K1(S) |
| Dimensions du produit (L x P x H) | 10 x 10 x 3 cm (approximate, based on video) |
| Poids de l'article | 1000 grammes (1 kg) |
| Technologie de connectivité | Ethernet |
| Appareils compatibles | Caméra |
| Capacité de stockage de la mémoire | 4 Terabytes (HDD not included) |
| Taille du disque dur | 4 Terabytes (Maximum supported) |
| Consommation d'énergie | 17 watts |
| Nombre de canaux | 8 |
| Format de média vidéo numérique | MP4 |
8. Garantie et assistance
For specific warranty terms and conditions, please refer to the documentation provided with your purchase or contact Hikvision directly. Technical support may be available through the Hikvision official website ou votre revendeur agréé.