1. Introduction
This manual provides essential information for the safe and efficient operation of your Reloop RP-7000 MK2 Direct Drive High Torque Turntable. Please read these instructions thoroughly before using the product to ensure proper setup, optimal performance, and longevity of your equipment. Keep this manual for future reference.
2. Consignes de sécurité
- Alimentation: Branchez l'appareil uniquement à une prise secteur de la tension spécifiée.tage. Assurez-vous que le cordon d'alimentation n'est ni endommagé ni pincé.
- Humidité: Do not expose the unit to rain, moisture, or excessive humidity. Avoid placing liquid-filled objects on the turntable.
- Ventilation: Assurez une ventilation adéquate autour de l'appareil. Ne bloquez pas les ouvertures de ventilation.
- Placement: Place the turntable on a stable, level surface away from direct sunlight, heat sources, and strong magnetic fields.
- Nettoyage: Débranchez l'appareil avant de le nettoyer. Utilisez un chiffon doux et sec. Évitez les nettoyants liquides et les solvants.
- Entretien: N’essayez pas de réparer l’appareil vous-même. Confiez toute réparation à un personnel qualifié.
3. Contenu du colis
Veuillez vérifier que tous les articles énumérés ci-dessous sont inclus dans votre colis. Si un article est manquant ou endommagé, contactez immédiatement votre revendeur.
- Reloop RP-7000 MK2 Direct Drive High Torque Turntable (x2)
- Housse anti-poussière (x2)
- Digital Turntable Stylus Scale
- Record Care Solution
- Câble d'alimentation
- Câble RCA
- Fil de terre
- Slipmat
- Contrepoids
- Headshell with Cartridge (pre-mounted or separate, depending on region/bundle)

Figure 1 : Surview of the Reloop RP-7000 MK2 turntable bundle components.
4. Installation
4.1 Déballage et placement
- Retirez soigneusement tous les composants de l'emballage. Conservez l'emballage pour un transport ultérieur.
- Place the turntable on a flat, stable, and vibration-free surface. Ensure there is enough space for the dust cover to open fully.
- Attach the dust cover by aligning its hinges with the slots on the turntable's rear.

Figure 2 : Turntable with the dust cover in place.
4.2 Platter and Slipmat Installation
- Carefully place the platter onto the center spindle. Ensure it sits flush.
- Placez le tapis de platine sur le plateau.
4.3 Configuration du bras de lecture et de la cellule
- If not pre-mounted, attach the headshell with the cartridge to the tonearm. Secure it by turning the locking ring.
- Screw the counterweight onto the rear of the tonearm.
- Équilibrer le bras de lecture : Relâchez le bras clamp. Adjust the counterweight until the tonearm is perfectly balanced and floats horizontally.
- Force de suivi définie : Return the tonearm to its rest and clamp it. Rotate the numbered ring on the counterweight to '0' without moving the counterweight itself. Then, rotate the entire counterweight to the recommended tracking force for your cartridge (typically 2-4 grams for DJ cartridges).
- Réglage anti-patinage : Réglez la molette d'antiskating pour qu'elle corresponde au réglage de la force de suivi.
4.4 Using the Digital Stylus Scale
The included digital stylus scale allows for precise measurement of your cartridge's tracking force, ensuring optimal sound quality and minimizing record wear.
- Place the stylus scale on the platter.
- Allumez la balance à l'aide du bouton d'alimentation.
- Carefully lower the stylus onto the designated measuring point on the scale.
- Read the tracking force displayed. Adjust the tonearm's counterweight as needed until the desired force is achieved.

Figure 3 : Digital Stylus Scale for precise tracking force measurement.
4.5 Connexions
- Sortie audio : Connect the RCA cables from the turntable's audio output to the PHONO input of your mixer or amplifier. If your mixer/amplifier does not have a PHONO input, you will need an external phono preamplifier.
- Fil de terre: Connect the ground wire from the turntable to the ground terminal on your mixer or ampAmplificateur pour réduire le bourdonnement.
- Pouvoir: Connect the power cable to the turntable and then to a suitable AC power outlet.
5. Mode d'emploi
5.1 Lecture de base
- Place a record on the slipmat.
- Select the appropriate speed (33, 45, or 78 RPM) using the speed selector buttons.
- Appuyez sur le DÉMARRER/ARRÊTER button to begin platter rotation.
- Carefully lift the tonearm using the cueing lever and position the stylus over the desired groove on the record.
- Abaissez le levier de guidage pour poser délicatement le stylet sur le disque.
- To stop playback, lift the tonearm using the cueing lever, return it to the tonearm rest, and press the DÉMARRER/ARRÊTER bouton.
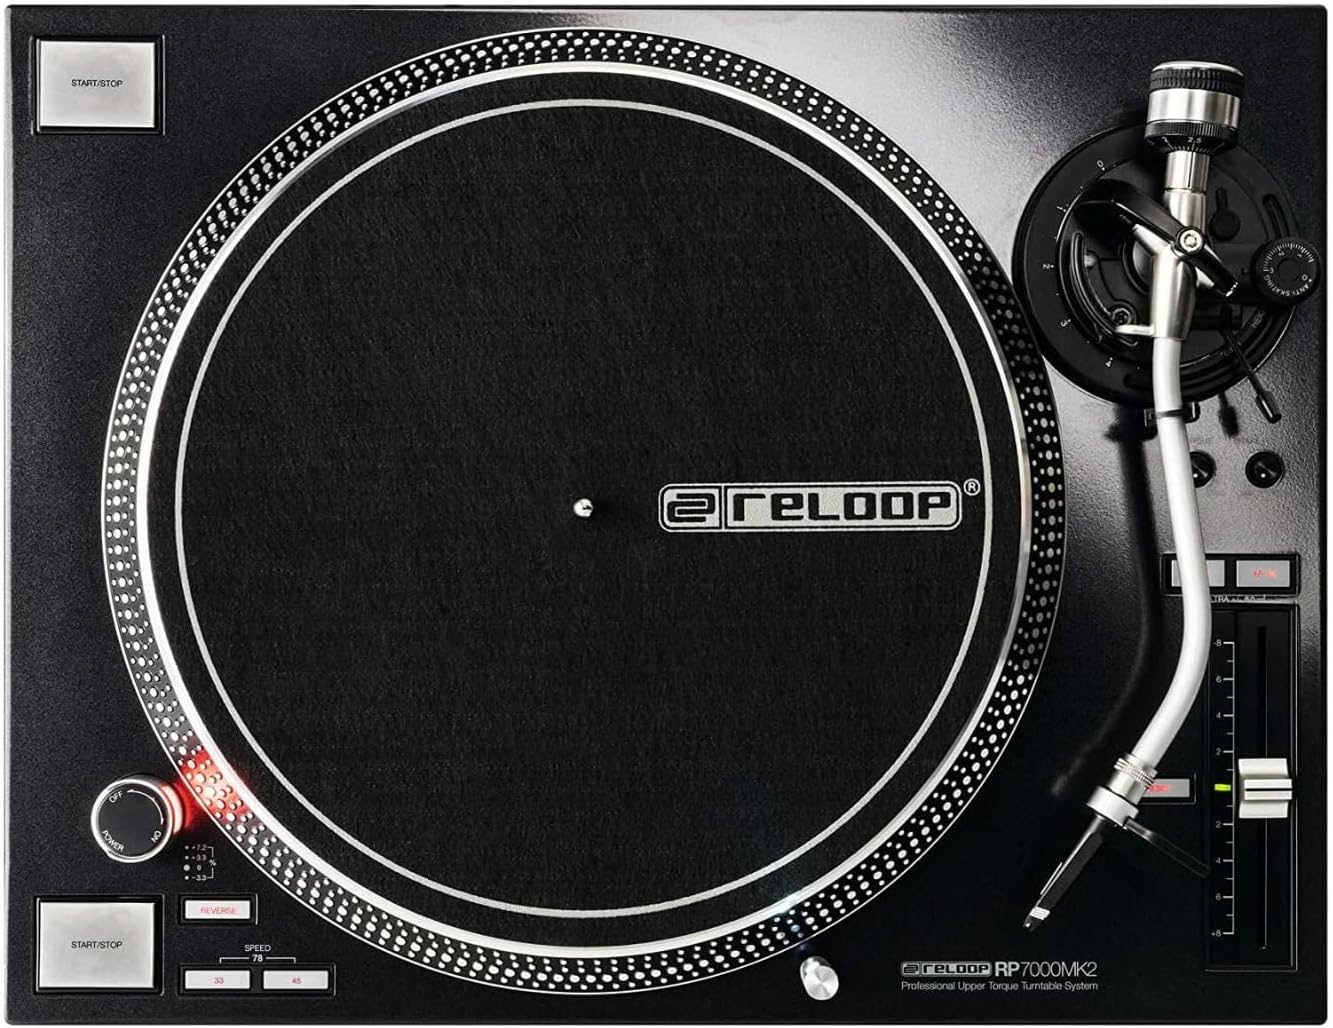
Figure 4 : Turntable platter and control layout.
5.2 Contrôle de la hauteur
The pitch fader allows you to adjust the playback speed (BPM) of the record. Move the fader up or down to increase or decrease the pitch. The pitch range can be selected using the range buttons (e.g., +/- 8%, 16%, 50%).
5.3 Fonction inverse
The RP-7000 MK2 features a reverse playback function. Press the INVERSE button to change the direction of platter rotation. Press it again to return to normal playback.
6. Entretien
6.1 Nettoyage du plateau tournant
- Débranchez toujours l’alimentation avant de nettoyer.
- Use a soft, dry, lint-free cloth to wipe the surface of the turntable and dust cover.
- Évitez d'utiliser des nettoyants abrasifs, des solvants ou des sprays chimiques, car ils peuvent endommager la finition.
6.2 Entretien du stylet
- Gently brush the stylus from back to front using a soft stylus brush to remove dust and debris.
- Évitez de toucher le stylet avec vos doigts.
6.3 Gestion des dossiers
The included record care solution helps maintain the quality of your vinyl records and prolong their lifespan.
- Apply a small amount of record care solution to a clean, soft, lint-free cloth or a dedicated record cleaning brush.
- Gently wipe the record surface in a circular motion, following the grooves.
- Allow the record to dry completely before playing.
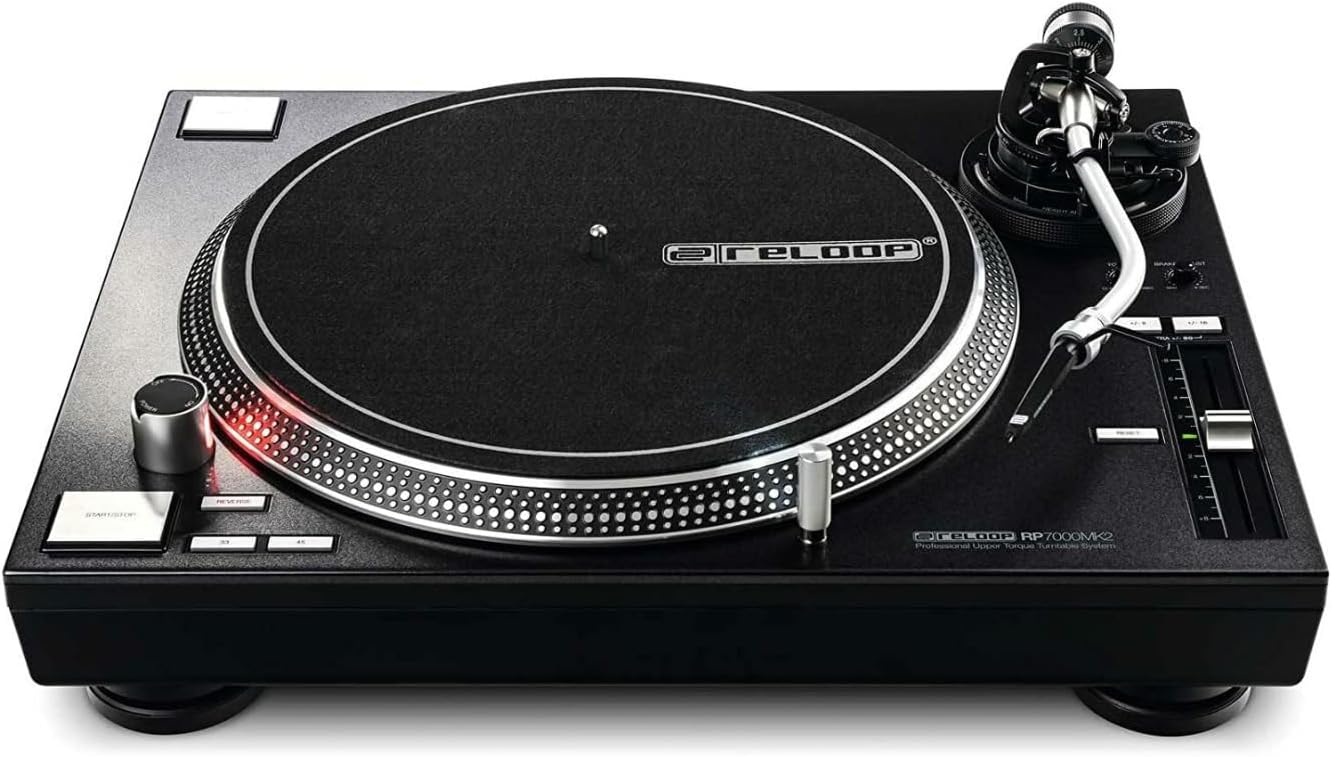
Figure 5 : Record Care Solution for maintaining vinyl quality.
7. Dépannage
| Problème | Cause possible | Solution |
|---|---|---|
| Pas de courant | Câble d'alimentation non branché ; prise inactive | Vérifiez la connexion du câble d'alimentation ; testez la prise avec un autre appareil. |
| Pas de son ou volume faible | RCA cables incorrect; no PHONO input; amplifier/mixer settings | Ensure RCA cables are connected to PHONO input; check amplifier/mixer input selection and volume |
| Bruit de bourdonnement | Fil de terre non connecté ; interférences | Connect ground wire; move turntable away from other electronic devices |
| Son saccadé ou déformé | Incorrect tracking force; dirty stylus/record; damaged stylus | Adjust tracking force using stylus scale; clean stylus and record; replace stylus if damaged |
| Le plateau ne tourne pas. | START/STOP button not pressed; motor issue | Press START/STOP; if problem persists, contact support |
8. Spécifications
| Fonctionnalité | Détail |
|---|---|
| Nom du modèle | RP-7000 MK2 |
| Marque | Rebouclage |
| Type de moteur | Direct Drive DC Motor |
| Dossier spécial | Couple élevé |
| Dimensions du produit | 27.9 x 20 x 18.6 pouces |
| Matériel | Métal |
| Couleur | Noir |
| Appareils compatibles | Speaker, Headphone, Personal Computer, MP3 Player, Laptop |
| Format du signal | Numérique |
9. Garantie et assistance
Reloop products are designed for reliability and performance. For warranty information, please refer to the warranty card included with your product or visit the official Reloop website. For technical support or service inquiries, please contact your authorized Reloop dealer or distributor.
Fabricant: Rebouclage
Date de mise en ligne sur Amazon : 8 juillet 2022


