1. Introduction
The AODELAN E4 is a TTL transmitter designed for wireless synchronization of AODELAN flashes with compatible Sony cameras. It supports both TTL (Through-The-Lens) automatic exposure control and manual exposure adjustment, offering flexibility for various photographic needs. This device is also compatible with Profoto Air system flashes, allowing for integrated control.
This manual provides essential information for the proper setup, operation, and maintenance of your AODELAN E4 Wireless Flash Remote Trigger.
2. Produit terminéview
2.1 Principales caractéristiques
- Synchronisation à grande vitesse (HSS) : Supports shutter speeds up to 1/8000s, enabling flash photography in bright ambient light.
- Mode TTL : Provides automatic flash exposure control for convenient point-and-shoot operation.
- Contrôle sans fil : Operates on a 2.4 GHz frequency with a triggering range of up to 200m (656ft) and remote control range up to 100m (330ft) for TTL.
- Multiple Channels and Groups: Features 8 digital channels and 3 groups (A, B, C) per channel for independent flash control.
- Profoto Compatibility: Wirelessly triggers and manually controls Profoto lights with built-in Air system, including flash power and modeling light control.
- Six Functions: Includes High-Speed Sync, remote control (lamp head, modeling lamp, energy adjustment), power saving, relay state, and firmware update via USB.
2.2 Contenu du paquet
Vérifiez que tous les éléments sont présents dans le colis :
- AODELAN E4 Wireless Flash Remote Trigger
- Cordon
- Manuel d'utilisation

Figure 1: Package contents including the AODELAN E4 trigger, lanyard, and user manual.
2.3 Identification des composants

Figure 2 : Face avant view of the AODELAN E4 with labeled controls. Key elements include the Display, Mode Button, Sync Button, Channel/Beeper Button, Head Button, Model Button, Energy Adjustment Buttons, Group Buttons (A, B, C), Test Button, Indicator, and Power Button.
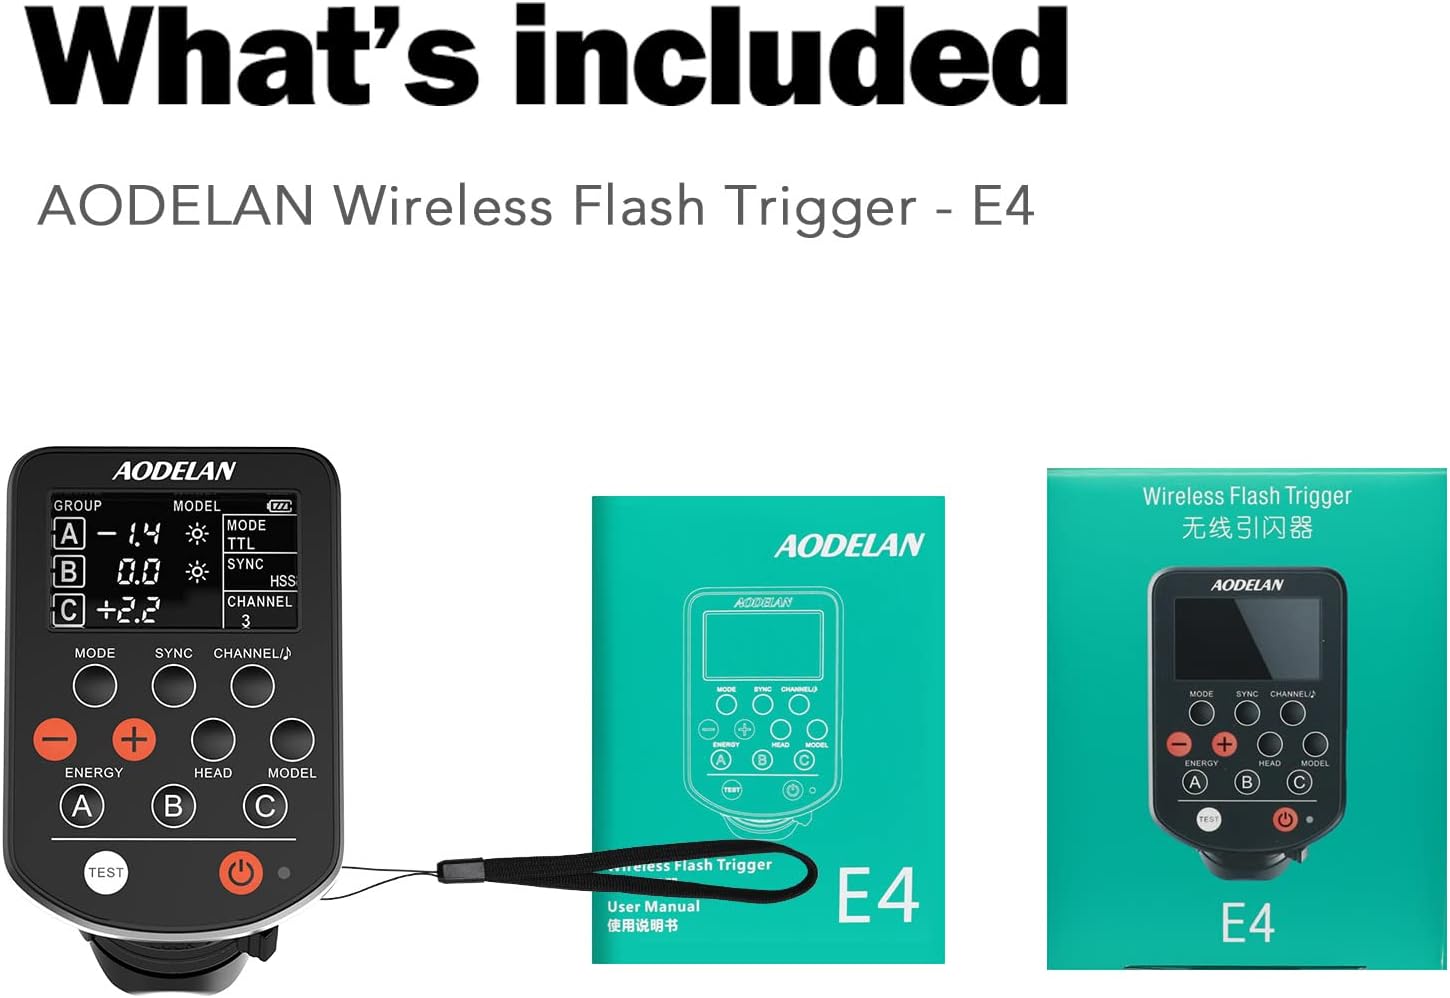
Figure 3: Side and bottom view of the AODELAN E4. This image highlights the Battery Compartment, USB Port, Strap Hole, Hot Shoe Mounting Foot, and Mounting Foot Lock Lever. The display shows Group, Energy, Modeling Light Status, Battery Level, Mode, Sync, and Channel indicators.
3. Installation
3.1 Installation de la batterie
- Locate the battery compartment on the side of the AODELAN E4 (refer to Figure 3).
- Ouvrez le couvercle du compartiment à piles.
- Insérez deux piles AAA en respectant la polarité (+/-).
- Fermez soigneusement le couvercle du compartiment à piles.
3.2 Montage sur la caméra
The AODELAN E4 is designed to be mounted on the camera's hot shoe.
- Slide the hot shoe mounting foot of the E4 into the camera's hot shoe.
- Secure the trigger by rotating the mounting foot lock lever (refer to Figure 3) until it is firmly attached.
Figure 4: The AODELAN E4 trigger shown mounted on a camera hot shoe, indicating compatibility with standard single pin contact hot shoe mounts.
4. Mode d'emploi
4.1 Mise sous/hors tension
Press and hold the Power Button (refer to Figure 2) to turn the E4 on or off. The indicator light will illuminate when the device is powered on.
4.2 Mode Selection (TTL / Manual)
Appuyez sur le Bouton de mode (refer to Figure 2) to switch between TTL (Through-The-Lens, Automatic) and M (Manual) modes. The selected mode will be displayed on the screen.
- Mode TTL : The camera automatically determines the flash output for correct exposure.
- Mode manuel : Allows for manual adjustment of flash power using the Energy Adjustment Buttons.
Video 1: Demonstration of the AODELAN TTL HSS wireless flash trigger in operation, showcasinet ses fonctionnalités et sa compatibilité.
4.3 Channel and Group Selection
The E4 supports 8 channels and 3 groups (A, B, C) per channel. This allows for independent control of multiple flashes without interference.
- Appuyez sur le Channel/Beeper Button (refer to Figure 2) to cycle through available channels (1-8).
- Utilisez le Group Buttons (A, B, C) to select and adjust individual flash groups.

Figure 5: Illustration of the AODELAN E4's ability to control multiple flashes independently across 8 frequency channels and 3 groups (A, B, C) in a studio environment.
4.4 Synchronisation haute vitesse (HSS)
The E4 supports HSS up to 1/8000s. This feature allows you to use wider apertures in bright conditions or freeze fast motion with flash.
- Ensure your camera and flash units support HSS.
- The E4 will automatically engage HSS when the camera's shutter speed exceeds the normal flash sync speed (typically 1/250s).
4.5 Fonctions de la télécommande
The E4 allows for remote control of connected Profoto flashes, including:
- Ajustement énergétique : Utilisez le Energy Adjustment Buttons (refer to Figure 2) to increase or decrease flash power.
- Modélisation Lamp Contrôle: Utilisez le Modèle Bouton (refer to Figure 2) to control the modeling lamp on compatible flashes.
- Lamp Contrôle de la tête : Utilisez le Tête Bouton (refer to Figure 2) for specific lamp head adjustments if supported by the flash.
4.6 Test Flash
Appuyez sur le Bouton de test (refer to Figure 2) to fire a test flash and confirm connectivity with your flash units.
5. Entretien
To ensure the longevity and optimal performance of your AODELAN E4:
- Veillez à ce que l'appareil reste propre et exempt de poussière et d'humidité. Utilisez un chiffon doux et sec pour le nettoyer.
- Évitez d'exposer l'appareil à des températures extrêmes ou à la lumière directe du soleil pendant des périodes prolongées.
- Retirez les piles si l'appareil ne doit pas être utilisé pendant une période prolongée afin d'éviter toute fuite.
- Conservez l’appareil dans un endroit frais et sec.
6. Dépannage
If you encounter issues with your AODELAN E4, refer to the following common troubleshooting steps:
- L'appareil ne s'allume pas : Vérifiez que les piles AAA sont correctement insérées et suffisamment chargées. Remplacez-les si nécessaire.
- Flash non déclenché :
- Ensure the E4 is securely mounted on the camera's hot shoe.
- Verify that the E4 and the flash unit are set to the same channel and group.
- Check the flash unit's power and readiness.
- Confirm that the camera's flash settings are appropriate for external flash use.
- Incorrect exposure in TTL mode: Ensure the flash unit is compatible with TTL and that its settings are not overriding the E4's commands. Check for any exposure compensation set on the camera or flash.
- HSS ne fonctionne pas : Confirm that both your camera and flash unit support High-Speed Sync. Ensure the camera's shutter speed is set above its normal sync speed.
- Limited range or interference: Ensure there are no major obstructions between the E4 and the flash units. Avoid environments with strong 2.4 GHz interference.
If problems persist after attempting these steps, please contact AODELAN customer support for further assistance.
7. Spécifications
| Fonctionnalité | Spécification |
|---|---|
| Fréquence | 2.4 GHz |
| Range (Triggering) | Jusqu'à 200 m (656 pi) |
| Range (Remote Control & TTL) | Jusqu'à 100 m (330 pi) |
| Nombre de canaux | 8 channels (1-8) |
| Number of Groups per Channel | 3 groups (A/B and C) |
| Source d'énergie | 2 piles AAA |
| Modes de fonctionnement | TTL (Through the lens, Automatic), M (Manual) |
| Max. Sync Speed (1st or 2nd sync) | 1/250s |
| Max. Sync Speed (HSS) | 1/8000s |
| Antenne | Antenne interne |
| Interface | Multi contacts hot shoe mounting foot x 1; Micro-USB B port x 1 |
| Dimensions (environ) | 91 x 57 x 37mm (3.6 x 2.2 x 1.2 dans) |
| Weight (Approx., without batteries) | 80g (2.8 oz) |
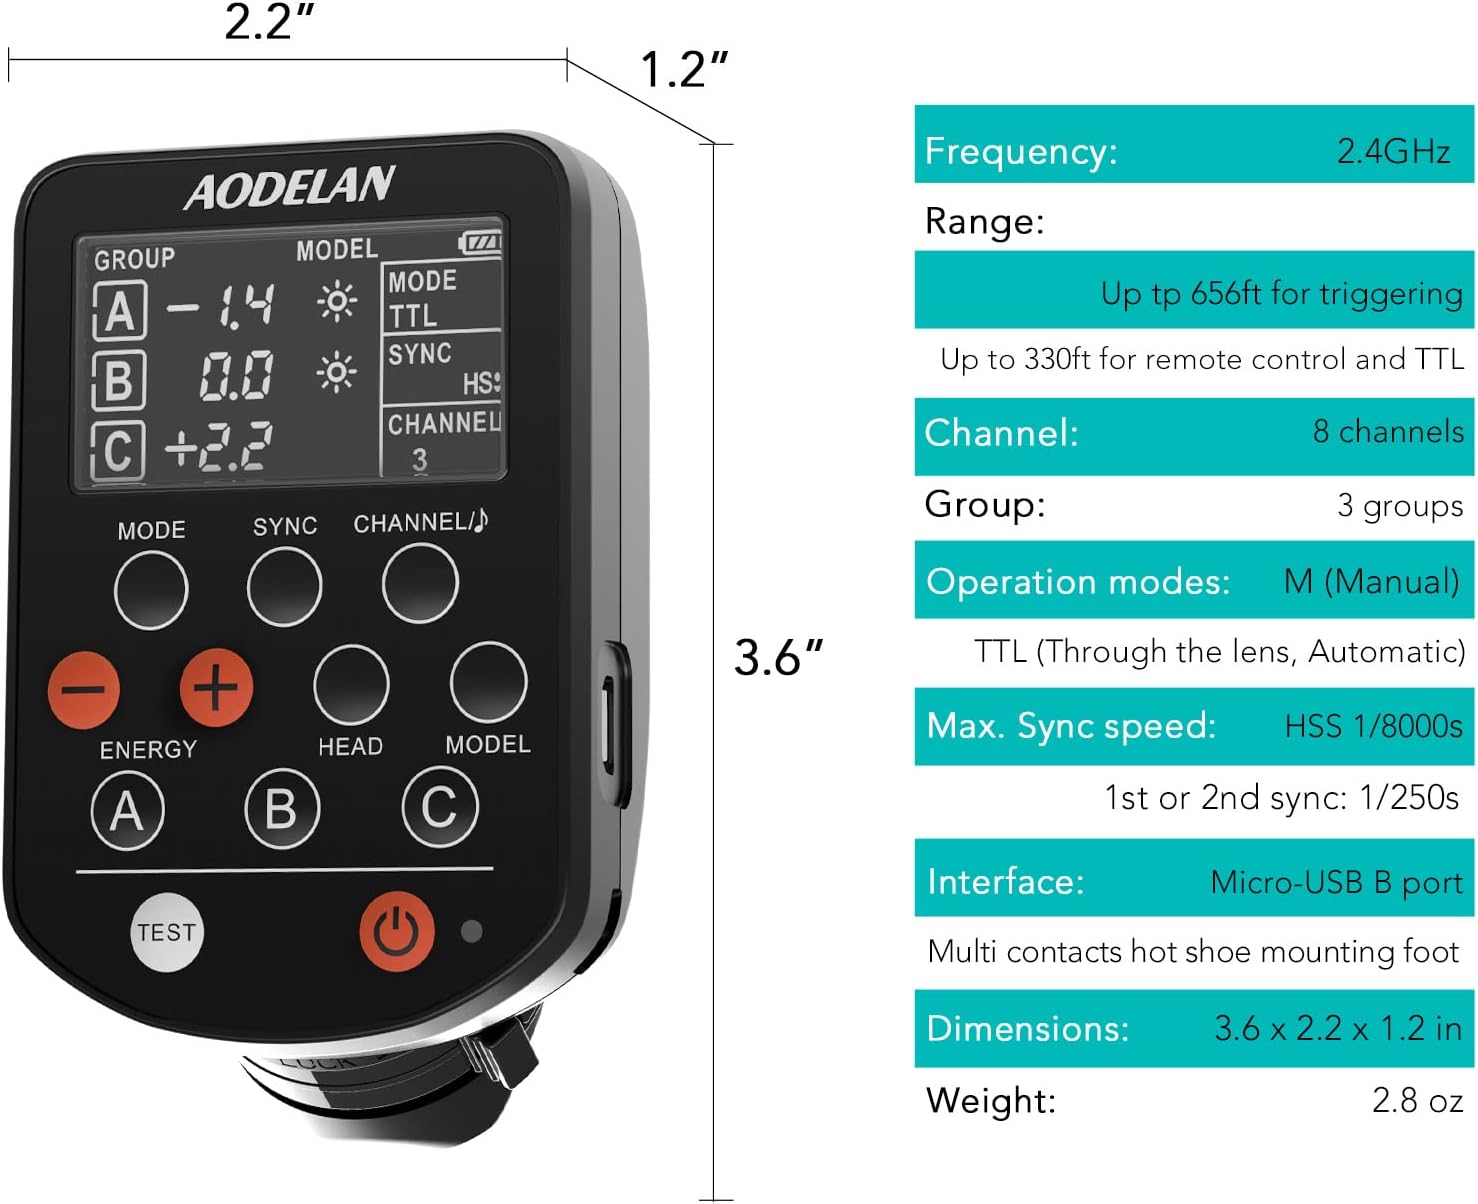
Figure 6: Visual representation of the AODELAN E4's dimensions and a summary of its technical specifications.
8. Garantie et assistance
AODELAN products are designed for reliability and performance. For warranty information, please refer to the warranty card included with your product or visit the official AODELAN website.
For technical support, troubleshooting assistance, or service inquiries, please contact AODELAN customer support through their official channels. Keep your purchase receipt as proof of purchase for warranty claims.


