1. Introduction
Thank you for choosing the Aigostar LED Ceiling Spotlight. This manual provides essential information for the safe installation, operation, and maintenance of your new lighting fixture. Please read these instructions carefully before installation and retain them for future reference.
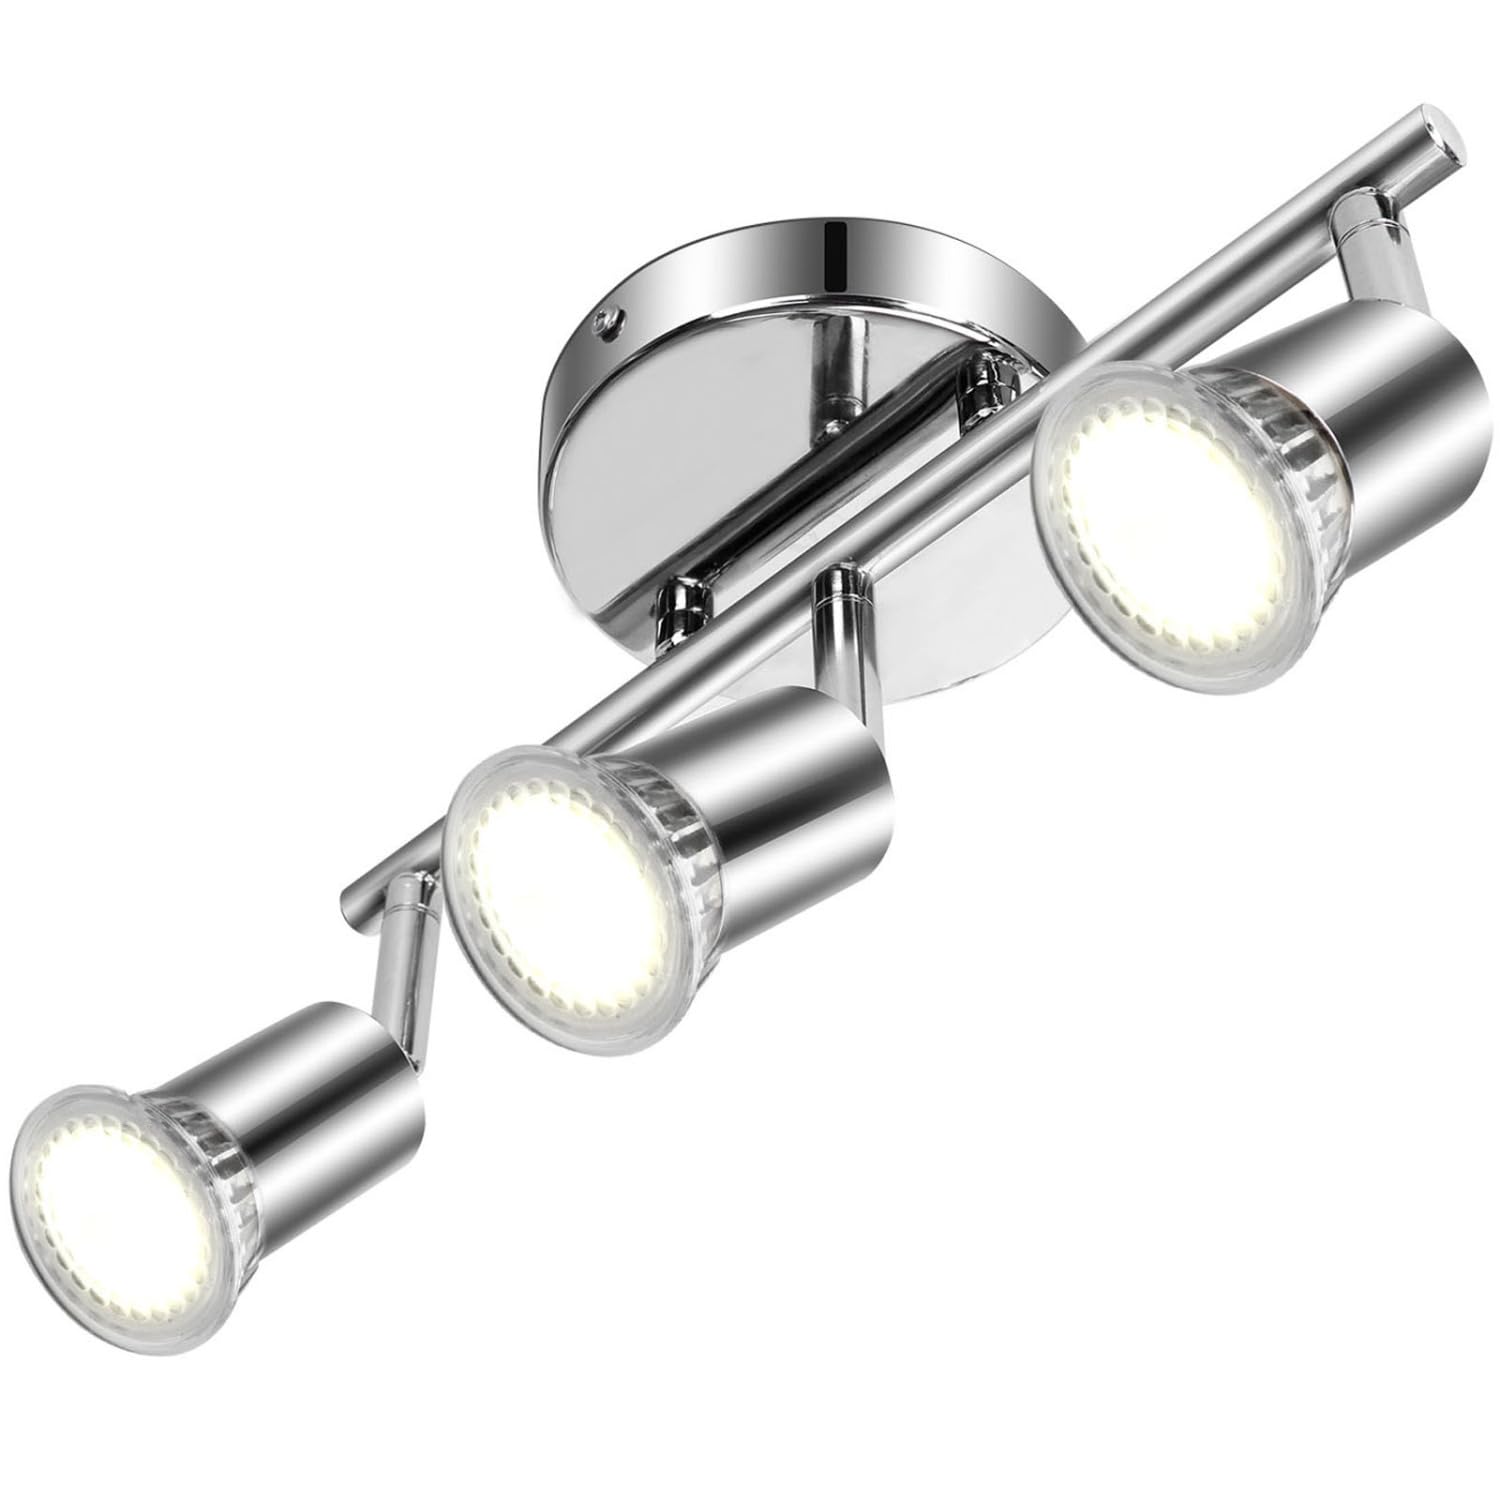
Image 1.1: Aigostar LED Ceiling Spotlight with 3 GU10 Bases, Silver.
2. Consignes de sécurité
- Sécurité électrique : Coupez toujours l'alimentation au niveau du disjoncteur principal avant toute installation, maintenance ou remplacement d'ampoule.
- Électricien qualifié : Installation should be performed by a qualified electrician or competent person if you are unsure.
- Voltage: Assurer le vol d'alimentationtage correspond aux exigences du luminaire (220 volts).
- Type d'ampoule : Utilisez uniquement des ampoules LED GU10. Ne dépassez pas la puissance maximale.tage spécifié pour le luminaire.
- Environnement: This fixture is rated IP20 for indoor use only. Avoid direct water spray, especially in bathrooms.
- Chaleur: LED spotlights can generate heat. Ensure adequate ventilation and avoid placing flammable materials near the fixture.
3. Contenu du colis
Vérifiez que tous les composants sont présents et non endommagés avant de procéder à l'installation :
- 1 x Aigostar LED Ceiling Spotlight (3 Bases, Silver)
- 1 x Support de montage
- 2 x vis
- 2 x prises murales
- 1 x Manuel d'instructions
Remarque : les ampoules GU10 ne sont pas incluses et doivent être achetées séparément.
4. Configuration et installation
Suivez ces étapes pour une installation sûre et correcte :
- Coupure de courant : Coupez l'alimentation électrique principale au niveau du disjoncteur avant de commencer tout travail électrique.
- Marquage: Hold the mounting bracket against the ceiling or wall at the desired installation location. Mark the positions for drilling.
- Forage: Percez des trous aux emplacements marqués. Insérez les chevilles dans les trous percés.
- Installation du support de montage : Fixez le support de montage au plafond/mur à l'aide des vis fournies.
- Câblage : Raccordez les fils électriques domestiques au bornier du luminaire. Assurez-vous de respecter la polarité (phase sur phase, neutre sur neutre, terre sur terre).
- Fixation du luminaire : Attach the spotlight fixture to the mounting bracket, ensuring it is securely fastened.
- Installation de l'ampoule : Insert GU10 bulbs into each of the three lamp holders. Twist to secure them.
- Restauration de puissance : Rétablissez le courant au niveau du disjoncteur principal.

Image 4.1: Installation diagram showing the mounting bracket and screws.

Image 4.2: Illustration of GU10 bulb replacement.
Video 4.1: Product showcase demonstrating installation and use in various settings.
5. Mode d'emploi
The Aigostar LED Ceiling Spotlight is designed for flexible illumination:
- Spots orientables : Each of the three GU10 lamp holders can be rotated 350° horizontally and tilted 90° vertically. This allows you to direct light precisely where needed.
- Caractéristique à intensité variable : The fixture supports dimmable GU10 bulbs (if installed) and can be controlled by a compatible dimmer switch (not included).

Image 5.1: Illustration of the 350° rotatable and 90° adjustable spotlight heads.
6. Entretien
- Nettoyage: Assurez-vous que l'appareil est hors tension avant de le nettoyer. Essuyez-le avec un chiffon doux et sec. N'utilisez pas de produits abrasifs ni de solvants.
- Remplacement de l'ampoule : Disconnect power before replacing bulbs. Allow old bulbs to cool completely. Twist and pull out the old GU10 bulb, then insert and twist the new GU10 bulb into place.
- Inspection: Vérifiez régulièrement le dispositif afin de déceler tout signe de dommage ou de connexion desserrée.
7. Dépannage
| Problème | Cause possible | Solution |
|---|---|---|
| La lumière ne s'allume pas | Pas d'alimentation électrique Ampoule défectueuse Câblage desserré | Vérifier le disjoncteur Remplacer l'ampoule Check wiring connections (with power off) |
| La lumière scintille | Ampoule desserrée Variateur de lumière incompatible Ampoule défectueuse | Ensure bulb is securely twisted Utiliser un variateur LED compatible Remplacer l'ampoule |
| Le luminaire devient trop chaud | Ampoule incorrectetage Mauvaise ventilation | Ensure bulbs do not exceed recommended wattage Ensure fixture is not covered or in an enclosed space |
8. Spécifications
| Fonctionnalité | Spécification |
|---|---|
| Marque | Aigostar |
| Numéro de modèle | AL-RDN035-01 |
| Dimensions (L x l x H) | 31.7 x 13.4 x 11.5 cm |
| Poids | 670 g |
| Couleur | Argent |
| Matériel | Nickel |
| Style | Moderne |
| Nombre d'ampoules | 3 (GU10 type, not included) |
| Voltage | 220 volts |
| Luminous Flux (with appropriate bulbs) | Jusqu'à 2000 ml |
| Indice de protection | IP20 |
| Caractéristiques spéciales | Dimmable (with compatible bulbs/switch), Adjustable Angle (350° rotation, 90° tilt) |
| Source d'énergie | Électrique avec fil |
| Utilisation intérieure/extérieure | Intérieur |

Image 8.1: Product dimensions (310mm length, 120mm base width, 140mm height).
9. Garantie et assistance
Pour toute information concernant la garantie ou l'assistance technique, veuillez consulter les coordonnées fournies avec votre documentation d'achat ou visiter le site officiel d'Aigostar. webConsultez le site. Conservez votre preuve d'achat pour toute réclamation au titre de la garantie.