1. Introduction
The Arduino Nano RP2040 Connect is a compact and powerful development board designed for a wide range of embedded projects. It integrates the Raspberry Pi RP2040 microcontroller with a u-blox NINA-W102 radio module, providing Wi-Fi and Bluetooth connectivity. This board also includes a built-in microphone and a six-axis Inertial Measurement Unit (IMU) with AI capabilities, making it suitable for sound activation, audio control, AI voice recognition, fall sensing, and double-tap activation.
With 16MB of external flash memory, the Nano RP2040 Connect offers ample space for code and data storage. It supports the entire RP2040 software ecosystem, including MicroPython, providing flexibility for developers.
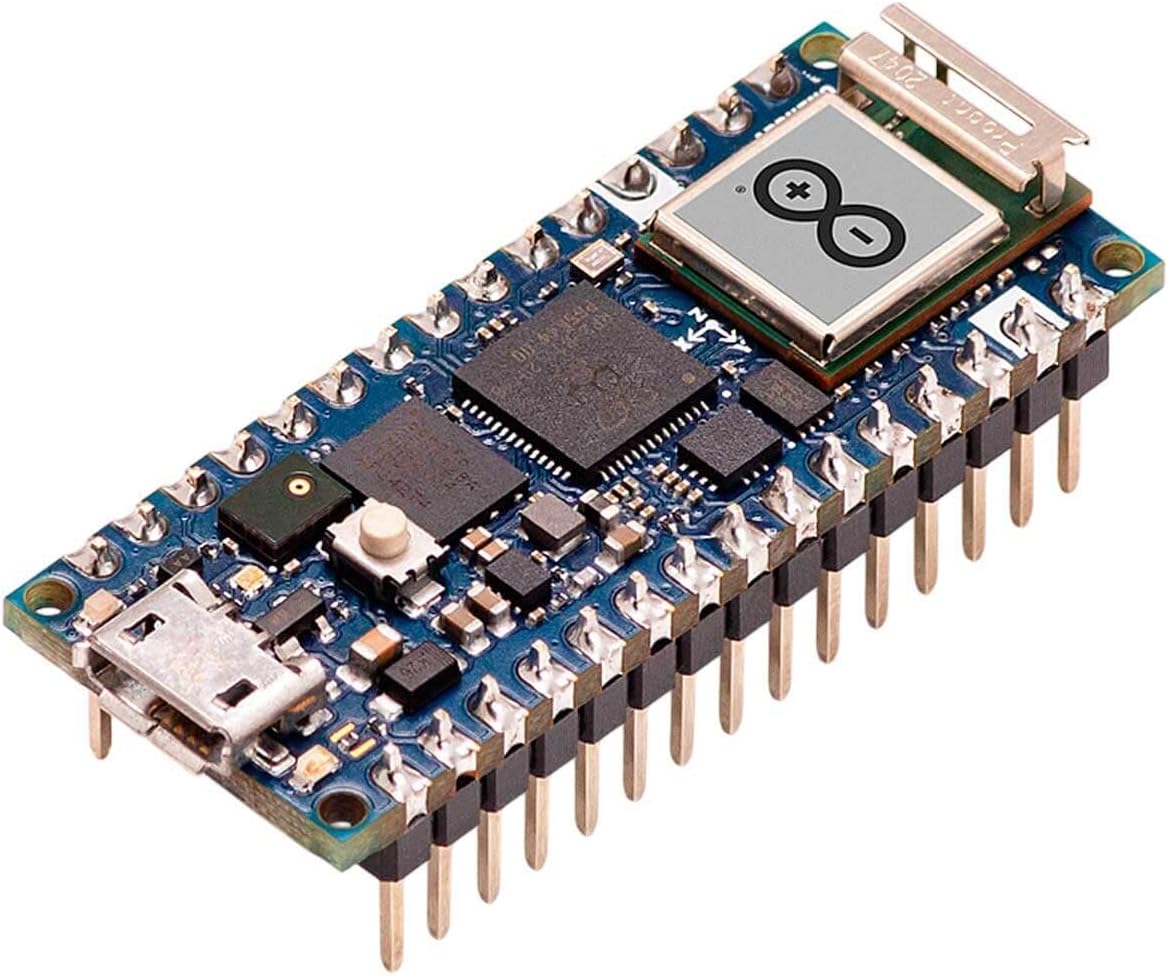
Figure 1.1 : Devant view of the Arduino Nano RP2040 Connect board with pre-soldered headers.
2. Installation
To begin using your Arduino Nano RP2040 Connect, follow these steps:
- Installez l'IDE Arduino : Téléchargez et installez la dernière version de l'IDE Arduino depuis le site officiel d'Arduino. website (arduino.cc/en/software).
- Ajouter la prise en charge de la carte : Ouvrez l'IDE Arduino. Allez à Outils > Tableau > Gestionnaire de tableaux... Rechercher "Arduino Mbed OS RP2040 Boards" and install it.
- Connectez la carte : Connect the Arduino Nano RP2040 Connect to your computer using a micro-USB cable. Ensure the cable is data-capable.
- Sélectionner la carte et le port : Dans l'IDE Arduino, accédez à Tools > Board > Arduino Mbed OS RP2040 Boards and select "Arduino Nano RP2040 Connect". Then, go to Outils > Port et sélectionnez le port série correspondant à votre carte connectée.
- First Upload (Blink Sketch): Open the "Blink" example sketch from File > Examples > 01.Bases > Clignotement. Click the "Upload" button (right arrow icon) to compile and upload the sketch to your board. The onboard LED should start blinking.
- MicroPython Setup (Optional): For MicroPython development, refer to the official Arduino documentation for instructions on flashing the MicroPython firmware and using a compatible IDE or serial terminal.

Figure 2.1 : Côté view of the board, highlighting the micro-USB port for connection.
3. Utilisation du conseil d'administration
The Arduino Nano RP2040 Connect can be powered via the micro-USB port or through the VIN pin (4.5-21V). Once powered and programmed, the board operates autonomously based on the uploaded sketch.
3.1. Connectivité Wi-Fi et Bluetooth
The integrated u-blox NINA-W102 module provides Wi-Fi (802.11b/g/n) and Bluetooth/BLE v4.2 capabilities. Libraries are available in the Arduino IDE to enable network communication, connect to Wi-Fi networks, and establish Bluetooth connections for various IoT applications.
3.2. Onboard Sensors
- Microphone: The built-in microphone can be used for sound detection, audio processing, and voice recognition projects.
- Six-axis IMU: The Inertial Measurement Unit provides accelerometer and gyroscope data, enabling motion sensing, orientation tracking, fall detection, and gesture recognition.
3.3. Digital and Analog Pins
The board features 22 digital pins (20 with PWM support) and 8 analog pins. These pins can be configured as inputs or outputs to interface with external components such as LEDs, sensors, motors, and other modules.

Figure 3.1 : The Arduino Nano RP2040 Connect in an active development environment.
4. Entretien
The Arduino Nano RP2040 Connect is a robust electronic device, but proper care ensures its longevity and reliable operation:
- À manipuler avec précaution : Avoid dropping the board or subjecting it to excessive physical stress.
- Décharge statique : Always handle the board by its edges and avoid touching the electronic components directly to prevent damage from electrostatic discharge.
- Propreté: Keep the board free from dust, dirt, and moisture. Use a soft, dry brush or compressed air for cleaning if necessary.
- Alimentation: Ensure you use a stable power supply within the specified voltage range (5V via USB, 4.5-21V via VIN). Incorrect voltage peut endommager la carte.
- Stockage: Store the board in an anti-static bag or a protective enclosure when not in use.
5. Dépannage
If you encounter issues with your Arduino Nano RP2040 Connect, consider the following troubleshooting steps:
5.1. Board Not Recognized by Computer
- Vérifiez le câble USB : Ensure the micro-USB cable is a data-capable cable, not just a charging cable. Try a different cable.
- Vérifiez le port USB : Essayez de vous connecter à un autre port USB de votre ordinateur.
- Installation du pilote : Verify that the necessary drivers are installed. The Arduino IDE installation typically handles this, but manual installation might be needed on some systems.
- Bouton de réinitialisation : Double-tap the reset button on the board quickly. This often puts the board into bootloader mode, making it discoverable by the computer.
5.2. Code Upload Failure
- Carte et port corrects : Confirm that the correct board type and serial port are selected in the Arduino IDE (Outils > Tableau et Outils > Port).
- Mode chargeur de démarrage : If uploads consistently fail, try putting the board into bootloader mode by double-tapping the reset button before attempting to upload.
- Erreurs de syntaxe : Check your code for any syntax errors that might prevent compilation.
5.3. Flimsy USB Connector
Some users have reported issues with the micro-USB connector being fragile. To minimize stress on the connector:
- Manipulation douce : Always insert and remove the USB cable gently and without force.
- Connexion sécurisée : If possible, secure the board to a breadboard or enclosure to prevent movement that could strain the connector.
6. Spécifications
Below are the technical specifications for the Arduino Nano RP2040 Connect:

Figure 6.1 : Packaging detail showing key specifications.
| Fonctionnalité | Détail |
|---|---|
| Processeur | Dual-core ARM Cortex M0+ (RP2040) |
| Vitesse d'horloge | 133 MHz |
| BÉLIER | 264 Ko de SRAM |
| Mémoire flash | 16 MB (external) |
| Connectivité sans fil | Wi-Fi 802.11b/g/n, Bluetooth & BLE v4.2 (u-blox NINA-W102) |
| Capteurs embarqués | Microphone, 6-axis IMU |
| E / S numériques Pins | 22 (20 with PWM) |
| Pins d'entrée analogique | 8 |
| Vol d'exploitationtage | 3.3V |
| Vol d'entréetage (NIV) | 4.5-21V |
| Vol d'entréetage (USB) | 5V |
| Dimensions (L x l x H) | 3.15 x 2.28 x 0.91 pouces (environ 80 x 58 x 23 mm) |
| Poids | 0.6 onces (environ 17 grammes) |
| Numéro de modèle de l'article | ABX00053 |
7. Garantie et assistance
For information regarding product warranty, returns, and technical support, please refer to the official Arduino website or contact Arduino customer service directly. Specific warranty terms may vary by region and retailer.
Official Arduino Website: www.arduino.cc
Community Forums: The Arduino community forums are an excellent resource for project ideas, troubleshooting, and peer support.