1. Introduction
Thank you for choosing the Hama 186369 Weather Forecast Center. This device provides comprehensive weather data, including satellite-based forecasts, indoor and outdoor temperature/humidity, and more. This manual will guide you through the setup, operation, and maintenance of your weather station to ensure optimal performance.
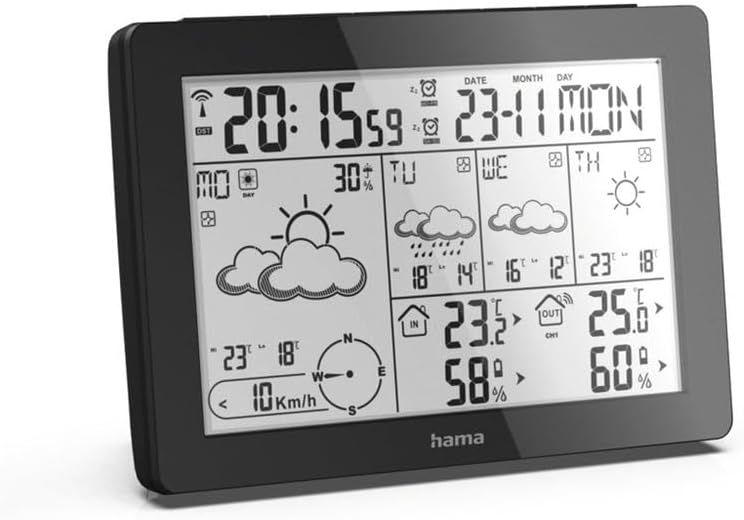
The Hama 186369 Weather Forecast Center main unit, showcasing its digital display with various weather parameters.
2. Contenu du colis
Veuillez vérifier que tous les articles énumérés ci-dessous sont présents et en bon état :
- Hama 186369 Weather Forecast Center (Base Station)
- Capteur extérieur sans fil
- 4 x AA Batteries (for both units)
- Ce manuel d'instructions

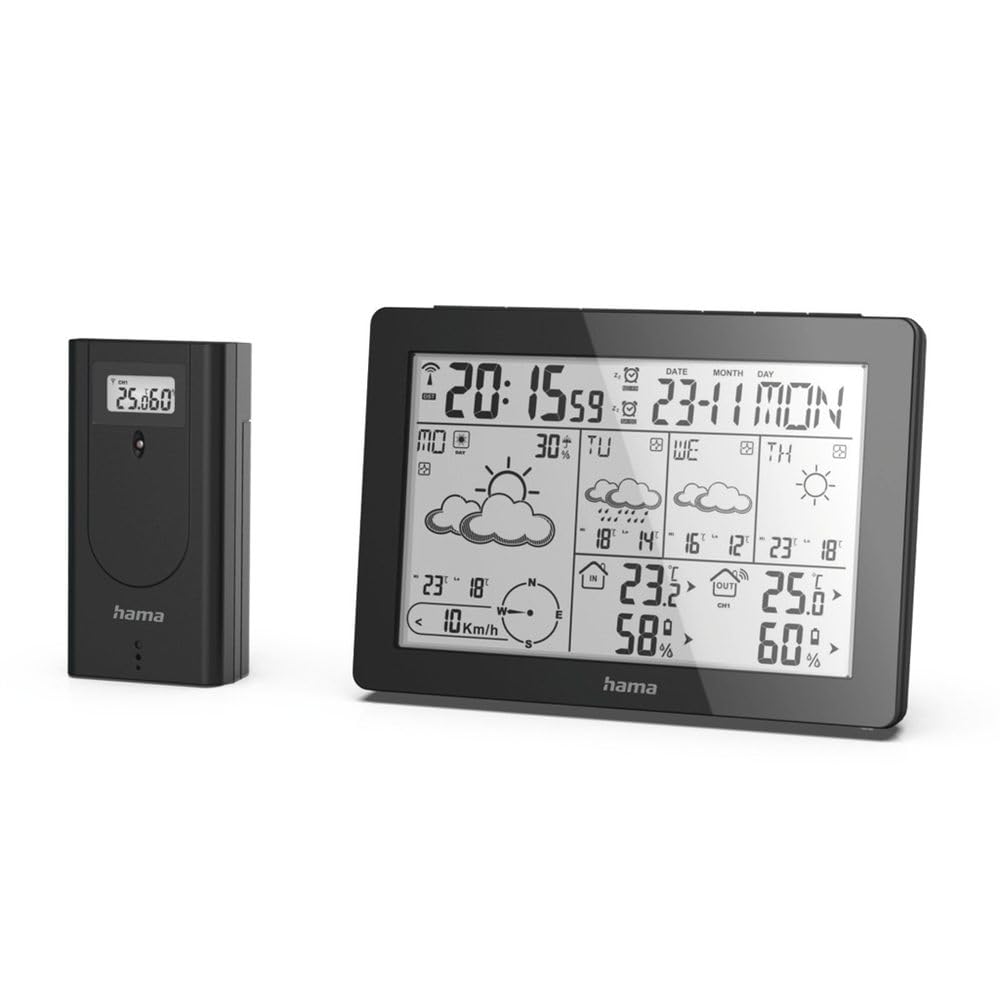
The complete set, including the base station and the wireless outdoor sensor.
3. Consignes de sécurité
- Do not open the device. Improper repair can lead to considerable hazards for the user.
- Do not expose the product to direct sunlight, extreme temperatures, or high humidity.
- Gardez ce produit, comme tous les produits électriques, hors de portée des enfants.
- Protégez le produit de la saleté, de l'humidité et de la surchauffe.
- N'utilisez le produit que pour l'usage auquel il est destiné.
- N'utilisez pas le produit dans des zones où les produits électroniques ne sont pas autorisés.
- When inserting batteries, note the correct polarity (+ and - markings) and insert the batteries accordingly. Otherwise, the batteries could leak or explode.
- Replace all batteries of a set at the same time. Do not mix old and new batteries or batteries of different types.
4. Installation
4.1 Insertion des piles
The Hama 186369 Weather Forecast Center and its outdoor sensor require AA batteries for operation.
- Open the battery compartment cover on the back of both the base station and the outdoor sensor.
- Insert the AA batteries, ensuring correct polarity (+ and -). The base station requires 2x AA batteries, and the outdoor sensor requires 2x AA batteries.
- Fermez soigneusement les couvercles du compartiment à piles.
Inserting batteries into the base station. Ensure correct polarity.

The wireless outdoor sensor, which also requires batteries.
4.2 Initial Operation and Signal Reception
After inserting the batteries, the base station will automatically search for the DCF-77 signal and connect to the outdoor sensor.
- Place the base station and the outdoor sensor close to each other during initial setup.
- The DCF-77 radio signal for time and date synchronization will be automatically received. This process may take several minutes.
- The outdoor sensor will transmit temperature and humidity data to the base station. Ensure they are within range (up to 30 meters in open areas).

Surview of the weather station's features and components, including the outdoor sensor and base station display.
5. Operating the Weather Forecast Center
5.1 Affichage terminéview
The main display shows various information at a glance:
- Heure et date : Synchronized via DCF-77 signal.
- Température et humidité intérieures : Mesuré par la station de base.
- Température et humidité extérieures : Received from the wireless outdoor sensor.
- Prévisions météorologiques: Satellite-based 4-day forecast for 60 regions/30 regions in Europe, updated daily.
- Rain Probability: Indication of precipitation likelihood.
- Vitesse et direction du vent : Displayed graphically.
- Alerte gel : Activates when temperatures drop to a critical level.
5.2 Fonctions des boutons
The buttons on the top of the base station allow you to adjust settings and view different information.

Haut view of the base station showing the control buttons.
- MODE: Switches between display modes (e.g., time, alarm setting).
- CANAL: Selects different outdoor sensor channels if multiple sensors are used.
- DAY/NIGHT/SNOOZE+LIGHT: Activates backlight, snooze function for alarm, or switches between day/night display.
- TEST: Initiates a test of the sensor connection.
- HAUT / BAS : Adjusts values during settings or navigates through forecast data.
5.3 Réglage de l'heure et de la date (réglage manuel)
While the time and date are usually set automatically via the DCF-77 signal, you can manually adjust them if needed.
- Appuyez et maintenez enfoncé le MODE Appuyez sur le bouton jusqu'à ce que l'affichage de l'heure commence à clignoter.
- Utilisez le UP et VERS LE BAS appuyez sur les boutons pour régler l'heure, puis appuyez sur MODE pour confirmer et passer au procès-verbal.
- Répétez l'opération pour les minutes, l'année, le mois et le jour.
- Presse MODE à nouveau pour quitter le mode de réglage.
5.4 Fonction d'alarme
La station météorologique comprend une fonction d'alarme.
- Appuyez sur le MODE Appuyez plusieurs fois sur le bouton jusqu'à ce que l'heure de l'alarme s'affiche.
- Appuyez et maintenez MODE pour entrer dans le mode de réglage de l'alarme.
- Utiliser UP et VERS LE BAS pour régler l’heure de l’alarme souhaitée.
- Presse MODE pour confirmer chaque réglage.
- Pour activer/désactiver l'alarme, appuyez sur le UP button when the alarm time is displayed. An alarm icon will appear/disappear.
6. Entretien
6.1 Nettoyage
- Nettoyez ce produit uniquement avec un chiffon légèrement déamp, un chiffon non pelucheux et n'utilisez pas de produits de nettoyage agressifs.
- Ensure that no water gets into the device.
6.2 Remplacement de la batterie
When the battery indicator appears on the display, replace all batteries in the respective unit (base station or outdoor sensor).
- Follow the steps in section 4.1 "Inserting Batteries".
- Jetez les piles usagées conformément aux réglementations locales.
7. Dépannage
| Problème | Cause possible | Solution |
|---|---|---|
| No display / Weak display | Les piles sont vides ou mal insérées. | Remplacez les piles en veillant à respecter la polarité. |
| Aucune mesure de température/humidité extérieure | Outdoor sensor not connected or out of range. |
|
| Heure/date incorrecte | DCF-77 signal not received or interference. |
|
| Prévisions météorologiques inexactes | Incorrect region setting or temporary signal issue. |
|
8. Spécifications
| Fonctionnalité | Détail |
|---|---|
| Numéro de modèle | 186369 |
| Dimensions (Base Station) | 3 x 15.3 x 10.5 cm |
| Poids | 510 g |
| Matériel | Acrylique |
| Source d'énergie | Battery-powered (4 AA batteries required, included) |
| Connectivité | Sans fil (pour capteur extérieur) |
| Caractéristiques spéciales | Alarm, Wireless Outdoor Sensor, Frost Alarm, DCF-77 Radio Clock |
| Prévisions météorologiques | Satellite-based 4-day forecast for 60 regions/30 regions in Europe, daily updated data for 611 locations. |
| Utilisation recommandée | Temperature measurement, hobby, private, business. |
9. Garantie et assistance
Hama GmbH & Co KG n'assume aucune responsabilité et ne fournit aucune garantie pour les dommages résultant d'une mauvaise installation/montage, d'une mauvaise utilisation du produit ou du non-respect des instructions d'utilisation et/ou des consignes de sécurité.
For technical support or warranty claims, please contact your retailer or visit the official Hama website pour une assistance supplémentaire.

Hama: Experience and competence since 1923.