1. Introduction
This manual provides essential instructions for the safe and efficient use of your ST 36V 2A Li-ion Battery Charger (Model STC-8101LC). This charger is designed to provide a 42V 2A output, making it suitable for charging 36V Lithium-ion battery packs commonly found in e-bikes, hoverboards, and electric scooters equipped with a DC2.1 charging port. Please read this manual thoroughly before first use and retain it for future reference.
2. Consignes de sécurité
AVERTISSEMENT : Le non-respect de ces consignes de sécurité peut entraîner un choc électrique, un incendie ou des blessures graves.
- Utilisation en intérieur uniquement : This charger is designed for indoor use in dry conditions. Do not expose it to rain, moisture, or extreme temperatures.
- Type de batterie correct : Only use this charger with 36V Lithium-ion battery packs. Using it with other battery types (e.g., lead-acid, NiMH) can cause damage to the battery and charger, and may lead to fire or explosion.
- VoltagCompatibilité : Ensure the battery pack's voltage matches the charger's output (42V for 36V Li-ion).
- Ventilation adéquate : Always place the charger in a well-ventilated area during use. Do not cover the charger.
- Éviter les dommages : Do not operate the charger if the power cord, plug, or charger casing est endommagé. Contactez le service client pour obtenir de l'aide.
- Débrancher lorsque l'appareil n'est pas utilisé : Disconnect the charger from the power outlet and the device when not in use or during cleaning.
- Tenir hors de portée des enfants : Ce produit n'est pas un jouet. Tenir hors de portée des enfants.
- Pas de démontage : N’essayez pas d’ouvrir ou de modifier le chargeur. Il ne contient aucune pièce réparable par l’utilisateur.
3. caractéristiques du produit
The STC-8101LC charger is designed for convenience and safety, incorporating several protective features:
- Conception compacte : Its small size makes it highly portable and easy to store.
- Protection contre les surintensités: Prévient les dommages causés par un courant excessif.
- Survoltaget Protection: Mesures de protection contre le voltage surtensions.
- Protection contre les courts-circuits : S'arrête automatiquement en cas de court-circuit.
- Protection contre l'inversion de polarité : Protects against incorrect connection.
- Protection contre la surchauffe : Empêche la surchauffe pendant le fonctionnement.

Image: The charger features multiple protection mechanisms including over-current, over-voltage, short circuit, reverse polarity, and over-temperature protection, indicated by corresponding icons.
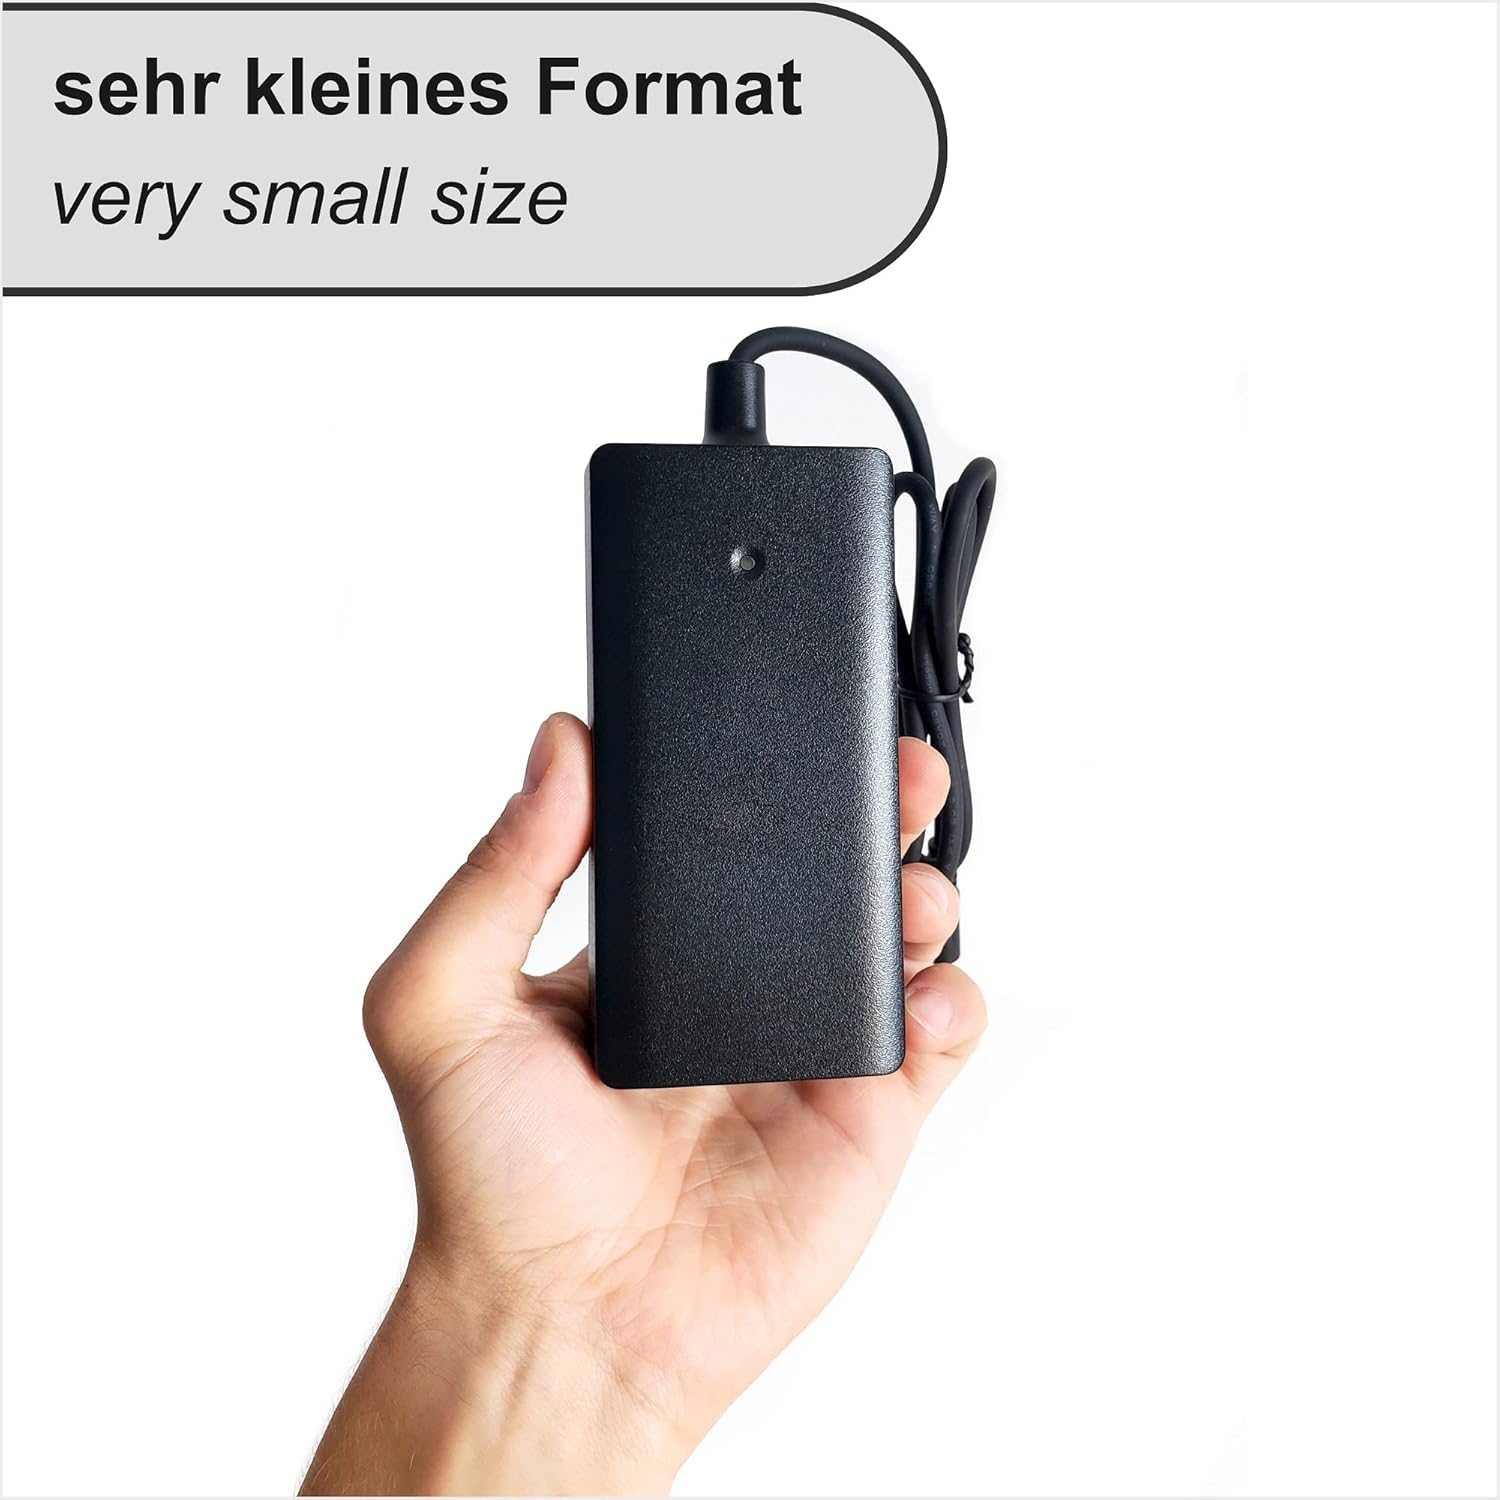
Image: A hand holding the charger, demonstrating its compact and portable design.
4. Installation
- Déballer: Carefully remove the charger and power cable from its packaging. Inspect for any visible damage.
- Connectez le câble d'alimentation : Insert the 2-pole power cable into the charger's AC input port.
- Se connecter à la prise : Plug the other end of the power cable into a standard wall outlet (100-240V AC).
- Connectez-vous à l'appareil : Insert the DC2.1 charging plug into the charging port of your e-bike, hoverboard, scooter, or battery pack. Ensure the connection is secure.

Image : détaillée view of the DC2.1 charging port (5.5mm outer, 2.1mm inner diameter) and the 1.5m 2-pole power cable.
5. Mode d'emploi
The charger features an LED indicator to show its status:
- LED rouge: Indique que la batterie est en cours de charge.
- LED verte: Indicates that the battery is fully charged or the charger is powered on but not connected to a battery.
- Once connected as per the 'Setup' section, the LED indicator will turn Rouge, signifying that charging has begun.
- When the battery is fully charged, the LED indicator will turn Vert.
- After charging is complete, first disconnect the charger from the device, then unplug it from the wall outlet.

Image: Visual guide to the charger's LED indicators: Red for 'Charging' and Green for 'On / Charged'.
6. Applications
This charger is compatible with various devices that use 36V Lithium-ion battery packs and a DC2.1 charging port. Common applications include:
- E-bikes (Electric Bicycles)
- E-scooters (Electric Scooters)
- Hoverboards
- General 36V Li-ion Battery Packs with DC2.1 input
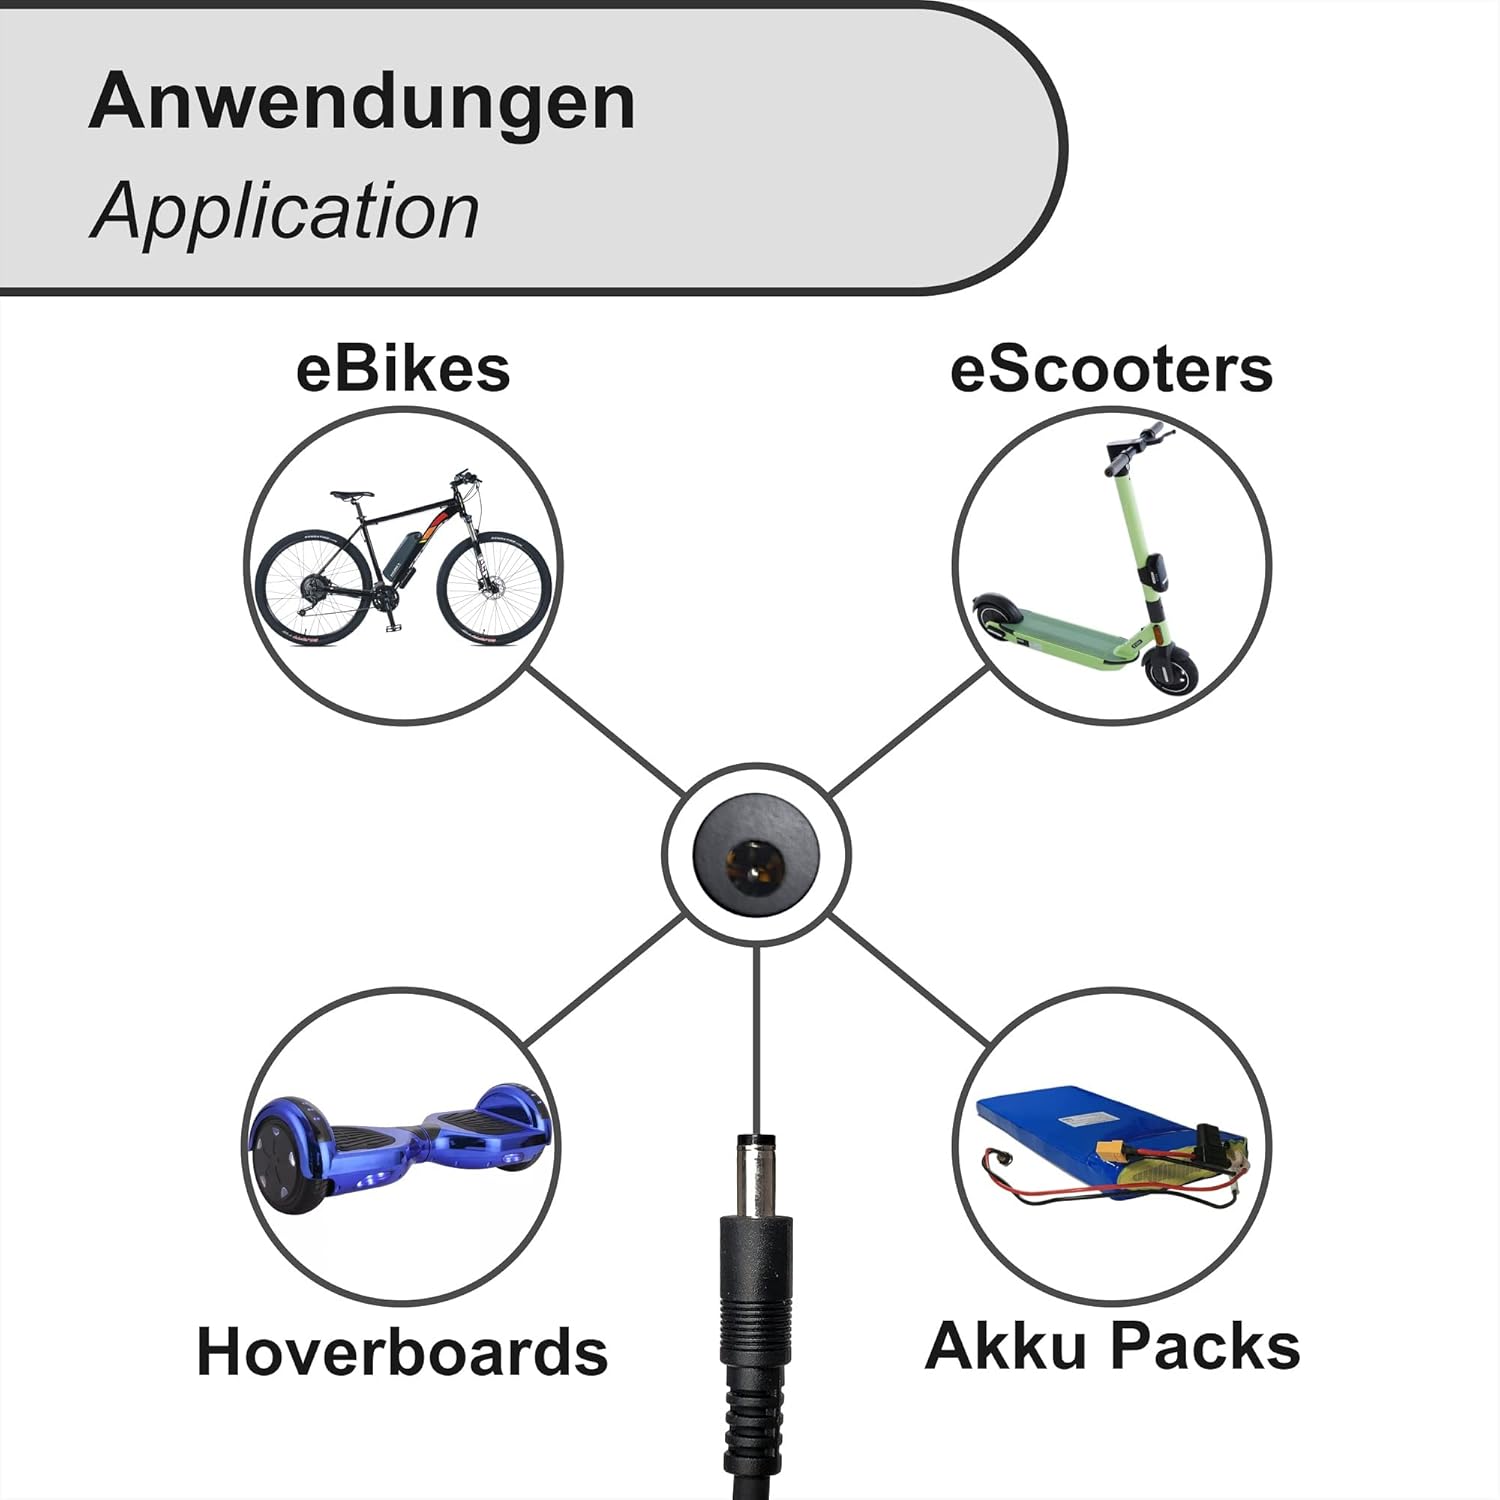
Image: The charger is suitable for various applications including e-bikes, e-scooters, hoverboards, and general battery packs.
7. Entretien
- Nettoyage: Débranchez le chargeur de toute source d'alimentation avant de le nettoyer. Essuyez l'extérieur avec un chiffon doux et sec. N'utilisez pas de nettoyants liquides ni de solvants.
- Stockage: Store the charger in a cool, dry place away from direct sunlight and extreme temperatures. Ensure the cables are not kinked or tangled.
- Inspection: Periodically inspect the charger, power cord, and connectors for any signs of wear or damage.
8. Dépannage
| Problème | Cause possible | Solution |
|---|---|---|
| Le voyant du chargeur ne s'allume pas. | Pas de courant à la prise ; connexion desserrée ; chargeur endommagé. | Check power outlet with another device. Ensure all connections are secure. If still no light, the charger may be faulty. |
| LED is Green but battery is not charging. | Battery already full; incorrect battery type/voltage; faulty battery; loose connection to device. | Verify battery charge level. Confirm battery compatibility. Ensure DC2.1 plug is fully inserted. Test with another compatible battery if possible. |
| Le chargeur est anormalement chaud. | Poor ventilation; prolonged use; internal fault. | Unplug immediately. Allow to cool in a well-ventilated area. Ensure charger is not covered during use. If overheating persists, discontinue use and contact support. |
9. Spécifications
| Fonctionnalité | Détail |
|---|---|
| Marque | ST |
| Numéro de modèle | STC-8101LC |
| Volume de sortietage | 42 volts |
| Courant de sortie | 2 Ampavant |
| Type de batterie compatible | Lithium-ion 36 V |
| Type de connecteur | DC2.1 (5.5mm outer, 2.1mm inner diameter) |
| Dimensions du produit (L x l x H) | 12.5 x 6.2 x 3.6 cm |
| Poids de l'article | 350 gramme |

Image: Dimensions of the charger, measuring 125mm in length, 60mm in width, and 35mm in height.
10. Garantie et assistance
Pour toute information relative à la garantie ou pour obtenir une assistance technique, veuillez consulter la documentation fournie avec votre achat ou contacter votre revendeur. Conservez votre preuve d'achat pour toute réclamation au titre de la garantie.