Introduction
This manual provides essential instructions for the safe and efficient operation, maintenance, and troubleshooting of your Blaupunkt ATF401 Table Fan. Please read this manual thoroughly before using the appliance and retain it for future reference.
Consignes de sécurité
AVERTISSEMENT : Afin de réduire les risques d’incendie, d’électrocution ou de blessure, veuillez respecter les consignes de sécurité suivantes :
- Assurer l'alimentation voltage correspond à l'étiquette de classification sur le ventilateur.
- N’utilisez pas le ventilateur si le cordon ou la fiche est endommagé(e). En cas de dommage, contactez un technicien qualifié.
- Gardez vos doigts, crayons ou tout autre objet hors de la grille du ventilateur lorsqu'il est en fonctionnement.
- Unplug the fan from the outlet when not in use, before cleaning, or when moving it.
- Do not use the fan in wet locations such as bathrooms or laundry areas.
- Placez le ventilateur sur une surface stable et plane pour éviter qu'il ne se renverse.
- Cet appareil n'est pas destiné à être utilisé par des personnes (y compris les enfants) ayant des capacités physiques, sensorielles ou mentales réduites, ou manquant d'expérience et de connaissances, à moins qu'elles ne bénéficient d'une surveillance ou d'instructions concernant l'utilisation de l'appareil par une personne responsable de leur sécurité.
Produit terminéview
The Blaupunkt ATF401 is a 30 cm diameter table fan designed for air circulation in home and office environments. It features a modern design and portable functionality.
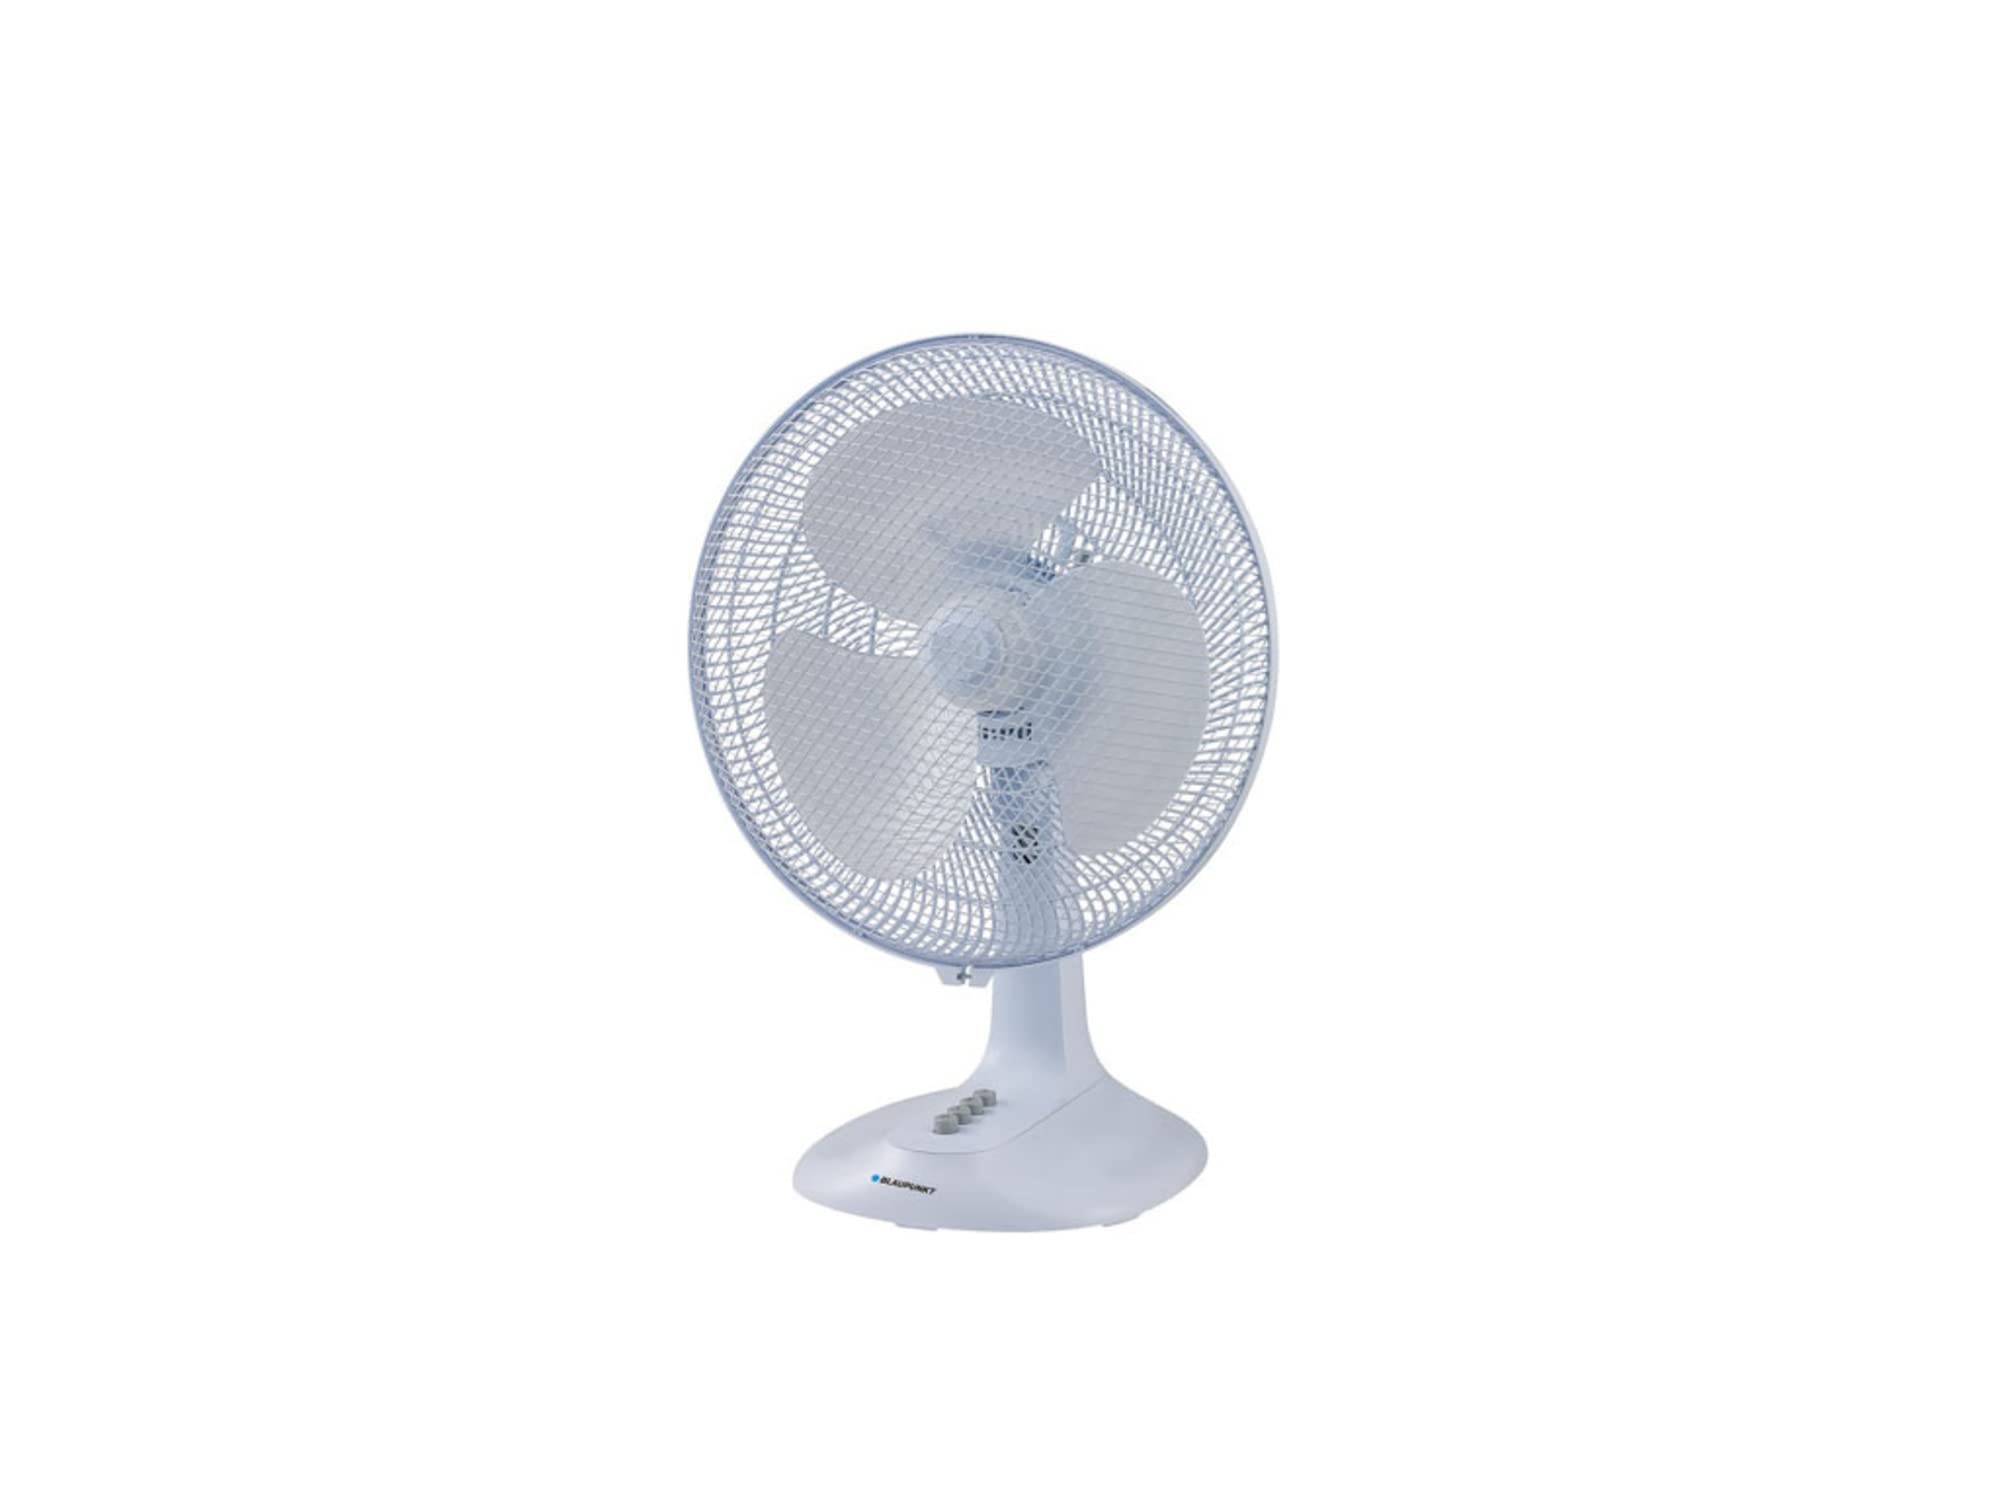
Figure 1 : Face avant view of the Blaupunkt ATF401 Table Fan. The fan features a white body, a protective grille, and three blades. Control buttons are visible on the base.
Composants:
- Fan Head (Grille and Blades)
- Boîtier moteur
- Control Panel (on base)
- Base
- Cordon d'alimentation
Installation
The Blaupunkt ATF401 Table Fan is designed for tabletop use and typically requires minimal assembly. Ensure all packaging materials are removed before use.
- Déballer: Retirez délicatement le ventilateur de son emballage.
- Placement: Place the fan on a firm, level, and stable surface. Ensure there is adequate space around the fan for proper air circulation and to prevent obstruction of the air intake/outlet.
- Connexion électrique : Insert the power cord plug into a standard electrical outlet (AC 220-240V, 50Hz).
Mode d'emploi
The fan is operated using the control buttons located on the base.
- Marche/Arrêt : Press the '0' button to turn the fan off. Press '1', '2', or '3' to turn the fan on at the desired speed.
- Sélection de vitesse :
- '1' for Low speed
- '2' for Medium speed
- '3' for High speed
- Fonction d'oscillation: To activate the oscillation (side-to-side movement) function, press down the oscillation knob located on top of the motor housing. To stop oscillation, pull the knob up.
- Réglage de l'inclinaison : La tête du ventilateur peut être inclinée manuellement vers le haut ou vers le bas pour orienter le flux d'air. Poussez ou tirez délicatement la tête du ventilateur jusqu'à l'angle souhaité.
Entretien et nettoyage
Un nettoyage régulier garantit des performances optimales et prolonge la durée de vie de votre ventilateur.
- Avant le nettoyage : Débranchez toujours le ventilateur de la prise de courant avant de le nettoyer ou d'effectuer toute opération d'entretien.
- Nettoyage extérieur : Utilisez un chiffon doux et sec.amp Utilisez un chiffon pour essuyer les surfaces extérieures du ventilateur. N’utilisez pas de nettoyants abrasifs ni de solvants, car ils pourraient endommager la finition.
- Grille et lames : For thorough cleaning, the front grille may be removed (refer to specific instructions if provided with the product for grille removal). Use a vacuum cleaner with a brush attachment or a soft cloth to remove dust from the blades and grilles. Ensure all parts are completely dry before reassembling and operating the fan.
- Stockage: When not in use for extended periods, store the fan in its original packaging or cover it to protect it from dust. Store in a cool, dry place.
Dépannage
Si vous rencontrez des problèmes avec votre ventilateur, consultez les problèmes courants et leurs solutions ci-dessous :
| Problème | Cause possible | Solution |
|---|---|---|
| Le ventilateur ne s'allume pas. | Pas d'alimentation électrique. Ventilateur non branché. Bouton d'alimentation non enfoncé. | Vérifiez si la prise de courant fonctionne. Assurez-vous que le cordon d’alimentation est correctement branché. Press one of the speed buttons (1, 2, or 3). |
| Faible flux d'air. | La vitesse du ventilateur est réglée trop faible. Grille or blades are dirty. | Augmentez la vitesse du ventilateur. Clean the fan grille and blades as per maintenance instructions. |
| Le ventilateur est bruyant. | Pièces détachées. Ventilateur non placé sur une surface stable. | Vérifiez qu'il n'y a pas de composants desserrés. Placez le ventilateur sur une surface plane et stable. |
| L'oscillation ne fonctionne pas. | Oscillation knob not engaged. | Ensure the oscillation knob on top of the motor housing is pressed down. |
Caractéristiques
| Fonctionnalité | Détail |
|---|---|
| Marque | BLAUPUNKT |
| Numéro de modèle | ATF401 |
| Conception de ventilateur électrique | Ventilateur de table |
| Source d'énergie | Électrique avec fil |
| Quoitage | 45 watts |
| Nombre de lames | 3 |
| Type de montage | Support de table |
| Utilisation recommandée | Circulation d'air |
| Dossier spécial | Portable |
| Dimensions du produit | 19.69 x 19.69 x 11.02 pouces |
Informations sur la garantie
This product comes with a standard manufacturer's warranty. For specific warranty terms and conditions, please refer to the warranty card included with your purchase or contact Blaupunkt customer support. Keep your proof of purchase for warranty claims.
Assistance clientèle
For further assistance, technical support, or spare parts, please contact Blaupunkt customer service. Contact details can typically be found on the official Blaupunkt website ou sur l'emballage du produit.
Please have your model number (ATF401) and purchase date available when contacting support.


