1. Introduction
This manual provides instructions for the installation, operation, and maintenance of your OHLUX Smart WiFi Light Bulbs. These LED bulbs offer advanced features including color-changing capabilities, dimming, and smart control via an app or voice assistants.
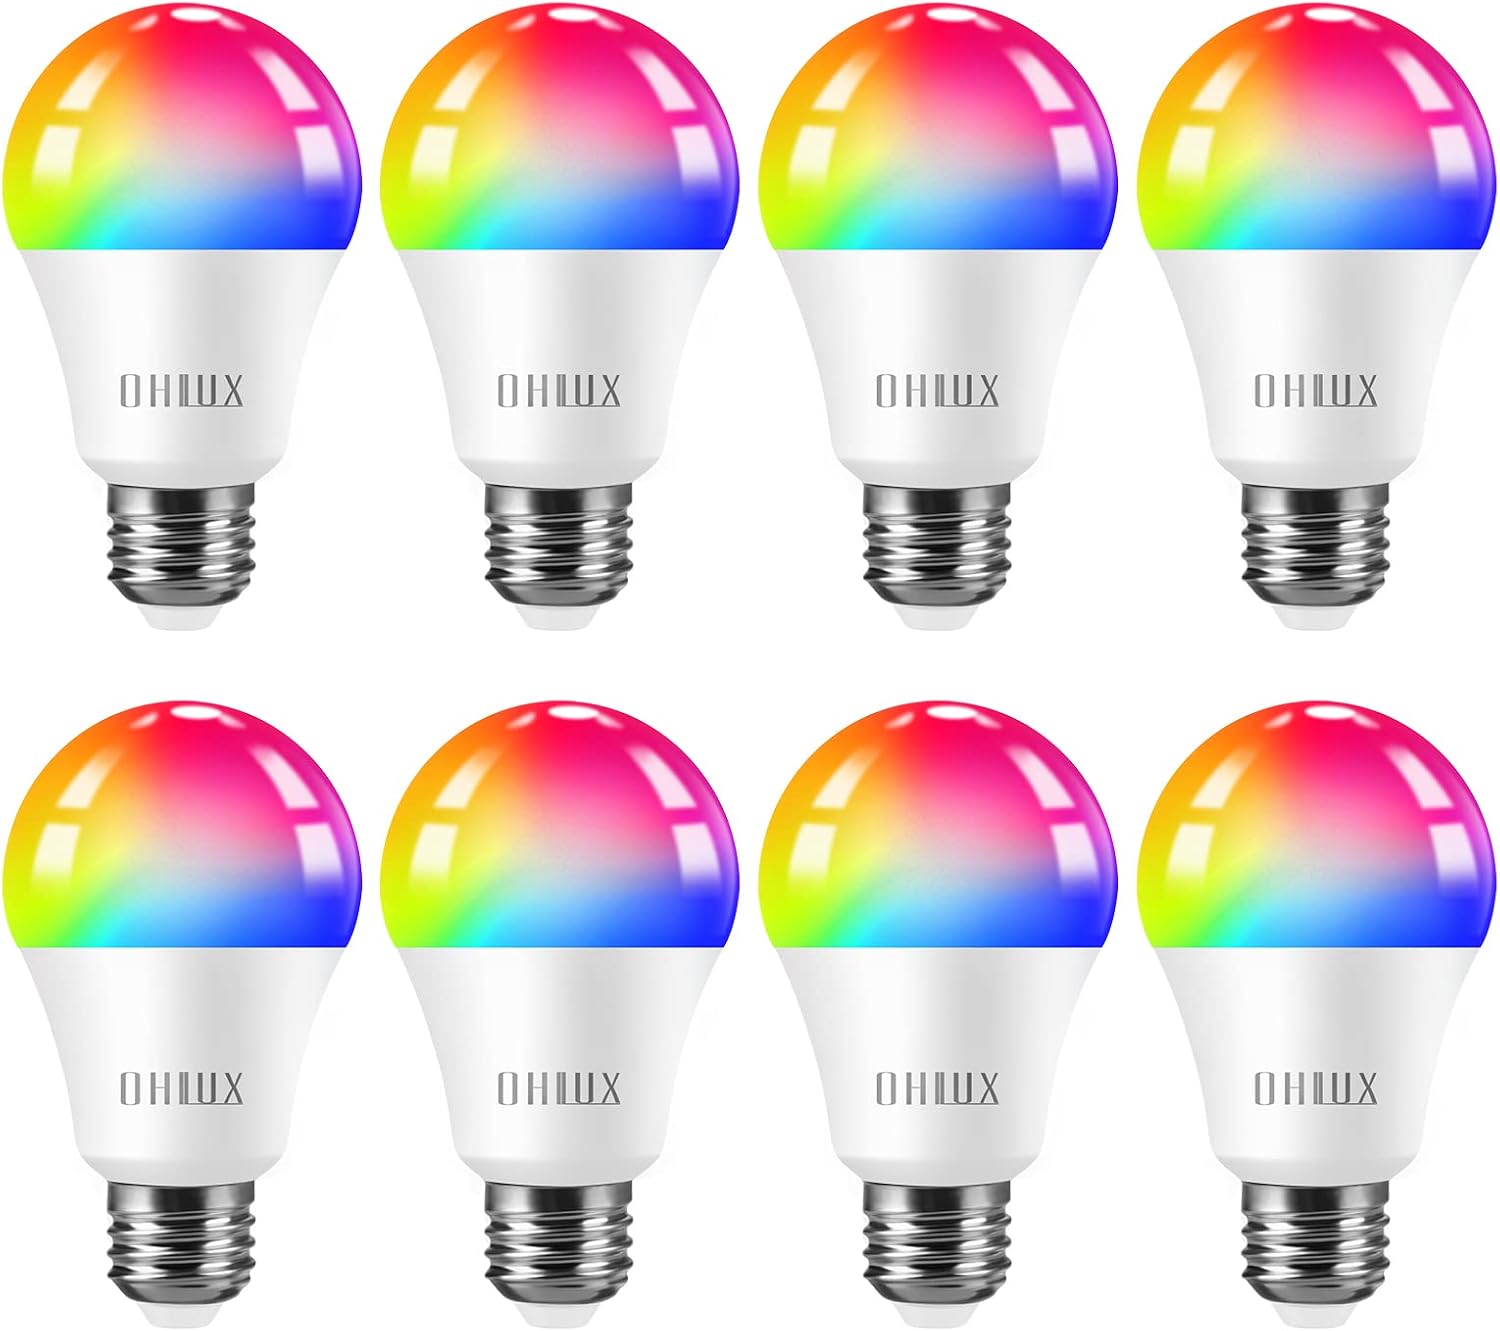
Figure 1: OHLUX Smart WiFi Light Bulbs (A19 E26)
2. Consignes de sécurité
- Turn power off before installing or removing the bulbs.
- These bulbs are designed for indoor use only and are not waterproof.
- Operate with 100-240 Volts AC. Avoid higher voltage pour éviter tout dommage.
- Read the user manual completely before installation and use.
3. Contenu du colis
- OHLUX Smart WiFi Light Bulb(s) (Quantity as purchased)
- Manuel d'utilisation
4. Spécifications
| Marque | OHLUX |
| Nom du modèle | SQPA6009-A |
| Type de lumière | DIRIGÉ |
| Quoitage | 10 watts |
| Équivalent à incandescence | 80 watts |
| Forme de l'ampoule Taille | A19 |
| Culot de l'ampoule | E26 |
| Luminosité | 900 lumens |
| Couleur claire | Multicolor (2700-6500K adjustable) |
| Voltage | 120 Volts (CA) |
| Durée de vie moyenne | 30,000 heures |
| Méthode de contrôle | Application, commande vocale (Alexa, Google Home, Siri) |
| Utilisation intérieure/extérieure | Intérieur |
5. Configuration et installation
5.1 Installation physique
- Avant l'installation, assurez-vous que l'alimentation du luminaire est coupée au niveau de l'interrupteur.
- Carefully screw the OHLUX Smart WiFi Light Bulb into a standard E26 socket.
- Turn the power back on at the switch. The bulb should light up.
5.2 Téléchargement et appairage de l'application
To control your smart bulbs, download the "Smart Life" app from your device's app store (Google Play Store for Android or Apple App Store for iOS). Alternatively, scan the QR code provided in the product packaging to download the app.
- Ouvrez l'application Smart Life et inscrivez-vous/connectez-vous.
- Ensure your mobile device's Wi-Fi and Bluetooth are enabled. The bulbs require a 2.4GHz Wi-Fi network for connection.
- To enter pairing mode, turn the light switch OFF-ON-OFF-ON-OFF-ON (3-5 times) until the bulb begins to blink rapidly.
- In the app, tap the "+" icon in the top right corner to add a device. The app should automatically discover the blinking bulb.
- Follow the on-screen prompts to connect the bulb to your 2.4GHz Wi-Fi network. You will need to enter your Wi-Fi password.
- Once connected, you can rename the bulb for easier control.
Video 1: Customer connect experience with Smart Life app. This video demonstrates the process of connecting the OHLUX Smart WiFi Light Bulb to the Smart Life application, including entering Wi-Fi details and device discovery.
Video 2: How to turn on Wi-Fi, Bluetooth, and location on your cellphone for device pairing. This video guides users through enabling necessary phone settings to facilitate the pairing process with the smart bulb.
6. Mode d'emploi
6.1 Contrôle des applications
Once connected, you can control your OHLUX Smart WiFi Light Bulbs directly from the Smart Life app:
- Marche/Arrêt : Appuyez sur l'icône d'alimentation à côté du nom de l'ampoule.
- Luminosité: Adjust the brightness slider from 1% to 100%.
- Température de couleur: In "White Mode," adjust the slider to change the white light from warm (2700K) to cool (6500K).
- Sélection de couleur : In "Color Mode," choose from 16 million colors using the color wheel. Adjust saturation and brightness as desired.
- Modes scène : Select from various preset scene modes (e.g., Night, Reading, Working, Leisure) or create custom scenes.
- Synchronisation de la musique : The bulbs can change color and brightness in sync with music detected by your phone's microphone.

Figure 2: App interface showing 16 million color options and tunable white light.
6.2 Commande vocale
The OHLUX Smart WiFi Light Bulbs are compatible with popular voice assistants. Link your Smart Life account to your Alexa, Google Home, or Siri account to enable voice commands.
- Example Commandes :
- "Alexa, allume la lumière du salon."
- "Hey Google, mets la lumière de la chambre en bleu."
- "Siri, baisse la lumière de la cuisine à 50%."

Figure 3 : Intégration de la commande vocale avec les appareils domotiques.
6.3 Contrôle de groupe
In the Smart Life app, you can create groups of bulbs to control multiple lights simultaneously. This is useful for rooms with several bulbs or for controlling lights across different areas of your home.

Figure 4: Managing multiple smart bulbs with group control via the app.
6.4 Minuterie et programme
Set schedules for your bulbs to turn on/off or change settings at specific times. Use the timer function for automatic shut-off after a set duration. Features like "Sunrise & Sunset" can automate lighting based on natural light cycles.

Figure 5: Setting timers and schedules for automated lighting.
7. Entretien
- Assurez-vous que l'alimentation est coupée avant le nettoyage.
- Wipe the bulb with a soft, dry cloth. Do not use liquid cleaners.
- Avoid disassembling the bulb, as this will void the warranty.
8. Dépannage
8.1 Problèmes de connectivité
- Bulb not blinking: Ensure the power cycle (OFF-ON 3-5 times) is performed quickly and consistently.
- App not finding the bulb:
- Confirm your Wi-Fi network is 2.4GHz. These bulbs do not support 5GHz networks.
- Assurez-vous que le Wi-Fi et le Bluetooth de votre téléphone sont activés.
- Bring your phone closer to the bulb and Wi-Fi router during pairing.
- Redémarrez votre routeur Wi-Fi et réessayez.
- Bulb frequently disconnects:
- Check your Wi-Fi signal strength in the bulb's location.
- Ensure your router is not overloaded with too many devices.
- Update the Smart Life app to the latest version.
8.2 Light Functionality Issues
- L'ampoule ne répond pas aux commandes :
- Check if the bulb is connected to the app and online.
- Vérifiez que votre connexion internet est stable.
- For voice control, ensure the Smart Life skill/service is linked correctly in your voice assistant app.
- Couleurs incorrectes ou scintillement :
- Perform a factory reset by repeating the OFF-ON cycle until the bulb blinks, then re-pair it.
- Ensure the bulb is not in an enclosed fixture that could cause overheating.
9. Garantie et assistance
OHLUX products are designed for reliability and performance. For warranty information or technical support, please refer to the contact details provided on your product packaging or visit the official OHLUX website. Customer satisfaction is a priority, and support is typically available within 24 hours.


