1. Introduction
Thank you for choosing the CREATE SILKAIR CONNECT 3-in-1 Mobile Air Conditioner. This versatile appliance is designed to provide cooling, dehumidification, and fan functions for your living space. With its Wi-Fi connectivity, you can conveniently control the unit via a mobile application. Please read this manual thoroughly before operation to ensure safe and efficient use.
Modèle: 64274_145198
Marque: CRÉER
2. Consignes de sécurité
Respectez toujours les consignes de sécurité de base lors de l'utilisation d'appareils électriques afin de réduire les risques d'incendie, d'électrocution et de blessures.
- Assurez-vous que l'alimentation électrique correspond au voltage spécifié sur l'étiquette signalétique.
- Ne faites pas fonctionner l'appareil avec un cordon ou une prise endommagés.
- Éloignez l'appareil des sources de chaleur et de la lumière directe du soleil.
- Ne bloquez pas les entrées ou les sorties d’air.
- Débranchez toujours l'appareil avant de le nettoyer ou de l'entretenir.
- Cet appareil utilise du réfrigérant R290. Ne pas percer le circuit de réfrigérant.
- Surveillez les enfants et assurez-vous qu'ils ne jouent pas avec l'appareil.
3. Contenu du colis
Carefully unpack your air conditioner and check that all items are present and in good condition.
- CREATE SILKAIR CONNECT Mobile Air Conditioner Unit
- Tuyau d'échappement
- Window Sealing Kit (Adjustable window slider, hose adapter)
- Télécommande
- Manuel d'utilisation

Figure 1: The CREATE SILKAIR CONNECT Mobile Air Conditioner unit shown alongside a smartphone displaying its control application interface.
4. Produit terminéview
4.1 Panneau de contrôle

Figure 2: Close-up of the top-mounted control panel, featuring an LED display and touch-sensitive buttons for various functions such as power, mode selection, fan speed, and timer.
4.2 Composants et dimensions
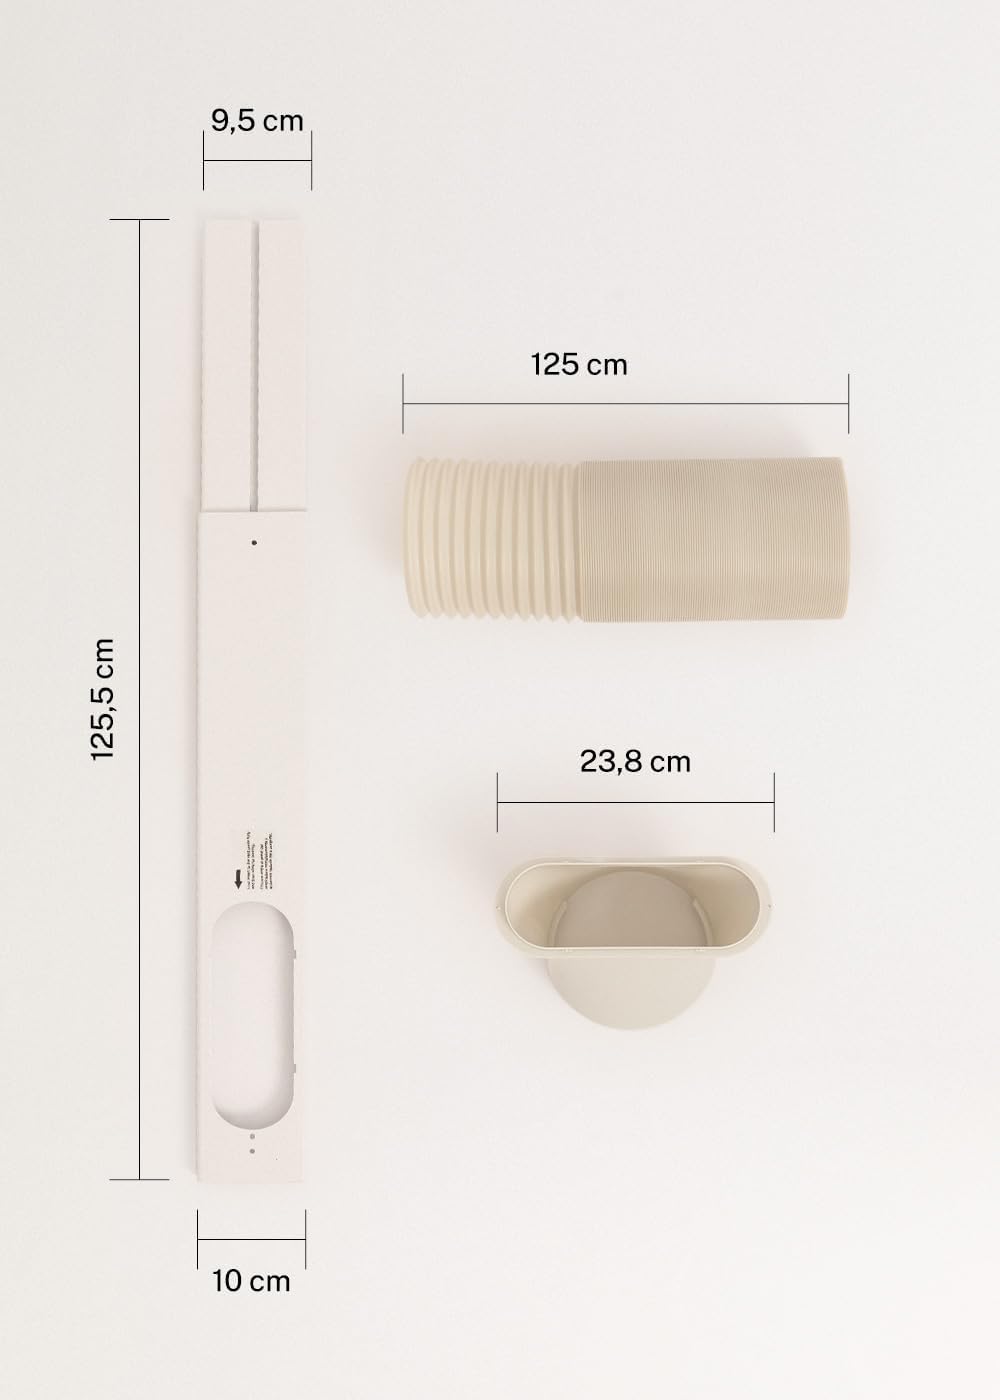
Figure 3: Detailed diagram illustrating the dimensions of the window sealing plate (125.5 cm length, 10 cm width, 9.5 cm adjustable width) and the exhaust hose (125 cm length) with its adapter (23.8 cm diameter).
5. Configuration et installation
Proper installation is crucial for the efficient operation of your mobile air conditioner.
5.1 Positionnement de l'unité
- Placez l'appareil sur une surface plane et stable.
- Veillez à laisser un espace d'au moins 30 cm autour de l'appareil pour une bonne circulation de l'air.
- Placez l'appareil près d'une fenêtre ou d'une ouverture pour le tuyau d'évacuation.
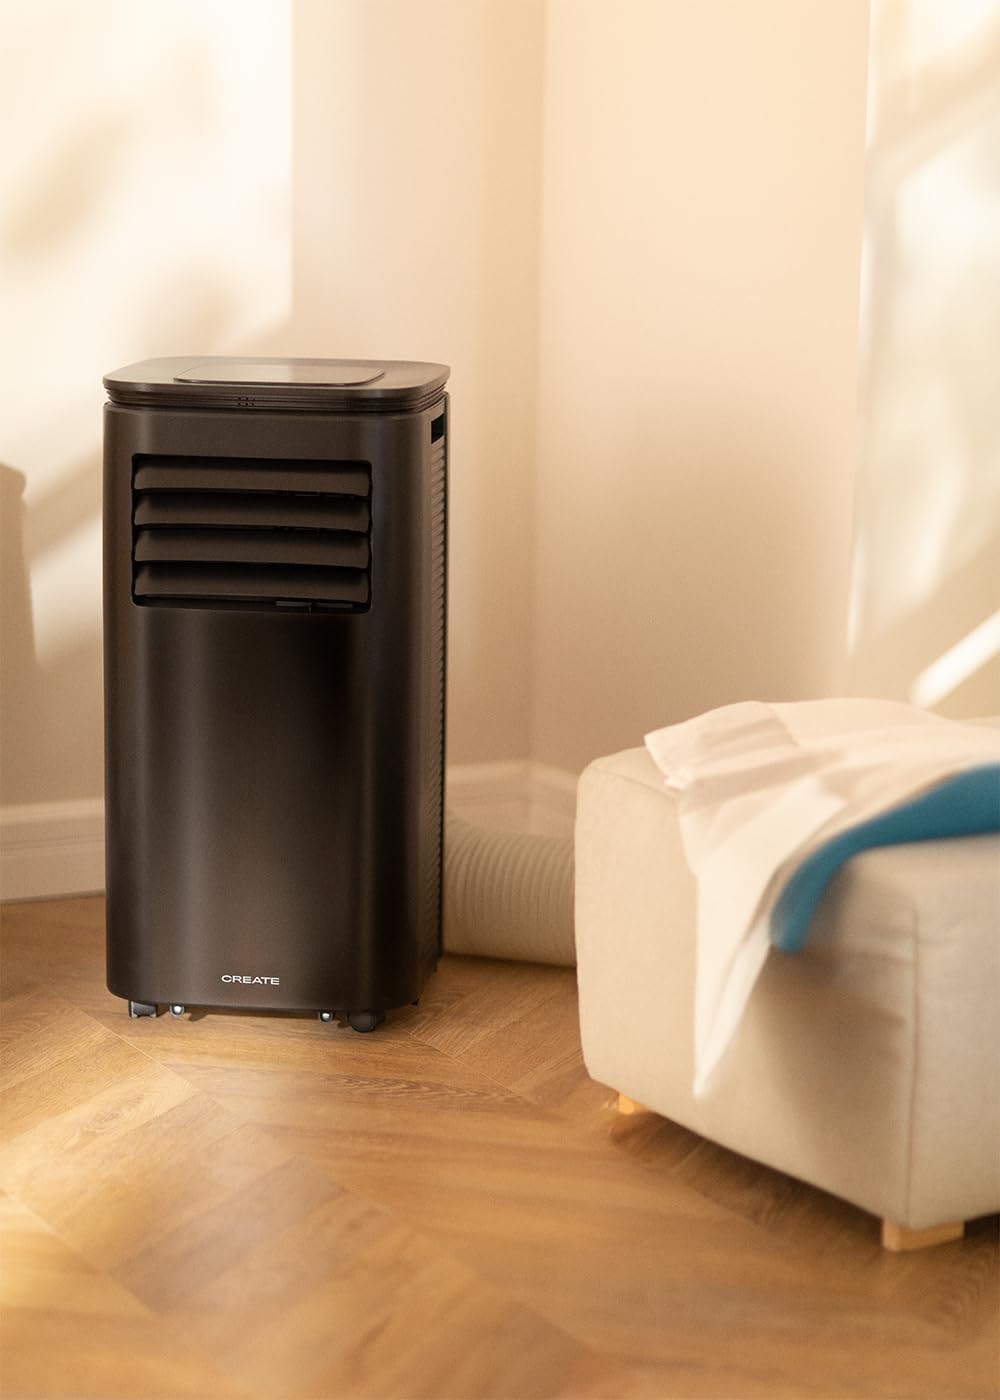
Figure 4: The air conditioner unit positioned in a room, demonstrating the typical setup with the exhaust hose directed towards a window for heat expulsion.
5.2 Installation du kit de tuyau d'échappement et de fenêtre
- Attach the hose adapter to one end of the exhaust hose.
- Raccordez l'autre extrémité du tuyau d'échappement à la sortie d'air située à l'arrière de l'appareil.
- Install the adjustable window sealing kit in your window opening. Extend it to fit the window frame.
- Insert the hose adapter into the opening of the window sealing kit.

Figure 5: Illustrates the secure connection of the flexible exhaust hose to the designated port at the rear of the air conditioning unit.
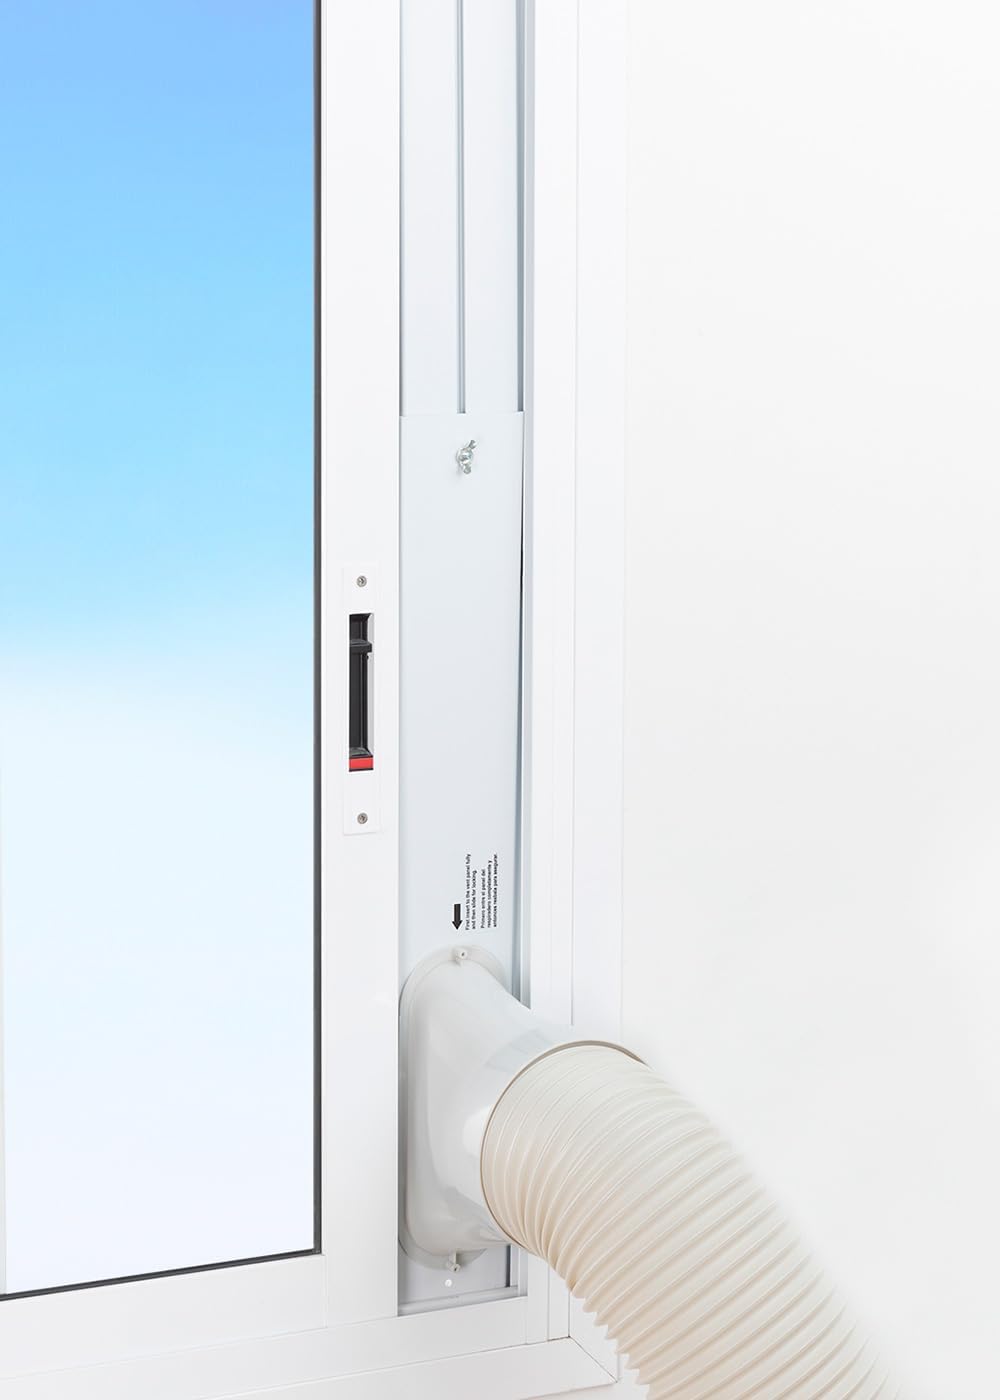
Figure 6: The window sealing kit is shown properly installed in a window frame, with the exhaust hose securely fitted into the kit's opening to vent hot air outside.
6. Mode d'emploi
6.1 Utilisation du panneau de commande
The control panel on top of the unit allows direct operation.
- Bouton d'alimentation : Appuyez pour allumer ou éteindre l'appareil.
- Bouton Mode : Cycle through Cooling, Fan, and Dehumidifier modes.
- Bouton de vitesse du ventilateur : Adjust fan speed (Low, High).
- Boutons de température (+/-) : Adjust desired temperature in Cooling mode.
- Bouton de minuterie : Set the auto-on or auto-off timer (up to 24 hours).
- Bouton Mode Veille : Active un mode de fonctionnement plus silencieux pour une utilisation nocturne.
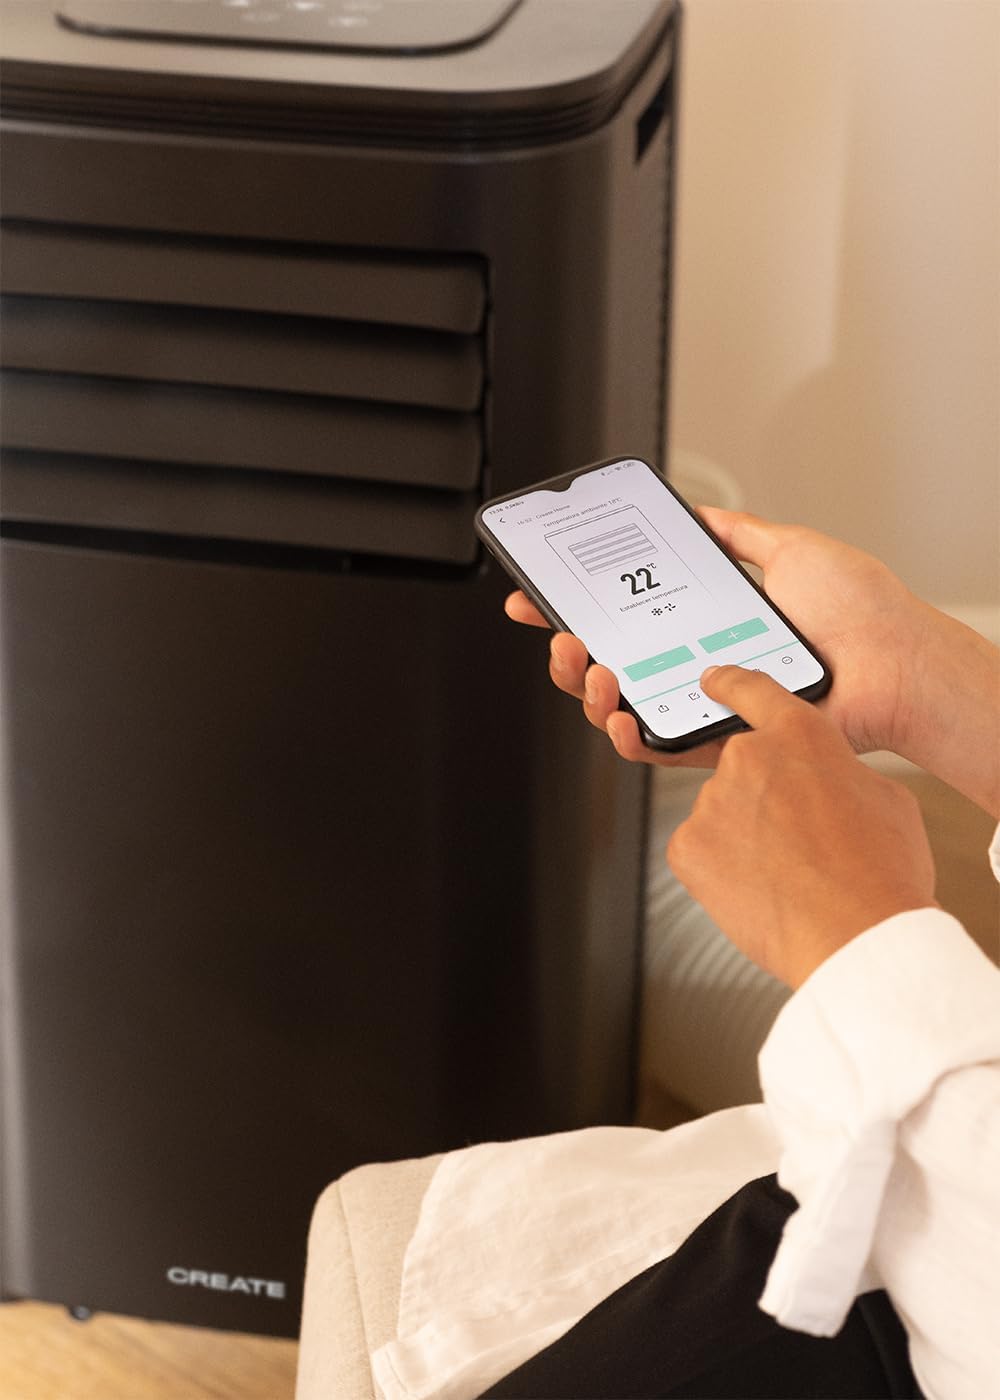
Figure 7: A user's hand interacting with the touch-sensitive control panel located on the top surface of the air conditioner, demonstrating direct manual operation.
6.2 Utilisation de la télécommande
La télécommande permet une utilisation pratique à distance.

Figure 8: A hand holding the dedicated remote control for the air conditioner, illustrating its use for convenient operation from a distance.
6.3 Contrôle Wi-Fi et application
Download the CREATE Home app from your smartphone's app store. Follow the in-app instructions to connect your air conditioner to your home Wi-Fi network. Once connected, you can control all functions of the unit from your smartphone, including mode selection, temperature adjustment, fan speed, and timer settings.
Figure 9: A user interacting with the mobile application on a smartphone to remotely control the air conditioner, showcasing the Wi-Fi connectivity feature.
7. Entretien
Un entretien régulier garantit des performances optimales et prolonge la durée de vie de votre appareil.
7.1 Nettoyage du filtre à air
Le filtre à air doit être nettoyé toutes les deux semaines, voire plus fréquemment en fonction de l'utilisation et de la qualité de l'air.
- Éteignez l'appareil et débranchez-le de la prise de courant.
- Repérez le panneau du filtre à air à l'arrière de l'appareil.
- Retirez délicatement le filtre.
- Clean the filter with warm, soapy water or a vacuum cleaner. Rinse thoroughly and allow it to air dry completely before reinserting.

Figure 10: Demonstrates the process of removing the air filter from the rear of the air conditioner unit for cleaning or replacement.
7.2 Évacuation de l'eau
In Dehumidifier mode or high humidity conditions, the internal water tank may fill up. The unit will stop operating when the tank is full. Drain the water from the drainage port at the bottom rear of the unit.
8. Dépannage
| Problème | Cause possible | Solution |
|---|---|---|
| L'appareil ne s'allume pas | No power; Power cord not plugged in; Water tank full. | Check power outlet; Plug in power cord; Drain water tank. |
| L'unité ne refroidit pas efficacement. | Filtre à air encrassé ; tuyau d'évacuation mal installé ; pièce trop grande ; portes/fenêtres ouvertes. | Clean air filter; Ensure hose is sealed; Use in recommended room size (14-25 m²); Close doors/windows. |
| Bruit fort | L'appareil n'est pas posé sur une surface plane ; le ventilateur est obstrué. | Place on flat surface; Check for obstructions. |
| Problèmes de connexion Wi-Fi | Mot de passe Wi-Fi incorrect ; routeur trop éloigné ; problèmes d’application. | Vérifiez le mot de passe ; rapprochez l’appareil du routeur ; redémarrez l’application/l’appareil. |
9. Spécifications
| Fonctionnalité | Spécification |
|---|---|
| Numéro de modèle | 64274_145198 |
| Capacité de refroidissement | 9000 BTU / 2270 Watt |
| Capacité de déshumidification | 24 litres/jour |
| Flux d'air | Jusqu'à 350 m³/h |
| Taille de pièce recommandée | 14-25 m² |
| Niveau de bruit | 65 dB |
| Réfrigérant | R290 (ECO-friendly) |
| Voltage | 240 volts |
| Quoitage | 2600 watts |
| Dimensions (L x l x H) | 35.5 x 36.5 x 71.3 cm |
| Matériel | ABS |
| Classe d'efficacité énergétique | A |

Figure 11: The energy efficiency label for the CREATE SILKAIR CONNECT, indicating an A-class energy rating, 2.6 kW cooling capacity, and a noise level of 65 dB. More details can be found at eprel.ec.europa.eu/qr/1580267.
10. Garantie et assistance
For warranty information and technical support, please refer to the warranty card included with your product or visit the official CREATE webConsultez le site. Conservez votre reçu d'achat comme preuve d'achat.
Fabricant: CRÉER
Contact: Refer to CREATE's official support channels.


