1. Consignes de sécurité importantes
Veuillez lire attentivement toutes les instructions avant l'installation et l'utilisation. Conservez ce manuel pour toute consultation ultérieure.
Sécurité générale
- Assurez-vous que l'alimentation électrique est débranchée avant toute installation, maintenance ou nettoyage.
- Cet appareil n'est pas destiné à être utilisé par des personnes (y compris les enfants) ayant des capacités physiques, sensorielles ou mentales réduites, ou manquant d'expérience et de connaissances, à moins qu'elles ne bénéficient d'une surveillance ou d'instructions concernant l'utilisation de l'appareil par une personne responsable de leur sécurité.
- Les enfants doivent être surveillés pour s’assurer qu’ils ne jouent pas avec l’appareil.
Sécurité électrique
- All electrical connections must be made by a qualified electrician and conform to local codes and regulations.
- Assurer le voltage and frequency of your power supply match the specifications of the fan.
- The fan must be properly grounded to prevent electric shock.
Sécurité d'installation
- Mount the fan to a ceiling structure capable of supporting a minimum of 15 kg (33 lbs).
- Ensure there is adequate clearance between the fan blades and any obstacles (walls, furniture) and the floor. A minimum distance of 2.3 meters (7.5 feet) from the floor to the blades is recommended.
- Do not install the fan in a location where it can be easily reached by children or pets.
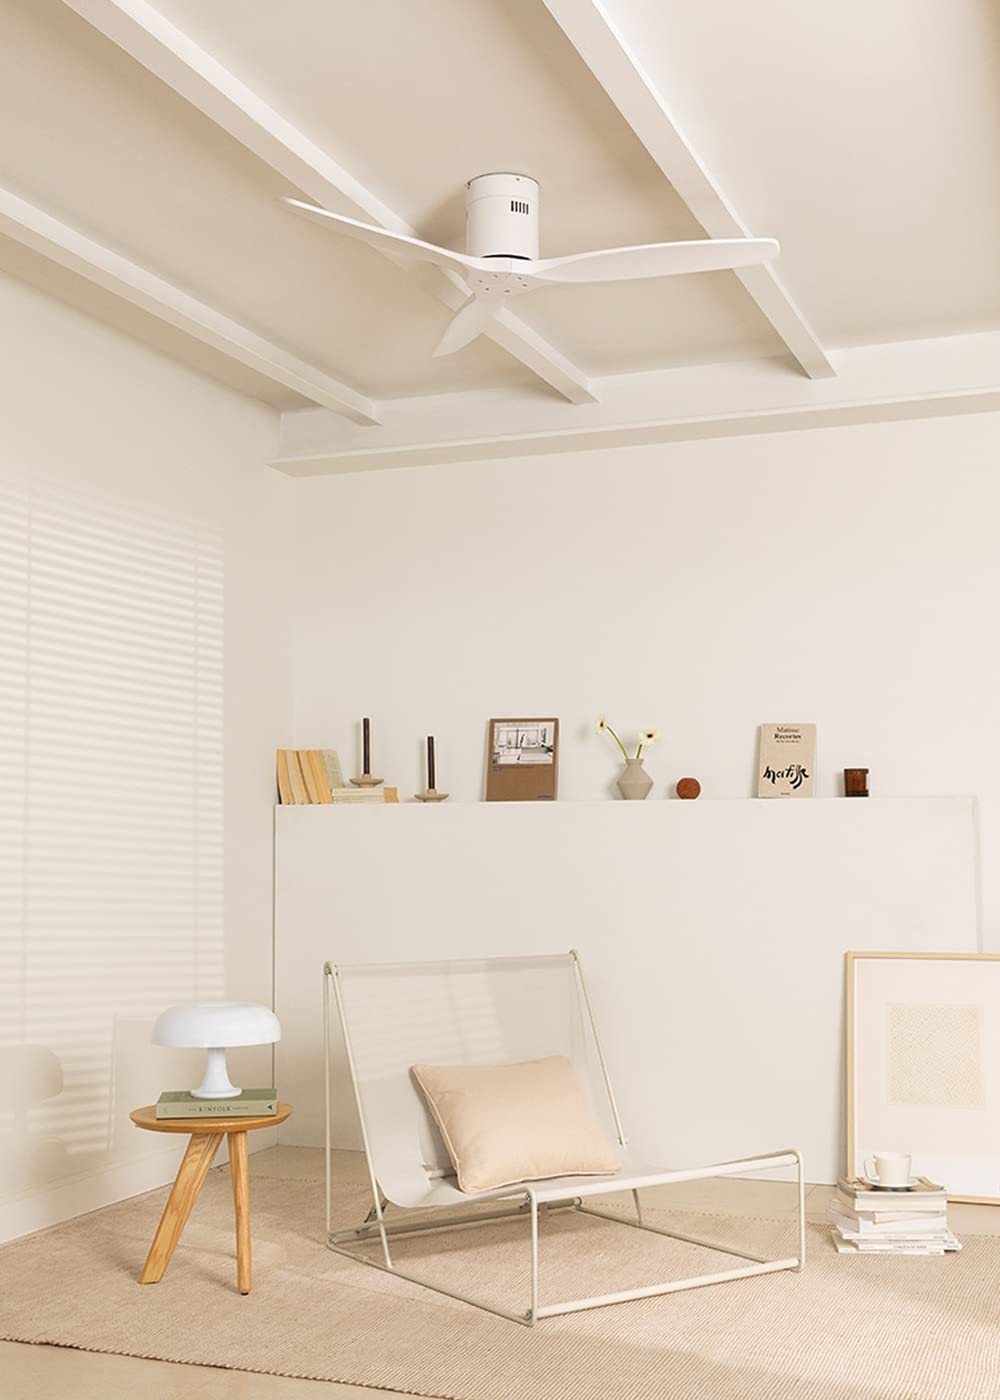
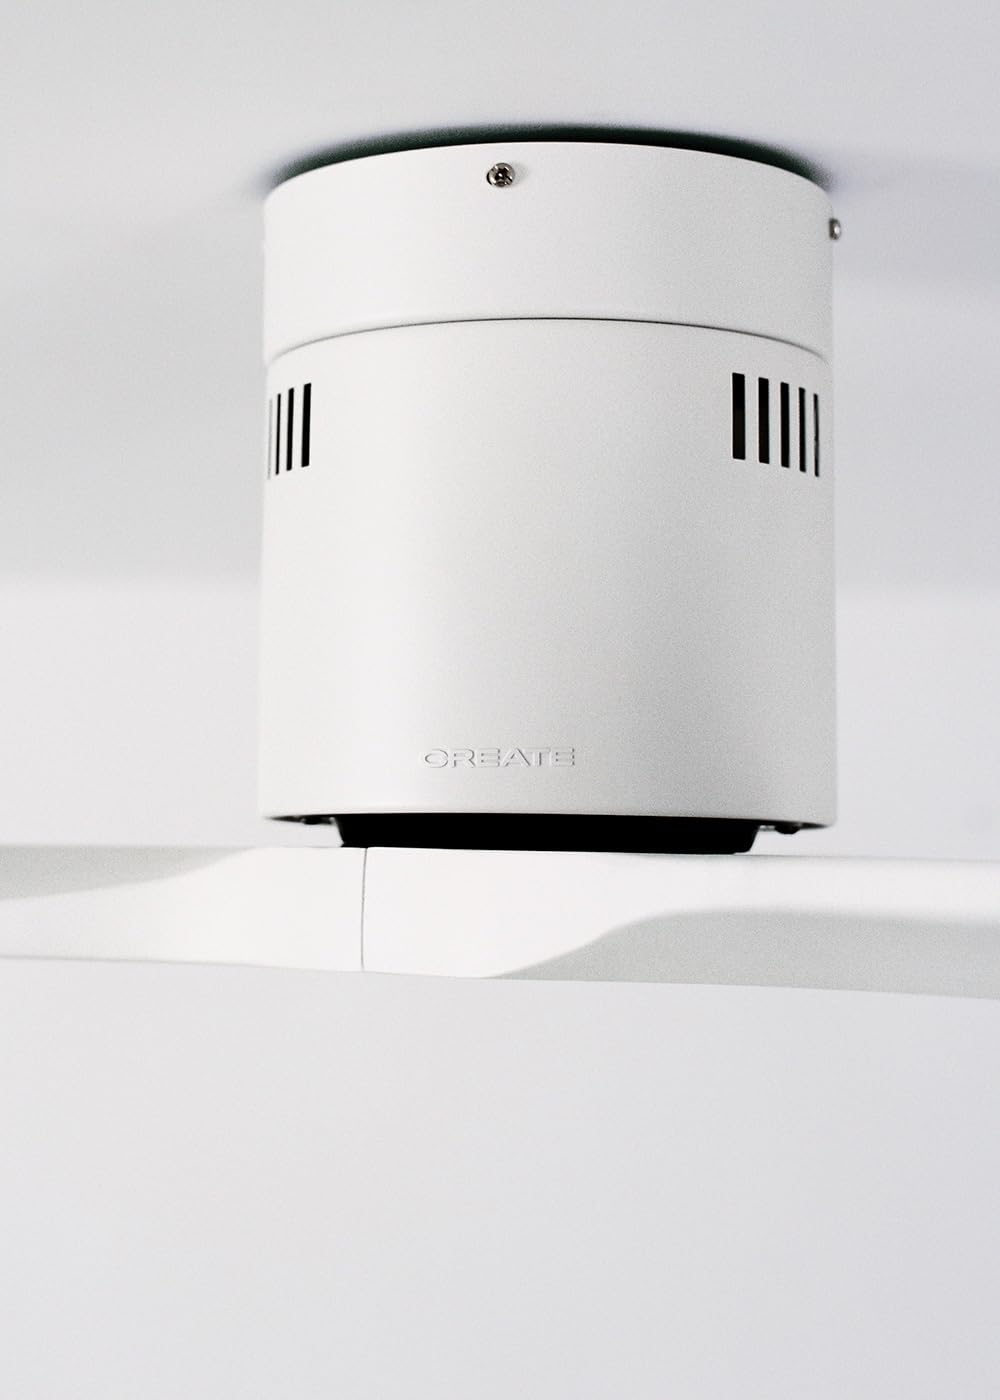
2. Produit terminéview
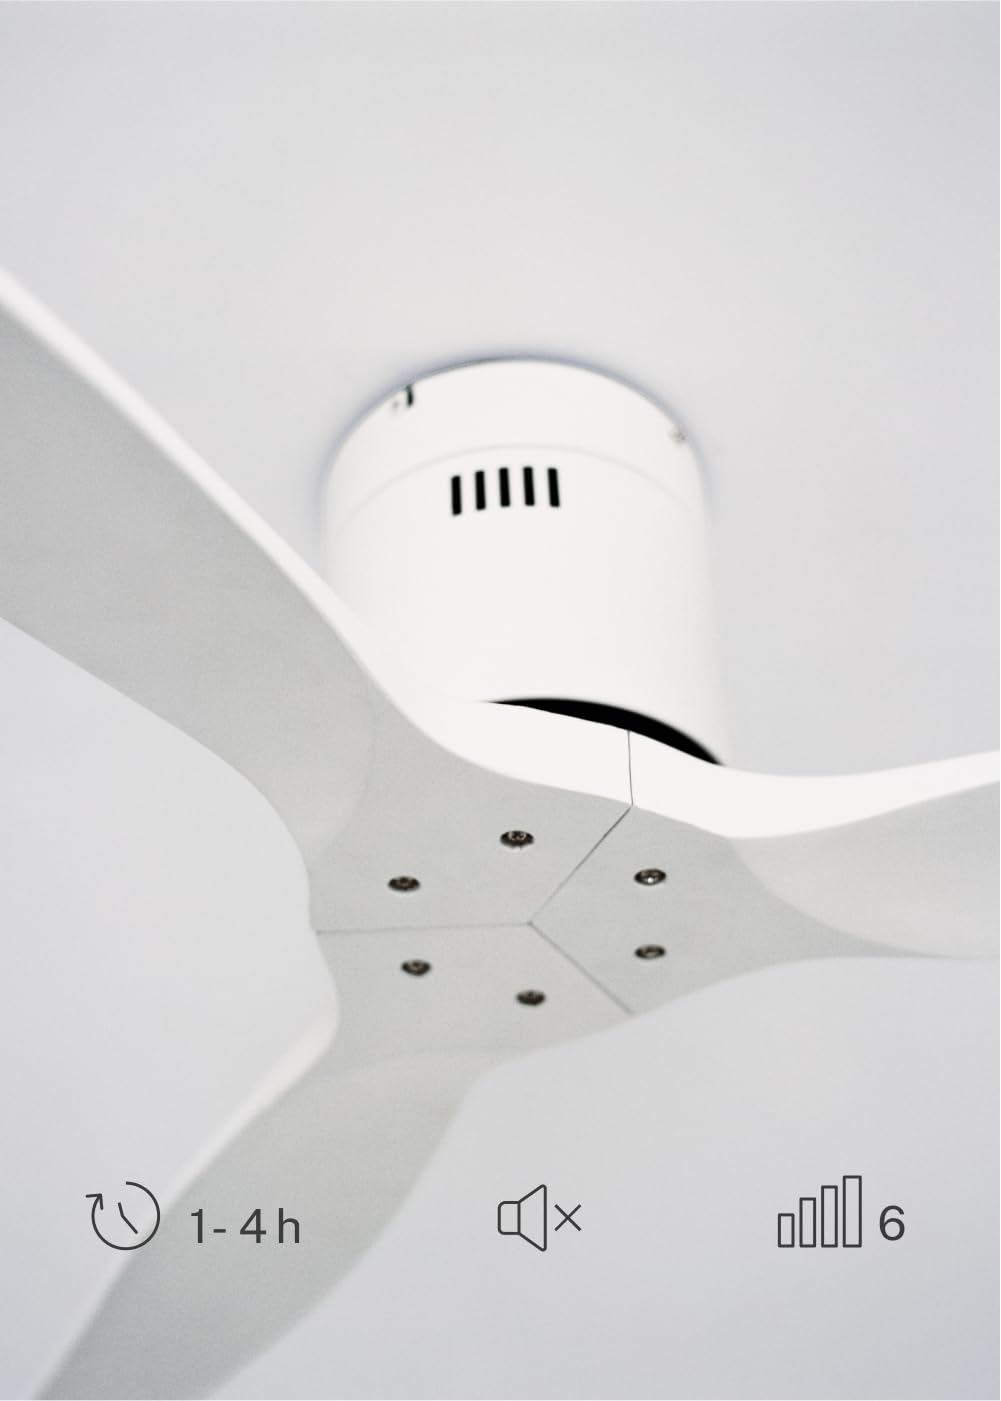
The CREATE WINDCALM DC Ceiling Fan is designed for efficient and quiet air circulation in various indoor spaces. It features a durable aluminum body, a silent DC motor, and three lightweight blades, ensuring minimal noise operation. The fan offers 6 adjustable speeds and a programmable timer for convenience.

3. Spécifications techniques
| Fonctionnalité | Spécification |
|---|---|
| Marque | CRÉER |
| Numéro de modèle | 43479_88375 |
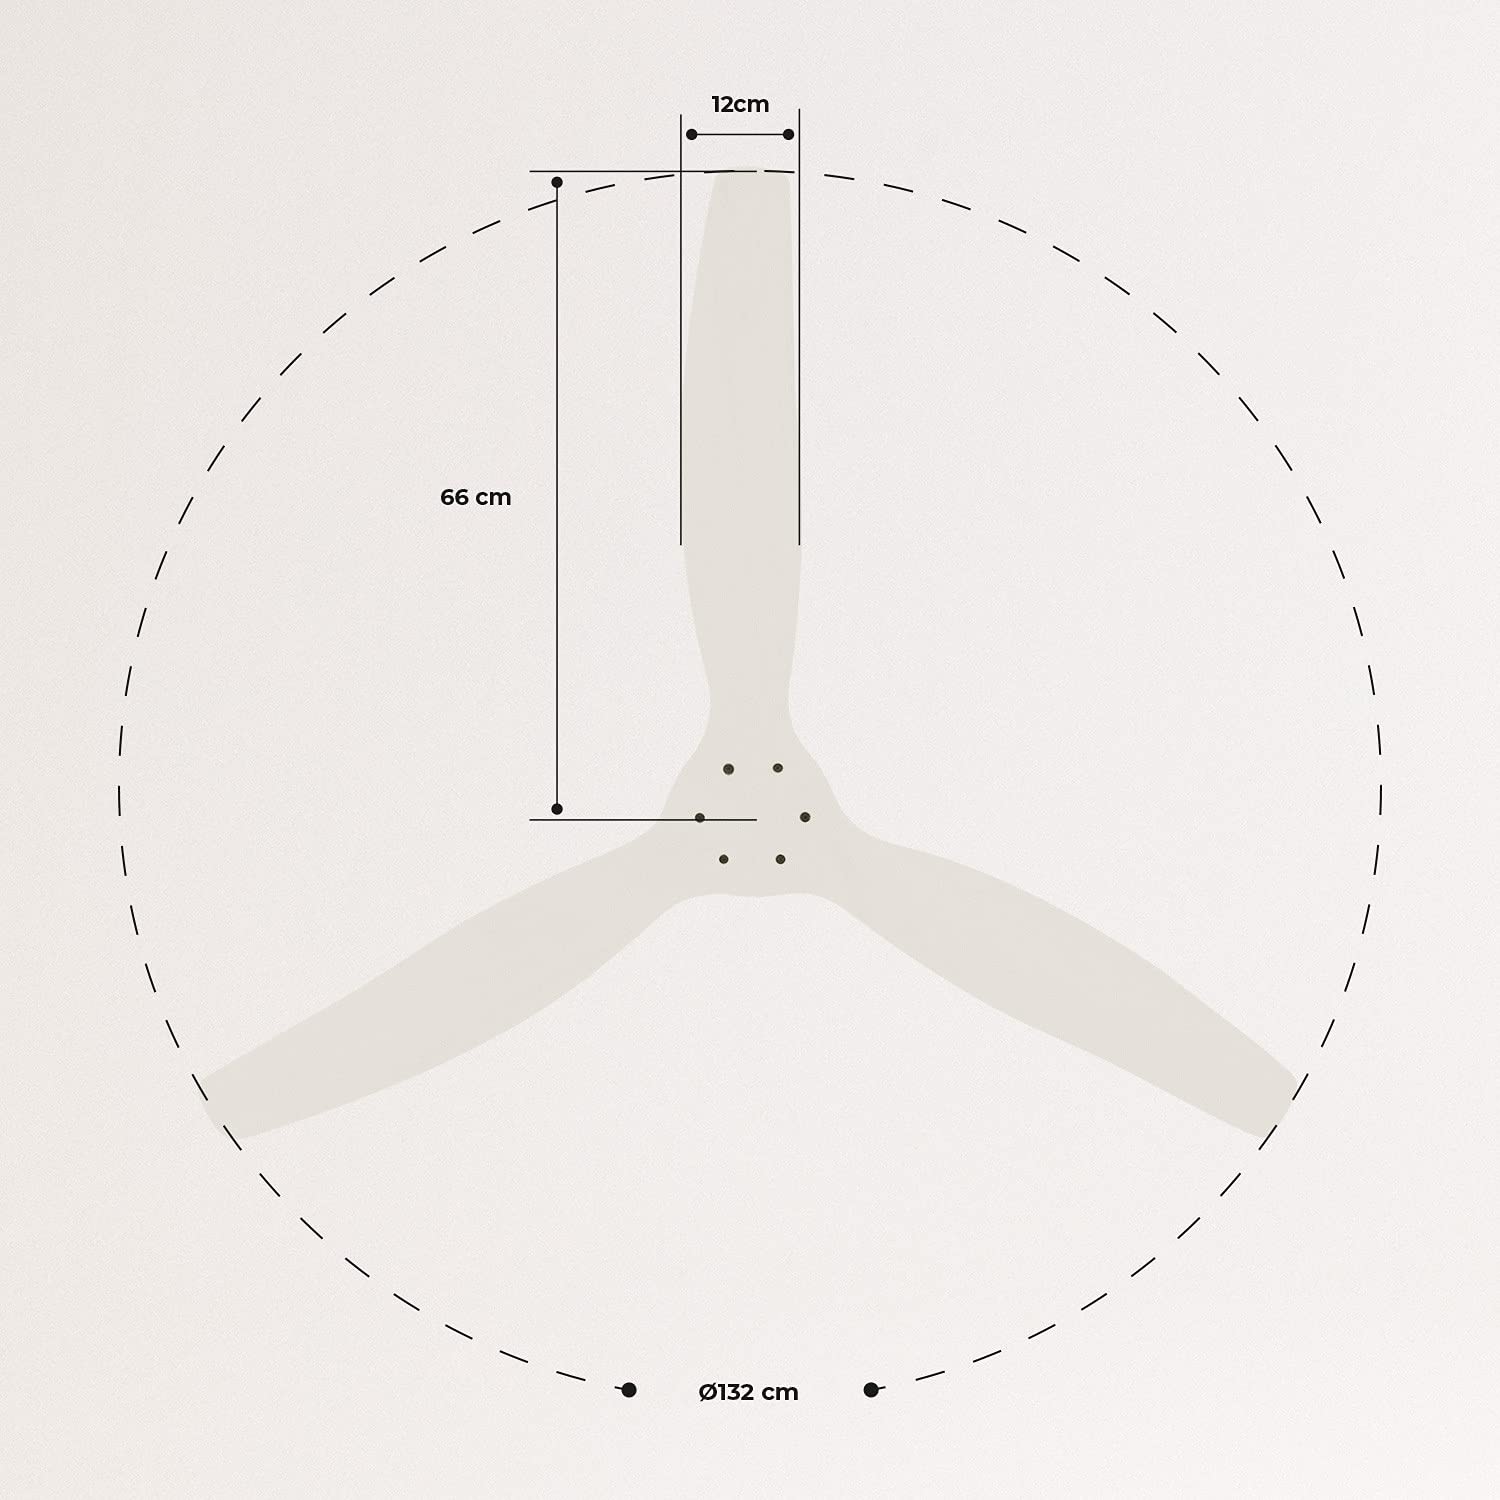
| Dimensions (L x l x H) | 132 x 132 x 29 cm |
| Poids | 6.38 kg |
| Conception de ventilateur | Ventilateur de plafond |
| Source d'énergie | Câble électrique |
| Dossier spécial | High Speed, Silent DC Motor, Timer, Summer/Winter Function |
| Utilisation recommandée | Ventilation |
| Type de chambre | Living Room (suitable for 13m² to 25m² rooms) |
| Couleur | White Blades |

4. Guide d'installation
Proper installation is crucial for the safe and efficient operation of your ceiling fan. It is highly recommended that installation be performed by a qualified electrician.
Vérifications avant l'installation
- Déballez tous les composants et vérifiez-les par rapport à la liste de colisage.
- Ensure the ceiling joist or support structure is strong enough to hold the fan's weight.
- Coupez le courant au disjoncteur principal avant de commencer tout travail électrique.
Montage du ventilateur
- Secure the mounting bracket to the ceiling outlet box using appropriate screws and washers.
- Soulevez délicatement le bloc moteur du ventilateur et fixez-le au support de montage.
Connexions de câblage
Connect the electrical wires according to the wiring diagram provided in the separate detailed installation manual (not included in this general overview). Ensure all connections are secure and insulated.
Attaching Blades
Attach the fan blades to the motor hub using the provided screws. Ensure all screws are tightened securely.

5. Mode d'emploi
Your CREATE WINDCALM DC Ceiling Fan comes with a remote control for convenient operation of all its functions.
Fonctions de la télécommande
La télécommande vous permet de :
- Marche/Arrêt : Allumer ou éteindre le ventilateur.
- Réglage de la vitesse: Select from 6 different fan speeds to control airflow intensity.
- Réglage de la minuterie : Program the fan to automatically turn off after 1, 2, or 4 hours.
- Mode Été/Hiver : Change the direction of blade rotation to optimize air circulation for different seasons.
Mode été
In summer mode, the fan blades rotate counter-clockwise, pushing air downwards. This creates a cooling breeze effect, helping to dissipate heat and refresh the room.

Mode d'hiver
In winter mode, the fan blades rotate clockwise, drawing air upwards. This helps to circulate warm air that accumulates near the ceiling, distributing it evenly throughout the room and improving heating efficiency.
6. Maintenance et entretien
Un entretien régulier garantit la longévité et les performances optimales de votre ventilateur de plafond.
Nettoyage
- Coupez toujours l'alimentation du ventilateur au niveau du disjoncteur avant de le nettoyer.
- Utilisez un chiffon doux et sec.amp Utilisez un chiffon pour essuyer les pales du ventilateur et le boîtier du moteur. N’utilisez pas de nettoyants abrasifs ni de solvants, car ils pourraient endommager la finition.
- Assurez-vous que le ventilateur soit complètement sec avant de rétablir le courant.
Contrôles réguliers
- Periodically check all screws and fasteners on the mounting bracket and blade attachments to ensure they are secure. Tighten if necessary.
- Listen for any unusual noises during operation, which may indicate a loose part or an issue with the motor.
7. Dépannage
If you encounter any issues with your fan, refer to the following common problems and their solutions:
| Problème | Cause possible | Solution |
|---|---|---|
| Le ventilateur ne s'allume pas | Pas d'alimentation électrique Connexion de câblage desserrée Pile de la télécommande faible | Vérifiez le disjoncteur et l'interrupteur mural Verify all wiring connections are secure (consult electrician) Remplacer les piles de la télécommande |
| Le ventilateur fait un bruit excessif. | Vis desserrées sur les lames ou le support Lame pliée Problème de moteur | Serrer toutes les vis Check blades for damage and replace if necessary Contactez le support client |
| La télécommande ne fonctionne pas | Batterie épuisée Obstruction entre la télécommande et le récepteur Télécommande non appariée (le cas échéant) | Remplacer les piles Assurez une ligne de vue dégagée Veuillez vous référer au manuel détaillé pour les instructions d'appairage. |
| Le ventilateur vacille | Support de montage lâche Lames déséquilibrées | Assurez-vous que le support de montage est bien fixé. Check blade balance and use balancing kit if needed |
8. Garantie et assistance
For warranty information, technical support, or replacement parts, please contact CREATE customer service. Keep your purchase receipt as proof of purchase.
You can find more information and contact details on the official CREATE website: www.create-store.com


