1. Introduction
This manual provides essential information for the proper setup, operation, and maintenance of your Bachmann EMD GP40 Diesel Locomotive MKT #231 in N Scale. Please read these instructions carefully before operating your model locomotive to ensure optimal performance and longevity.
The EMD GP40 diesel locomotive was originally built by General Motors Electro-Motive Division between November 1965 and December 1971. Powered by an EMD 645E3 16-cylinder engine which generated 3000 horsepower, the GP40 has proven itself as a standard freight engine on railroads throughout North America. This Bachmann model features a highly detailed body, operating directional dimming (Rule 17) headlights, all-wheel electrical pickup and drive, a skew wound motor with bronze bearings, and a die-cast chassis. It performs best on 11.25" radius curves or greater.
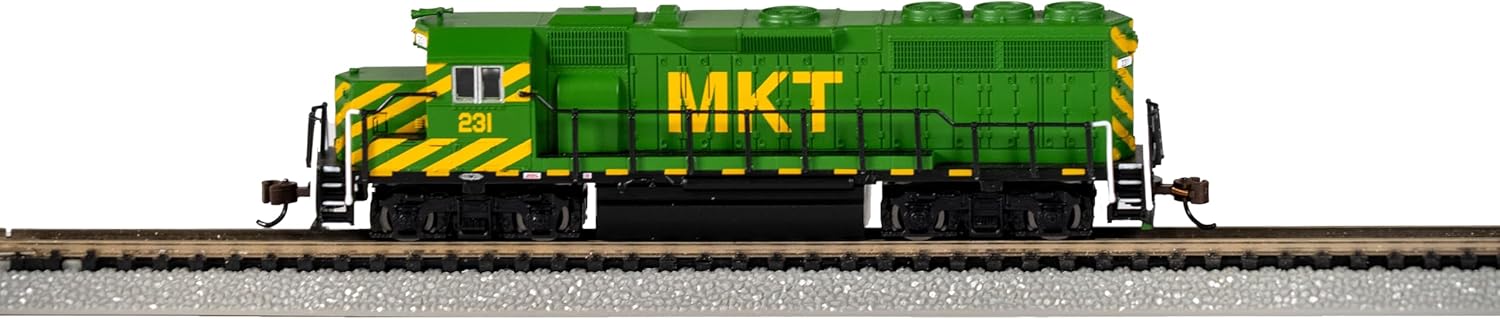
Figure 1 : Côté view of the Bachmann EMD GP40 Diesel Locomotive MKT #231 in N Scale, showcasing its green and yellow livery on a model train track.
2. Contenu de la boîte
Your Bachmann EMD GP40 Diesel Locomotive package includes the following components:
- EMD GP40 Diesel Locomotive - MKT™ #231 (with dynamic brakes) - N Scale
3. Installation
Proper setup is crucial for the smooth operation of your N Scale locomotive. Follow these steps to prepare your track and power supply:
- Assemblage de la piste : Assemble your N Scale E-Z Track in the desired layout. Ensure all track sections are securely connected, forming a continuous electrical path.
- Connexion électrique : Connect the power pack to the track. Typically, a terminal rerailer or power track section is used for this connection. Ensure the power pack is plugged into a suitable electrical outlet.
- Mise en place de la locomotive : Carefully place the EMD GP40 locomotive onto the track. Ensure all wheels are properly seated on the rails. A rerailer tool (if included with your track set) can assist in this process.
Video 1: This video demonstrates the assembly of E-Z Track and connecting the power supply for a Bachmann N Scale train set. It also shows how to properly place the locomotive on the track.
4. Mode d'emploi
Once your locomotive is set up on the track and the power is connected, you can begin operation:
- Mise sous tension : Turn on your power pack. The indicator light on the power pack should illuminate.
- Contrôle de direction : Use the direction switch on your power pack to select forward or reverse motion.
- Contrôle de vitesse : Slowly rotate the speed control knob on your power pack to increase the voltage to the track. The locomotive will begin to move. Adjust the knob to achieve your desired speed.
- Operating Headlights: The EMD GP40 model features operating directional dimming (Rule 17) headlights. These lights will illuminate in the direction of travel.

Figure 2 : Face avant view of the Bachmann EMD GP40 Diesel Locomotive MKT #231, showing its operating headlights.
5. Entretien
Regular maintenance will help keep your Bachmann EMD GP40 Diesel Locomotive running smoothly:
- Nettoyage: Wipe the exterior of the locomotive with a clean, soft cloth to remove dust and debris.
- Nettoyage des pistes : Keep your track clean to ensure good electrical contact. Use a track cleaning tool or a soft cloth with a track cleaning fluid.
- Nettoyage des roues : Periodically clean the locomotive's wheels to remove any accumulated grime that can affect electrical pickup and smooth running.
6. Dépannage
If you encounter issues with your locomotive, consider the following common troubleshooting steps:
- Pas d'alimentation : Ensure the power pack is plugged in and turned on. Check all track connections for tightness and continuity. Verify the power wires from the power pack are securely connected to the track.
- Mouvement erratique : Clean the track and locomotive wheels. Ensure there are no obstructions on the track. Check for any loose connections in the track or power supply.
- Derailments: Ensure the track is laid flat and securely connected. Check that the locomotive's wheels are properly seated on the rails. Verify that the track radius is appropriate for N Scale models (this model performs best on 11.25" radius curves or greater).
7. Spécifications
| Fonctionnalité | Détail |
|---|---|
| Marque | Bachmann |
| Numéro de modèle | 63570 |
| Échelle | N Scale (1:160) |
| Type de locomotive | EMD GP40 Diesel Locomotive |
| Road Name / Number | MKT™ #231 |
| Caractéristiques | Operating directional dimming (Rule 17) headlights, All-wheel electrical pickup and drive, Skew wound motor with bronze bearings, Die-cast chassis |
| Recommended Curve Radius | 11.25" or greater |
| Matériel | Plastique |
| Dimensions du produit | 4.75 x 0.75 x 1.2 pouces |
| Poids de l'article | 6 onces |
| Âge recommandé par le fabricant | 14 ans et plus |
8. Garantie et assistance
For warranty information or technical support, please refer to the official Bachmann Trains webConsultez leur site web ou contactez directement leur service client. Conservez votre preuve d'achat pour toute réclamation au titre de la garantie.


