1. Introduction
This manual provides essential instructions for the safe and effective use of your Benson Amps PREAMP Préamp Pedal. Please read this manual thoroughly before operating the device and retain it for future reference.
The Benson Amps PREAMP pedal is a versatile FET-based preamp, overdrive, boost, and fuzz pedal designed to deliver a wide range of tones, from clean enhancement to saturated drive. It features a 2-band EQ for tone shaping.
2. Consignes de sécurité
- Alimentation: Use only a 9-volt DC power supply with a center-negative polarity. Incorrect power supplies can damage the unit and void the warranty.
- Environnement: Do not expose the pedal to extreme temperatures, humidity, water, or direct sunlight.
- Nettoyage: Nettoyer uniquement avec un chiffon doux et sec. Ne pas utiliser de nettoyants liquides.
- Entretien: N’essayez pas de réparer l’appareil vous-même. Confiez toute réparation à un technicien qualifié.
- Placement: Place the pedal on a stable surface to prevent accidental falls.
3. Contenu du colis
Vérifiez que votre colis contient les éléments suivants :
- Benson Amps PREAMP Préamp Pédale
- Manuel de l'utilisateur (ce document)
- (Power supply not typically included, sold separately)
4. Commandes et fonctionnalités
The Benson Amps PREAMP pedal features several controls to shape your tone:
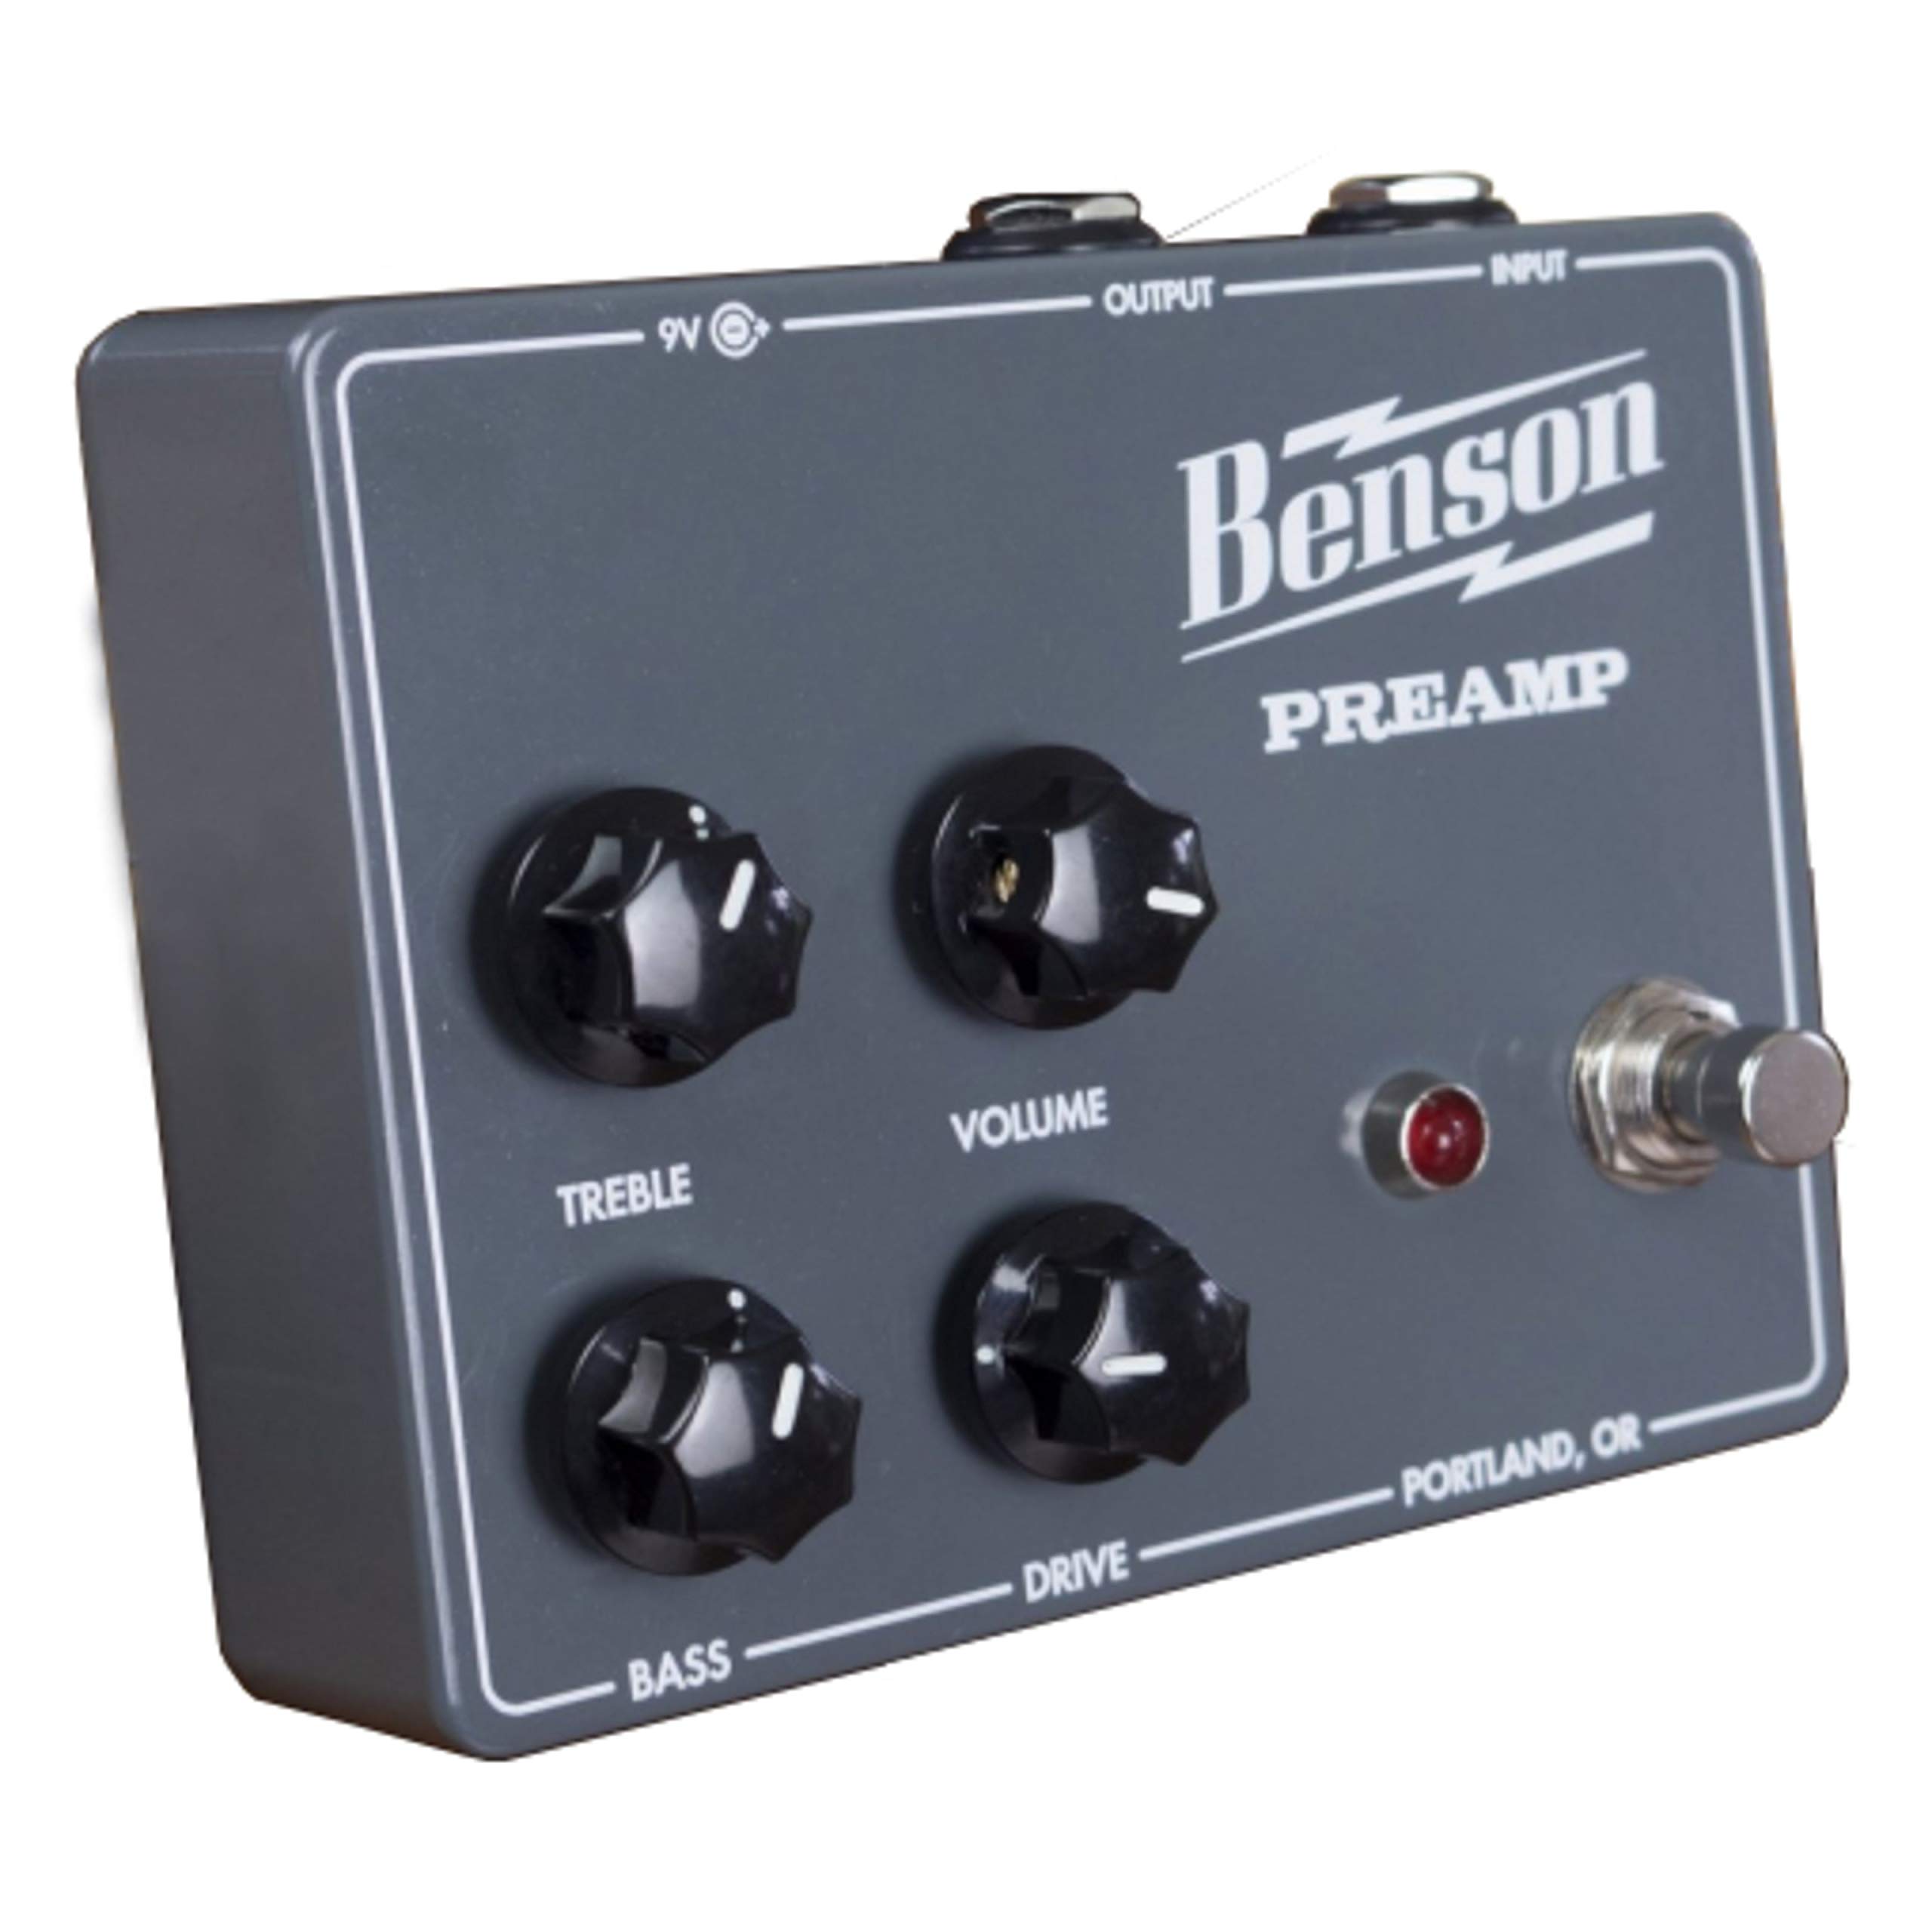
Figure 1 : Face avant view of the Benson Amps PREAMP Préamp Pedal, showing the control layout.
- Bouton de gain : Contrôle la quantité de préamp gain, ranging from clean boost to saturated overdrive and fuzz.
- Bouton de volume : Ajuste le niveau de sortie global de la pédale.
- Bouton des aigus : A 2-band EQ control for adjusting high frequencies.
- Bouton de basse : A 2-band EQ control for adjusting low frequencies.
- Pédale de commande : Active ou contourne l’effet.
- Prise d'entrée : Connect your instrument (guitar, bass, etc.) here.
- Jack de sortie: Connectez-vous à votre ampAmplificateur ou pédale suivante dans la chaîne de signal.
- Entrée DC: For connecting a 9V DC center-negative power supply.
5. Installation
- Connexion électrique : Connect a 9V DC center-negative power supply (not included) to the DC Input jack on the pedal.
- Connexion de l'instrument : Connect your instrument to the Input Jack of the pedal using a standard 1/4-inch instrument cable.
- AmpConnexion lifier: Connect the Output Jack of the pedal to your ampl'entrée de l'amplificateur ou la pédale suivante dans votre chaîne de signal à l'aide d'un câble d'instrument standard de 6,35 mm (1/4 pouce).
- Paramètres initiaux : Before powering on, set all knobs (Gain, Volume, Treble, Bass) to their middle positions (12 o'clock) for a neutral starting point.
- Mise sous tension : Assurez votre amplifier is on and at a low volume. Then, power on the pedal.

Figure 2 : Côté view of the Benson Amps PREAMP Préamp Pedal, illustrating input and output connections.
6. Actionner la pédale
6.1 Fonctionnement de base
- Engaging/Bypassing: Press the footswitch to toggle the effect on or off. When the effect is on, the LED indicator will illuminate.
- Réglage du volume : Use the Volume knob to match the output level of the pedal to your amplifier's input, or to boost your signal.
6.2 Tone Shaping
- Gain Control:
- Low Gain (7-10 o'clock): Provides a clean boost or subtle tube-like enhancement. Ideal for pushing an already overdriven amp or adding clarity.
- Mid Gain (10-2 o'clock): Introduces breakup, offering mild to moderate overdrive tones. Suitable for classic rock and blues.
- High Gain (2-5 o'clock): Delivers saturated distortion and fuzz-like textures. Experiment for heavier tones.
- EQ Controls (Treble & Bass): Adjust these knobs to fine-tune the frequency response.
- Tripler: Increase for brighter tones, decrease for warmer, darker sounds.
- Basse: Increase for fuller, thicker tones, decrease to tighten up the low end.
6.3 Using with Different Amplifier
Le PreAMP pedal is designed to interact dynamically with your amplifier. For best results, experiment with its placement in your signal chain and how it drives your amp's input. It can be used as a standalone overdrive/fuzz or as a preamp to drive the power section of an amplifier, potentially bypassing the amp's own preamp via an effects loop return.
7. Entretien
- Nettoyage: Wipe the pedal with a soft, dry cloth to remove dust and fingerprints. Do not use abrasive cleaners or solvents.
- Stockage: When not in use for extended periods, store the pedal in a cool, dry place away from direct sunlight.
- Inspection des câbles : Periodically check all cables for signs of wear or damage. Replace faulty cables immediately.
8. Dépannage
| Problème | Cause possible | Solution |
|---|---|---|
| Aucun son lorsque la pédale est actionnée. |
|
|
| Son faible ou déformé. |
|
|
| Bruit ou bourdonnement excessif. |
|
|
9. Spécifications
| Fonctionnalité | Détail |
|---|---|
| Modèle | PRÉAMP |
| Marque | Plein ton |
| Poids de l'article | 12.6 onces |
| Dimensions du produit | 4.5 x 3.5 x 2 pouces |
| Source d'énergie | Battery Powered (9V DC, center-negative adapter recommended) |
| Voltage | 9 volts |
| Puissance de sortietage | 30 Watts (referring to the amp it emulates, not the pedal's output) |
| Type de matériau | Métal, plastique |
| Format du signal | Analogique |
| Type de connecteur | Prise jack 6.35 mm |
| Appareils compatibles | Guitare |
10. Garantie et assistance
Pour obtenir des informations sur la garantie et une assistance technique, veuillez consulter le site officiel du fabricant. webConsultez leur site web ou contactez leur service client. Conservez votre reçu d'achat comme preuve d'achat.
Manufacturer: Fulltone
Model: PREAMP


