1. Introduction
The Hioki CM3286 Clamp On Power Tester is a versatile instrument designed for precise measurement of electrical parameters. It is capable of measuring voltage, current, power, power factor, phase angle, reactive power, and frequency. Additionally, it can detect phase sequence on live lines within single-phase or three-phase circuits at any desired point. This manual provides essential information for the safe and effective operation, maintenance, and troubleshooting of your CM3286 device.
2. Consignes de sécurité
AVERTISSEMENT : Lisez attentivement toutes les consignes de sécurité et les instructions avant d’utiliser ce produit. Le non-respect de ces consignes peut entraîner un choc électrique, un incendie ou des blessures graves.
- Respectez toujours les codes de sécurité locaux et nationaux.
- N’utilisez pas l’appareil s’il semble endommagé ou s’il fonctionne anormalement.
- Ensure the device is rated for the voltage and current levels you intend to measure.
- Wear appropriate personal protective equipment (PPE), such as insulated gloves and eye protection.
- Avoid touching live conductors with bare hands or non-insulated tools.
- Ne pas utiliser l'appareil dans des environnements humides ou en atmosphère explosive.
- Keep fingers behind the tactile barrier on the instrument during measurements.
- Disconnect the device from the circuit before opening the battery compartment.
3. Contenu du colis
Vérifiez que tous les éléments énumérés ci-dessous sont présents et non endommagés à l'ouverture du colis :
- Hioki CM3286 Clamp On Power Tester Unit
- Cordons de test (rouge et noir)
- Mallette de transport
- Piles AAA (x2)
- Manuel d'instructions (ce document)
4. Caractéristiques et composants du produit

Figure 4.1: Hioki CM3286 Clamp On Power Tester (Overall View)
This image displays the complete Hioki CM3286 Clamp On Power Tester, showcasing its ergonomic design, the large clamp jaw for current measurement, and the clear digital display. The function dial and various control buttons are visible on the front panel.
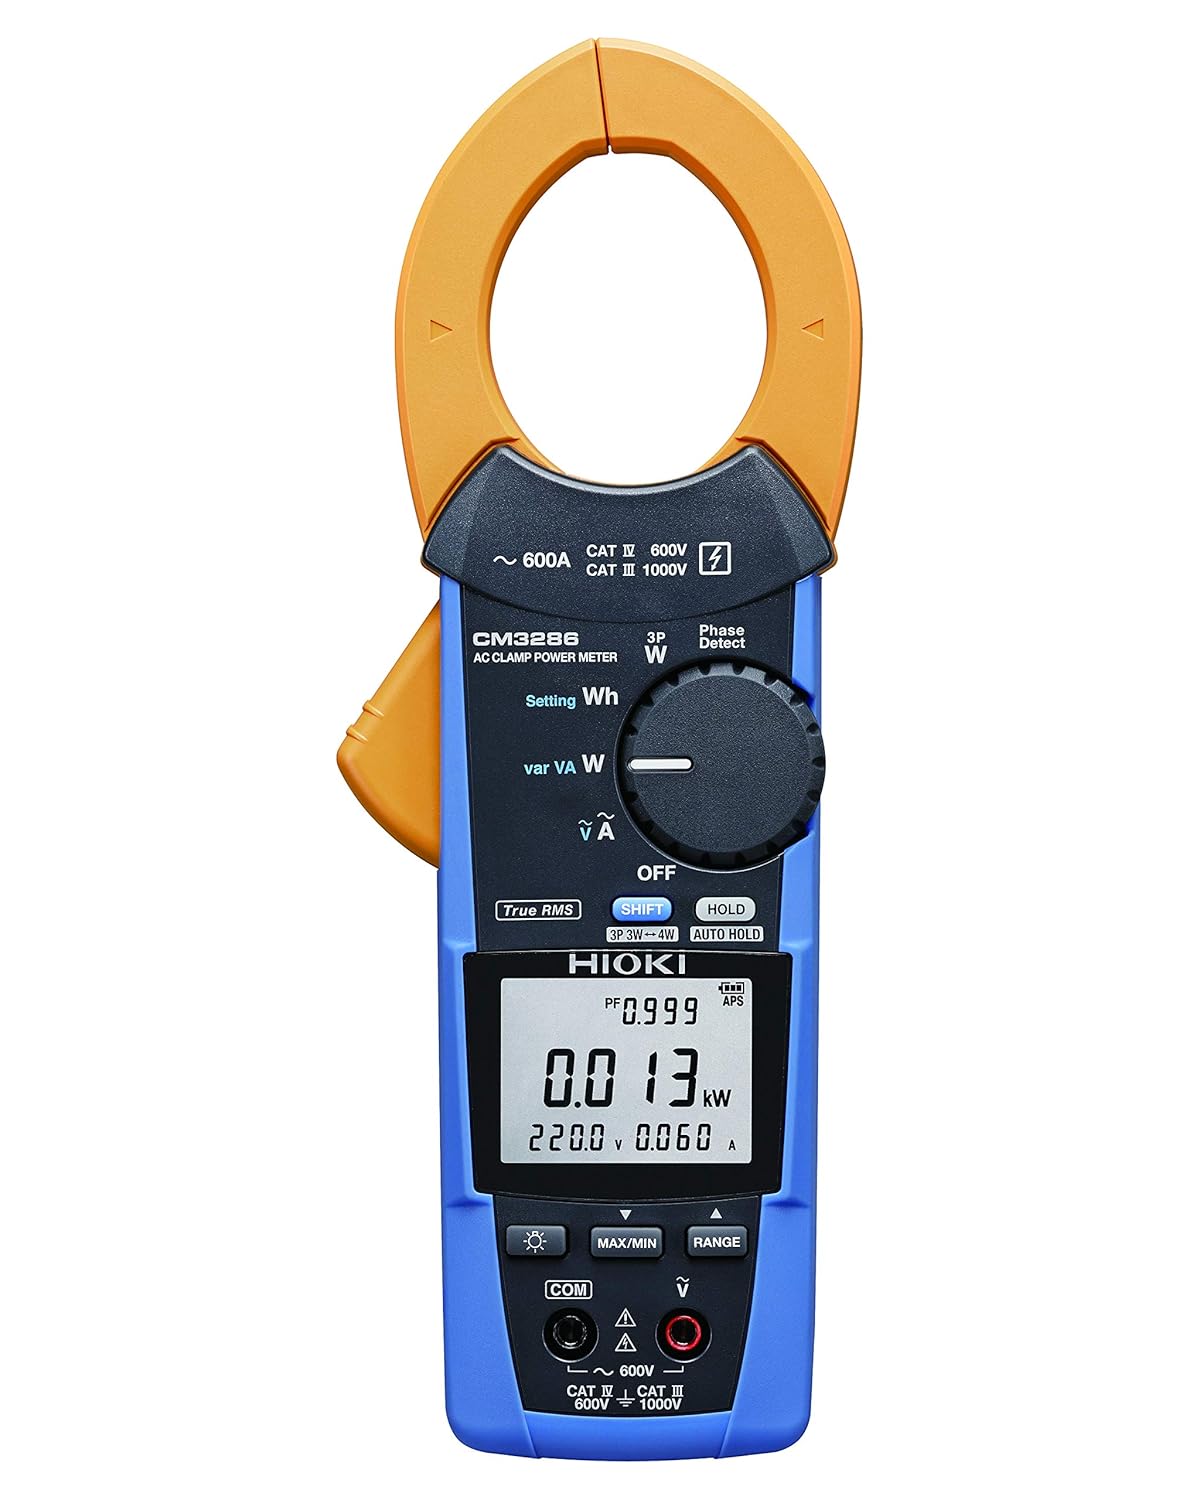
Figure 4.2: Hioki CM3286 Clamp On Power Tester (Front Panel Detail)
This image provides a closer look at the front panel of the Hioki CM3286, highlighting the digital display, the rotary function dial with various measurement settings (e.g., W, Wh, V, A), and the control buttons such as SHIFT, HOLD, MAX/MIN, and RANGE. The input terminals for voltage measurement are also visible at the bottom.
Composants clés :
- Clamp Mâchoire: Utilisé pour la mesure sans contact du courant alternatif.
- Cadran de fonction : Selects the desired measurement mode (e.g., Voltage, Current, Power, Frequency).
- Écran LCD : Affiche les mesures, les unités et les indicateurs.
- Bornes d'entrée: Pour connecter les cordons de test pour voltage and other measurements.
- Bouton MAINTENIR : Fige l'affichage actuel.
- Bouton MAX/MIN : Enregistre les valeurs maximales et minimales.
- Bouton GAMME : Sélection manuelle de la plage de mesure.
- Bouton MAJ : Accesses secondary functions marked in blue on the dial.
5. Installation
5.1. Installation de la batterie
- Assurez-vous que l'appareil est éteint.
- Repérez le couvercle du compartiment à piles à l'arrière de l'appareil.
- Utilisez un tournevis (si nécessaire) pour ouvrir le couvercle.
- Insérez deux (2) piles AAA, en respectant la polarité correcte (+/-) comme indiqué à l'intérieur du compartiment.
- Remettez le couvercle du compartiment à piles et fixez-le.
5.2. Mise sous tension initiale
After battery installation, turn the function dial from "OFF" to any measurement setting to power on the device. The display should illuminate, indicating readiness for use.
6. Mode d'emploi
6.1. Marche/Arrêt
- To power on, rotate the function dial from the "OFF" position to the desired measurement function.
- To power off, rotate the function dial back to the "OFF" position.
6.2. Mesure du courant alternatif (Clamp)
- Rotate the function dial to the "A" (Current) setting.
- Ouvrir le clamp mâchoire en appuyant sur le levier.
- Enclose only one conductor (live or neutral) within the clamp mâchoire. Assurez-vous que la mâchoire est complètement fermée.
- Lire la valeur actuelle sur l'écran LCD.
6.3. Vol.tage Mesure (V)
- Rotate the function dial to the "V" (Voltage) réglage.
- Connect the red test lead to the "V" input terminal and the black test lead to the "COM" input terminal.
- Connectez les cordons de test en parallèle aux bornes du circuit ou du composant à mesurer.
- Lire le voltage valeur sur l'écran LCD.
6.4. Power Measurement (W, Wh, var, VA)
The CM3286 can measure various power parameters. Select the appropriate setting on the function dial (W for active power, Wh for energy, var for reactive power, VA for apparent power). Connect test leads for voltage et clamp the jaw around the current conductor as per the specific measurement method outlined in the full manual (not provided here, but implied by the device's capabilities).
6.5. Frequency Measurement (Hz)
Select the "Hz" setting on the function dial. Connect test leads across the circuit where frequency is to be measured, similar to voltage mesure.
6.6. Détection de la séquence de phases
The device features a "Phase Detect" function. Refer to the detailed instructions in the complete manual for proper connection and interpretation of phase sequence on single-phase or three-phase circuits.
6.7. Using Buttons (HOLD, MAX/MIN, RANGE, SHIFT)
- TENIR: Appuyez pour figer la lecture actuelle sur l'écran. Appuyez de nouveau pour relâcher.
- MAXIMUM MINIMUM: Press to enter Max/Min recording mode. The display will show the maximum or minimum value recorded since activation. Press again to cycle through Max, Min, and current readings.
- GAMME: Press to switch between auto-ranging and manual ranging. In manual ranging, press repeatedly to cycle through available ranges.
- CHANGEMENT: Press to access secondary functions indicated in blue text next to the primary function on the dial.
7. Entretien
7.1. Nettoyage
Essuyez l'appareil avec un chiffon doux, damp cloth. Do not use abrasive cleaners or solvents. Ensure the device is completely dry before storage or next use.
7.2. Remplacement de la batterie
When the low battery indicator appears on the display, replace the batteries promptly to ensure accurate measurements. Follow the battery installation steps outlined in Section 5.1.
7.3. Stockage
Store the device in its carrying case in a cool, dry place, away from direct sunlight and extreme temperatures. If storing for extended periods, remove the batteries to prevent leakage.
8. Dépannage
| Problème | Cause possible | Solution |
|---|---|---|
| L'appareil ne s'allume pas. | Piles mortes ou mal installées. | Vérifiez la polarité des piles ; remplacez les piles. |
| No reading on display. | Incorrect function selected; open circuit; test leads not connected properly. | Select correct function; ensure circuit is complete; check test lead connections. |
| Affichage de « OL » ou « OVER ». | Measurement exceeds selected range or device maximum. | Select a higher range (if manual ranging) or ensure measurement is within device limits. |
| Lectures inexactes. | Low battery; environmental interference; damaged test leads. | Replace batteries; move away from strong electromagnetic fields; inspect and replace test leads if damaged. |
9. Spécifications
| Paramètre | Valeur |
|---|---|
| Numéro de modèle | CM3286 |
| Marque | Hioki |
| Dimensions du colis | 9.92 x 2.76 x 2.05 pouces |
| Poids de l'article | 0.45 kilogrammes (15.87 onces) |
| Piles | 2 piles AAA (incluses) |
| Source d'énergie | Électrique filaire (Note: This refers to the type of power it measures, not its own power source. The device is battery-powered.) |
| Fabricant | Hioki |
| Date de première disponibilité | 20er août 2020 |
10. Garantie et assistance
For detailed warranty information, please refer to the warranty card included with your product or visit the official Hioki website. Hioki provides comprehensive customer support for its products.
If you encounter any issues not covered in this manual or require technical assistance, please contact Hioki customer support through their official channels. Ensure you have your product model number (CM3286) and purchase details ready when contacting support.
Remarque : Les conditions de garantie peuvent varier selon la région.


