1. Introduction
The GameMax Expedition is a compact Micro ATX PC gaming case designed for efficient cooling and component compatibility. This manual provides instructions for the proper installation, operation, and maintenance of your PC case.

Figure 1.1: GameMax Expedition MATX PC Gaming Case, White.
2. Consignes de sécurité
- Coupez toujours l'alimentation électrique de tous les composants avant toute installation ou maintenance.
- Portez un bracelet antistatique pour éviter les dommages causés par les décharges électrostatiques (ESD) aux composants.
- Be cautious of sharp edges inside the chassis.
- Gardez les petites pièces et les vis hors de portée des enfants.
- Ensure proper ventilation around the case during operation.
3. Contenu du colis
Vérifiez que tous les éléments sont présents dans le colis :
- GameMax Expedition MATX PC Gaming Case
- Accessory box (screws, standoffs, cable ties)
- 1 x 120mm Blue LED Fan (pre-installed at rear)
- Manuel de l'utilisateur (ce document)
4. caractéristiques du produit
- Micro Gaming Chassis: Compact design optimized for gaming components.
- Ports d'E/S : 1 x USB 3.0, 2 x USB 2.0, and HD Audio ports located on the top panel.
- Refroidissement: Includes 1 x 120mm Blue LED fan. Supports additional fans for enhanced airflow.
- Fenêtre latérale : Full side window panel allows visibility of internal components.
- Filtre à poussière magnétique : Removable dust filter on the top panel for easy cleaning and improved system longevity.
- GPU Bracket: Integrated bracket provides support for graphics cards, preventing sag and accommodating larger cards.
5. Composant terminéview
5.1 External Views

Figure 5.1: Front panel design with air intake and included 120mm fan illustration.

Figure 5.2: Top I/O panel featuring USB 3.0, USB 2.0, and audio ports.
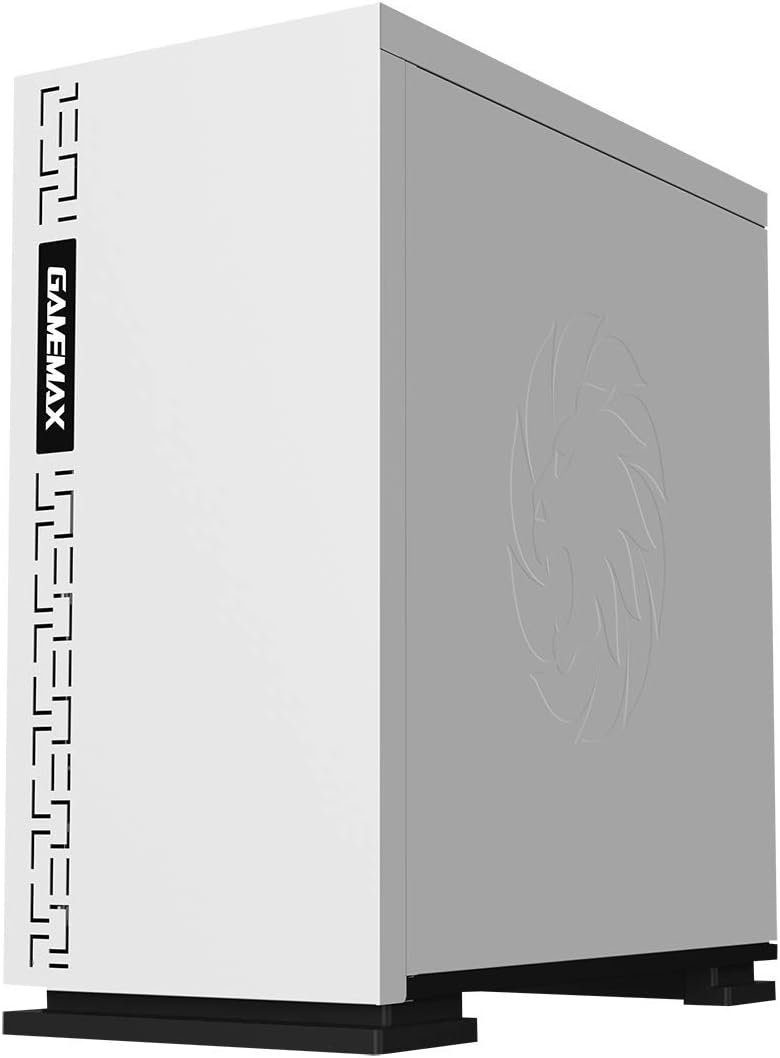
Figure 5.3 : Haut view showing the magnetic dust filter for fan ventilation.
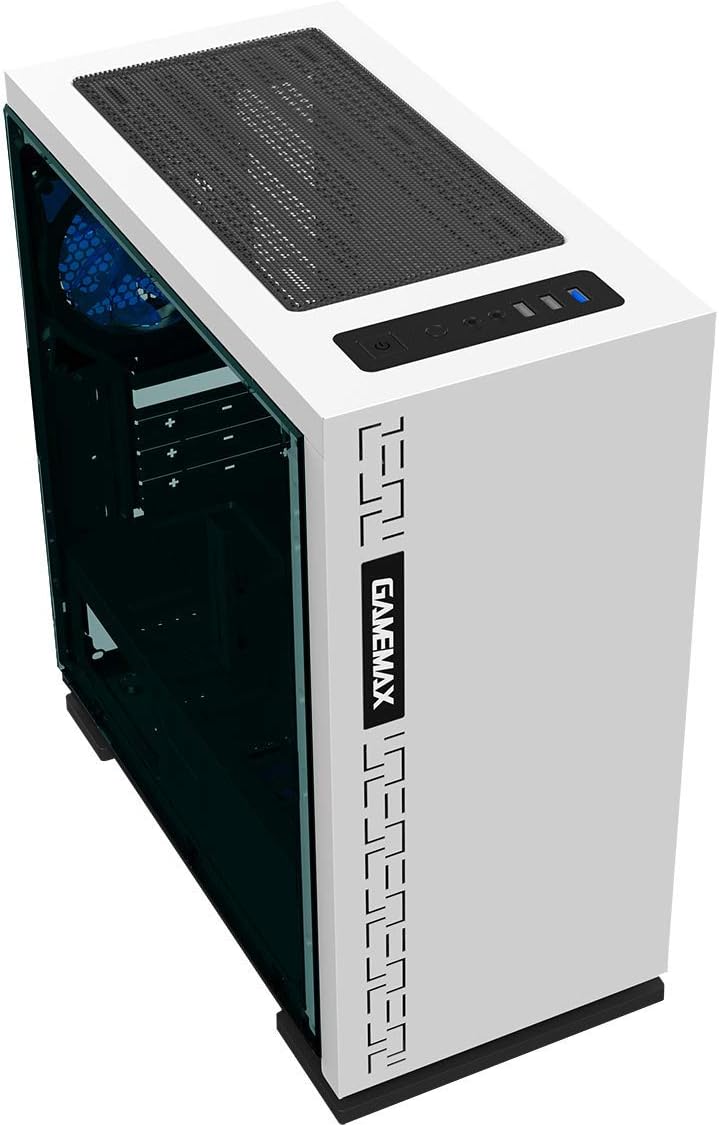
Figure 5.4 : Arrière view displaying expansion slots and the pre-installed 120mm fan.
5.2 Aménagement intérieur

Figure 5.5 : Interne view with the side panel removed, showing the motherboard tray and cable routing options.

Figure 5.6: Illustration of fan and radiator mounting points within the chassis.

Figure 5.7: Drive bay locations supporting 2.5" and 3.5" storage devices.
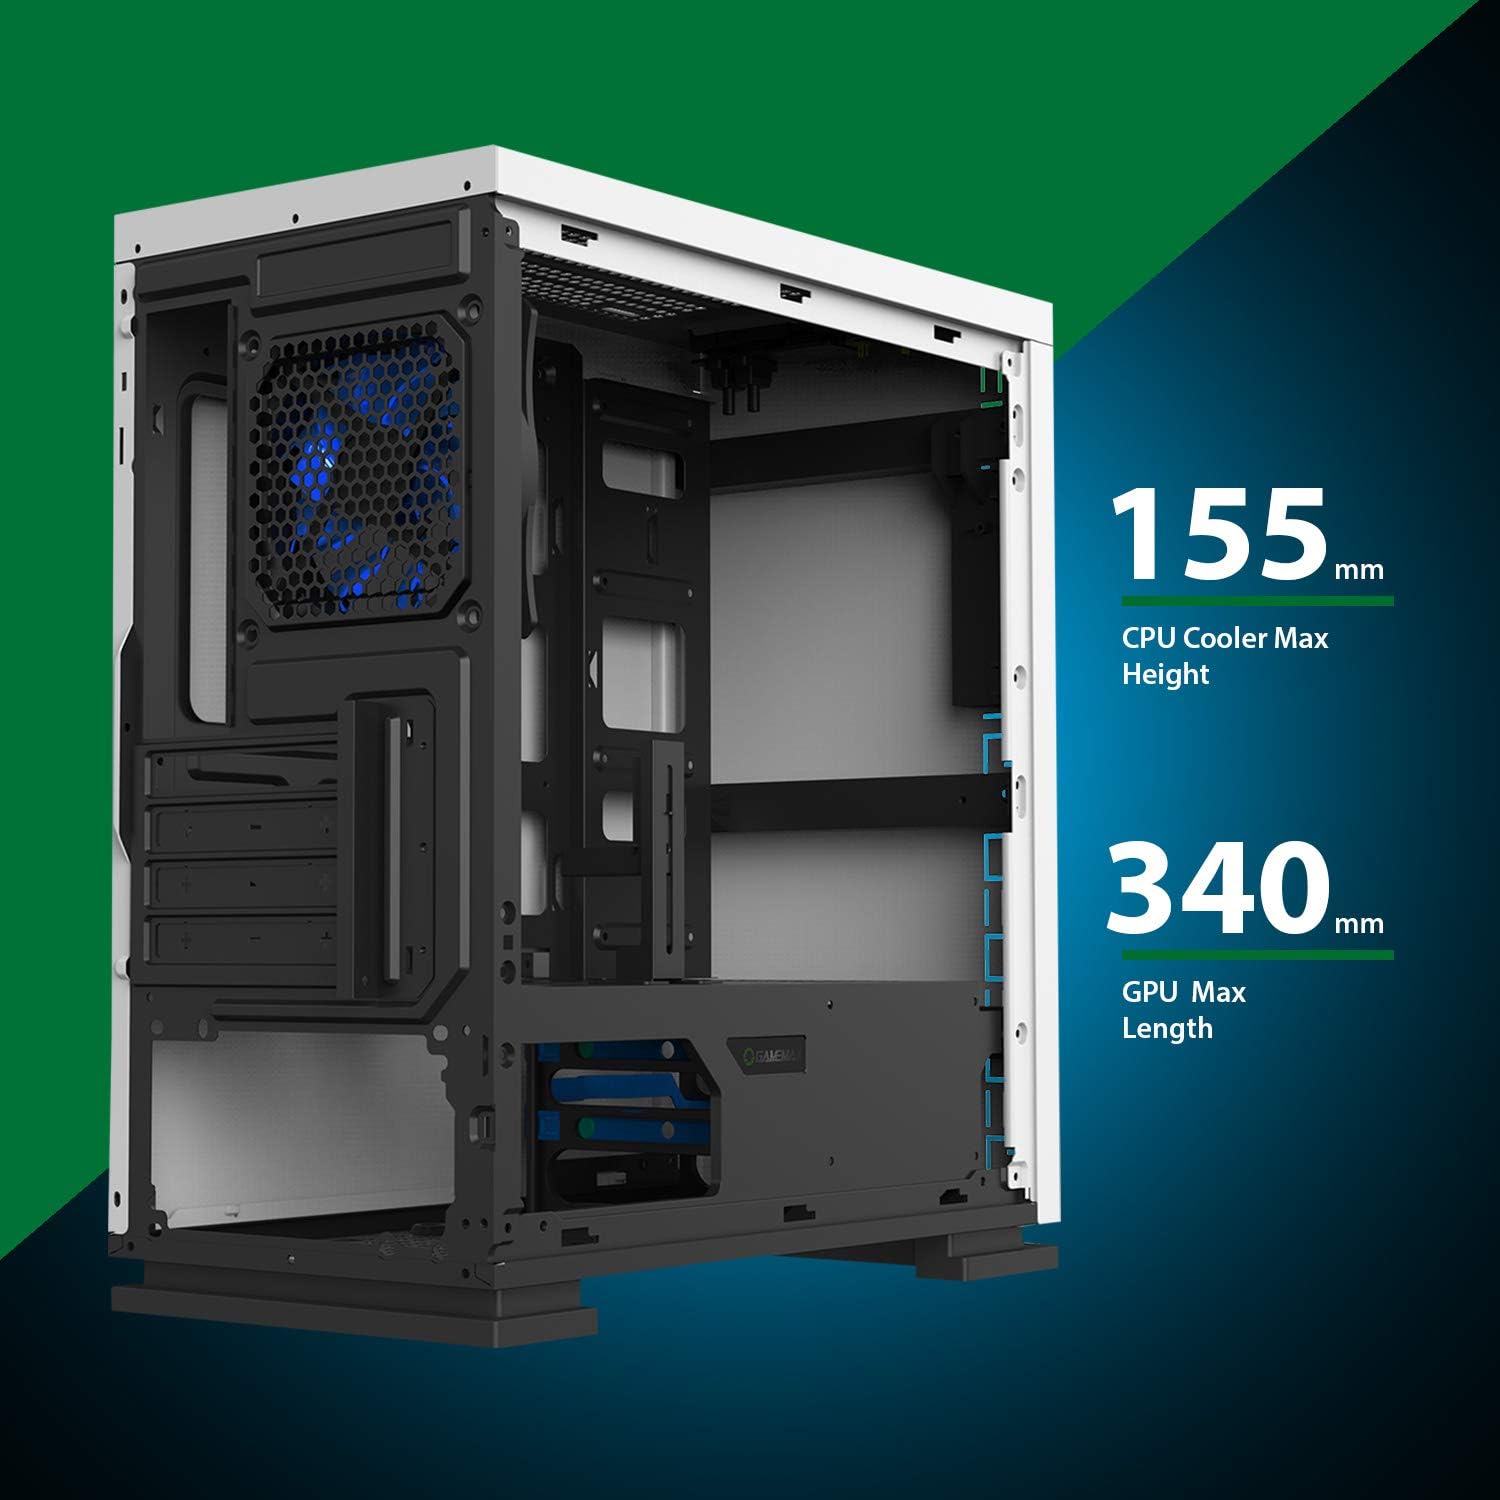
Figure 5.8: Maximum clearance for CPU coolers (155mm) and GPUs (340mm).
6. Configuration et installation
6.1 Préparation
- Unpack the chassis and remove all packaging materials.
- Remove the side panels by unscrewing the thumbscrews at the rear.
- Gather necessary tools: Phillips head screwdriver, cable ties.
6.2 Installation de la carte mère
- Install the I/O shield into the rear opening of the chassis.
- Align the motherboard with the pre-installed standoffs. Ensure the standoffs match your Micro ATX motherboard's mounting holes.
- Fixez la carte mère à l'aide des vis fournies.
6.3 Installation de l'alimentation électrique
- Place the power supply unit (PSU) into the dedicated compartment at the bottom rear of the case.
- Align the PSU with the screw holes on the rear of the chassis.
- Fixez le bloc d'alimentation avec les vis fournies.
6.4 Installation du disque de stockage
- 2.5" Drives: Mount 2.5" SSDs/HDDs to the dedicated mounting points on the motherboard tray or within the drive cage using the provided screws.
- 3.5" Drives: Installez les disques durs 3.5 pouces dans le logement prévu à cet effet sous le cache de l'alimentation. Glissez le disque dans son emplacement et fixez-le.
6.5 Installation de la carte d'extension (GPU)
- Retirez les caches des emplacements d'extension nécessaires à l'arrière du châssis.
- Insert your graphics card or other expansion card into the appropriate PCIe slot on the motherboard.
- Fixez la carte avec une vis.
- Utilize the adjustable GPU bracket to provide additional support for heavier graphics cards.
6.6 Installation du ventilateur et du système de refroidissement
- The case comes with one 120mm Blue LED fan pre-installed at the rear.
- Additional 120mm fans can be installed at the top and front positions as needed.
- Ensure fans are oriented correctly for optimal airflow (intake or exhaust).
6.7 Front Panel Connector Installation
Connect the front panel cables (USB 3.0, USB 2.0, HD Audio, Power SW, Reset SW, Power LED, HDD LED) to their corresponding headers on your motherboard. Refer to your motherboard manual for exact pin layouts.
7. Fonctionnement
Once all components are installed and cables are connected, replace the side panels. Connect your monitor, keyboard, mouse, and power cable. Press the power button on the top panel to start your system. The pre-installed LED fan will illuminate upon power-on.
8. Entretien
- Nettoyage du filtre à poussière : Regularly remove and clean the magnetic dust filter located on the top panel to maintain optimal airflow and prevent dust buildup inside the case.
- Nettoyage général : Utilisez un chiffon doux et sec.amp cloth to clean the exterior surfaces of the case. Avoid abrasive cleaners.
- Élimination de la poussière interne : Periodically use compressed air to clear dust from internal components and fans. Ensure the system is powered off and unplugged before performing internal cleaning.
9. Dépannage
- Le système ne s'allume pas : Check all power connections, including the PSU to the wall outlet, PSU to motherboard, and front panel power switch cable to the motherboard.
- Ventilateurs non fonctionnels : Verify fan cables are securely connected to the motherboard or fan controller.
- Les ports USB ne fonctionnent pas : Ensure the front panel USB cables are correctly connected to the motherboard's USB headers.
- Aucune sortie d'affichage : Confirm the graphics card is properly seated and connected to power, and the monitor cable is connected to the graphics card, not the motherboard's integrated graphics port (unless using integrated graphics).
10. Spécifications
| Fonctionnalité | Spécification |
|---|---|
| Nom du modèle | GMX EXPEDITION |
| Marque | JEUMAX |
| Type de cas | Micro Tower (MATX) |
| Compatibilité de la carte mère | Micro ATX |
| Couleur | Expedition White |
| Matériel | Polycarbonate (PC) |
| Dimensions du produit (L x l x H) | 14.96 x 7.4 x 13.78 pouces (380 x 188 x 350 mm) |
| Poids de l'article | 8.58 livres (3.9 kg) |
| Ports USB 3.0 | 1 |
| Ports USB 2.0 | 2 |
| Méthode de refroidissement | Air, eau |
| Ventilateur inclus | 1 x 120mm Blue LED (Rear) |
| Hauteur maximale du refroidisseur de processeur | 155 mm |
| Longueur maximale du GPU | 340 mm |
11. Garantie et assistance
For warranty information and technical support, please visit the official GameMax webConsultez notre site ou contactez votre détaillant local.
Officiel Website: gamemaxpc.com


