1. Introduction
This manual provides essential instructions for the assembly, operation, and maintenance of your Outsunny 8' x 6.6' x 6.6' Walk-in Tunnel Greenhouse. This greenhouse is designed to extend your growing season, protect plants from extreme temperatures, and provide a controlled environment for various plants.

Figure 1: Outsunny 8' x 6.6' x 6.6' Walk-in Tunnel Greenhouse.
2. Consignes de sécurité
- Suivez toujours attentivement les instructions de montage.
- Wear gloves when handling the steel frame to prevent injury.
- Before use, ensure the greenhouse is properly anchored and ventilated to prevent damage or injury from wind, rain, or extreme temperatures.
- Do not use chemical treatments on the PE cover as it may damage the material.
3. Liste des pièces
Before assembly, ensure all components are present and undamaged. Refer to the assembly video for visual identification of parts.
- Galvanized Steel Frame Tubes (various lengths and bends)
- Connectors (T-joints, corner joints)
- PE Cover (White, 140GSM, tear-resistant, UV-resistant)
- Ground Nails / Stakes
- Pull Ropes / Guy Ropes
- Fasteners (bolts, nuts, clips)
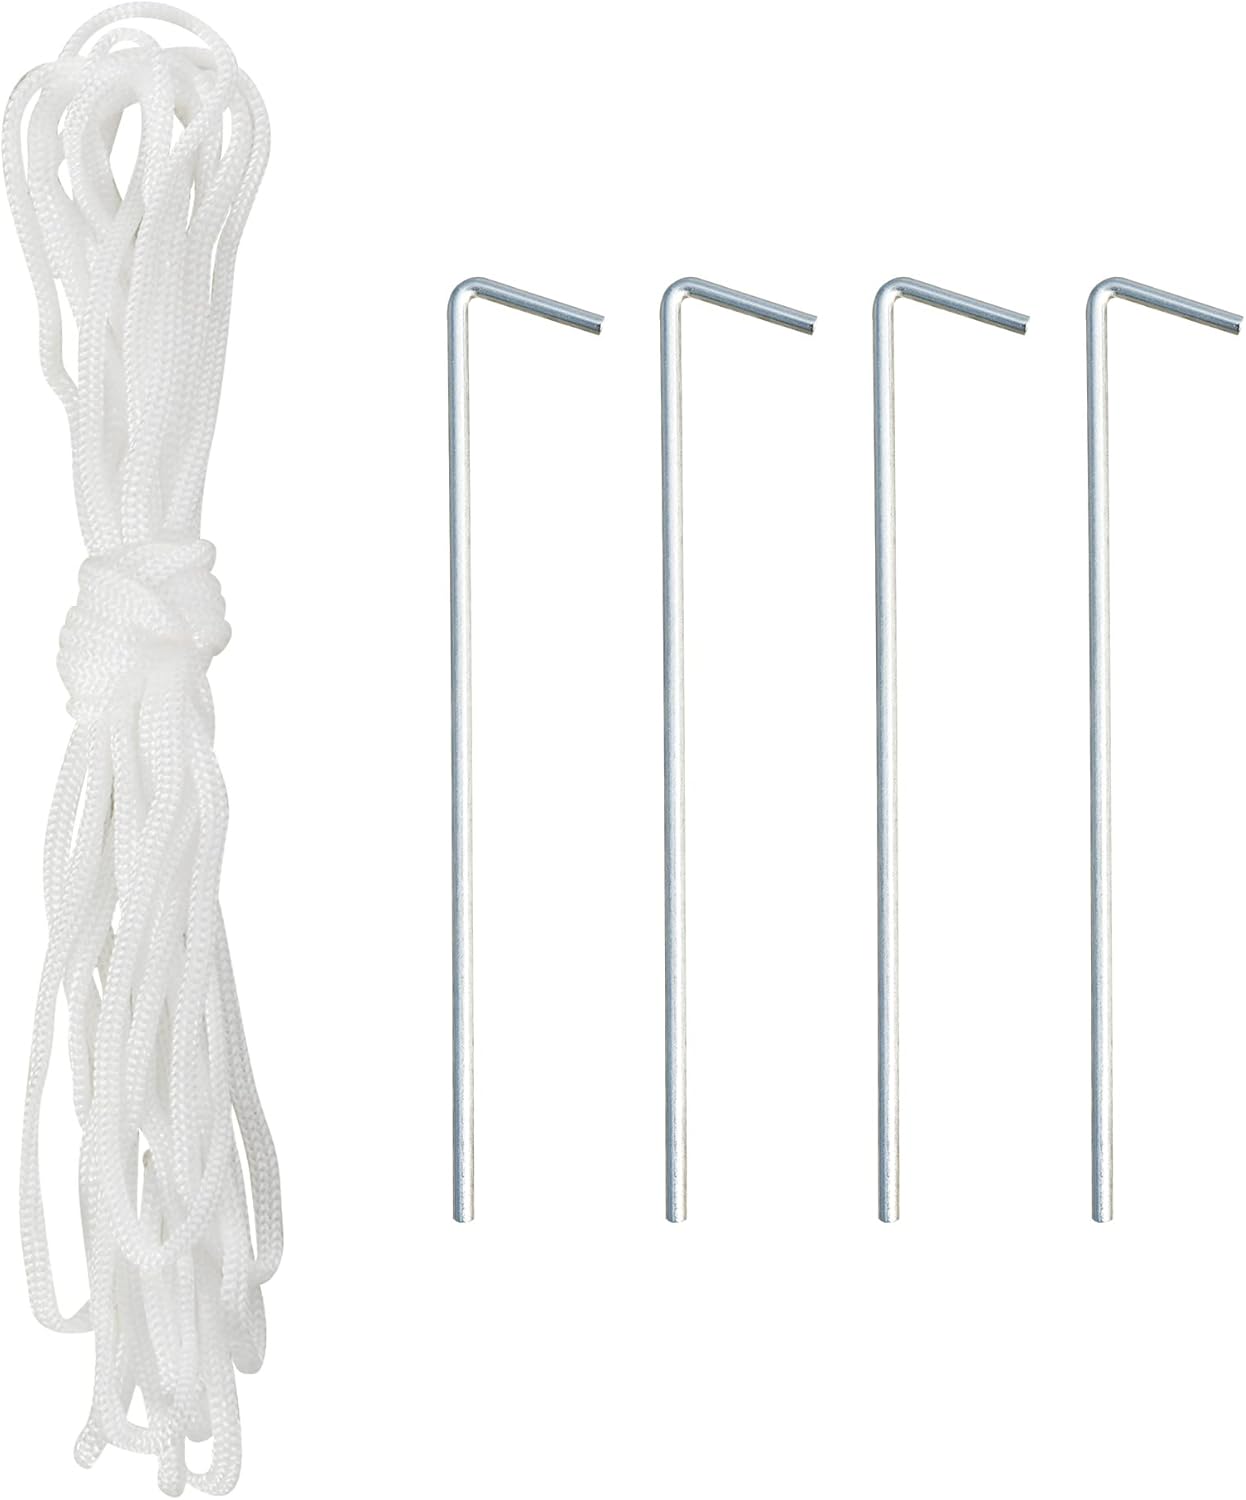
Figure 2: Included ground nails and pull ropes.
4. Configuration et assemblage
Suivez ces étapes pour un assemblage correct. Il est recommandé d'être au moins deux pour l'assemblage.
- Préparez la zone : Choose a flat, level surface for your greenhouse. Clear any debris or sharp objects.
- Assembler le cadre de base : Assemblez les tubes d'acier droits à l'aide des connecteurs appropriés pour former la base rectangulaire de la serre. Assurez-vous que tous les raccords sont bien fixés.
- Installer les supports verticaux : Attach the vertical steel tubes to the base frame.
- Construct the Arch Supports: Assemble the curved steel tubes to form the arched sections of the greenhouse.
- Connect Arch Supports: Raise the assembled arch supports and connect them to the vertical supports and to each other using the horizontal connecting tubes. Secure all connections with provided fasteners.
- Recouvrir la bâche en PE : Recouvrez soigneusement le cadre assemblé avec la housse en polyéthylène. Assurez-vous que la porte zippée est correctement positionnée à l'avant.
- Fixez le couvercle : Attach the cover to the frame using the fixing straps and ties. Ensure the 5.9-inch extended edges of the cover are buried deep in the soil to tighten the cover and provide stability against wind and rain.
- Ancrer la serre : Use the ground stakes and guy ropes to firmly anchor the entire frame to the ground, especially in windy conditions.
Guide vidéo d'assemblage
Video 1: Assembly guide for a similar Outsunny Tunnel Greenhouse (Model 845-068). The assembly process is largely identical for Model 845-071.
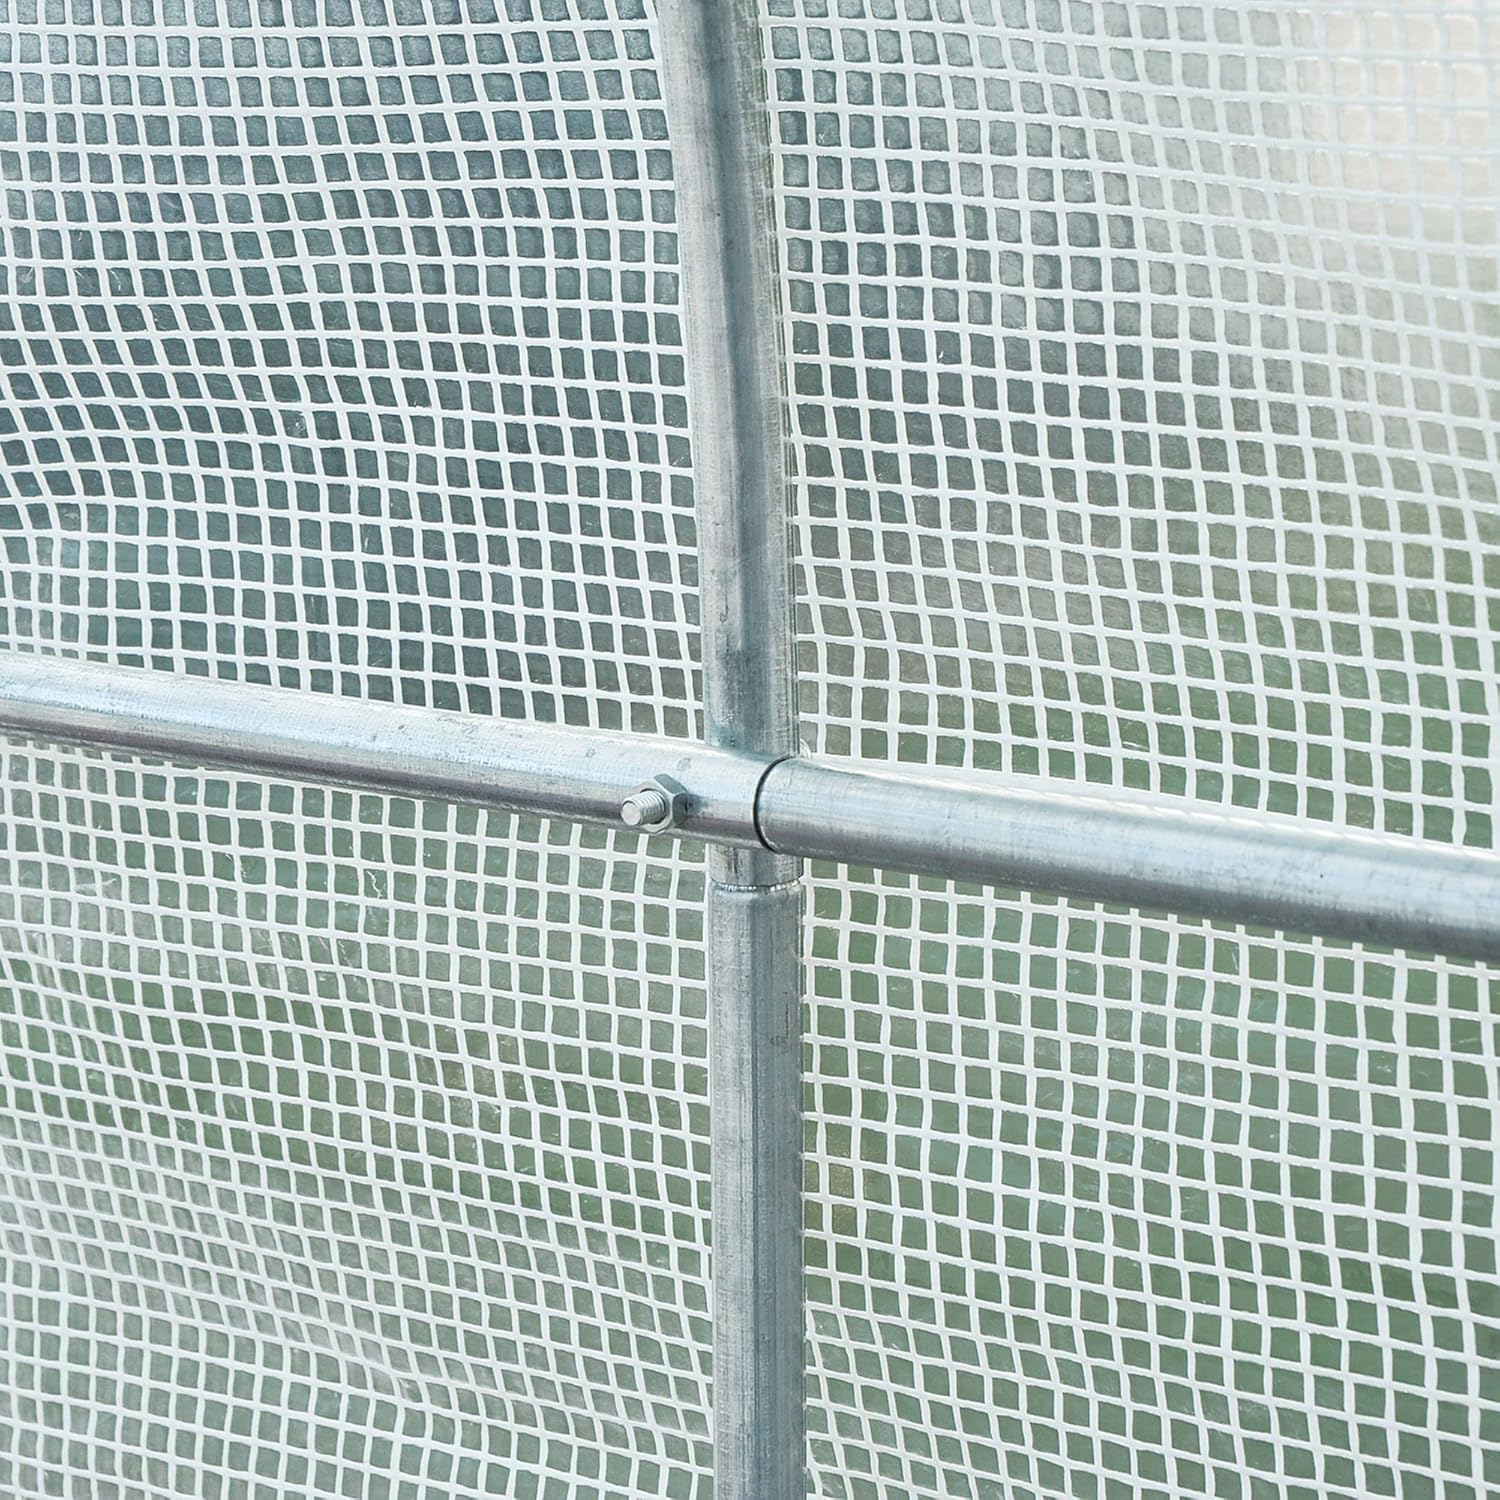
Figure 3: Detail of a secure frame connection.
5. Mode d'emploi
- Accès par porte : The zippered roll-up door can be opened fully for easy access to plants and for moving equipment in and out.
- Ventilation: Utilize the mesh windows to provide better air circulation for your plants. These windows also serve as observation points. Roll them up and secure them to increase airflow and regulate internal temperature.
- Contrôle de l'humidité : The fully closed PE cover helps maintain high humidity levels, beneficial for growing tropical plants. Monitor humidity with a hygrometer and adjust ventilation as needed.
- Régulation de la température : On sunny days, especially when temperatures exceed 20°C, open the door and windows to prevent overheating and plant stress. Close them during colder periods or at night to retain warmth.

Figure 4: Key features including roll-up windows and door.
6. Entretien
- Seasonal Strengthening: To prolong the service life, strengthen the outdoor greenhouse yourself before bad weather conditions (windy, rainy, snowy, hailing, etc.). Additional anchoring or internal supports may be necessary.
- Entretien de la couverture : Regularly inspect the PE cover for any tears or damage. Patch small holes promptly to prevent them from enlarging. Avoid using harsh chemical cleaners on the cover. Clean with mild soap and water if necessary.
- Inspection du cadre : Periodically check all steel frame connections and fasteners to ensure they remain tight and secure. Tighten any loose bolts.
- Accumulation de neige : In areas with heavy snowfall, regularly clear snow from the greenhouse roof to prevent structural damage due to excessive weight.
7. Dépannage
- Greenhouse Tipping in Wind: Ensure the greenhouse is properly anchored using all provided ground stakes and guy ropes. Consider adding additional weights (e.g., logs, sandbags) to the extended edges of the cover.
- Surchauffe interne : Open the roll-up door and mesh windows to increase ventilation. Consider using shade cloth during peak sun hours if plants are sensitive to high temperatures.
- Insufficient Warmth: Ensure all doors and windows are securely closed. Check for any gaps in the cover. For extreme cold, consider adding an internal heat source (e.g., a small electric heater, not included) with proper safety precautions.
- Accumulation d'eau sur le toit : Ensure the frame is correctly assembled to maintain the arched shape, which helps shed water. Regularly check and clear any debris that might impede water runoff.
8. Spécifications
| Fonctionnalité | Détail |
|---|---|
| Dimensions du produit (L x l x H) | 8' x 6.6' x 6.6' (2.45 m L x 2 m l x 2 m H) |
| Poids de l'article | 10.48 kg |
| Matériau de couverture | Polyéthylène (PE) |
| Matériau du cadre | Acier allié |
| Couleur | Blanc |
| Nombre de portes | 1 |
| Style de porte | Roll-Up Door |
| Nombre d'évents | 4 |
| Composants inclus | Ground Nails, Pull Ropes |
| Fabricant | Aosom Canada |
| Numéro de modèle de l'article | 845-071 |

Figure 5: Greenhouse dimensions diagram.
9. Garantie et assistance
This Outsunny greenhouse comes with a Garantie de 90 jours contre les défauts de fabrication. For any inquiries or support, please contact Aosom Canada at 1-416-792-6088.
Vous pouvez également visiter le Boutique Outsunny sur Amazon pour plus d'informations et de produits.


