1. Introduction
This manual provides detailed instructions for the setup, operation, and maintenance of the Waveshare 10.1-inch Capacitive Touch Screen LCD. This display features a 1280x800 resolution IPS panel, 10-point capacitive touch control, and a toughened glass cover. It is designed for compatibility with various Raspberry Pi models and Windows PCs, offering a versatile display solution for embedded projects and desktop computing.
2. Contenu de l'emballage
Verify that all items listed below are included in your package. If any items are missing or damaged, please contact Waveshare support.
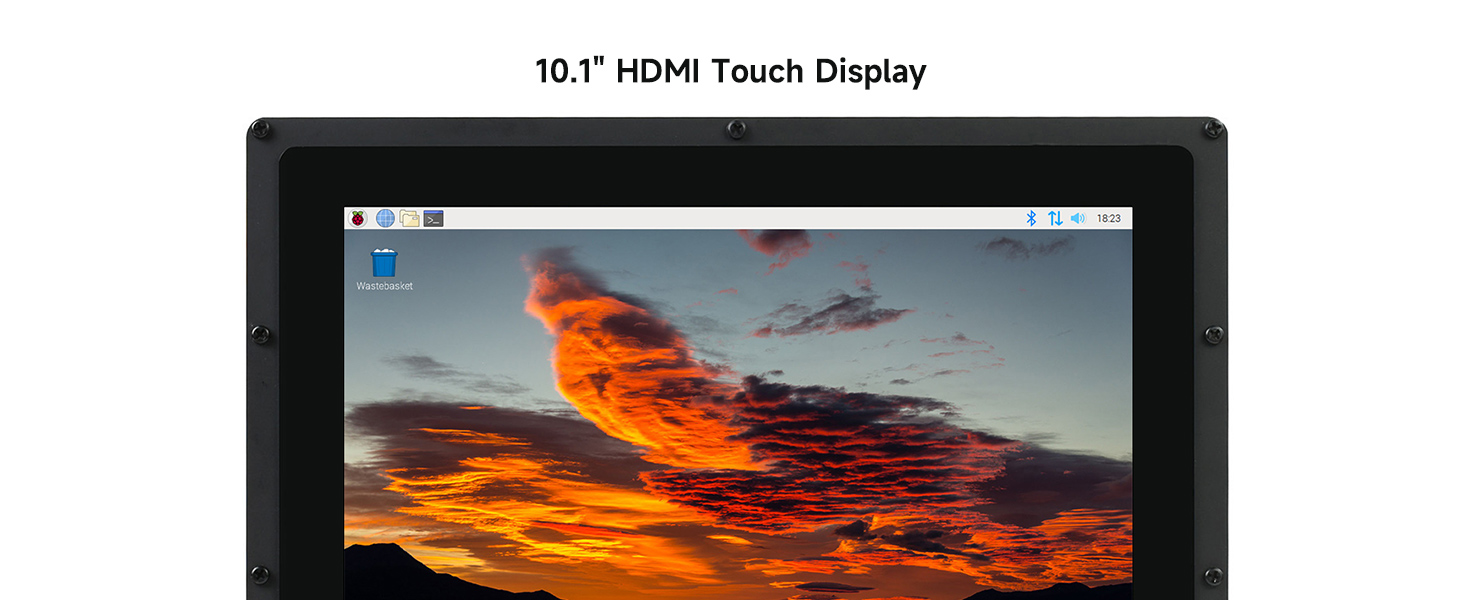
Figure 2.1: Package contents including the 10.1-inch LCD, power adapter, USB cable, HDMI cables, HDMI adapter, and mounting hardware.
- 10.1-inch HDMI LCD (B) with case
- Adaptateur secteur (5 V)
- USB-A to Micro-USB Cable (for touch and power)
- Câble HDMI
- HDMI to Micro-HDMI Adapter (for Raspberry Pi Zero series)
- Vis de fixation et entretoises
- Back Stand (for 45-degree tilt)
3. Spécifications
Key technical specifications of the Waveshare 10.1-inch Capacitive Touch Screen LCD.

Figure 3.1 : Plusview of the 10.1-inch HDMI Touch Display's features.
| Fonctionnalité | Description |
|---|---|
| Taille de l'écran | 10.1 pouces |
| Résolution | 1280 x 800 pixels |
| Panneau d'affichage | IPS |
| ViewAngle d'attaque | 170° |
| Type tactile | Capacitif, 10 points |
| Panneau tactile | Toughened Glass (up to 6H hardness) |
| Interface d'affichage | HDMI |
| Port tactile | USB |
| Puissance d'entrée | 5V (via USB) |
| Matériau de l'enceinte | Acrylique |
| Dimensions du produit | 7.09 x 3.94 x 3.54 pouces (environ, avec étui) |
| Poids de l'article | 0.352 once (environ) |
4. Installation
4.1 Connexion générale
To set up the display, you will need to connect both the video signal (HDMI) and the touch/power signal (USB). Ensure your host device (Raspberry Pi or PC) is powered off before making connections.
- Connect the HDMI cable from your host device to the HDMI port on the LCD.
- Connect the USB cable from your host device (or a 5V power adapter) to the Micro-USB port labeled "5V Power Input" on the LCD. This cable provides both power to the display and enables touch functionality.
- Power on your host device. The display should automatically detect the signal.
4.2 Connexion Examples with Raspberry Pi
The display is compatible with various Raspberry Pi models. Specific adapters may be required depending on your Raspberry Pi model.
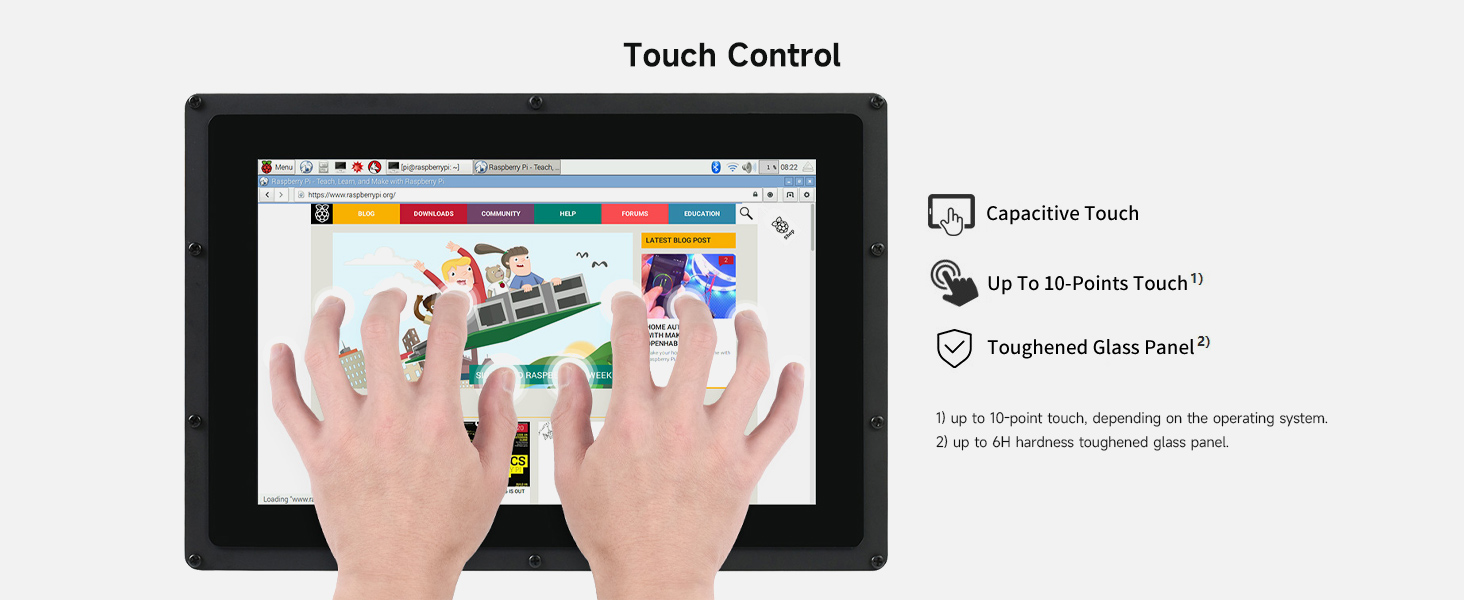
Figure 4.1: Connection diagrams for different host devices.
- Raspberry Pi 4B: Connect the HDMI cable from the Pi's Micro-HDMI port to the display's HDMI port. Connect a USB cable from the Pi's USB port to the display's 5V Power Input/Touch port. Ensure the Pi is powered by a 5V/3A power supply.
- Raspberry Pi 3B+: Connect the HDMI cable from the Pi's HDMI port to the display's HDMI port. Connect a USB cable from the Pi's USB port to the display's 5V Power Input/Touch port. Ensure the Pi is powered by a 5V/3A power supply.
- Raspberry Pi Zero W: You will need an additional Mini-HDMI to HDMI adapter and a USB-OTG cable. Connect the Mini-HDMI adapter to the Pi Zero W, then use an HDMI cable to connect to the display. Connect the USB-OTG cable to the Pi Zero W, then use a USB cable to connect to the display's 5V Power Input/Touch port. Ensure the Pi Zero W is powered by a 5V/2.5A power supply.
4.3 Connexion Example with Mini PC
For use with a Mini PC or other standard computers:
- Connect the HDMI cable from your Mini PC's HDMI output to the display's HDMI port.
- Connect a USB cable from your Mini PC's USB port to the display's 5V Power Input/Touch port. This provides power to the display and enables touch functionality.
5. Mode d'emploi
5.1 Contrôle tactile
The display features a 10-point capacitive touch screen with a toughened glass panel for durability.

Figure 5.1: Demonstrating multi-touch capability.
- Tactile capacitif : Provides precise and responsive touch input.
- 10-point Touch: Supports up to 10 simultaneous touch points, depending on the operating system.
- Toughened Glass: The touch panel is made of toughened glass with a hardness of up to 6H, offering enhanced scratch resistance.
5.2 Compatibilité du système
The display offers broad compatibility with various operating systems:

Figure 5.2: Device and system compatibility overview.
- With Raspberry Pi: Supports Raspberry Pi OS, Ubuntu, Kali, and Retropie. Touch functionality is generally driver-free. For Ubuntu / Kali / WIN10 IoT, it supports single-point touch.
- As a Computer Monitor: Supports Windows 11/10/8.1/8/7. Touch functionality is typically 10-point and driver-free.
6. Entretien
Un entretien approprié garantit la longévité et les performances optimales de votre écran.
- Nettoyage: Utilisez un chiffon doux et non pelucheux légèrement dampened with water or a screen-cleaning solution. Avoid harsh chemicals, abrasive cleaners, or alcohol-based solutions, as these can damage the screen surface or acrylic case.
- Manutention: Avoid applying excessive pressure to the screen. Do not drop the display or expose it to strong impacts.
- Environnement: Operate and store the display in a clean, dry environment, away from direct sunlight, extreme temperatures, and high humidity.
- Pouvoir: Always use the provided 5V power adapter or a compatible power source to prevent damage.
7. Dépannage
En cas de problème, reportez-vous aux étapes de dépannage courantes suivantes :
- Aucun affichage/Écran noir :
- Ensure both the HDMI cable and the USB power cable are securely connected.
- Verify that your host device (Raspberry Pi/PC) is powered on and outputting a video signal.
- Try a different HDMI cable or port on your host device.
- For Raspberry Pi, ensure the operating system is configured to output to HDMI.
- Fonctionnalité tactile non fonctionnelle :
- Ensure the USB cable connecting the display to your host device is properly connected. This cable carries the touch data.
- For Windows, check "Tablet PC Settings" in the Control Panel to ensure touch input is assigned to the correct display, especially if using multiple monitors.
- Redémarrez votre appareil hôte.
- Verify that your operating system supports touch input for the display.
- Écran qui clignote ou affichage instable :
- Ensure the display is receiving adequate power. Use the provided power adapter or a reliable 5V power source.
- Check HDMI cable for damage or loose connections.
- Reduce interference by keeping the display away from strong electromagnetic sources.
- White Screen or Fading to Black:
- This can sometimes occur due to power fluctuations. Power off the display and host device completely, wait a few minutes, then power them back on.
8. Apparence et dimensions
Détaillé view of the display's physical characteristics and port locations.

Figure 8.1 : Vue de face, de côté et de l'arrière views with dimensions and port labels.
- Dimensions: The display measures approximately 274.11mm x 187.00mm (outer frame) with a display area of 216.96mm x 135.60mm.
- Back Stand: Includes a removable back stand that allows for a 45-degree viewangle de vue.
- Trous de montage: Features mounting holes compatible with various Raspberry Pi models (A+/B+/2B/3B/3A+/3B+/4B).
- Ports (Rear View):
- Interrupteur: To turn the display on/off.
- Touch Port: Micro-USB port for touch data.
- Alimentation 5 V : Micro-USB port for power supply. (Note: Often combined with Touch Port via a single USB cable to the host).
- Port HDMI: Pour l'entrée vidéo.
9. Certification du produit
The Waveshare 10.1-inch HDMI LCD (B) is an HDMI Certified Adapter, ensuring compliance with HDMI standards.

Figure 9.1: HDMI Certified Adapter certificate.
For verification, visit the official HDMI website: https://hdmi.org/qr/alic/FVP01SGM0CI
10. Garantie et assistance
For technical support, product inquiries, or warranty information, please refer to the official Waveshare website or contact their customer service directly. An online user manual is also available for further details and updates.
Manufacturer: Waveshare
Pour obtenir les informations et les ressources les plus récentes, veuillez consulter le site web suivant : Waveshare Store on Amazon ou leur représentant website.


