1. Introduction
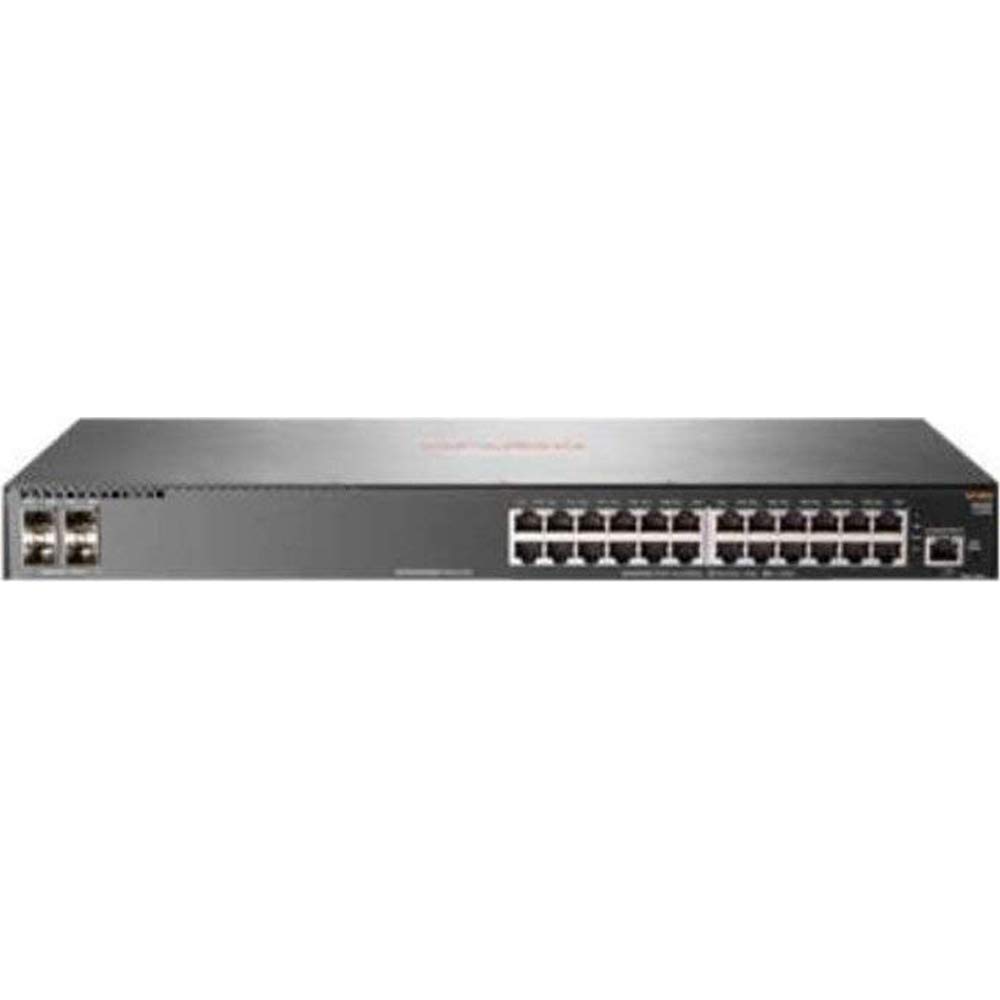
This manual provides comprehensive instructions for the installation, configuration, and operation of the HP 2930F-24G 4SFP Switch. This device is a high-performance network switch designed for reliable and secure network connectivity. It features 24 Gigabit Ethernet ports and 4 SFP uplink ports, supporting Layer 3 functionality for advanced network management.
2. Contenu du colis
Carefully unpack the box and verify that all items are present and undamaged. If any items are missing or damaged, contact your vendor immediately.
- 1 x HP 2930F-24G 4SFP Switch
- 1 x Power Cord
- Kit de 1 vis
- 4 x oreilles de montage
- 4 x Bumper Feet
- 1 x Cravate de câble
3. Installation
3.1. Préparation du site
Ensure the installation site is clean, dry, and has adequate ventilation. Maintain proper temperature and humidity levels as specified in the environmental requirements. Ensure a stable power source is available.
3.2. Montage du commutateur
The HP 2930F-24G 4SFP Switch supports both rack-mountable and desktop installations.
- Installation de bureau : Attach the four bumper feet to the bottom of the switch. Place the switch on a flat, stable surface.
- Installation en rack : Attach the mounting ears to the sides of the switch using the provided screws. Secure the switch into a standard 1U rack using appropriate rack screws (not included).
3.3. Connexion de l'alimentation
- Connect the provided power cord to the power inlet on the rear panel of the switch.
- Branchez l'autre extrémité du cordon d'alimentation dans une prise électrique mise à la terre.
- Vérifiez que la LED d'alimentation située sur le panneau avant s'allume, indiquant que l'interrupteur est alimenté.
3.4. Connecting Network Cables
- Ports Ethernet : Connect standard RJ-45 Ethernet cables from your network devices (computers, servers, other switches) to the 24 Gigabit Ethernet ports on the front panel.
- Ports de liaison montante SFP : Insert compatible SFP transceivers (not included) into the 4 SFP slots. Connect fiber optic or copper SFP cables to these transceivers for uplink connections to other network devices or the core network.
4. Mode d'emploi
4.1. Mise sous tension initiale
Once power is connected, the switch will automatically begin its boot sequence. This process may take a few minutes. Observe the system status LEDs for indications of successful startup.
4.2. Indicateurs LED
Les voyants LED du panneau avant fournissent des informations sur l'état du commutateur et de ses ports :
- Voyant d'alimentation : Indique l'état de l'alimentation (Marche : Alimentation OK, Arrêt : Pas d'alimentation).
- Voyant système : Indicates overall system health (Green: Normal, Amber: Warning, Red: Error).
- Voyants LED de liaison/activité des ports : Located next to each Ethernet and SFP port. (Green: Link established, Blinking Green: Activity, Off: No link).
4.3. Gestion du réseau
The HP 2930F-24G 4SFP Switch can be managed via a Command Line Interface (CLI) through a console port (if available) or Telnet/SSH, and typically through a web-based graphical user interface (GUI). Refer to the comprehensive HP ArubaOS-Switch Management and Configuration Guide for detailed instructions on initial configuration, VLAN setup, Layer 3 routing, and other advanced features.
5. Entretien
5.1. Nettoyage
Regularly clean the exterior of the switch with a soft, dry cloth. Do not use liquid or aerosol cleaners. Ensure ventilation openings are free from dust and obstructions to prevent overheating.
5.2. Mises à jour du micrologiciel
Consultez régulièrement le support officiel HP website for firmware updates. Keeping the switch firmware up-to-date ensures optimal performance, security, and access to new features. Follow the instructions provided with the firmware update package carefully.
5.3. Considérations environnementales
Assurez-vous que l'interrupteur fonctionne dans les plages de température et d'humidité spécifiées. Évitez d'exposer l'appareil à la lumière directe du soleil, à une chaleur excessive ou à l'humidité.
6. Dépannage
Cette section propose des solutions aux problèmes courants que vous pourriez rencontrer.
- Pas d'alimentation :
- Check if the power cord is securely connected to both the switch and the power outlet.
- Vérifiez que la prise de courant est fonctionnelle.
- Vérifiez que le bloc d'alimentation (interne) n'est pas défectueux.
- Aucun lien sur le port :
- Ensure the Ethernet or SFP cable is properly connected at both ends.
- Vérifiez que l'appareil connecté est allumé et fonctionne correctement.
- Vérifiez si le câble est endommagé. Essayez un autre câble.
- Confirm that the SFP transceiver is compatible and correctly seated (for SFP ports).
- Problèmes de connectivité réseau :
- Verify IP address configuration on connected devices and the switch.
- Vérifiez la configuration des VLAN, le cas échéant.
- Assurez-vous qu'il n'existe aucun conflit d'adresses IP sur le réseau.
- Redémarrez le commutateur et les appareils connectés.
If problems persist, consult the detailed troubleshooting guides available on the official HP support webconsultez le site ou contactez l'assistance technique HP.
7. Spécifications
| Fonctionnalité | Spécification |
|---|---|
| Numéro de modèle | JL259A#ABA |
| Nombre total de ports réseau | 24 ports Gigabit Ethernet |
| Ports de liaison montante | 4 x SFP |
| Technologie Ethernet | Gigabit Ethernet (10/100/1000Base-TX) |
| Technologie de réseau | 1000Base-X |
| Prise en charge des calques | Couche 3 |
| Source d'énergie | Alimentation électrique |
| Facteur de forme | Rack-mountable, Desktop (1U) |
| Dimensions (H x P) | 1.7 pouces x 7.9 pouces |
| Poids | 5.31 lb (environ) |
| BÉLIER | 1024 Mo |
| Matériau du boîtier | Métal |
| Code UPC | 190017006000 |
8. Garantie et assistance
Pour obtenir des informations détaillées sur la garantie, l'enregistrement du produit et l'assistance technique, veuillez consulter le site d'assistance officiel HP. website. You can find resources such as knowledge bases, FAQs, driver downloads, and contact information for customer service.
Assistance HP Website: www.hp.com/support