1. Introduction
This manual provides detailed instructions for the installation, operation, and maintenance of the GeoVision GV-MFD2501-6F 2MP Mini Fixed Dome IP Security Camera. Please read this manual thoroughly before using the product to ensure proper setup and functionality. Keep this manual for future reference.
1.1 Produit terminéview
The GV-MFD2501-6F is a compact 2-megapixel mini fixed dome IP camera designed for various surveillance applications. It features a 2.3mm lens, super low lux capabilities, and supports network connectivity for remote monitoring.
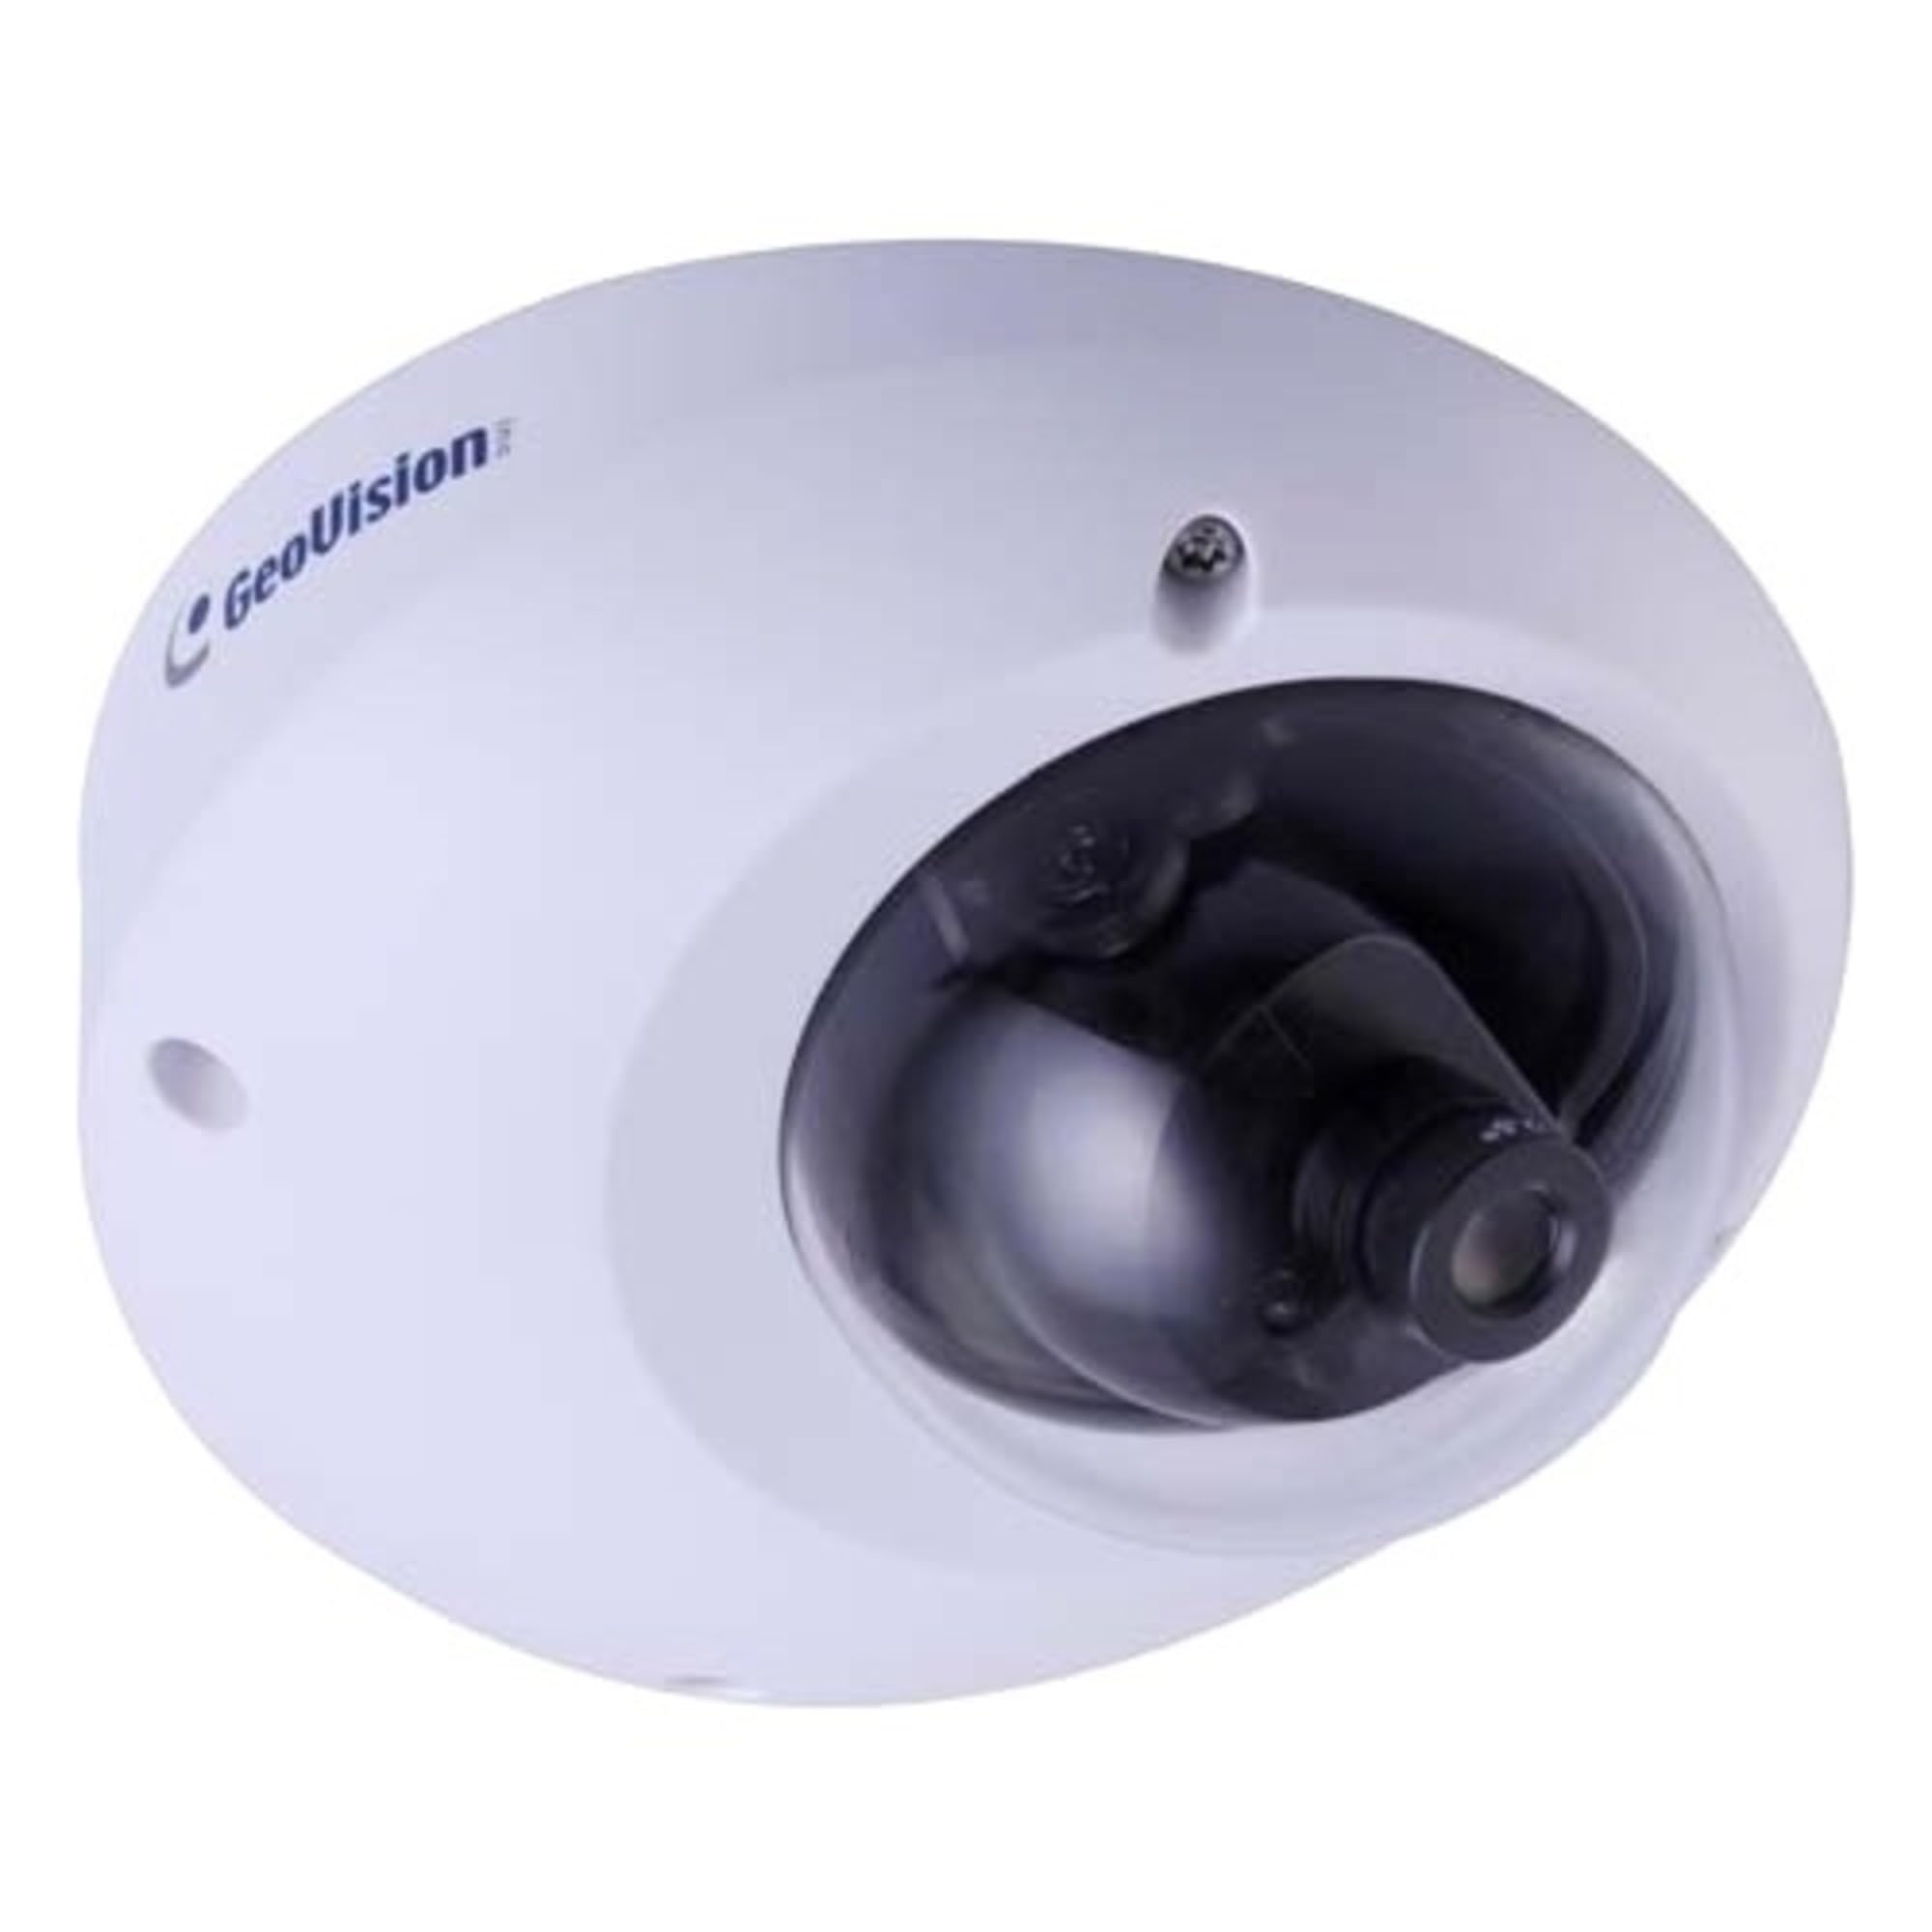
Figure 1.1: GeoVision GV-MFD2501-6F Mini Fixed Dome IP Security Camera. This image shows the compact design of the camera, highlighting its dome shape and lens.
1.2 Contenu du paquet
Verify that all items are present in the package. If any items are missing or damaged, contact your dealer immediately.
- GV-MFD2501-6F IP Camera
- Kit de vis de montage
- Guide d'installation
- CD du logiciel (ou lien de téléchargement)
- Connecteur étanche (le cas échéant)
2. Consignes de sécurité
WARNING: To prevent fire or shock hazard, do not expose this unit to rain or moisture.
- Utilisez uniquement l'adaptateur secteur spécifié pour cet appareil.
- Do not open the camera housing. Refer all servicing to qualified personnel.
- Avoid placing the camera in direct sunlight, near heat sources, or in areas with high humidity or dust.
- Assurez une bonne ventilation autour de la caméra.
- Coupez l'alimentation électrique avant de procéder au nettoyage ou à la maintenance.
3. Installation
3.1 Installation physique
The GV-MFD2501-6F is designed for indoor use. Choose a suitable mounting location that provides the desired field of view and is within reach of network and power cables.
- Préparez la surface de montage : Utilisez le gabarit de montage fourni (le cas échéant) pour marquer les trous de perçage.
- Trous de forage : Percez des trous pilotes pour les vis de montage.
- Sécurisez la caméra : Fixez la base de la caméra à la surface de montage à l'aide des vis fournies.
- Ajuster l'angle : Loosen the adjustment screws to position the camera lens for the desired viewing angle, then tighten the screws to secure it.
Figure 3.1: Illustrative diagram of camera mounting. This image would typically show the steps for securing the camera to a ceiling or wall, including screw placement and cable routing.
3.2 Câblage et connexions
Connect the camera to your network and power source.
- Câble Ethernet: Connect an Ethernet cable from your network switch or router to the camera's RJ-45 port. If using Power over Ethernet (PoE), this single cable provides both power and data.
- Adaptateur secteur (si vous n'utilisez pas le PoE) : If PoE is not available, connect a compatible 12V DC power adapter (not included) to the camera's power input port.
Figure 3.2: Diagram showing camera wiring connections. This image would illustrate how to connect the Ethernet cable and, if necessary, the power adapter to the camera's ports.
3.3 Configuration initiale du réseau
After physical installation and connection, configure the camera for network access.
- Mise sous tension : Connect the camera to power. The camera will perform a self-test.
- Découvrez l'appareil photo : Use the GeoVision GV-IP Device Utility (available on the GeoVision website) to discover the camera on your local network. The utility will display the camera's IP address.
- Accéder Web Interface: Ouvrir un web browser (e.g., Chrome, Firefox) and enter the camera's IP address in the address bar.
- Se connecter: Enter the default username (e.g., "admin") and password (e.g., "admin" or "1234"). You will be prompted to change the password upon first login for security.
- Paramètres réseau : Navigate to the network settings to configure IP address (DHCP or Static), subnet mask, gateway, and DNS settings as required by your network environment.
4. Mode d'emploi
Once configured, the camera can be accessed and managed through its web interface or compatible GeoVision VMS software.
4.1 En direct View
De la web Dans l'interface, accédez à « Live ». View" section to see the real-time video feed from the camera. You can adjust video stream settings such as resolution, frame rate, and quality here.
4.2 Paramètres d'enregistrement
Configure recording schedules, motion detection recording, and continuous recording options. Recordings can be stored on a network-attached storage (NAS), local storage (if supported), or a GeoVision NVR/VMS.
4.3 Détection de mouvement
Set up motion detection zones and sensitivity levels. When motion is detected, the camera can trigger recording, send email alerts, or activate other alarm outputs.
4.4 Accès à distance
To access the camera remotely, ensure your network router is configured for port forwarding (if not using a VPN or cloud service). Refer to your router's manual for port forwarding instructions. GeoVision also offers mobile applications for remote viewing.
5. Entretien
5.1 Nettoyage de l'appareil photo
Nettoyez régulièrement l'objectif et le boîtier de l'appareil photo pour une qualité d'image optimale. Utilisez un chiffon doux et sec. Pour les saletés tenaces, un chiffon légèrement plus sec peut être utile.amp Utilisez un chiffon imbibé d'un détergent doux, puis un chiffon sec. N'utilisez pas de nettoyants abrasifs ni de solvants.
5.2 mises à jour du micrologiciel
Vérifiez régulièrement GeoVision webSite dédié aux mises à jour du micrologiciel. Ces mises à jour peuvent apporter de nouvelles fonctionnalités, des améliorations de performances et des renforcements de sécurité. Suivez attentivement les instructions fournies avec le package de mise à jour.
5.3 Gestion des mots de passe
Regularly change your camera's password to a strong, unique password to prevent unauthorized access.
6. Dépannage
| Problème | Cause possible | Solution |
|---|---|---|
| La caméra n'est pas alimentée. | Power adapter unplugged or faulty; PoE not active. | Check power connections. Ensure PoE switch/injector is active. Test with a known good power source. |
| Pas de flux vidéo | Network cable disconnected; incorrect IP address; firewall blocking access. | Verify Ethernet cable connection. Use GV-IP Device Utility to find camera. Check network settings and firewall rules. |
| Vous ne pouvez pas vous connecter | Incorrect username/password. | Ensure correct credentials. If forgotten, refer to the GeoVision website for password reset procedures (may require physical access). |
| Mauvaise qualité d'image | Dirty lens; improper focus; low light conditions; incorrect video settings. | Clean the lens. Adjust focus if applicable. Ensure adequate lighting. Check resolution, frame rate, and compression settings. |
7. Spécifications
The following are key specifications for the GeoVision GV-MFD2501-6F camera:
- Modèle: 84-MFD2501-6F1U
- Résolution: 2 mégapixel
- Lentille: Lentille fixe 2.3mm
- Connectivité : Sans fil Note: While "Wireless" is listed in specifications, this IP camera primarily uses wired Ethernet for reliable data transmission and PoE. Wireless functionality may refer to specific optional modules or control methods.
- Pouvoir: PoE (Power over Ethernet) ou 12 V CC (adaptateur non inclus)
- Dimensions: Dimensions approximatives du colis : 21 x 18.6 x 9.3 cm
- Poids: Environ 487 g (poids du colis)
- Température de fonctionnement : (Information not provided, typical range is -10°C to 50°C)
- Fabricant: GéoVision
8. Garantie et assistance
8.1 Informations sur la garantie
GeoVision products typically come with a limited warranty. For specific warranty terms and conditions, please refer to the warranty card included with your product or visit the official GeoVision webConsultez le site. Conservez votre preuve d'achat pour toute réclamation au titre de la garantie.
8.2 Assistance technique
For technical assistance, product inquiries, or troubleshooting beyond this manual, please contact GeoVision customer support or your authorized GeoVision dealer. Visit the official GeoVision website (www.geovision.com.tw) for support resources, FAQs, and contact information.


