Introduction
This user manual provides comprehensive instructions for the setup, operation, and maintenance of your Reloop RP-8000 Advanced Hybrid Torque Turntable. The RP-8000 combines traditional direct-drive turntable functionality with advanced digital control features, making it a versatile tool for DJs and audio enthusiasts.
Veuillez lire attentivement ce manuel avant d'utiliser l'appareil afin d'en garantir une utilisation correcte et d'optimiser ses performances et sa durée de vie.
Consignes de sécurité
- Assurez-vous que l'alimentation électrique correspond au voltage exigences spécifiées sur l'unité.
- N’exposez pas l’appareil à la pluie, à l’humidité ou à des températures extrêmes.
- Évitez de placer l’appareil à proximité de sources de chaleur ou en plein soleil.
- N'ouvrez pas le casing; confier toute intervention à un personnel qualifié.
- Always disconnect the power cable before cleaning or moving the unit.
- Tenir hors de portée des enfants.
Contenu du colis
Vérifiez que tous les éléments sont présents dans le colis :
- Unité principale de la platine
- Câble d'alimentation
- Câble USB
- RCA Cable (with ground wire)
- Slipmat
- Contrepoids
- Headshell (cartridge not included)
- Manuel de l'utilisateur (ce document)
Produit terminéview
Familiarize yourself with the various components of your Reloop RP-8000 turntable.
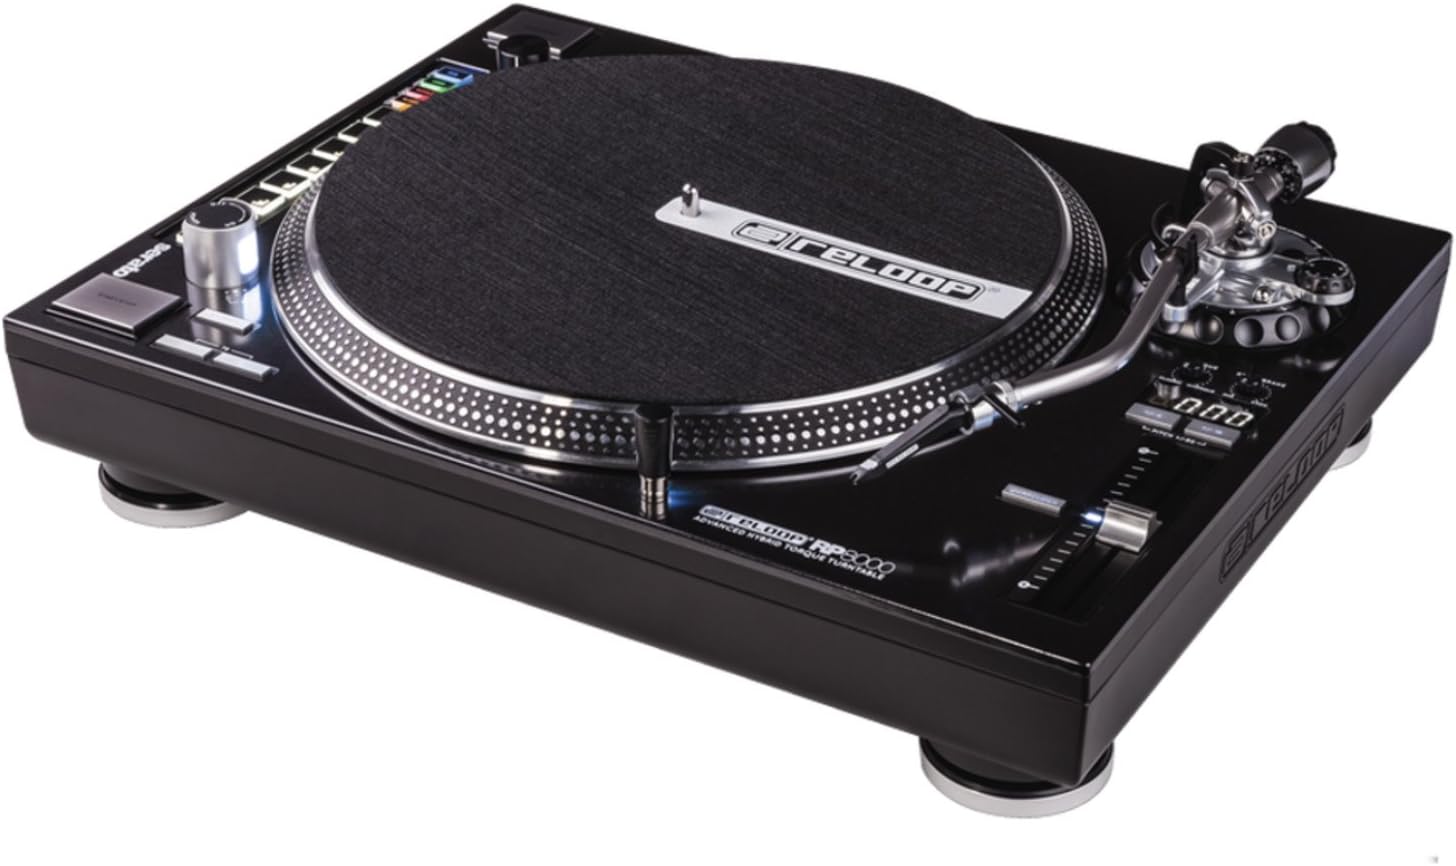
Figure 1 : De haut en bas view of the Reloop RP-8000 turntable, showcasing the platter, tone arm, pitch fader, and MIDI control section with performance pads.

Figure 2 : Incliné view of the Reloop RP-8000, highlighting the robust construction, the illuminated platter edge, and the integrated MIDI controls on the left side.

Figure 3 : Rear panel of the Reloop RP-8000, showing the audio output (Phono/Line), USB ports (USB A and TT Link), power input, and power switch. Note the additional start/stop button for vertical setup.
Composants clés :
- Plat: La surface rotative sur laquelle sont placés les disques.
- Bras de lecture : Il maintient la cartouche et le stylet, suivant les sillons du disque.
- Fader de hauteur : Adjusts the playback speed (BPM).
- Boutons Marche/Arrêt : Controls platter rotation. An additional button is provided for battle setup.
- MIDI Control Section: Features a Trax encoder, 8 backlit drum pads, and mode selection buttons for software control.
- Phono/Line Output: RCA jacks for audio output, with a switch to select between phono (turntable level) and line (mixer/amp level) output.
- Ports USB : For connecting to a computer and linking multiple turntables.
Installation
1. Déballage et placement
- Retirez délicatement la platine de son emballage.
- Place the unit on a stable, level surface away from direct vibrations.
- Assurez une ventilation adéquate autour de l'appareil.
2. Tone Arm and Cartridge Assembly
- Attach your preferred headshell and cartridge (sold separately) to the tone arm.
- Install the counterweight onto the rear of the tone arm.
- Adjust the counterweight to balance the tone arm horizontally. Refer to your cartridge's instructions for recommended tracking force.
- Set the anti-skate dial to match the tracking force.
3. Connexions
- Connexion audio : Connect the RCA cables from the turntable's PHONO/LINE output to your mixer or amplifier.
- If connecting to a PHONO input on your mixer/amp, set the turntable's PHONO/LINE switch to phono.
- If connecting to a LINE input, set the turntable's PHONO/LINE switch to DOUBLER.
- Connect the ground wire to the ground terminal on your mixer/amp to reduce hum.
- Connexion USB : Connect the USB cable from the turntable's USB port to your computer for MIDI control and DVS (Digital Vinyl System) functionality.
- Turntable Link (TT Link): For linking multiple RP-8000 units, connect them in series using standard USB cables. Only one turntable needs to be connected to the computer.
- Connexion électrique : Connect the power cable to the turntable and then to a suitable power outlet.
Mode d'emploi
1. Lecture de base
- Place a record on the platter and put the slipmat on top.
- Select the desired speed (33, 45, or 78 RPM) using the speed selection buttons.
- Appuyez sur le bouton START/STOP pour lancer la rotation du plateau.
- Carefully lower the tone arm onto the record using the cue lever.
- Adjust the pitch using the pitch fader as needed.
2. Contrôle de hauteur
- The pitch fader allows for precise adjustment of playback speed.
- Use the Pitch Range buttons (+/-8%, +/-16%, +/-50%) to select the desired pitch adjustment range.
- The LCD display shows the current pitch percentage.
- Press the Quartz Lock button to return the pitch to 0% (nominal speed).
3. MIDI Control and Performance Modes
The RP-8000 features an integrated MIDI control section for seamless integration with DJ software.
- Trax Encoder: Use this large encoder to browse through playlists and load tracks in your DJ software.
- Pads de performance: The 8 backlit drum pads offer various performance modes:
- Mode repère instantané : Trigger up to 8 hot cue points.
- Mode boucle : Set and trigger loops.
- Sample Mode : Access and play samples.
- Mode utilisateur: Freely assign MIDI functions to the pads and other control elements.
- Dual Performance Mode: Activate two modes simultaneously (e.g., Hot Cue and Loop) by pressing their respective buttons. The pads will be split to control both functions.
- Turntable Link Mode: Connect up to four RP-8000 turntables via USB. The units automatically assign themselves to available decks in your DJ software, requiring only one USB connection to your computer.
- Bouton marche arrière : Instantly reverses platter rotation.
- Adjustable Start/Stop Time: Use the dedicated dials to fine-tune the platter's start and brake times for customized performance.
Entretien
- Nettoyage: Utilisez un chiffon doux et sec pour essuyer l'appareil. Pour les saletés tenaces, un chiffon légèrement plus sec peut être nécessaire.amp cloth can be used, but ensure no liquid enters the unit. Avoid abrasive cleaners.
- Entretien du stylet : Regularly clean your stylus with a soft brush designed for this purpose. Replace the stylus when it shows signs of wear to prevent damage to your records.
- Cache-poussière : Use a dust cover (if available) when the turntable is not in use to protect it from dust and debris.
Dépannage
| Problème | Cause possible | Solution |
|---|---|---|
| Pas de son ou volume faible | Incorrect PHONO/LINE switch setting; loose RCA cables; faulty cartridge/stylus. | Ensure PHONO/LINE switch matches input; check cable connections; inspect/replace cartridge/stylus. |
| Bruit de bourdonnement | Fil de terre non connecté ; interférences provenant d'autres appareils électroniques. | Connect ground wire to mixer/amp; move turntable away from other electronic devices. |
| Le plateau ne tourne pas. | Power not connected; power switch off; START/STOP button not pressed. | Check power cable; ensure power switch is ON; press START/STOP button. |
| MIDI controls not responding | USB cable not connected; incorrect software settings; outdated firmware. | Ensure USB cable is connected; check DJ software MIDI settings; update turntable firmware if available. |
Si le problème persiste après avoir essayé ces solutions, veuillez contacter le service client de Reloop.
Caractéristiques
| Fonctionnalité | Détail |
|---|---|
| Nom du modèle | RP-8000 MK2 (AMS-RP-8000) |
| Type de moteur | AC Motor, Quartz-driven Direct Drive |
| Poids de l'article | 22 livre (environ 9.98 kg) |
| Dimensions du produit (L x l x H) | 20.66 x 16.53 x 7.48 pouces (environ 52.5 x 42 x 19 cm) |
| Technologie de connectivité | Wired (RCA, USB 2.0) |
| Source d'énergie | Électrique avec fil |
| Voltage | 220 Volts (Note: Check specific unit for local voltage compatibilité) |
| Interface matérielle | USB 2.0 |
| Appareils compatibles | Ordinateur personnel |
| Format du signal | Numérique |
Garantie et assistance
For information regarding warranty coverage, please refer to the warranty card included with your product or visit the official Reloop website. Reloop offers various protection plans for extended coverage, which may be purchased separately.
For technical support, troubleshooting assistance beyond this manual, or spare parts, please contact Reloop customer service through their official webSite web ou distributeurs agréés. Conservez votre reçu d'achat comme preuve d'achat pour toute réclamation au titre de la garantie.
Note: The user manual (PDF) is also available for download at https://manuals.plus/m/8eb0b60ccb1c6d10ac93577b129a938bfbac889fdb461902d354afc8d19b78dd.


