1. Introduction
Thank you for choosing the Vivitar VIV-385HV Professional Flash. This advanced shoe-mount flash unit is designed to provide versatile and powerful lighting for your photography needs. Featuring a guide number of 126' (42m) at ISO 100 and 85mm, a zoom flash head, auto bounce control, and built-in vari-power control, the VIV-385HV offers enhanced creative control and reliable performance. Please read this manual thoroughly before using the flash to ensure proper operation and to maximize its capabilities.
2. Précautions de sécurité
- Ne pas démonter ni modifier le flash. This can cause electric shock or damage the unit.
- Keep the flash unit dry. Do not expose it to rain, moisture, or high humidity. Water can cause electric shock or malfunction.
- Évitez toute exposition directe des yeux au flash. The intense light can temporarily impair vision.
- Utilisez uniquement les piles spécifiées. Incorrect battery types or improper installation can lead to leakage, overheating, or explosion.
- Tenir hors de portée des enfants.
- Ne pas utiliser en présence de gaz ou de liquides inflammables.
- Manipuler avec précaution. Évitez de faire tomber l'appareil ou de le soumettre à des chocs violents.
3. Contenu du colis
Veuillez vous assurer que tous les éléments suivants sont présents dans votre colis :
- Vivitar VIV-385HV Professional Flash Unit
- 20mm Wide Angle Lens (Diffuser)
- Plaque réfléchissante
- Manuel d'utilisation
4. Produit terminéview
Familiarize yourself with the main components of your Vivitar VIV-385HV flash unit:
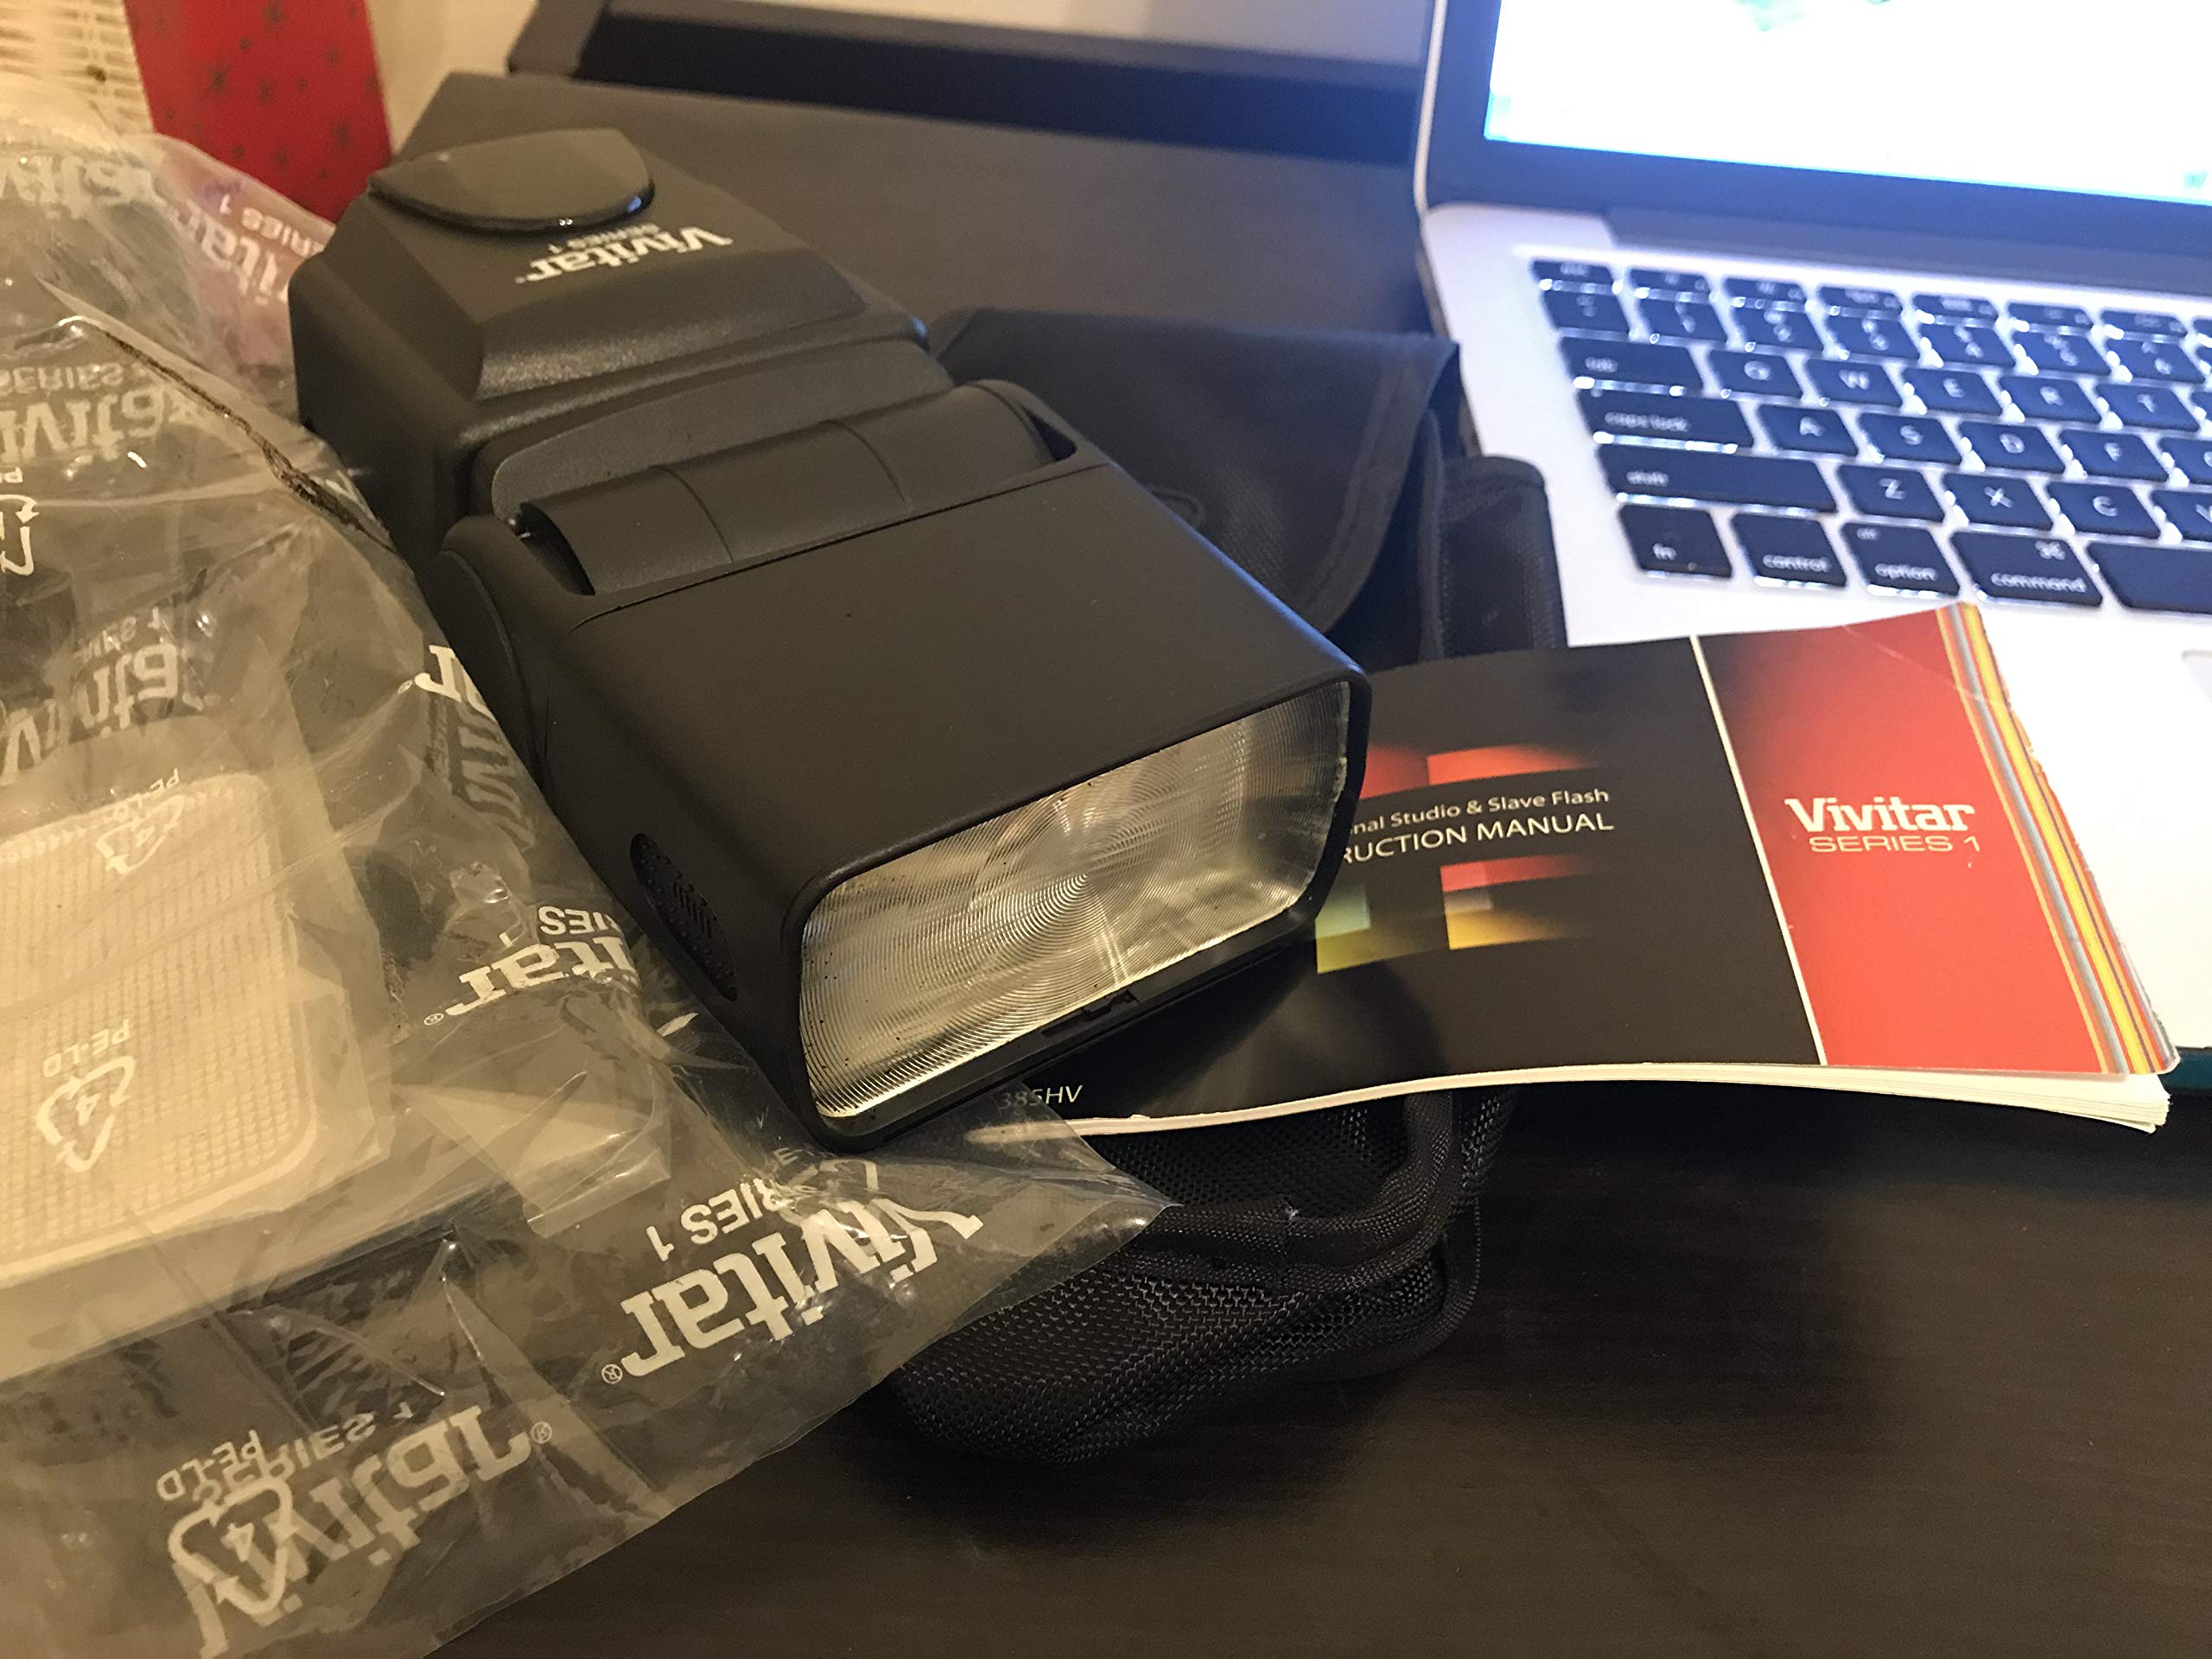
Figure 1: Vivitar VIV-385HV Professional Flash Unit. This image displays the main flash unit, typically showing the flash head, LCD screen, and control buttons.
- Tête d'éclair : Emits light. Can be zoomed and tilted/swiveled for bounce flash.
- Écran LCD : Affiche les paramètres actuels, le mode et l'état de la batterie.
- Boutons de contrôle : For power, mode selection, power adjustment, and other settings.
- Support de griffe flash : Permet de connecter le flash à la griffe porte-accessoires de votre appareil photo.
- Compartiment à piles : Contient les piles AA.
- Port de synchronisation PC : For connecting to cameras or triggers via a PC sync cable.
5. Installation
5.1 Installation de la batterie
- Locate the battery compartment cover on the back or side of the flash unit.
- Open the cover by sliding or lifting it according to the indicator.
- Insérez quatre (4) piles AA, en veillant à respecter la polarité (+/-) comme indiqué à l'intérieur du compartiment.
- Fermez soigneusement le couvercle du compartiment à piles.
Note: Always use fresh, high-quality AA alkaline or NiMH rechargeable batteries for optimal performance. Remove batteries if the flash will not be used for an extended period.
5.2 Montage sur la caméra
- Assurez-vous que l'appareil photo et le flash sont éteints.
- Glissez la griffe porte-accessoires du flash dans la fente prévue à cet effet sur votre appareil photo.
- Tighten the locking mechanism (if present) on the flash unit to secure it firmly to the camera. Do not overtighten.
- Alternatively, the flash can be used off-camera via a PC sync cable connected to the PC sync port, or as a slave unit.
6. Mode d'emploi
6.1 Mise sous/hors tension
- Maintenez le bouton d'alimentation enfoncé pour allumer ou éteindre le flash.
- The LCD display will illuminate, showing the current settings.
6.2 Sélection du mode
The VIV-385HV offers several operating modes:
- Mode automatique (A) : The flash automatically adjusts its output based on the ambient light and subject distance. This mode utilizes the flash's auto aperture feature.
- Mode manuel (M) : Allows you to manually set the flash power output (e.g., 1/1, 1/2, 1/4, up to 1/128). Use the control buttons to adjust the power level.
- Slave Mode (S): The flash will fire in sync with another flash unit. Set your camera's built-in flash or another external flash to fire, and the VIV-385HV will detect the light pulse and fire simultaneously.
Press the "Mode" button to cycle through the available modes.
6.3 Adjusting Flash Power (Manual Mode)
In Manual Mode, use the directional buttons or dial (if present) to increase or decrease the flash power output. The LCD will display the current power setting (e.g., 1/1 for full power, 1/8 for one-eighth power).
6.4 Zoom Flash Head
The flash head can be manually zoomed to match the focal length of your lens, optimizing light coverage. Adjust the zoom head by sliding it forward or backward. The current zoom setting (e.g., 28mm, 50mm, 85mm) will be displayed on the LCD.
6.5 Bounce Flash and Reflecting Plate
- Flash rebondissant : The flash head can be tilted upwards and swiveled horizontally. This allows you to bounce the flash light off a ceiling or wall for softer, more natural illumination, reducing harsh shadows.
- Reflecting Plate: Pull out the small white reflecting plate from the flash head. When bouncing the flash, this plate can direct a small amount of light forward to add a catchlight to your subject's eyes.
6.6 Wide Angle Diffuser
For wider lens coverage (e.g., 20mm), pull out the built-in wide-angle diffuser from the flash head. This spreads the light over a broader area, ideal for wide-angle shots.
6.7 Advanced IGBT Circuit
The flash incorporates an Advanced IGBT (Insulated Gate Bipolar Transistor) circuit, which allows for precise control over flash duration and power output, contributing to consistent and efficient performance.
7. Entretien
- Nettoyage: Use a soft, dry cloth to clean the flash unit. For stubborn dirt, lightly dampen the cloth with water and then wipe dry. Do not use solvents or abrasive cleaners.
- Stockage: Store the flash in a cool, dry place away from direct sunlight and extreme temperatures. Remove batteries if storing for an extended period to prevent leakage.
- Entretien de la batterie: Remplacez les piles lorsque le témoin de batterie faible s'affiche sur l'écran LCD. Jetez les piles usagées de manière responsable.
8. Dépannage
| Problème | Cause possible | Solution |
|---|---|---|
| Le flash ne s'allume pas. |
|
|
| Le flash ne se déclenche pas. |
|
|
| Flash settings reset after power cycle or sleep. |
|
|
| Flash does not fire in Auto mode in bright daylight (for fill flash). |
|
|
9. Spécifications
| Numéro de modèle | VIV-385HV |
| Numéro guide | 126' (42 m) at ISO 100 @ 85mm |
| Conception de circuits | Advanced IGBT Circuit |
| Modes de flash | Auto, Manual, Slave |
| Tête de zoom | Oui |
| Bounce/Swivel Head | Oui |
| Contrôle de puissance | Built-In Vari-Power Control |
| Source d'énergie | 4 piles AA (non incluses) |
| Dimensions du produit | 9 x 5 x 4 pouces |
| Poids de l'article | 1.2 livres |
| Fabricant | Sakar International, Inc. |
10. Garantie et assistance
Pour obtenir des informations sur la garantie et une assistance technique, veuillez consulter la documentation fournie avec votre achat ou visiter le site officiel de Vivitar. webLes coordonnées du service client sont généralement disponibles sur la page d'assistance du fabricant.
Fabricant : Sakar International, Inc.


