Introduction
Welcome to the user manual for your Waring Pro WPM10 Professional Popcorn Maker. This appliance is designed to provide a convenient and efficient way to prepare fresh popcorn. Please read these instructions carefully before first use to ensure safe operation and optimal performance.
Mesures de protection importantes
Lors de l'utilisation d'appareils électriques, des précautions de sécurité de base doivent toujours être respectées pour réduire le risque d'incendie, de choc électrique et/ou de blessures corporelles, notamment les suivantes :
- Lisez toutes les instructions.
- Ne touchez pas les surfaces chaudes. Utilisez les poignées ou les boutons.
- Pour vous protéger contre les risques électriques, ne plongez pas le cordon, les prises ou l'appareil dans l'eau ou tout autre liquide.
- Une surveillance étroite est nécessaire lorsqu’un appareil est utilisé par ou à proximité d’enfants.
- Débranchez l'appareil de la prise lorsqu'il n'est pas utilisé et avant de le nettoyer. Laissez-le refroidir avant d'ajouter ou de retirer des pièces.
- N’utilisez pas d’appareil dont le cordon ou la fiche est endommagé, ou après un dysfonctionnement de l’appareil ou après qu’il a été endommagé de quelque manière que ce soit.
- L’utilisation d’accessoires non recommandés par le fabricant de l’appareil peut provoquer des blessures.
- Ne pas utiliser à l'extérieur.
- Ne laissez pas le cordon pendre du bord de la table ou du comptoir, ni toucher des surfaces chaudes.
- Ne pas placer sur ou à proximité d'un brûleur à gaz ou électrique chaud, ni dans un four chaud.
- Une extrême prudence doit être exercée lors du déplacement d’un appareil contenant de l’huile chaude ou d’autres liquides chauds.
- Branchez toujours d'abord la fiche à l'appareil, puis branchez le cordon à la prise murale. Pour débrancher, mettez la commande sur « arrêt », puis retirez la fiche de la prise murale.
- N'utilisez pas l'appareil à d'autres fins que celles prévues.
- Ensure the lid is properly secured during operation.
- Évitez tout contact avec les pièces mobiles.
CONSERVEZ CES INSTRUCTIONS
Produit terminéview
The Waring Pro WPM10 Professional Popcorn Maker consists of several key components designed for optimal popcorn preparation.
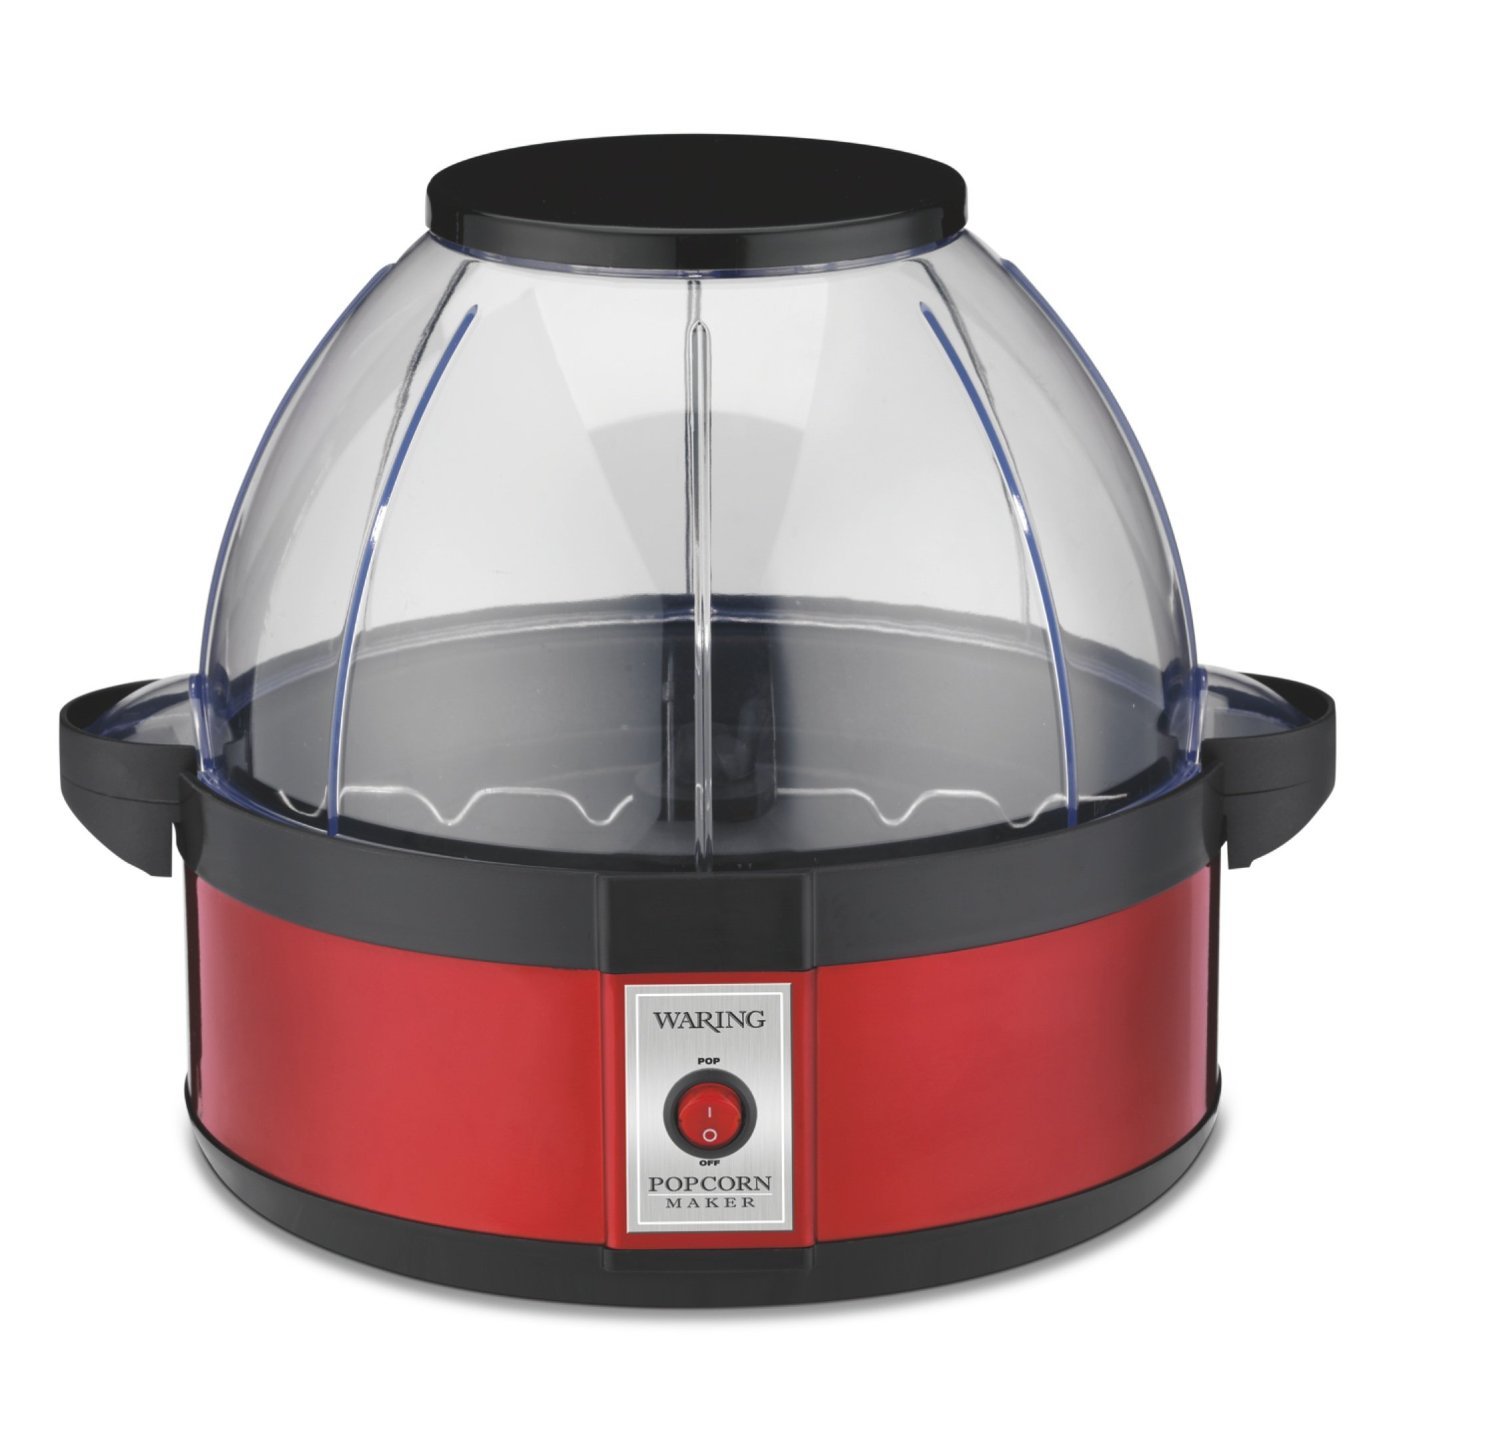
Image: The Waring Pro WPM10 Professional Popcorn Maker, showcasing its red base, clear dome lid, and stirring mechanism.
Composants clés :
- Unité de base: Contains the heating element and motor for the stirring arm.
- Popping Plate: Non-stick surface where kernels are popped.
- Stirring Arm: Rotates to ensure even heating and efficient popping of kernels.
- Dome Lid/Serving Bowl: A clear plastic lid that covers the popping plate during operation and can be inverted to serve as a popcorn bowl.
- Grilles de ventilation : Located on the lid to release steam and keep popcorn dry.
Installation
- Déballer: Retirez soigneusement tous les matériaux d'emballage et les composants de la boîte.
- Faire le ménage: Before first use, wipe the popping plate and stirring arm with a damp cloth. Wash the dome lid/serving bowl in warm, soapy water, then rinse and dry thoroughly.
- Assembler: Place the popping plate onto the base unit, ensuring it is securely seated. Attach the stirring arm to the center post of the popping plate. Place the dome lid securely on top of the popping plate.
- Placement: Position the popcorn maker on a stable, flat, heat-resistant surface, away from flammable materials. Ensure there is adequate ventilation around the unit.
- Connexion électrique : Branchez le cordon d’alimentation sur une prise électrique standard.
Mode d'emploi
Follow these steps to make delicious popcorn with your Waring Pro WPM10.
- Préparez les ingrédients : Measure the desired amount of popcorn kernels (up to 20 cups capacity). For best results, use fresh, high-quality popcorn kernels.
- Ajouter l'huile: Add a small amount of cooking oil (e.g., vegetable oil, coconut oil) to the popping plate. The stirring arm allows for efficient popping with less oil.
- Ajouter des noyaux : Distribute the popcorn kernels evenly over the popping plate.
- Couvercle sécurisé : Place the dome lid firmly onto the popping plate.
- Commencez à faire éclater : Plug the unit into an electrical outlet and turn the power switch ON. The halogen heater will begin to heat, and the stirring arm will rotate.
- Écran qui s'ouvre : Popcorn will begin to pop within a few minutes. The stirring arm will continue to move the kernels for even popping.
- Finish Popping: Once the popping slows to approximately 2-3 seconds between pops, turn the power switch OFF and unplug the unit immediately. This prevents burning.
- Servir: Carefully remove the dome lid using the handles. Invert the lid and use it as a serving bowl. Be cautious as the unit and popcorn will be hot.
- Saison: Season popcorn to taste with salt, butter, or other desired toppings.
Prudence: The popping plate and base unit will be hot after use. Allow the unit to cool completely before cleaning or handling.
Nettoyage et entretien
Regular cleaning ensures the longevity and optimal performance of your popcorn maker.
- Débranchez et refroidissez : Débranchez toujours l'appareil de la prise électrique et laissez-le refroidir complètement avant de le nettoyer.
- Remove Popping Plate: Detach the popping plate from the base unit.
- Clean Popping Plate and Stirring Arm: Wipe the non-stick popping plate and stirring arm with a damp cloth. For stubborn residue, use a soft sponge with warm, soapy water. Avoid abrasive cleaners or scouring pads that could damage the non-stick coating.
- Clean Dome Lid/Serving Bowl: Wash the dome lid/serving bowl in warm, soapy water. It can also be placed on the top rack of a dishwasher. Rinse thoroughly and dry.
- Unité de base propre : Essuyez l'extérieur de l'unité de base avec le produit antiadhésif.amp cloth. Never immerse the base unit, cord, or plug in water or any other liquid.
- Stockage: Ensure all parts are clean and dry before storing. Store the popcorn maker in a cool, dry place.
Avertissement: Do not use metal scouring pads or abrasive cleaners on any part of the popcorn maker, as they may scratch or damage surfaces.
Dépannage
| Problème | Cause possible | Solution |
|---|---|---|
| Popcorn not popping or popping poorly. | Unit not plugged in; power switch off; insufficient oil; old kernels. | Ensure unit is plugged in and power switch is ON. Use recommended amount of oil. Use fresh popcorn kernels. |
| Le pop-corn brûle. | Unit left on too long after popping stops. | Turn off and unplug the unit immediately once popping slows significantly (2-3 seconds between pops). |
| Stirring arm not rotating. | Stirring arm not properly attached; obstruction. | Ensure stirring arm is correctly seated on the center post. Check for any obstructions and remove them. |
| Le couvercle ne ferme pas correctement. | Couvercle mal aligné. | Ensure the lid is properly aligned with the popping plate and seated firmly. |
| Excès de grains non éclatés. | Old kernels; insufficient oil; too many kernels. | Use fresh kernels. Ensure proper oil amount. Do not exceed maximum kernel capacity. |
| Popcorn is soggy. | Steam trapped in the lid. | The unit has large vents for steam release. Ensure these are not blocked. Remove popcorn promptly after popping. |
| Oil leakage under the black lid. | Excessive oil used; improper cleaning. | Use only recommended amounts of oil. Clean thoroughly after each use, especially around the popping plate and base connection. |
| Bowl cracking. | Stress ou impact physique. | Handle the dome lid/serving bowl with care, especially where handles connect. Avoid dropping or applying excessive pressure. |
| Top raises up when 3/4 full. | Normal operation with large batches. | Gently hold down one of the tabs at the bottom of the dome if this occurs, especially during the final seconds of popping. |
Caractéristiques
- Marque: Avertissement
- Modèle: WPM10
- Couleur: Rouge
- Capacité: Up to 20 Cups (popped popcorn)
- Matériel: Aluminum (popping plate), Plastic (lid/bowl)
- Dimensions: 11.75 x 11.75 x 11.5 pouces (L xlxh)
- Poids: 4.9 livres
- Pouvoir: Électrique
- Dossier spécial : Portable, Halogen heater with built-in stirrer system
Garantie et assistance
For warranty information, product registration, or technical support, please refer to the official Waring webConsultez leur site web ou contactez leur service client. Conservez votre reçu d'achat comme preuve d'achat pour toute réclamation au titre de la garantie.
Waring Customer Service: Pour obtenir de l'aide, veuillez visiter Waring Commercial Products Support ou reportez-vous aux coordonnées fournies dans l'emballage de votre produit.
Enregistrement du produit: Registering your product helps Waring provide you with the most up-to-date product information and support.