1. Introduction
This manual provides comprehensive instructions for the setup, operation, and maintenance of your InFocus IN124 DLP Projector. Please read this manual thoroughly before using the projector to ensure proper functionality and to maximize its lifespan.
The InFocus IN124 is designed to deliver clear and bright projections, suitable for various environments including home cinema and business presentations. Its compact design and robust features make it a versatile display solution.
2. Composants du produit
Upon unboxing your InFocus IN124 DLP Projector, please verify that all the following components are included:
- InFocus IN124 DLP Projector Unit
- Télécommande
- Câble d'alimentation
- VGA Cable (may vary by region/package)
- User Manual (this document, typically on CD or downloadable)
If any items are missing or damaged, please contact InFocus customer support immediately.
3. Installation
3.1 Placement physique
Position the projector on a stable, flat surface or mount it securely to a ceiling. Ensure adequate ventilation around the unit to prevent overheating. Maintain a clear path between the projector lens and the projection surface (screen or wall).
3.2 Connexion d'appareils
The InFocus IN124 supports various input sources. Connect your source device (e.g., laptop, DVD player, gaming console) to the projector using the appropriate cable.
- HDMI: For high-definition digital video and audio. Connect an HDMI cable from your source device to the HDMI port on the projector.
- VGA: For analog video input, commonly used with computers. Connect a VGA cable from your computer's VGA output to the VGA input on the projector.
- Vidéo composite : Pour la vidéo en définition standard, connectez un câble vidéo composite (RCA jaune) au port correspondant.
- Entrée/sortie audio : Connect external audio devices if needed.
3.3 Mise sous tension
Après avoir connecté tous les câbles nécessaires :
- Branchez le câble d'alimentation au projecteur, puis à une prise de courant.
- Press the power button on the projector's control panel or the remote control. The power indicator light will change, and the projector lamp s'illuminera.
- Allow a few moments for the projector to warm up and display the image.
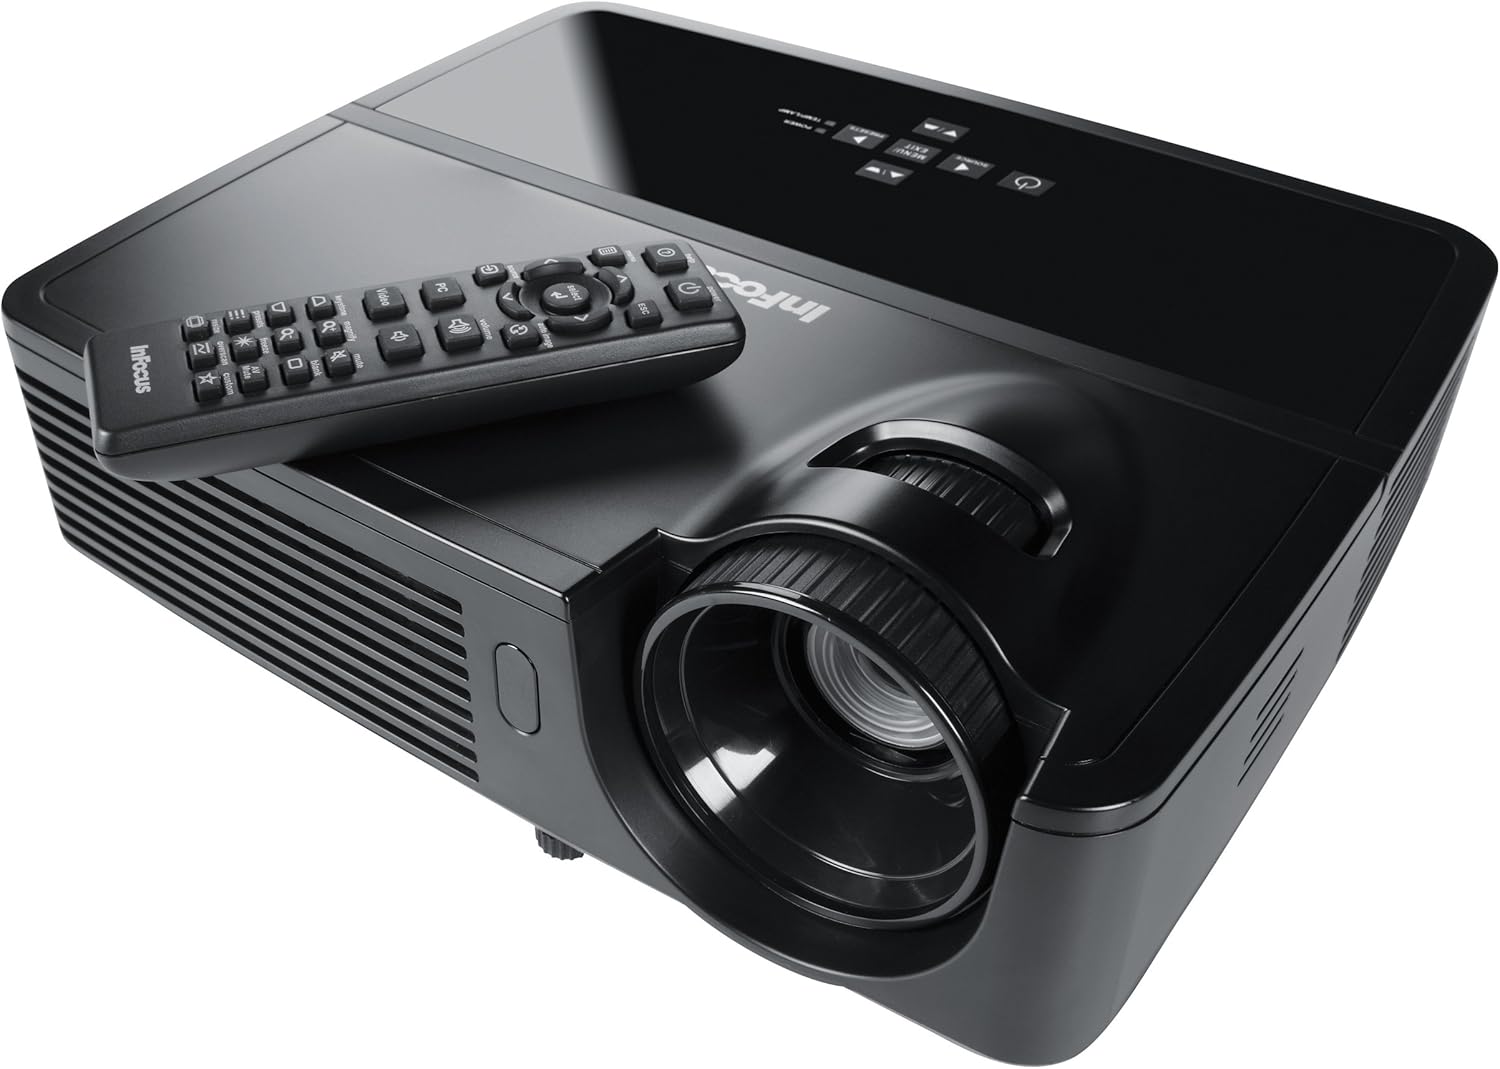
Figure 1: InFocus IN124 DLP Projector with its remote control. The image shows the top-down view of the black projector unit, highlighting the lens, ventilation grilles, and the control panel. The remote control is placed on top of the projector.
4. Utilisation du projecteur
4.1 Contrôles de base
The projector can be operated using the control panel on the unit or the included remote control.
- Bouton d'alimentation : Allume ou éteint le projecteur.
- Bouton source: Cycles through available input sources (HDMI, VGA, Video).
- Bouton Menu : Permet d'accéder au menu d'affichage à l'écran (OSD) pour ajuster les paramètres.
- Boutons fléchés : Naviguez dans les options du menu et ajustez les valeurs.
- Bouton Entrée/Sélection : Confirme les sélections effectuées dans le menu.
- Boutons de volume : Ajuste le niveau de sortie audio.
- Correction trapézoïdale : Ajuste la forme de l'image pour corriger la distorsion trapézoïdale.
- Bague de mise au point : Manually adjust the lens to sharpen the image.
4.2 Navigation dans les menus et paramètres
Press the "Menu" button to open the On-Screen Display (OSD). Use the arrow keys to navigate through categories such as "Picture," "Display," "Setup," and "Advanced." Press "Enter" to select a category or option. Adjust settings like brightness, contrast, color temperature, aspect ratio, and resolution to optimize your viewexpérience de travail.
4.3 Fonctionnalités 3D
The InFocus IN124 is 3D-ready. To experience 3D content, you will need compatible 3D source material, a 3D-capable player, and active DLP Link 3D glasses (sold separately). Refer to your 3D source device's manual for specific setup instructions.
5. Entretien
Un entretien régulier garantit des performances optimales et prolonge la durée de vie de votre projecteur.
5.1 Nettoyage de la lentille
Utilisez un chiffon doux non pelucheux spécialement conçu pour les lentilles optiques. Essuyez délicatement la surface de la lentille pour enlever la poussière et les traces de doigts. Évitez d'utiliser des produits abrasifs ou une force excessive, qui pourraient rayer la lentille.
5.2 Nettoyage des filtres à air
The projector has air filters to prevent dust from entering the internal components. Locate the filter cover (refer to the diagram in the full manual if available) and remove it. Clean the filter using a small brush or a vacuum cleaner with a brush attachment. Replace the filter securely.
5.3 Lamp Remplacement
Le projecteur lamp a une durée de vie limitée. Lorsque le lamp indicator light illuminates or the image becomes dim, it's time to replace the lamp. Always allow the projector to cool down completely before attempting lamp replacement. Consult the full service manual or a qualified technician for detailed lamp replacement procedures specific to the IN124 model.
6. Dépannage
Cette section aborde les problèmes courants que vous pourriez rencontrer avec votre projecteur.
| Problème | Cause possible | Solution |
|---|---|---|
| Aucune image affichée | Incorrect input source selected; Loose cable connection; Projector not powered on. | Press the "Source" button to cycle inputs; Check all cable connections; Ensure projector is powered on and lamp est allumé. |
| L'image est floue | Out of focus; Incorrect resolution setting. | Adjust the focus ring on the lens; Adjust the resolution setting in the OSD menu or on your source device. |
| L'image est trapézoïdale | Le projecteur n'est pas perpendiculaire à l'écran. | Use the keystone correction feature (digital or manual) to square the image. Reposition the projector if possible. |
| Pas de son | Volume too low; Incorrect audio input selected; Muted. | Increase volume; Check audio cable connections; Ensure projector or source device is not muted. |
| Le projecteur surchauffe et s'éteint. | Ventilation obstruée ; filtre à air encrassé. | Ensure clear space around vents; Clean air filter as per maintenance section. |
For issues not listed here, please refer to the comprehensive online support resources or contact InFocus customer service.
7. Spécifications
Below are the key technical specifications for the InFocus IN124 DLP Projector:
| Fonctionnalité | Détail |
|---|---|
| Numéro de modèle | IN124 |
| Technologie d'affichage | DLP |
| Résolution native | 1280x720 (HD) |
| Luminosité | Jusqu'à 3200 Lumens |
| Rapport de contraste | 3000:1 |
| Connectivité | HDMI, VGA, Composite Video |
| Caractéristiques spéciales | Prêt pour la 3D |
| Dimensions du produit (L x l x H) | 12.99 x 12.99 x 5.9 pouces |
| Poids de l'article | 4.78 livres (2.17 kg) |
| Alimentation électrique | 100-240 Volts at 50-60 Hz |
| Utilisation recommandée | Cinéma maison |
8. Garantie et assistance
InFocus provides a limited warranty for the IN124 DLP Projector. For detailed warranty terms and conditions, please refer to the warranty card included with your product or visit the official InFocus webConsultez le site. Conservez votre reçu d'achat comme preuve d'achat pour toute réclamation au titre de la garantie.
For technical support, troubleshooting assistance beyond this manual, or service requests, please contact InFocus customer support through their official website or the contact information provided in your product documentation. Online resources, including FAQs and driver downloads, may also be available.


