1. Introduction
The Genie GT912-1BL 9/12 Switch Remote Controller is designed to operate Genie garage door openers manufactured between 1980 and 1995 that utilize 9 or 12 dip switches. This remote provides a convenient way to control your garage door system. It is compatible with non-Intellicode openers only.
2. Consignes de sécurité
Please read and understand all safety instructions before operating this remote control. Failure to follow these instructions may result in property damage, injury, or death.
- Gardez les télécommandes hors de portée des enfants.
- N'actionnez la porte de garage que lorsqu'elle est complètement ouverte. view, exempt d'obstructions, et le dispositif d'ouverture est correctement réglé.
- Never allow children to play with or operate the garage door controls.
- Ensure the garage door path is clear before activating the opener.
- Do not attempt to repair the remote control if it is damaged. Contact customer support.
3. Contenu du colis
Vérifiez que tous les éléments sont présents dans votre colis :
- Genie GT912-1BL 9/12 Switch Remote Controller
- Une pile alcaline 9V (préinstallée ou fournie séparément)
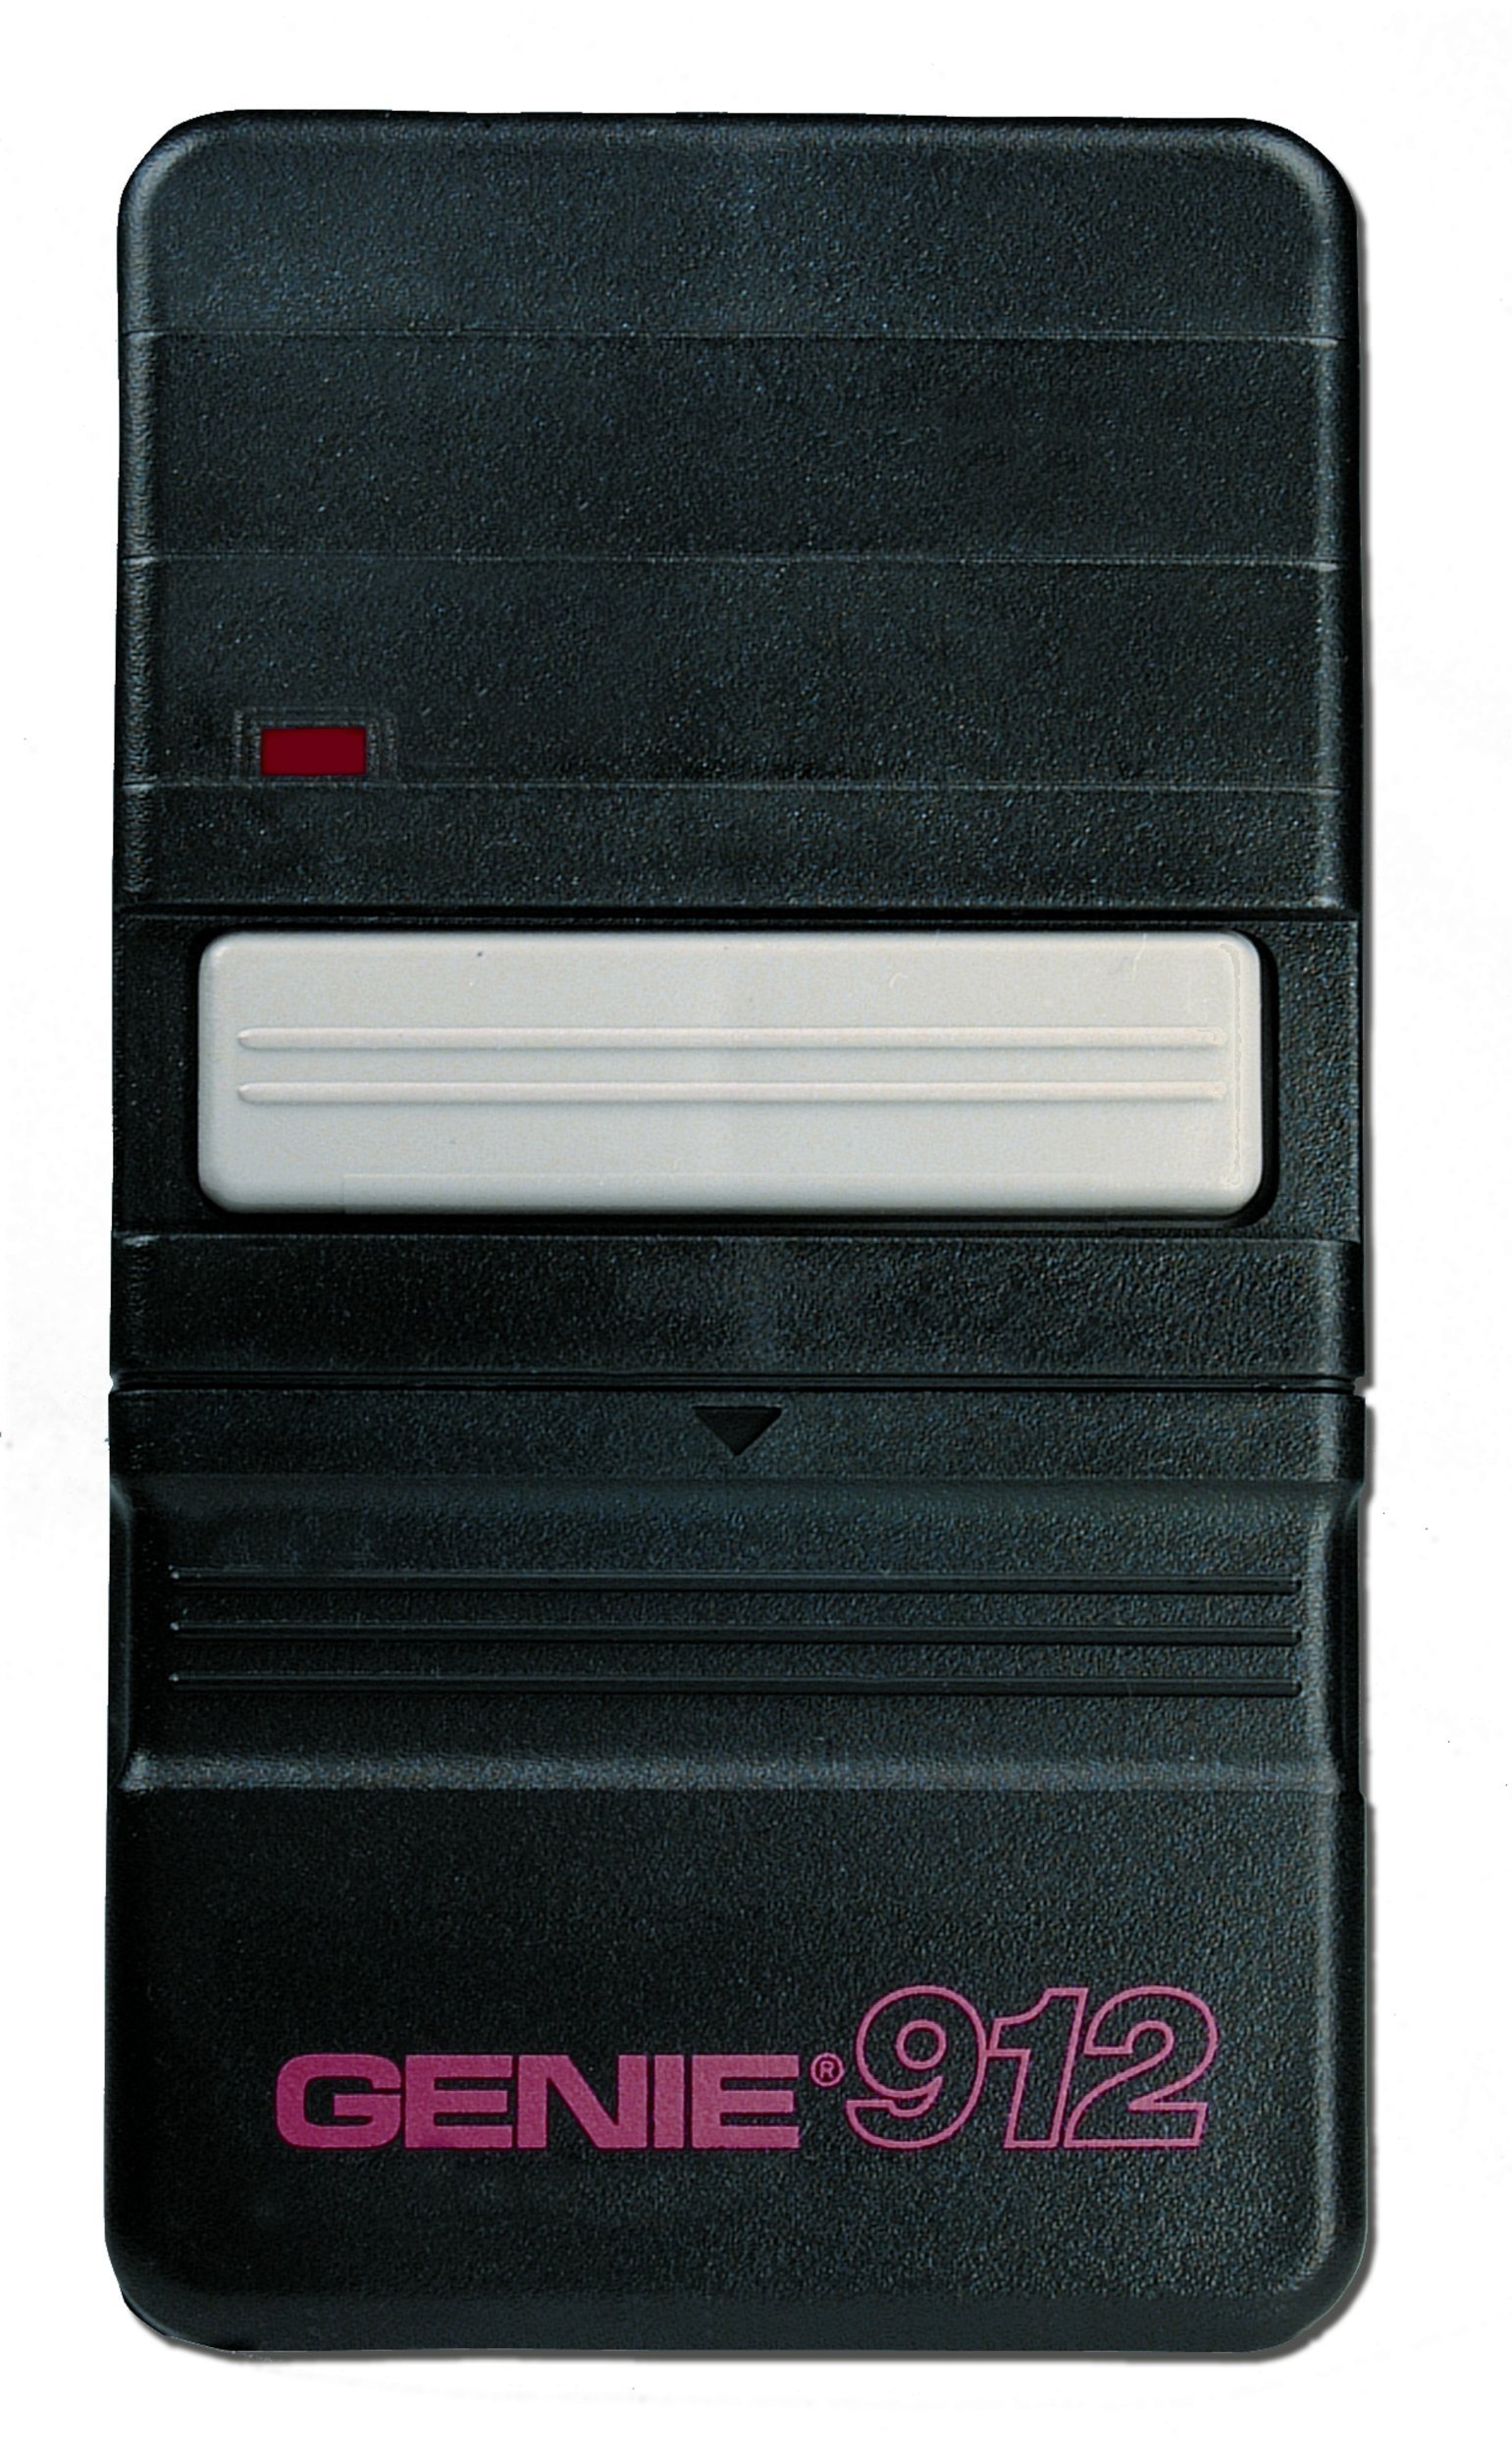
Image: The Genie GT912-1BL 9/12 Switch Remote Controller, showing its compact design and single button.
4. Installation et programmation
The GT912-1BL remote is designed for easy programming by matching its internal dip switches to your existing remote or garage door opener unit.
- Locate Existing Dip Switches: Identify the dip switches on your existing Genie remote control or directly on the garage door opener power head unit. These switches are typically small, numbered, and can be set to 'ON', 'OFF', or 'MIDDLE' positions. Note the exact pattern of these settings.
- Access New Remote's Dip Switches: Open the battery compartment cover on the back of your new GT912-1BL remote controller. The dip switches will be visible inside.
- Match Switch Settings: Using a small screwdriver or pen, carefully adjust the dip switches on your new GT912-1BL remote to exactly match the pattern you observed on your existing remote or garage door opener unit. Ensure each switch is set to the correct 'ON', 'OFF', or 'MIDDLE' position.
- Installer la batterie: If not already installed, insert the 9V battery into the compartment, observing the correct polarity (+/-).
- Fermer la couverture : Replacez soigneusement le couvercle du compartiment à piles.
- Opération de test : Stand within a reasonable range of your garage door opener and press the button on the new remote. The garage door should activate. If it does not, re-check the dip switch settings.
5. Mode d'emploi
To operate your garage door:
- Ensure the garage door path is clear of any obstructions.
- Pointez la télécommande vers le mécanisme d'ouverture de la porte de garage.
- Press and release the large button on the remote control. The garage door will begin to open or close.
- Press the button again to stop the door's movement.
6. Entretien
Remplacement de la batterie
The GT912-1BL remote uses one 9V alkaline battery. When the remote's range decreases significantly or it stops responding, it is likely time to replace the battery.
- Compartiment à piles ouvert : Slide or unclip the battery compartment cover on the back of the remote.
- Retirer l'ancienne batterie : Retirez soigneusement l'ancienne pile 9V.
- Insérer une nouvelle batterie : Insérez une nouvelle pile alcaline 9V en veillant à ce que les bornes positive (+) et négative (-) soient correctement alignées.
- Fermer la couverture : Replacez soigneusement le couvercle du compartiment à piles.
- Test: Test the remote's operation to ensure it functions correctly with the new battery.
7. Dépannage
-
La télécommande ne fonctionne pas :
- Check the battery. Replace it if it is weak or dead.
- Verify that the dip switch settings on the remote exactly match those on your garage door opener or original remote.
- Ensure your garage door opener is a non-Intellicode model manufactured between 1980 and 1995. This remote is not compatible with newer Intellicode systems or very old systems operating on 325 MHz (modern systems typically use 390 MHz).
-
Portée limitée :
- Remplacez la pile 9V par une pile neuve.
- Ensure there are no large metal objects or other sources of interference between the remote and the garage door opener.
8. Spécifications
| Numéro de modèle | GT912-1BL |
| Compatibilité | Genie non-Intellicode openers (1980-1995) with 9 or 12 dip switches |
| Type de batterie | 1 x 9V alcaline (incluse) |
| Voltage | 9 volts |
| Poids de l'article | 5.6 onces |
| Dimensions du produit | 1 x 7 x 8 pouces |
| Couleur | Noir |
| Dossier spécial | Ergonomique |
9. Informations sur la garantie
This Genie GT912-1BL Remote Controller comes with a Garantie d'un an from the date of purchase. This warranty covers defects in materials and workmanship under normal use. It does not cover damage caused by misuse, accidents, unauthorized repairs, or normal wear and tear. Please retain your proof of purchase for warranty claims.
10. Assistance
For further assistance, technical support, or to inquire about warranty service, please visit the official Genie website or contact Genie customer service through their provided channels. Refer to your product packaging or the Genie website pour les informations de contact les plus récentes.