
Introduction et plusview
The RAINPOINT 3 Zone Water Timer is designed to simplify your garden and lawn watering needs. This device allows for precise control over your irrigation system, ensuring your plants receive optimal hydration while conserving water. Its robust construction and user-friendly interface make it an essential tool for efficient garden management.

Image: The main unit of the RAINPOINT 3 Zone Water Timer, showcasing its display and control dial.
Les principales caractéristiques comprennent :
- Durable & Reliable Performance: Upgraded metal outlets and a coil valve provide stable water flow and reduced leakage, enhancing overall durability.
- Precision Control for Diverse Needs: Supports independent scheduling for each of its 3 zones, with adjustable durations (1 minute to 8 hours) and frequencies (1 hour to 7 days).
- Water-Saving & Weather-Resistant: Features a 24/48/72-hour rain delay function and an IP65 waterproof, UV-resistant ABS shell for outdoor use.
- Easy Installation & Flexible Operation: Tool-free setup on standard 3/4" faucets, offering both manual (1 minute to 8 hours) and automatic watering options.
- User-Friendly & Clear Display: Ergonomic design with a sunlight-readable LCD and a low battery indicator for easy programming and operation.
Vidéo : Un overview of the RAINPOINT 3 Zone Water Timer, highlighting its features and brass components.
Configuration et installation
Follow these steps to properly set up your RAINPOINT 3 Zone Water Timer:
- Installation de la batterie : The timer requires 4 AA alkaline batteries (not included). Open the battery compartment on the back of the unit, insert the batteries according to the polarity markings, and securely close the compartment. The compartment is designed with a silicone seal for waterproofing.
- Vérifier le filtre d'entrée d'eau : Ensure the water inlet filter is clean and properly seated to prevent impurities from entering and blocking the valve.
- Install on Faucet: Wrap Teflon tape (included) around the threads of your outdoor faucet. Attach the timer to the faucet, ensuring it is hand-tight only to prevent leaks. Position the timer vertically so the water outlets face downwards to prevent rainwater infiltration. If faucet threads cannot be tightened, add a rubber washer to avoid leakage.
- Connecter les tuyaux : Attach your garden hoses or drip irrigation pipes to the three brass outlets at the bottom of the timer. Ensure these connections are also hand-tight and secure.

Image: A close-up of the RAINPOINT Water Timer being installed onto an outdoor faucet, showing the brass inlet and outlets.
Mode d'emploi
The RAINPOINT 3 Zone Water Timer offers both automatic and manual watering modes. Use the large LCD and intuitive dial/buttons for programming.
Réglage de l'horloge
- Tournez le cadran sur « RÉGLAGE DE L'HORLOGE ».
- Utilisez les boutons « + » et « - » pour régler l'heure actuelle.
- Press "OK" to confirm and move to the next setting (e.g., AM/PM or 24H format).
- Turn the dial to "ON" to save the settings.
Programming Automatic Watering Schedules
You can set independent watering plans for each of the three zones.
- Turn the dial to "START TIME". Use the "ZONE" button to select the desired zone (1, 2, or 3).
- Use "+" and "-" buttons to set the start time for the selected zone. Press "OK" to confirm.
- Turn the dial to "HOW LONG". Use "+" and "-" to set the watering duration (1 minute to 8 hours). Press "OK" to confirm.
- Turn the dial to "HOW OFTEN". Use "+" and "-" to set the watering frequency (e.g., every 1 hour, every 2 days, up to 7 days). Press "OK" to confirm.
- Repeat steps 1-4 for other zones as needed.
- Turn the dial to "ON" to activate the programmed schedules.

Image: The LCD screen displaying options for setting programmable watering schedules, including start time, duration, and frequency.
Arrosage manuel
To water manually outside of your programmed schedule:
- Ensure the dial is set to "ON".
- Press and hold the "OK/MANUAL" button for 3-5 seconds to enter manual watering mode.
- Use the "ZONE" button to select the zone you wish to water. (Note: Only one zone can be selected for manual watering to ensure proper water pressure).
- Use the "+" or "-" buttons to select the watering duration (from 1 minute to 8 hours).
- Press the "OK" button to start manual watering. The screen will show the watering icon and a countdown.
- To stop manual watering, press and hold the "OK/MANUAL" button for 3-5 seconds. This will stop the watering and restore the original program.
Video: A step-by-step guide on how to set manual watering plans on the RAINPOINT 3 Zone Sprinkler Timer.
Fonction de retard de pluie
Pour interrompre temporairement votre programme d'arrosage en raison de la pluie :
- Ensure the dial is set to "ON".
- Press the "DELAY +" button.
- Use the "+" or "-" buttons to select the desired delay period (24, 48, or 72 hours).
- Press "OK" to confirm the rain delay. The timer will resume its schedule after the delay period.
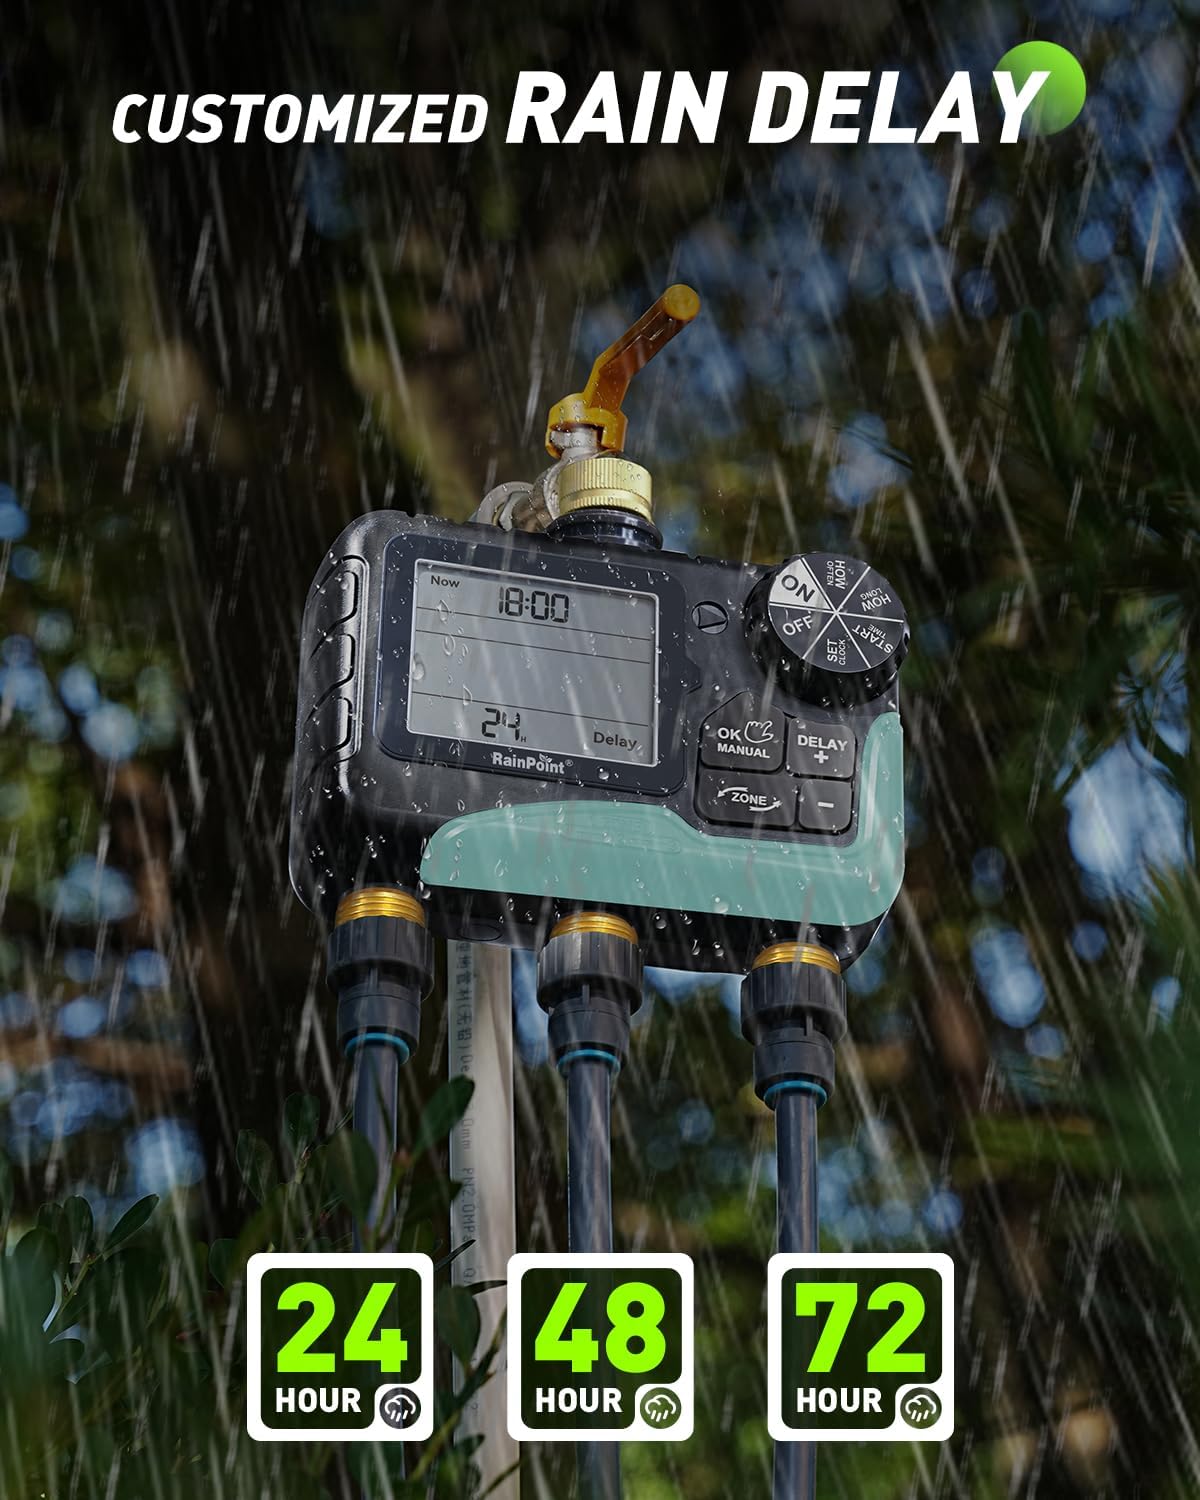
Image: The LCD screen displaying the rain delay function, allowing selection of 24, 48, or 72-hour delays.
Entretien
- Filtre d'entrée d'eau propre : Regularly check and clean the mesh filter inside the water inlet to prevent debris from clogging the timer and affecting water flow.
- Remplacement de la batterie : When the low battery indicator appears on the LCD, replace all 4 AA batteries promptly to ensure continuous operation.
- Entreposage d'hiver : During freezing temperatures, remove the timer from the faucet and store it indoors to prevent damage.
Dépannage
- Aucun débit d'eau : Check if the faucet is fully open, the water inlet filter is clean, and the batteries are charged. Ensure a watering program is active or manual watering is initiated correctly.
- Fuite: Ensure all connections (faucet to timer, timer to hoses) are tight and properly sealed with rubber washers and Teflon tape. Check for cracks or damage to the unit or hoses.
- Minuteur ne répondant pas : Replace batteries if the low battery indicator is on or if the display is dim. If issues persist, try resetting the timer by removing batteries for a few minutes and reinserting them.
Caractéristiques
| Fonctionnalité | Spécification |
|---|---|
| Marque | POINT DE PLUIE |
| Numéro de modèle | IOB347 |
| Couleur | Gris |
| Matériel | Metal (fittings), ABS (shell) |
| Dimensions du produit (P x L x H) | 1.03"P x 2.04"L x 1.03"H |
| Nombre de zones | 3 |
| Durée d'arrosage | 1 minute - 8 heures |
| Fréquence d'arrosage | 1 hour - 7 days |
| Indice d'étanchéité | IP65 |
| Options de report en cas de pluie | 24, 48, 72 heures |
| Source d'énergie | 4 piles AA (non incluses) |
| Compatibilité avec la maison intelligente | Not Smart Home Compatible |
Garantie et assistance
RAINPOINT is committed to providing high-quality products and excellent customer service.
- Soutien: The product comes with 5-year support and lifetime support.
- Contact: For any inquiries or assistance, please contact RAINPOINT customer support at service@rainpointonline.com.

Image: Visual representation of RAINPOINT customer support, including contact details and support duration.