
Introduction
Thank you for choosing the Philips HD1000/00 XL Sandwich Maker. This appliance is designed to provide quick and easy preparation of delicious toasted sandwiches. Please read this user manual carefully before using the appliance and save it for future reference. Proper use and maintenance will ensure optimal performance and longevity of your sandwich maker.
Informations importantes sur la sécurité
- Lisez toutes les instructions avant utilisation.
- Ne touchez pas les surfaces chaudes. Utilisez les poignées ou les boutons.
- Pour vous protéger contre les chocs électriques, n’immergez pas le cordon, la fiche ou l’appareil dans l’eau ou tout autre liquide.
- Une surveillance étroite est nécessaire lorsqu’un appareil est utilisé par ou à proximité d’enfants.
- Débranchez l'appareil de la prise lorsqu'il n'est pas utilisé et avant de le nettoyer. Laissez-le refroidir avant d'ajouter ou de retirer des pièces et avant de le nettoyer.
- N’utilisez pas d’appareil dont le cordon ou la fiche est endommagé, ou après un dysfonctionnement de l’appareil ou après qu’il a été endommagé de quelque manière que ce soit.
- L’utilisation d’accessoires non recommandés par le fabricant de l’appareil peut provoquer des blessures.
- Ne pas utiliser à l'extérieur.
- Ne laissez pas le cordon pendre du bord de la table ou du comptoir, ni toucher des surfaces chaudes.
- Ne pas placer sur ou à proximité d'un brûleur à gaz ou électrique chaud, ni dans un four chaud.
- Une extrême prudence doit être exercée lors du déplacement d’un appareil contenant de l’huile chaude ou d’autres liquides chauds.
- Branchez toujours la fiche à l'appareil en premier, puis le cordon d'alimentation à la prise murale. Pour débrancher l'appareil, placez une commande sur « Off », puis retirez la fiche de la prise murale.
- N'utilisez pas l'appareil à d'autres fins que celles prévues.
Produit terminéview
The Philips HD1000/00 XL Sandwich Maker features a robust design for efficient sandwich preparation. Key components include:
- XL Sized Plates: Designed to accommodate larger bread slices, up to 11x11 cm.
- Non-Stick Coated Plates: For easy food release and simplified cleaning.
- Easy Locking Mechanism: Ensures the sandwich maker remains securely closed during operation.
- Ready-to-Cook Indicator Light: Illuminates when the appliance has reached the optimal temperature for cooking.
- UHD Technology (Uniform Heat Dispersion): Provides even heat distribution for consistent browning and crisp results.
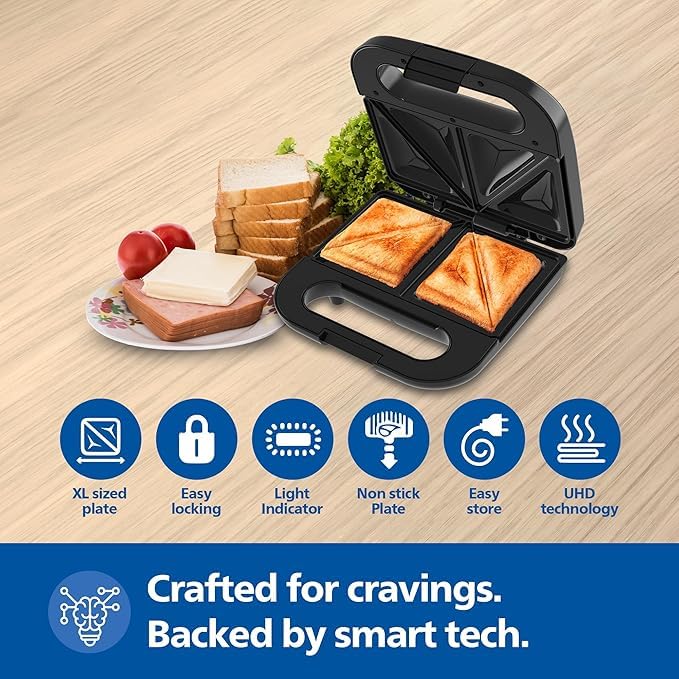
Image : Terminéview of the Philips HD1000/00 XL Sandwich Maker highlighting its key features such as XL sized plates, easy locking, indicator light, non-stick coating, easy storage, and UHD technology.
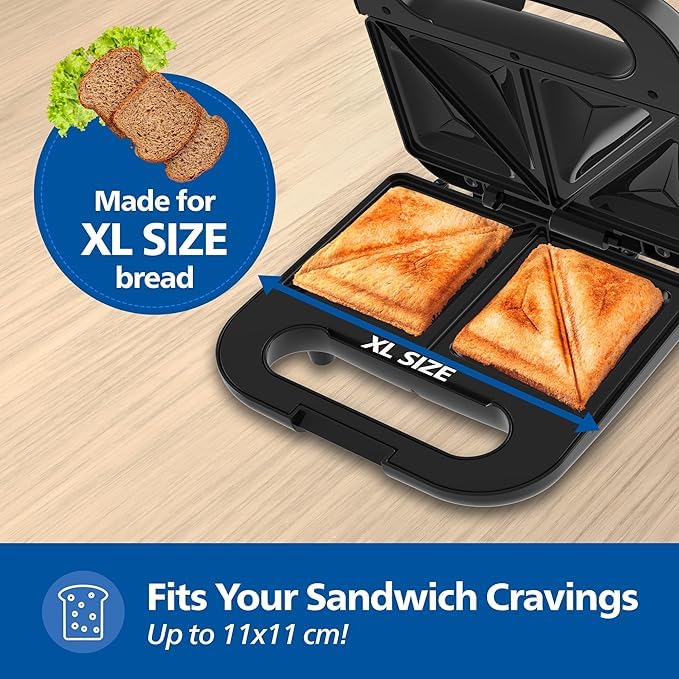
Image: The open sandwich maker demonstrating its XL capacity, suitable for bread slices up to 11x11 cm.
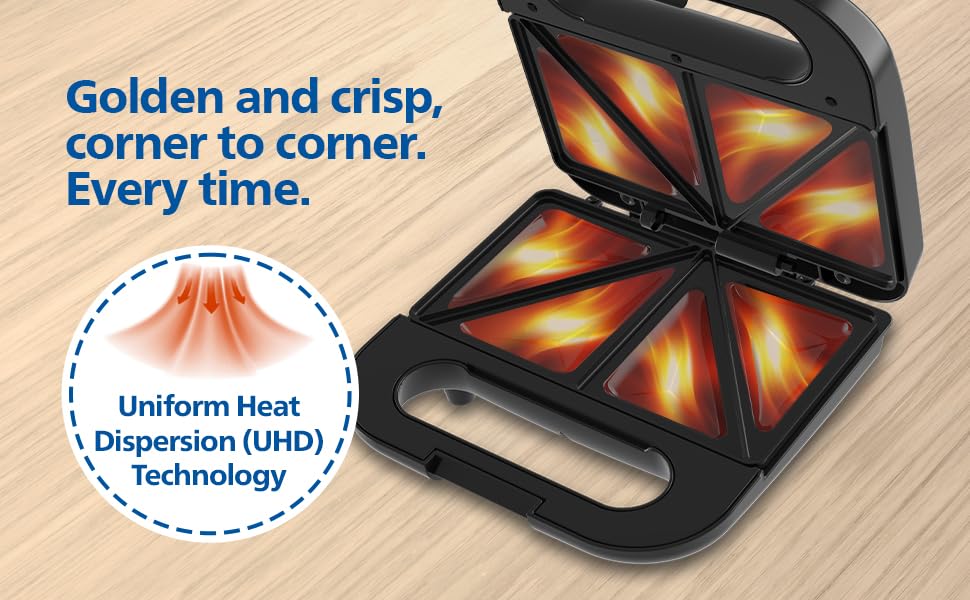
Image: Illustration of the Uniform Heat Dispersion (UHD) Technology, ensuring even cooking and browning across the entire sandwich surface.
Installation
- Déballer: Carefully remove the sandwich maker and all packaging materials. Retain packaging for potential future transport or storage.
- Premier nettoyage : Avant la première utilisation, essuyez les plaques de cuisson antiadhésives avec un produit nettoyant pour vitres.amp chiffon ou une éponge. Sécher soigneusement.
- Placement: Place the appliance on a stable, flat, heat-resistant surface, away from water and heat sources. Ensure there is adequate ventilation around the unit.
- Connexion électrique : Assurer le voltagLa tension indiquée sur l'appareil correspond à votre tension secteur locale.tage avant de brancher.
Mode d'emploi
- Préchauffer: Close the sandwich maker and plug it into a suitable power outlet. The indicator light will illuminate, signaling that the appliance is heating up.
- Indicateur prêt : Once the sandwich maker reaches the optimal cooking temperature, the indicator light will turn off or change color (depending on the model). This indicates it is ready for use.
- Prepare Sandwiches: Lightly butter the outer sides of your bread slices. Place your desired fillings between two slices of bread.
- Place Sandwiches: Open the sandwich maker. Carefully place the prepared sandwiches onto the lower cooking plates. Do not overfill.
- Fermer et verrouiller : Gently close the top plate and press down until the easy locking mechanism engages. Do not force it shut if the sandwiches are too thick.
- Cuisinier: Allow the sandwiches to cook for approximately 2-3 minutes, or until golden brown and crisp. Cooking time may vary based on bread type, filling, and desired crispness.
- Remove Sandwiches: Once cooked, carefully open the sandwich maker. Use a heat-resistant plastic or wooden spatula to remove the sandwiches. Avoid using metal utensils, as they can damage the non-stick coating.
- Répéter: If making more sandwiches, close the lid and allow the appliance to reheat briefly until the indicator light signals readiness again.
- Finition: After use, unplug the appliance from the power outlet and allow it to cool completely before cleaning or storing.
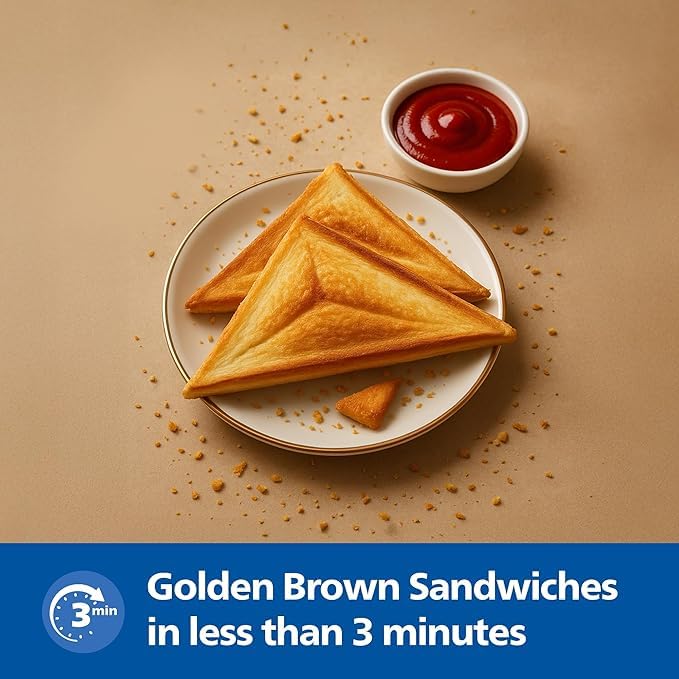
Image: Perfectly toasted golden brown sandwiches, achievable in approximately 3 minutes with the Philips HD1000/00.
Nettoyage et entretien
Regular cleaning and maintenance will help prolong the life of your Philips HD1000/00 XL Sandwich Maker.
- Débranchez et refroidissez : Débranchez toujours l'appareil de la prise de courant et laissez-le refroidir complètement avant de le nettoyer.
- Assiettes de cuisson propres : Essuyez les plaques de cuisson antiadhésives avec un chiffon doux et sec.amp Un chiffon ou une éponge. Pour les résidus alimentaires tenaces, dampImbibez un chiffon d'un peu d'huile de cuisson et essuyez les assiettes, puis nettoyez-les avec un chiffon doux.amp cloth. Do not use abrasive cleaners, scouring pads, or metal utensils, as these can damage the non-stick coating.
- Extérieur propre : Essuyez l'extérieur de l'appareil avec un chiffon doux, damp chiffon. Ne plongez pas l'appareil dans l'eau ou tout autre liquide.
- Stockage: Once clean and dry, the sandwich maker can be stored in a cool, dry place. Its compact design allows for convenient vertical storage.
Dépannage
| Problème | Cause possible | Solution |
|---|---|---|
| L'appareil ne chauffe pas. | Non branché ou prise de courant défectueuse. | Assurez-vous que l'appareil est correctement branché sur une prise de courant fonctionnelle. Vérifiez le disjoncteur. |
| Sandwiches are not golden brown or crisp. | Insufficient cooking time or appliance not fully preheated. | Allow the appliance to preheat fully until the indicator light signals readiness. Increase cooking time slightly. Ensure bread is lightly buttered. |
| Les sandwichs collent aux assiettes. | Plates not properly cleaned or not buttered. | Ensure plates are clean before use. Lightly butter the outer sides of the bread slices. |
| Le couvercle ne ferme pas correctement. | Sandwich is overfilled. | Reduce the amount of filling in the sandwich. Do not force the lid shut. |
Caractéristiques
- Modèle: HD1000/00
- Pouvoir: 800 watts
- Voltage: 230 volts
- Matériel: Plastic (body), Non-Stick Coated (plates)
- Couleur: Black with Metallic Finish
- Dimensions du produit (P x L x H) : 14.5 x 28.6 x 30 centimètres
- Poids de l'article : 1.6 kilogrammes
- Caractéristiques spéciales : Non-Stick Coating, UHD Technology, Easy Locking Mechanism, Ready-to-Cook Indicator
- Composants inclus : Sandwich Maker, User Manual
Garantie et assistance
This Philips HD1000/00 XL Sandwich Maker comes with a Garantie constructeur d'un an À compter de la date d'achat. Veuillez conserver votre preuve d'achat pour toute réclamation au titre de la garantie.
For technical assistance, troubleshooting beyond this manual, or warranty service, please contact Versuni India home solutions Ltd., the manufacturer, or visit the official Philips support website for your region. Contact details can typically be found on the product packaging or the official Philips website.