1. Introduction
This manual provides detailed instructions for the installation, operation, and maintenance of your JOMISE A80 Pro 4K+4K Dash Cam. Please read this manual thoroughly before using the device to ensure proper functionality and safety. The JOMISE A80 Pro is designed to record high-quality video footage from both the front and rear of your vehicle, offering enhanced security and evidence in various driving conditions.
2. Produit terminéview
2.1 Contenu du paquet
Vérifiez que tous les éléments énumérés ci-dessous sont présents dans votre colis :
- A80 Pro driving recorder (main unit)
- 64GB Micro Memory Card (pre-installed)
- 11.48ft Power Cable + Car Charger
- 4K Rear Camera Unit
- 18.04ft Rear Camera Connection Cable
- GPS-enabled Bracket
- Autocollants électrostatiques
- Outil d'installation
- Manuel de l'utilisateur (ce document)

Figure 2.1 : Contenu de l'emballage
2.2 Principales caractéristiques
- Dual 4K Recording: Front 2560×1440P and Rear 2560×1440P for high-resolution video capture.
- STARVIS 2 Night Vision: Enhanced low-light imaging for clear recordings in dark conditions.
- Ethernet Rear Camera Processing: Dedicated processor for the rear camera ensures stable 4K performance for both channels.
- Connectivité WiFi 6 : High-speed wireless transfer for quick video downloads to your smartphone.
- 3.12-inch IPS Touch Panel: Responsive touchscreen for intuitive navigation and control.
- Fonctionnalité GPS : Built-in positioning system for route logging and speed data.
- Mode stationnement 24h/24 : Continuous monitoring with collision-triggered lock (requires hardwire kit, sold separately).
- Capteur G : Automatically detects impacts and locks footage pour éviter l'écrasement.
- Enregistrement en boucle : Écrase le plus ancien footage lorsque la carte mémoire est pleine, assurant ainsi un enregistrement continu.
- Objectifs grand angle : Front 180° field of view, Rear 160° wide view.
- WDR / HDR Imaging: Améliore la qualité d'image dans des conditions d'éclairage variables.
- Support for up to 1TB Micro Memory Card: Permet un stockage important de fichiers vidéotage.
3. Configuration et installation
The JOMISE A80 Pro is designed for straightforward installation. Follow these steps for optimal placement and connection.
3.1 Installation de la caméra embarquée avant
- Clean the windshield area where the dash cam will be mounted, typically behind the rearview mirror, to ensure a strong adhesive bond.
- Attach an electrostatic sticker to the cleaned area. This helps in easy removal and repositioning without leaving residue.
- Mount the GPS-enabled bracket onto the electrostatic sticker.
- Slide the main A80 Pro unit onto the bracket until it clicks into place. Ensure the lens has a clear view de la route devant nous.
- Connect the power cable to the dash cam and route it along the windshield edge, down the A-pillar, and to the car's cigarette lighter socket or a hardwire kit (for parking mode). Use the provided installation tool to tuck the cable neatly.

Figure 3.1: Front Dash Cam Installation
3.2 Installation de la caméra arrière
- Identifiez un emplacement approprié sur votre lunette arrière pour la caméra de recul, en veillant à ce qu'elle soit bien dégagée. view. The rear camera has a 360° adjustable module for flexible positioning.
- Nettoyez la zone choisie sur la lunette arrière.
- Attach an electrostatic sticker and then mount the rear camera using its adhesive.
- Connect the 18.04ft connection cable to the rear camera.
- Route the rear camera cable from the rear windshield, along the headliner and side pillars, to the main front dash cam unit. Use the installation tool to conceal the cable.
- Plug the rear camera cable into the designated port on the main A80 Pro unit.
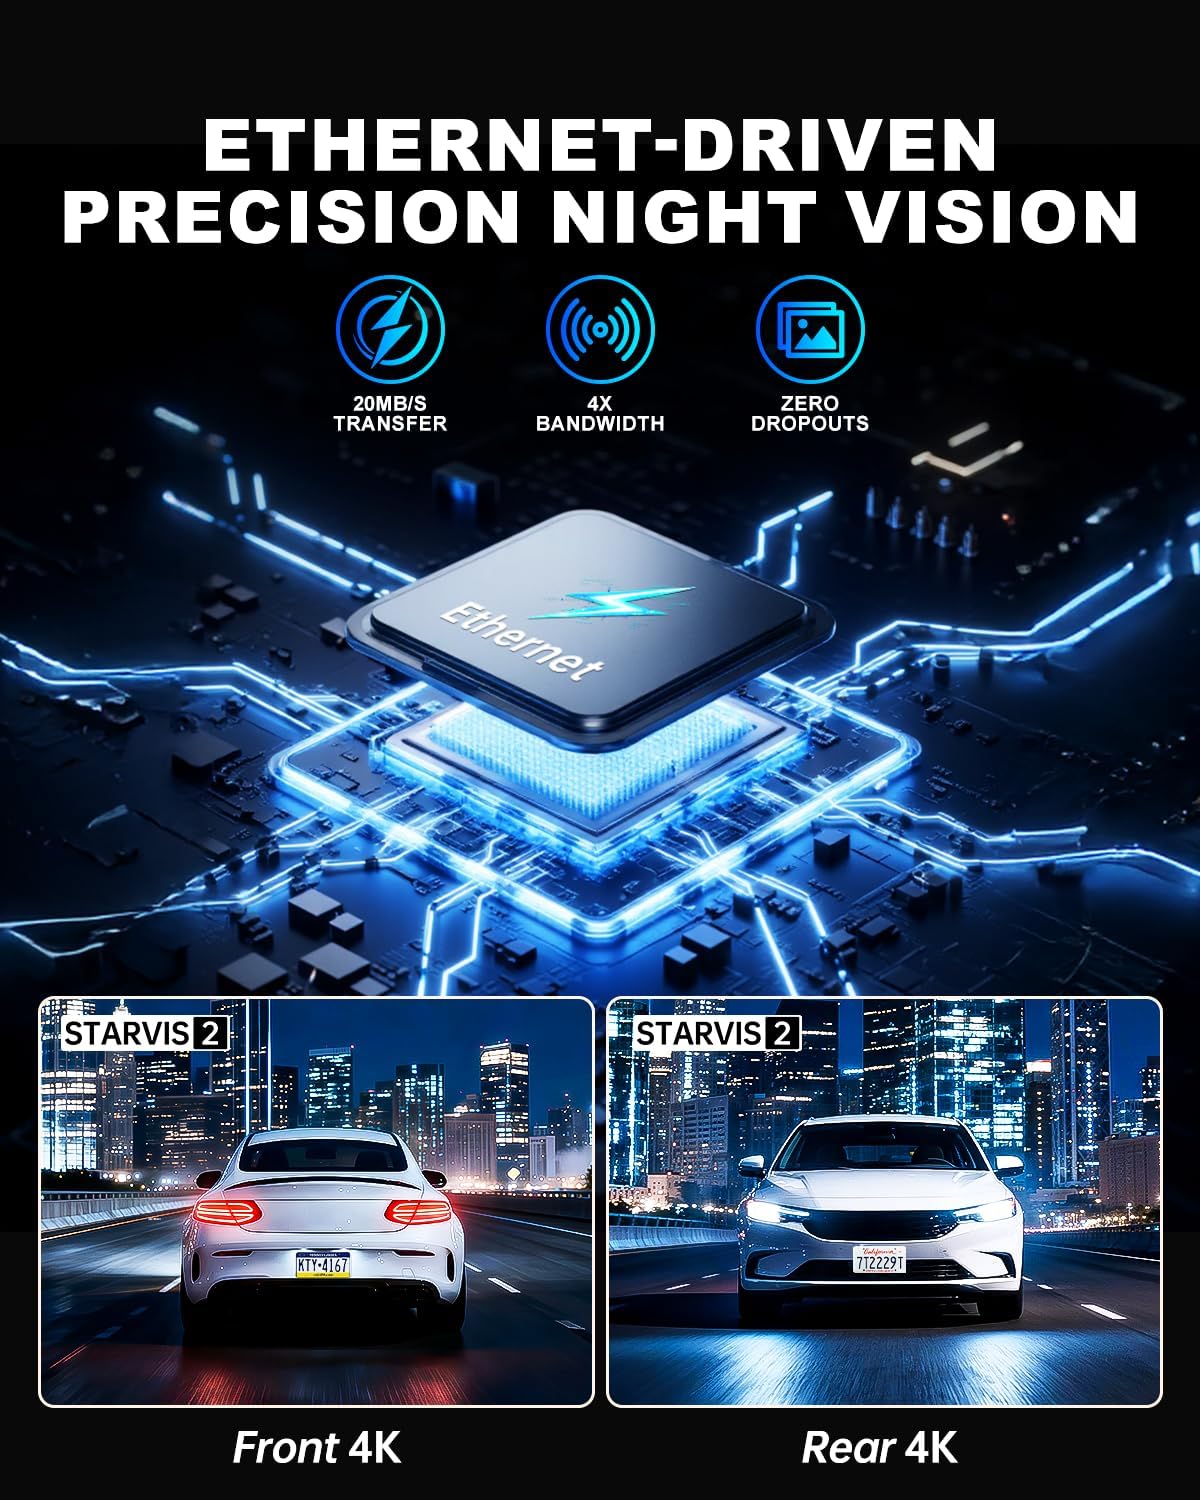
Figure 3.2: Rear Camera Installation
3.3 Connexion d'alimentation
Plug the car charger into your vehicle's cigarette lighter socket. The dash cam will power on automatically when the vehicle starts and begin recording. For 24-hour parking monitoring, a hardwire kit (sold separately) is required to provide continuous power.
4. Mode d'emploi
The JOMISE A80 Pro features a responsive touchscreen and physical buttons for easy operation.
4.1 Mise sous/hors tension
- Automatique: The dash cam powers on and starts recording automatically when connected to power and the vehicle ignition is turned on. It powers off automatically when the ignition is turned off.
- Manuel: Maintenez le bouton d'alimentation enfoncé (le cas échéant) pour allumer ou éteindre manuellement l'appareil.
4.2 Enregistrement de base
- Upon powering on, the dash cam will automatically begin loop recording.
- Vidéotage is saved in TS stream format, and photos are saved as JPG.
- The 64GB micro memory card included supports continuous loop recording. The device supports up to 1TB cards.
- Audio capture is enabled by default. This can be toggled in the settings menu.
4.3 Interface à écran tactile
The 3.12-inch IPS touch panel allows for intuitive control. Navigate through menus, adjust settings, and review footage with quick touch responses (approx. 0.2 seconds).

Figure 4.1: Touchscreen Menu Navigation
5. Fonctionnalités avancées
5.1 Mode stationnement 24 heures
For continuous monitoring when your vehicle is parked, the 24-hour parking mode utilizes the built-in G-Sensor. If an impact is detected while parked, the dash cam will automatically record and lock the footage. This feature requires a hardwire kit (not included) to provide constant power to the device.

Figure 5.1 : Surveillance du stationnement 24 h/24
5.2 WiFi 6 Connectivity
The integrated WiFi 6 module provides high-speed and stable connectivity for transferring video files to your smartphone. This allows for quick previewing and downloading of 4K video clips, typically within 6 seconds for a 1-minute video. Use the dedicated mobile application to access this feature.

Figure 5.2: WiFi 6 Data Transfer
5.3 Fonctionnalités GPS
The built-in GPS system records your vehicle's location and speed data, which can be viewed during video playback on a computer or via the mobile application. This provides valuable context for recorded events.

Figure 5.3: GPS Route Tracking
5.4 Night Vision with STARVIS 2
The JOMISE A80 Pro utilizes STARVIS 2 technology for both front and rear cameras, providing superior low-light performance. This ensures clear and detailed video capture in challenging lighting conditions such as dark roads, tunnels, and nighttime driving, with reduced noise and improved exposure.

Figure 5.4: STARVIS 2 Night Vision Performance
5.5 Ethernet Rear Camera Processing
Unlike traditional AHD systems, the A80 Pro uses an Ethernet-based system for the rear camera. This allows a dedicated processor in the rear camera to handle its footage independently, freeing up the main processor for the front camera. This design improves overall 4K image performance and stability for both front and rear recordings.
6. Entretien
- Nettoyage: Utilisez un chiffon doux et sec pour nettoyer les objectifs et l'écran de l'appareil photo. Évitez les nettoyants abrasifs et les solvants.
- Carte mémoire : Regularly format the micro memory card (at least once a month) within the dash cam's settings to ensure optimal performance and prevent data corruption. Back up important footage avant la mise en forme.
- Mises à jour du micrologiciel : Check the official JOMISE webConsultez régulièrement le site pour les mises à jour du micrologiciel. Maintenir le micrologiciel de votre caméra embarquée à jour peut améliorer ses performances et ajouter de nouvelles fonctionnalités.
7. Dépannage
| Problème | Cause possible | Solution |
|---|---|---|
| La caméra embarquée ne s'allume pas. | Absence d'alimentation électrique ; câble d'alimentation défectueux ; connexion desserrée. | Vérifiez la connexion du chargeur de voiture. Assurez-vous que le contact du véhicule est mis. Essayez une autre source d'alimentation si possible. |
| L'enregistrement s'arrête ou se fige. | Memory card error; full memory card; incompatible memory card. | Format the memory card. Replace with a high-speed (Class 10 or U3) micro SD card if necessary. Ensure card capacity is within supported range (up to 1TB). |
| Mauvaise qualité vidéo. | Lentille sale ; film protecteur encore présent sur la lentille ; paramètres de résolution incorrects. | Clean the lenses. Remove any protective film. Check video resolution settings in the menu. |
| Caméra arrière non détectée. | Loose cable connection; faulty rear camera cable. | Assurez-vous que le câble de la caméra arrière est correctement connecté à la fois à la caméra arrière et à l'unité principale. |
| Problèmes de connexion Wi-Fi. | Mot de passe incorrect ; appareil trop éloigné ; problèmes d’application. | Verify WiFi password. Ensure your phone is close to the dash cam. Restart the dash cam and your phone's WiFi. Reinstall the mobile application if necessary. |
8. Spécifications
| Fonctionnalité | Détail |
|---|---|
| Modèle | A80 Pro |
| Video Performance (Front) | 2560 × 1440P |
| Video Performance (Rear) | 2560 × 1440P |
| Front Lens Field of View | 180° |
| Rear Lens Field of View | 160° |
| Front Lens Aperture | F1.8 |
| Rear Lens Aperture | F1.8 |
| Rear Camera Link | Digital-powered data channel (Ethernet-based) |
| Format vidéo | Flux TS |
| Format photo | JPG |
| Afficher | 3.12-inch IPS touch panel |
| Système de contrôle | Touch + physical keys |
| Connectivité | High-speed wireless transfer module (WiFi 6) |
| Système de positionnement | Built-in GPS with route logging |
| Prise en charge de la carte mémoire | Up to 1TB micro memory card (64GB included) |
| Puissance d'entrée | Type C 5 V/3 A |
| Température de fonctionnement | -4°F à 158°F (-20°C à 70°C) |
| Température de stockage | -40°F à 176°F (-40°C à 80°C) |
| Dimensions du produit | 3.74 x 1.97 x 1.77 pouces |
| Poids de l'article | 1.59 livres |
| Fréquence d'images | 30 FPS |
9. Garantie et assistance
JOMISE provides an extended 18-month warranty for the A80 Pro Dash Cam. For technical assistance, troubleshooting, or warranty claims, please contact JOMISE customer support.
- Période de garantie : 18 mois
- E-mail: jomise-us@jomise-cam.com
- Téléphone: +1 866 788 8775

Figure 9.1 : Informations sur la garantie et l'assistance
10. Vidéo produitview
Video 10.1: JOMISE A80 Pro Dash Cam Features and Operation. This video provides a visual overview of the dash cam's components, installation process, and key functionalities, including day and night recording examples and GPS tracking.