1. Introduction
This manual provides essential information for the safe and effective operation, maintenance, and troubleshooting of your Protmex 1200W Dual Action Car Buffer Polisher. Please read this manual thoroughly before initial use and retain it for future reference.

Image: The Protmex 1200W Dual Action Car Buffer Polisher, showcasing its ergonomic design and polishing pad.
2. Consignes de sécurité
Always observe basic safety precautions to reduce the risk of fire, electric shock, and personal injury when using this power tool.
- Lisez toutes les instructions: Familiarize yourself with the polisher's operation and safety guidelines.
- Portez un équipement de protection individuelle : Always wear safety goggles, gloves, and an apron to protect against debris and chemical splashes.
- Maintenir la zone de travail : Gardez votre espace de travail propre, bien éclairé et dégagé. Assurez-vous d'une ventilation adéquate.
- Évitez les environnements dangereux : Do not use the polisher in damp ou dans des endroits humides, ou en présence de liquides ou de gaz inflammables.
- Sécuriser la pièce à travailler : Ensure the vehicle or surface being polished is stable and will not move during operation.
- Débrancher lorsque l'appareil n'est pas utilisé : Disconnect the polisher from the power source before making adjustments, changing accessories, or storing it.
- Utilisez les accessoires appropriés : Only use accessories recommended by Protmex for this polisher.
- Inspecter l'outil avant utilisation : Check for damaged parts, misaligned moving parts, or any other condition that may affect its operation.
- Tenir les enfants à l’écart : Do not allow children or untrained individuals to operate the polisher.
- Évitez de trop vous projeter : Maintenez une bonne assise et un bon équilibre à tout moment.
3. Contenu du colis
The Protmex 1200W Dual Action Car Buffer Polisher kit includes the following items:
- Protmex 1200W Dual Action Polisher (x1)
- Straight Auxiliary Handle (x1)
- Clé (x1)
- Carbon Brushes (x2, replacement set)
- Car Masking Tape (x1 roll)
- Microfiber Cloths (x2)
- Lunettes de sécurité (x1)
- Gants (x1 paire)
- Apron (x1)
- Sac de rangement (x1)
- Flat Sponges (x3) - For fine polish & wax layer
- Wave Sponges (x3) - For light scratches
- Wool Pads (x3) - For heavy scratches
- 2000-grit Sandpapers (x5) - For advanced use
- Cloth Bonnets/Covers (x4) - For gloss & shine / general polishing protection
- Manuel d'utilisation (x1)

Image: A visual representation of the complete polishing kit, including the polisher, various pads, handles, and safety accessories.

Image: Detailed diagram illustrating all components included in the Protmex 1200W Car Buffer Polisher kit, with labels for each item.
4. caractéristiques du produit
- Constant Power System: Maintains full torque under pressure, preventing bogging or fading during extended use. Vented housing ensures optimal airflow and durability.
- Moteur puissant de 1200 W en cuivre pur : High-torque motor designed for efficient removal of scratches, oxidation, and swirl marks.
- 9mm Random Orbital Throw: Expands coverage and increases polishing efficiency by up to 35%, ensuring smooth, swirl-free results.
- 6 Variable Speed Settings (2500-6000 RPM): Offers precise control for various tasks, from waxing to heavy cutting.
- Conception ergonomique : Comfortable grip for prolonged use, reducing user fatigue.
- Bouton de verrouillage : Allows for continuous operation without holding the trigger, enhancing comfort during long detailing sessions.
- Balais de charbon remplaçables : Extends the motor's lifespan, ensuring long-term performance.

Image : Un interne view of the Protmex polisher highlighting the 1200W motor and constant power system for stable performance.

Image: Close-up of the Protmex polisher's speed dial, illustrating the 6 variable speed settings from 2500 to 6000 RPM.
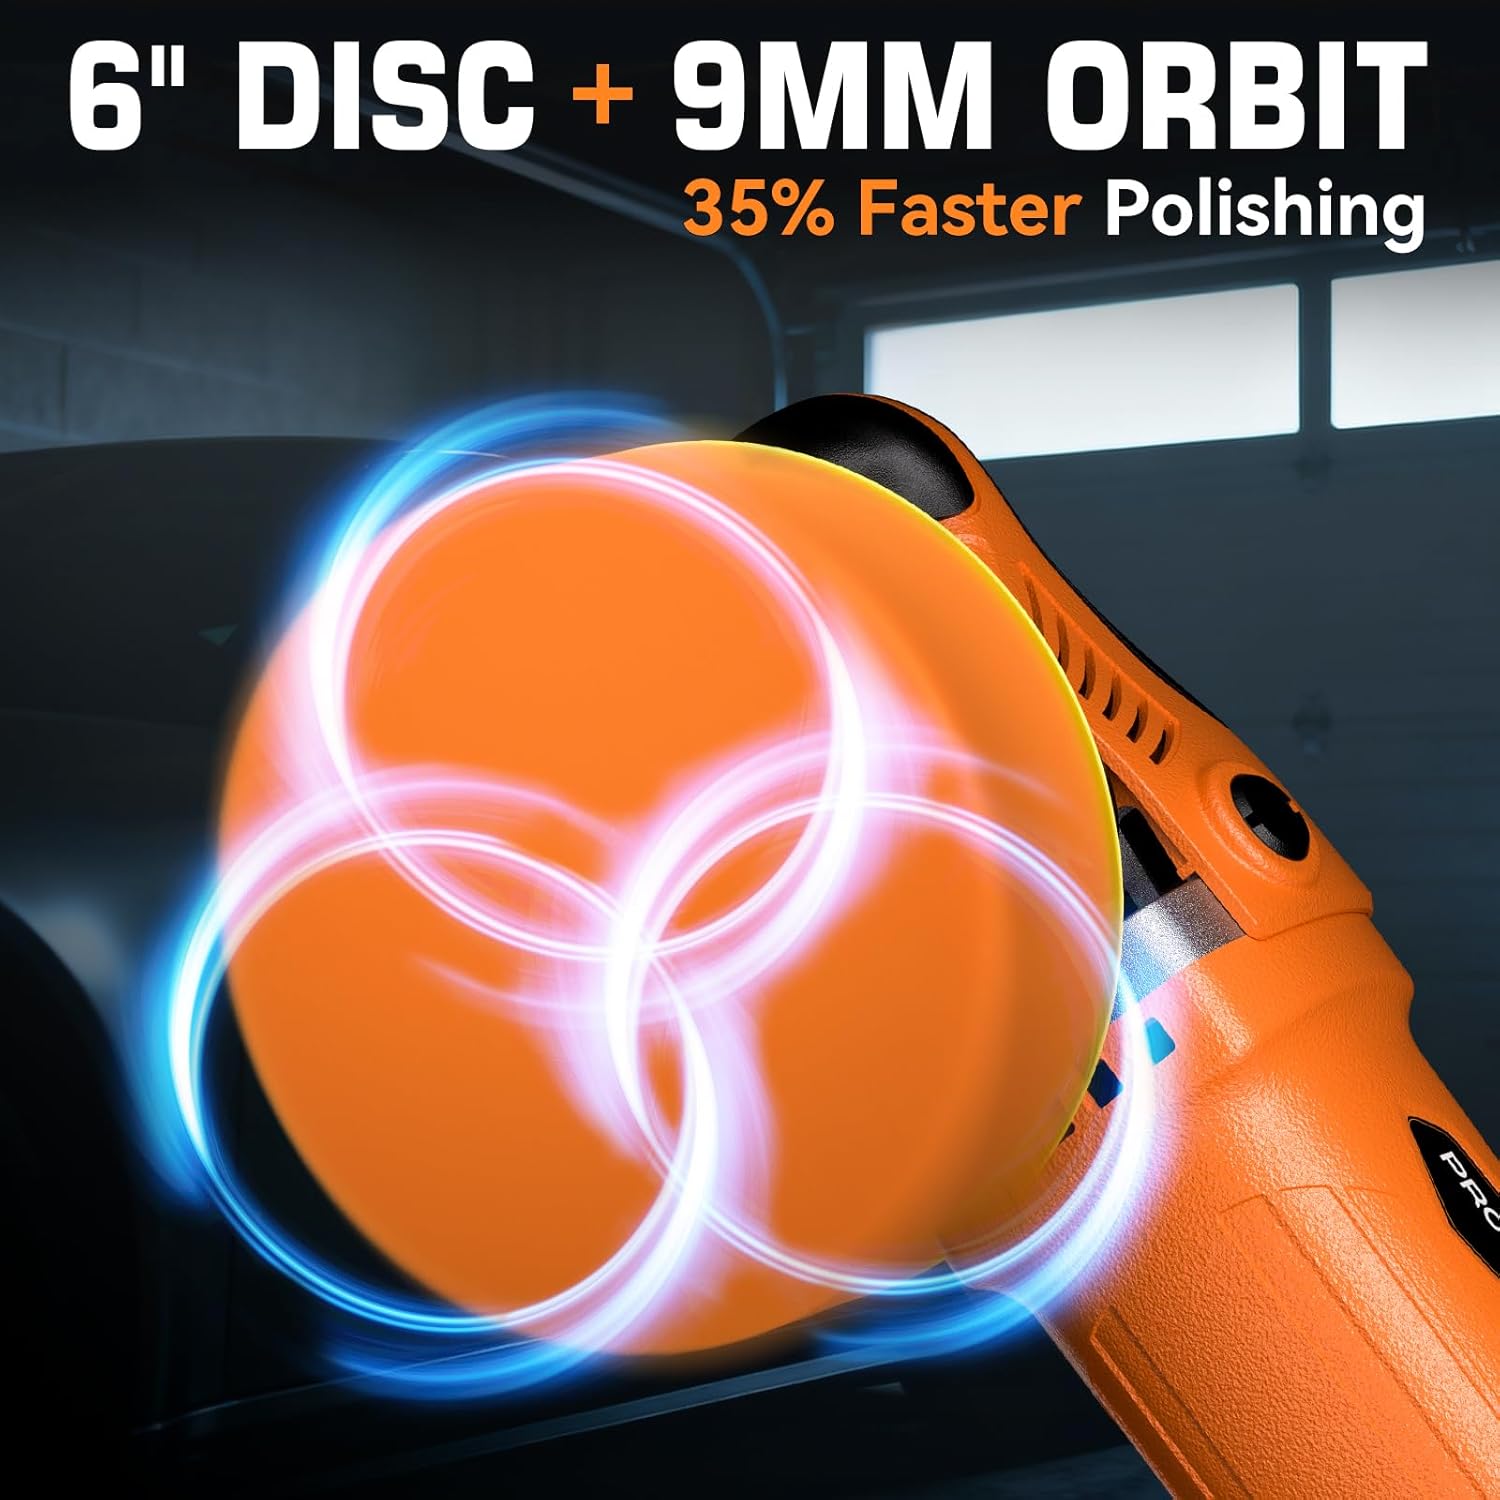
Image: The 6-inch polishing disc and 9mm orbital throw of the Protmex polisher, designed for efficient and swirl-free polishing.

Image: A user demonstrating the ergonomic hold of the Protmex polisher, highlighting its comfortable design for extended use.
Video: A demonstration of the Protmex 1200W Car Polisher in action, showcasing its power and effectiveness on a car surface.
5. Installation
5.1 Fixation de la poignée auxiliaire
- Identify the threaded holes on the side of the polisher's head.
- Align the straight auxiliary handle with one of the threaded holes.
- Insert the provided screw and tighten it securely with the wrench. Ensure the handle is firm and does not wobble.
5.2 Fixation des tampons de polissage
The polisher features a hook-and-loop backing pad for easy attachment of various polishing pads.
- Select the appropriate pad (wool, wave, or flat sponge) for your task.
- Align the pad with the hook-and-loop backing pad on the polisher.
- Press the pad firmly onto the backing pad until it is securely attached.
- To remove, simply peel the pad off the backing pad.

Image: A visual guide showing the self-locking switch, how to secure the backing plate with a wrench, and the process for carbon brush replacement.
6. Mode d'emploi
6.1 Fonctionnement général
- Ensure the correct pad is attached and the work surface is clean and prepared.
- Appliquez une petite quantité de pâte à polir ou de cire directement sur le tampon ou la surface de travail.
- Place the polisher flat on the surface before turning it on.
- Press the trigger switch to start the polisher. Use the lock-on button for continuous operation if desired.
- Adjust the speed using the variable speed dial according to the task.
- Move the polisher in a slow, overlapping pattern, applying even pressure. Avoid pressing too hard, as the constant power system will maintain RPMs.
- After use, turn off the polisher, unplug it, and clean the pads.
6.2 Speed Settings Guide
| Réglage de la vitesse | Plage de régime | Utilisation recommandée |
|---|---|---|
| 1-2 | 2500-3500 tr/min | Waxing & Sealing |
| 3-4 | 3500-5000 tr/min | Polishing & Refining |
| 5-6 | 5000-6000 tr/min | Cutting & Oxidation Removal |
6.3 Ex d'applicationamples

Image: A person using the polisher to cut and remove surface scratches and heavy stains from a car's paintwork.

Image: The polisher being used to refine paint, eliminate swirl marks, and improve overall paint clarity.

Image: A user applying a finishing wax with the polisher to seal in shine and protect the paint surface.

Image: The polisher used for buffing to enhance gloss and achieve a smooth, polished finish.

Image : Examples of the Protmex polisher's versatility, showing its use for car, furniture, boat, and floor polishing.
Vidéo : Un aperçu détailléview and demonstration of the Protmex 1200W Car Buffer Polisher, highlighting its features and performance.
7. Entretien
7.1 Nettoyage
- After each use, unplug the polisher.
- Essuyez l'extérieur de l'outil avec un chiffon propre et sec.amp tissu. N'utilisez pas de produits chimiques agressifs ou de nettoyants abrasifs.
- Clean used polishing pads thoroughly with water and mild soap. Allow them to air dry completely before storage.
7.2 Remplacement des balais de charbon
The carbon brushes are wear-and-tear parts and should be replaced regularly (typically every 2-3 years depending on usage) to maintain motor efficiency and extend the tool's lifespan. Replacement brushes are included in your kit.
- Unplug the polisher from the power source.
- Localisez les capuchons des balais de charbon sur les côtés du boîtier du moteur.
- Use a screwdriver to unscrew the caps.
- Retirez les anciens balais de charbon.
- Insert the new carbon brushes, ensuring they are seated correctly.
- Revissez fermement les bouchons.
8. Dépannage
| Problème | Cause possible | Solution |
|---|---|---|
| La polisseuse ne démarre pas. | Absence d'alimentation électrique ; cordon d'alimentation endommagé ; interrupteur défectueux ; balais de charbon usés. | Check power outlet and cord; Inspect power cord for damage; Contact support if switch is faulty; Replace carbon brushes. |
| Vibrations ou bruits excessifs | Loose or improperly attached pad; Damaged backing pad; Internal mechanical issue. | Ensure pad is securely attached; Inspect backing pad for damage and replace if necessary; Contact support for internal issues. |
| Reduced performance/speed drop under pressure | Worn carbon brushes; Overload; Insufficient power supply. | Replace carbon brushes; Reduce pressure on the tool; Ensure adequate power supply. |
| Surchauffe | Ventilation obstruée ; utilisation intensive prolongée. | Clear ventilation openings; Allow tool to cool down; Avoid continuous heavy use. |
9. Spécifications
| Fonctionnalité | Détail |
|---|---|
| Marque | Protmex |
| Numéro de modèle | PX7202-9 |
| Pouvoir | Moteur en cuivre pur de 1200 W |
| Orbital Throw | 9 mm |
| Taille du disque | 6 pouces |
| Vitesse variable | 6 Settings (2500-6000 RPM) |
| Poids de l'article | 4.16 kilogrammes |
| Code UPC | 715011876086 |
10. Garantie et assistance
Protmex is committed to providing high-quality products and excellent customer service.
- Service après-vente : Enjoy 24-month after-sales support for your product.
- Assistance clientèle : Round-the-clock 7/24 support is available for any inquiries or assistance you may need.
- Expert Team: Our professional technical guide team is ready to help with any product-related questions.
- Contactez-nous: If you have any questions regarding your car polisher, please contact Protmex customer service.

Image: Information regarding Protmex's comprehensive service, including 24-month after-sales, 7/24 support, and expert technical guidance.