
1. Introduction
This manual provides essential information for the installation, operation, and maintenance of your Hikvision IDS-7208HQHI-M1/XT 8-Channel 5MP Turbo HD DVR. Please read this manual thoroughly before using the product to ensure correct and safe operation. Keep this manual for future reference.
The Hikvision IDS-7208HQHI-M1/XT is an advanced 8-channel Digital Video Recorder designed for high-definition surveillance systems. It supports various video input formats, including Turbo HD, AHD, CVI, CVBS, and IP cameras, offering versatile compatibility. Key features include 5MP recording capability, H.265+ video compression for efficient storage, AcuSense technology for intelligent motion detection, and remote access via the Hik-Connect app.
2. Contenu du colis
Vérifiez que tous les articles sont présents et en bon état lors du déballage. Si des articles sont manquants ou endommagés, contactez immédiatement votre fournisseur.
- DVR main unit
- Adaptateur secteur
- Souris USB
3. caractéristiques du produit
The Hikvision IDS-7208HQHI-M1/XT DVR offers a range of features designed for effective surveillance:
- 8-Channel DVR with 5MP HD Support: Supports multiple analog HD camera formats and up to 8 channels of real-time video monitoring and recording.
- Two-Way Audio Support: Enables audio communication through compatible cameras.
- Built-In AcuSense Technology: Smart analysis minimizes false alarms by focusing on human and vehicle-based motion detection.
- Remote Access via Hik-Connect App: View live video, playback recordings, and receive alerts anytime on your smartphone.
- Efficient Storage with H.265+ Compression: Saves bandwidth and hard disk space while maintaining clear video quality.
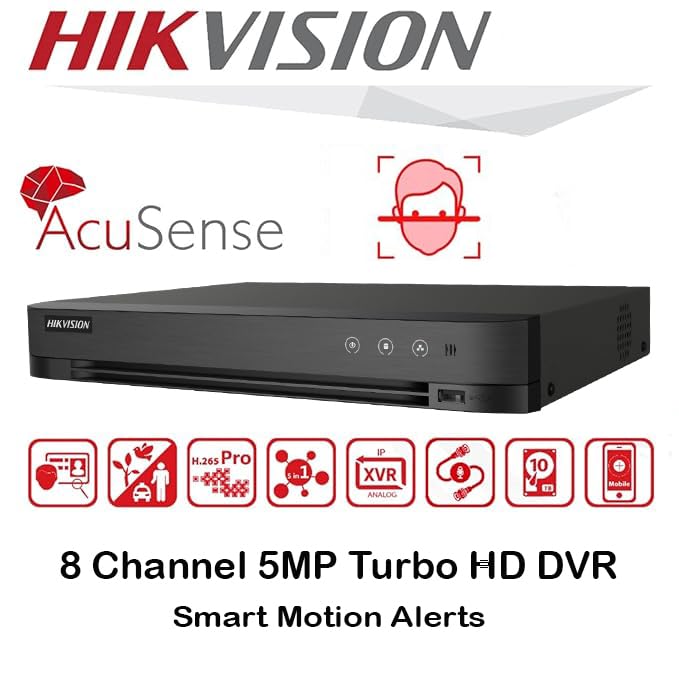
Image : Terminéview of key features including AcuSense, H.265+ compression, and 5MP resolution support.
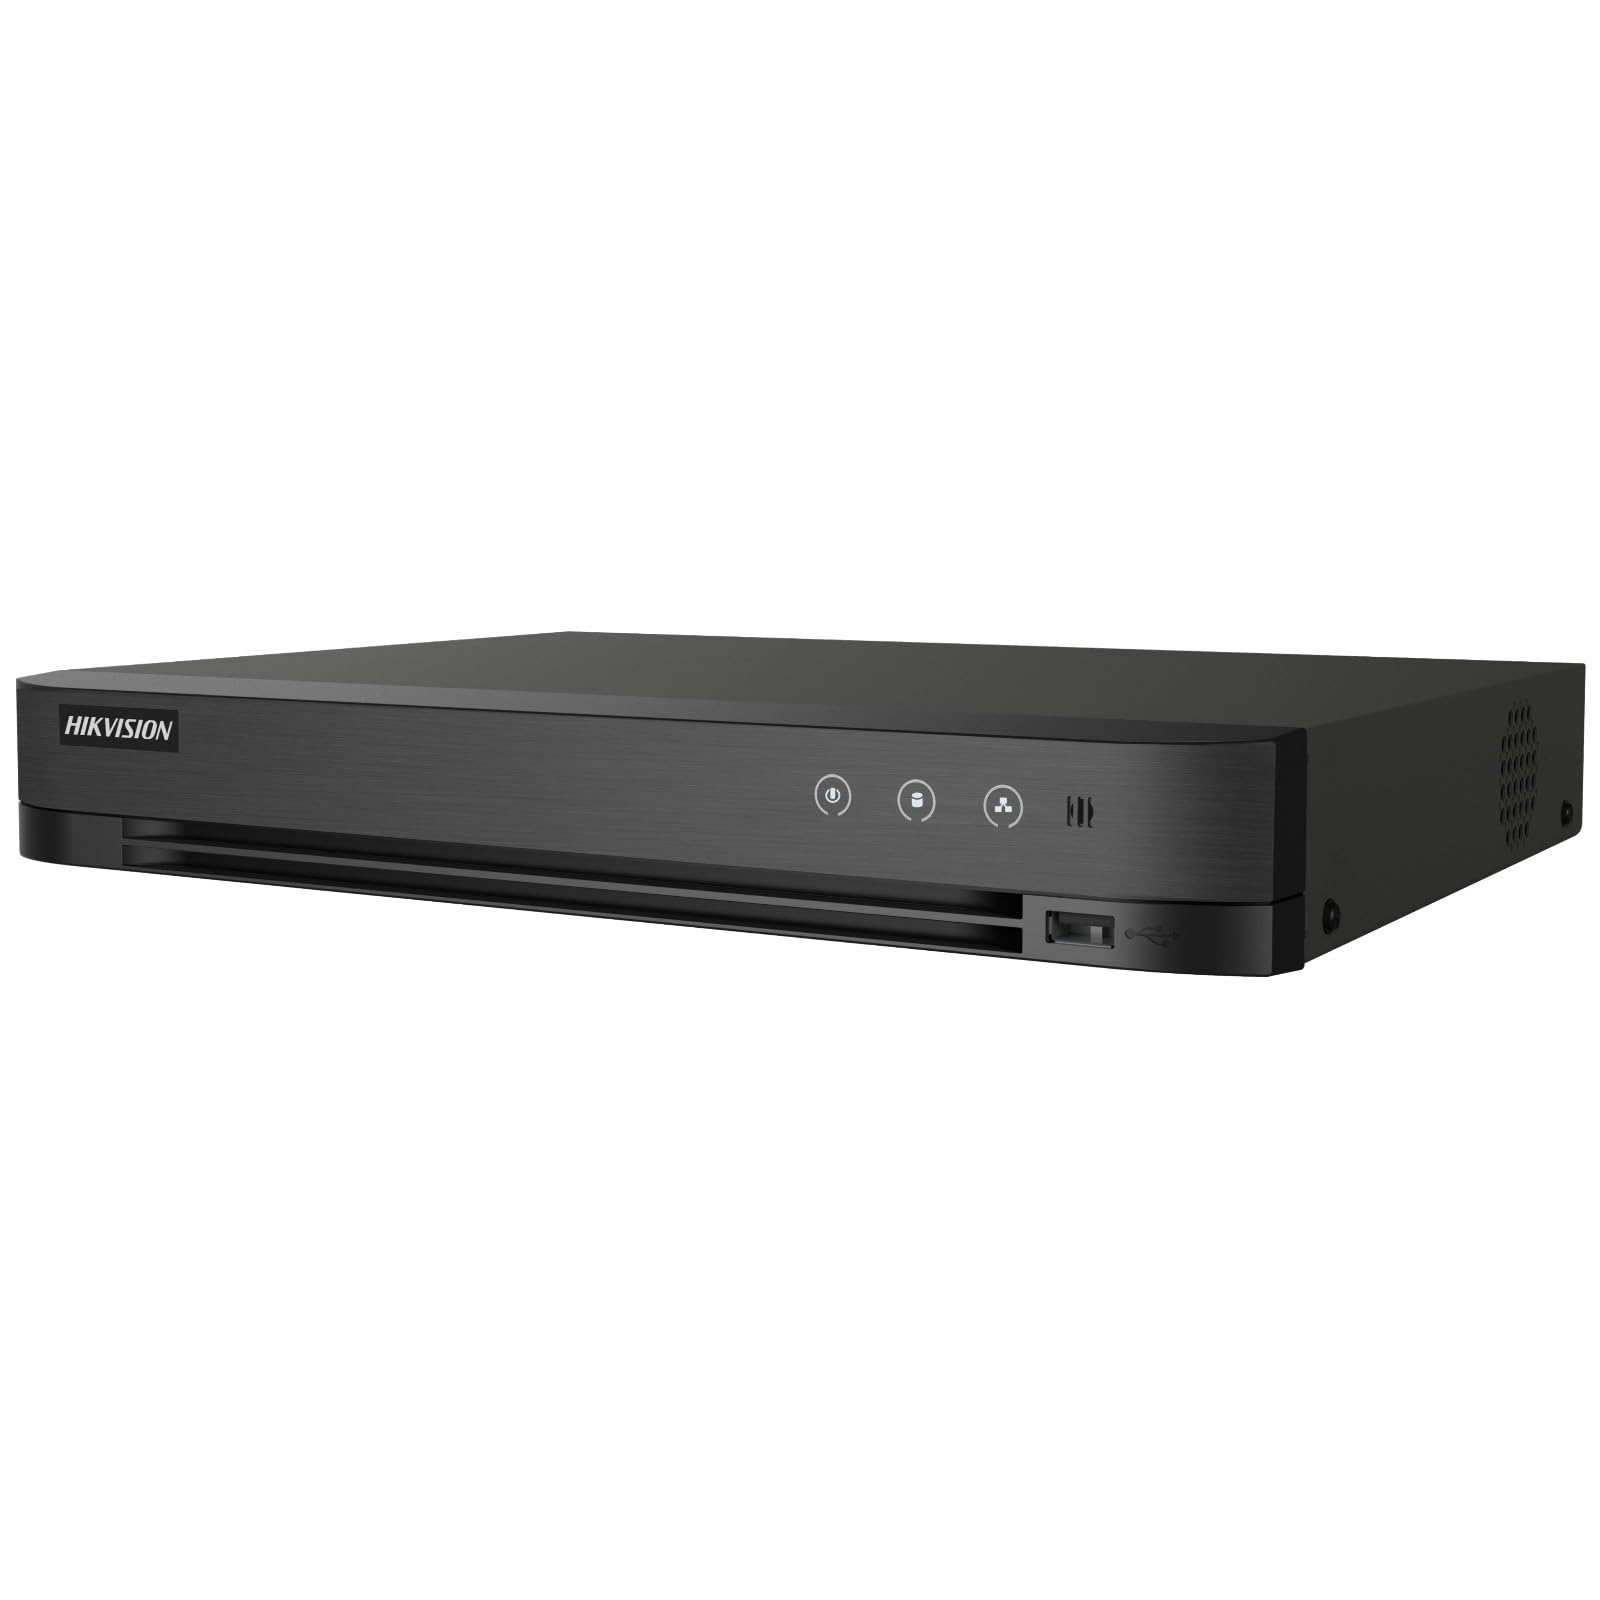
Image: The Hikvision Turbo HD DVR highlighting its support for two-way audio cameras, enabling interactive communication.
4. Interface physique
Familiarize yourself with the ports and indicators on the DVR unit. The following diagram illustrates the rear panel of the Hikvision IDS-7208HQHI-M1/XT DVR:

Image: Rear panel connections of the DVR, showing video inputs, audio ports, network, and power.
- Entrée vidéo (BNC) : Connect analog HD cameras (Turbo HD, AHD, CVI, CVBS).
- Video Out (BNC): Connect to a monitor for local display.
- Entrée audio (RCA) : Connect external audio input devices.
- Sortie HDMI : Connect to an HDMI-compatible monitor or TV for high-definition video output.
- Sortie VGA: Connect to a VGA-compatible monitor.
- Sortie audio (RCA) : Connect to external audio output devices.
- Ports USB : Connect a USB mouse, USB flash drive for backup, or external storage.
- Port LAN (RJ45) : Connect to your network for remote access and IP camera integration.
- RS-485: For PTZ camera control (if supported).
- Entrée d'alimentation 12 V CC : Connectez l'adaptateur secteur inclus.
- Borne au sol : For grounding the device.
5. Installation
Follow these steps for initial setup of your DVR system:
5.1 Installation du disque dur (s'il n'est pas préinstallé)
- Dévissez et retirez le couvercle supérieur du DVR.
- Connectez le câble de données SATA et le câble d’alimentation au disque dur.
- Fixez le disque dur au châssis du DVR à l'aide des vis fournies.
- Remettez le couvercle supérieur en place et fixez-le avec des vis.
5.2 Connexion de périphériques
- Connect your cameras to the video In (BNC) ports.
- Connectez un moniteur au HDMI or VGA port de sortie.
- Connect the USB mouse to a Port USB.
- Connect the DVR to your network router using an Ethernet cable plugged into the port LAN.
- Connectez l'adaptateur secteur au Entrée d'alimentation 12 V CC and then plug it into a power outlet.
5.3 Configuration initiale
- Lors du premier démarrage, le DVR vous guidera à travers un assistant d'installation.
- Définissez un mot de passe robuste pour le compte administrateur.
- Configurer les paramètres réseau (le DHCP est généralement suffisant pour la plupart des réseaux domestiques).
- Initialize the hard drive if prompted. This will format the drive for recording.
- Adjust date, time, and other system preferences as needed.
6. Fonctionnement
Once the DVR is set up, you can begin monitoring and recording.
6.1 En direct View
After logging in, the DVR will display the live view à partir des caméras connectées sur le moniteur. Vous pouvez basculer entre les flux d'une seule caméra view et grille multicaméra view en utilisant les commandes à l'écran ou la souris.
6.2 Enregistrement
The DVR is typically configured to record continuously or based on motion detection. You can adjust recording schedules and settings through the DVR's menu system (Configuration > Enregistrement > Planification).
6.3 Lecture
Pour review enregistré footage, naviguez jusqu'à Lecture menu. Select the date, time, and camera channel to view recordings. Use the playback controls (play, pause, fast forward, rewind) to navigate through the footage.
6.4 Remote Access (Hik-Connect App)
The Hik-Connect app allows you to access your DVR remotely from a smartphone or tablet.
- Téléchargez l'application Hik-Connect depuis la boutique d'applications de votre appareil.
- Create a Hik-Connect account and log in.
- Add your DVR by scanning the QR code on the DVR's label or by manually entering its serial number.
- Follow the in-app instructions to complete the device addition.
- Une fois ajouté, vous pouvez view live feeds, play back recordings, and receive push notifications for events.

Image: Illustration of the Hik-Connect mobile application interface, demonstrating remote access to live video and recordings.
7. Entretien
Un entretien régulier garantit des performances optimales et une longue durée de vie à votre système DVR.
- Clean the DVR: Periodically clean the exterior of the DVR with a soft, dry cloth. Ensure ventilation openings are free from dust to prevent overheating.
- Mises à jour du micrologiciel : Consultez le site officiel de Hikvision. webSite de mise à jour du micrologiciel. La mise à jour du micrologiciel peut améliorer les performances, ajouter des fonctionnalités et corriger des bogues. Suivez attentivement les instructions de mise à jour.
- État du disque dur : Monitor the health of your hard drive through the DVR's system menu (Gestion du disque dur). Replace the hard drive if it shows signs of failure.
- Sauvegarde des aliments importantstage: Regularly back up critical video footage vers un disque dur externe USB ou un stockage réseau.
- Sécurité du mot de passe : Change your DVR and Hik-Connect passwords periodically to maintain security.
8. Dépannage
Cette section aborde les problèmes courants que vous pourriez rencontrer.
8.1 Aucun affichage vidéo sur le moniteur
- Check if the monitor is powered on and correctly connected to the DVR's HDMI or VGA port.
- Assurez-vous que la source d'entrée correcte est sélectionnée sur votre moniteur.
- Essayez de vous connecter à un autre moniteur ou d'utiliser un autre câble.
8.2 Caméras ne s'affichant pas
- Verify that cameras are powered on and properly connected to the DVR's BNC inputs.
- Check camera power supplies.
- Ensure the camera type (TVI, AHD, CVI, CVBS) is compatible with the DVR and configured correctly in the DVR settings.
8.3 L'accès à distance ne fonctionne pas
- Ensure the DVR is connected to the internet via the LAN port.
- Vérifiez les paramètres réseau du DVR (Configuration > Réseau).
- Verify that the Hik-Connect service is enabled on the DVR.
- Assurez-vous que votre smartphone dispose d'une connexion internet active.
- Re-add the device to the Hik-Connect app if necessary.
8.4 Aucun enregistrement
- Check if a hard drive is installed and properly initialized (Configuration > HDD).
- Verify recording schedules are set correctly (Configuration > Enregistrement > Planification).
- Assurez-vous qu'il y a suffisamment d'espace libre sur le disque dur.
9. Spécifications
Detailed technical specifications for the Hikvision IDS-7208HQHI-M1/XT DVR:
| Fonctionnalité | Spécification |
|---|---|
| Numéro de modèle | IDS-7208HQHI-M1/XT |
| Entrée vidéo | 8-Channel (Turbo HD/AHD/CVI/CVBS/IP) |
| Compression vidéo | H.265 + / H.265 / H.264 + / H.264 |
| Résolution d'enregistrement | Jusqu'à 5 MP |
| Sortie vidéo | HDMI, VGA, BNC |
| Entrée/Sortie audio | 2-Way Audio Support |
| Interfaces réseau | 1 RJ45 10M/100M Ethernet Interface |
| Interface USB | 2 x USB 2.0 |
| Prise en charge des disques durs | 1 SATA interface (up to 10 TB capacity per HDD) |
| Alimentation électrique | 12 V CC |
| Dimensions (L x l x H) | 19.7 x 19.2 x 4.1 cm |
| Poids | 1.5 kg |
| Fabricant | HIKVISION, Prama Hikvision India Pvt. Ltd. |
10. Garantie et assistance
For warranty information and technical support, please refer to the warranty card included with your product or visit the official Hikvision webConsultez le site. Conservez votre reçu d'achat comme preuve d'achat pour toute réclamation au titre de la garantie.
For further assistance, contact Hikvision customer support or your authorized dealer.