1. Introduction
This user manual provides comprehensive instructions for the installation, operation, and maintenance of your new Aluminum Chassis Docking Station for Mac Mini M4/M4 Pro 2024. Please read this manual thoroughly before using the product to ensure proper functionality and to prevent damage.
2. Contenu du colis
Veuillez vérifier que tous les articles listés ci-dessous sont inclus dans votre colis. Si un article est manquant ou endommagé, veuillez contacter le service client.
- Vertical Computer Case (Aluminum Chassis Docking Station) x 1
- (Mac Mini M4/M4 Pro not included)
3. caractéristiques du produit
The Aluminum Chassis Docking Station offers several key features designed to enhance your Mac Mini M4/M4 Pro experience:
- Premium Aluminum Shell with Advanced Cooling: Crafted from high-grade aluminum alloy for durability and optimal airflow.
- Tailored Design for Mac Mini M4/M4 Pro: Precise cutouts ensure full accessibility to all ports and cooling vents.
- Expansion & High-Speed Ports: Includes two USB 3.2 Gen2 ports, TF (microSD) card slot, and SD card slot.
- Installation sans outil : Designed for effortless upgrades and Mac Mini insertion.
- Elevated Anti-Dust Design with Soft Feet: Raised quad-foot stand improves bottom ventilation and reduces dust buildup.
- Scratch-Proof Stability: Silicone padding on feet ensures stability and protects surfaces.
- Precision Fit & Protective Soft Lining: Laser-cut openings and a shock-absorbing interior liner protect against scratches and impacts.
4. Instructions de configuration
Follow these steps to properly install your Mac Mini M4/M4 Pro into the docking station.
4.1 Preparing the Docking Station
- Unpack the Aluminum Chassis Docking Station from its packaging.
- Place the docking station on a stable, flat surface. Ensure adequate space around the unit for ventilation.
4.2 Installing the Mac Mini
- Gently slide your Mac Mini M4/M4 Pro into the chassis opening. The design ensures a snug, precise fit.
- Ensure that all ports on the Mac Mini align with the corresponding cutouts on the chassis. The chassis is designed not to block the left-side port openings of the device.
- Once the Mac Mini is fully seated, the internal shock-absorbing lining will help secure it and protect against impacts.

Image: The Mac Mini M4/M4 Pro securely housed within the aluminum chassis, demonstrating that the left-side ports remain fully accessible and unblocked.

Image : Un surview of the Mac Mini chassis docking station available in various colors, including black, pink, and silver, showcasing the vertical stand design.
4.3 Connexion de périphériques
- Connect your power cable, display cables, and other essential peripherals to the Mac Mini's ports through the chassis cutouts.
- Utilize the integrated USB 3.2 Gen2 ports on the docking station for high-speed data transfer.
- Insert TF (microSD) or SD cards into the dedicated slots for quick data access.
5. Mode d'emploi
This section details how to use the various features of your docking station.
5.1 Using USB 3.2 Gen2 Ports
The docking station provides two USB 3.2 Gen2 ports for high-speed data transfer. These ports offer speeds up to 10Gbps, significantly boosting data transfer rates for compatible devices.
- Connect your USB devices (e.g., external hard drives, flash drives, cameras) to the USB 3.2 Gen2 ports on the front or side of the docking station.
- Ensure your device supports USB 3.2 Gen2 for optimal performance.
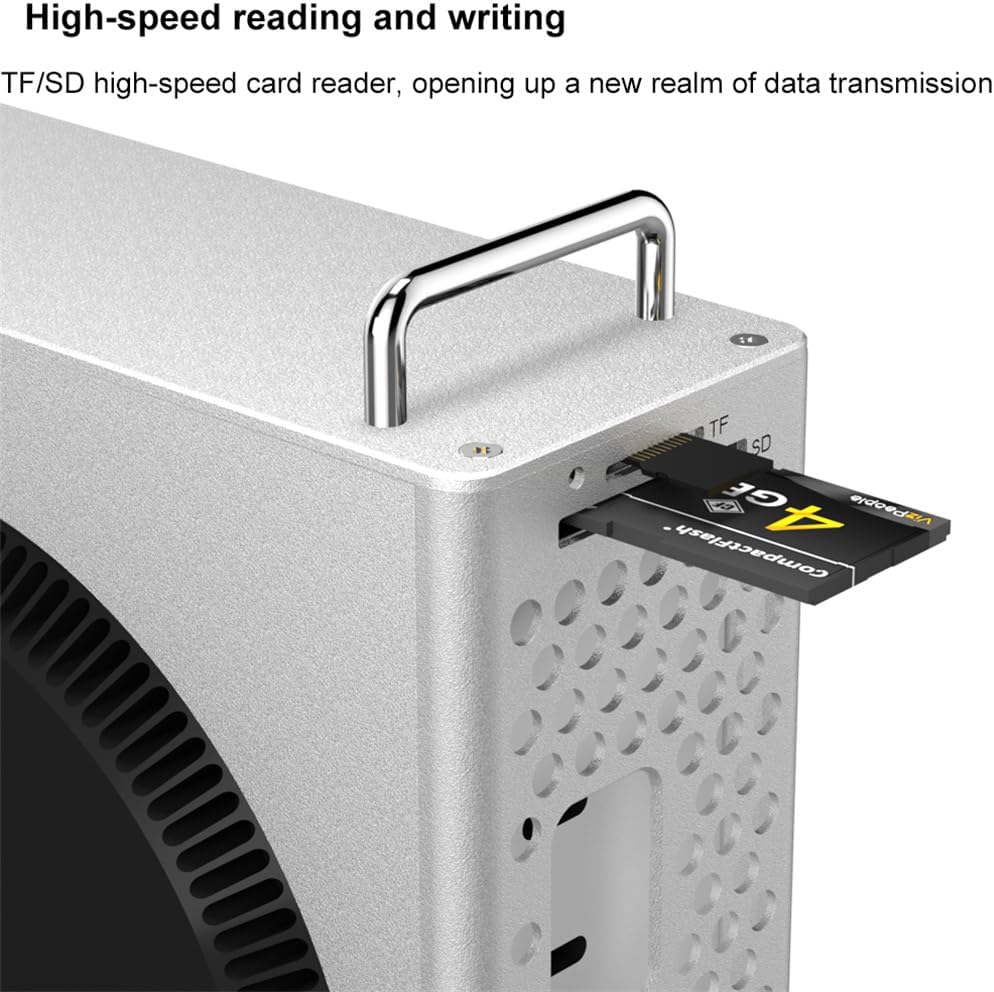
Image : Une image détaillée view of the docking station's USB 3.2 Gen2 port with a USB device connected, illustrating its capability for 10Gbps lightning-fast data transfer.
5.2 Using TF/SD Card Slots
The integrated TF (microSD) and SD card slots allow for convenient and high-speed reading and writing of memory cards.
- Insert your TF or SD card into the corresponding slot on the docking station. Ensure the card is inserted correctly, facing the right direction.
- The card will appear as a removable drive on your Mac Mini, allowing you to access its contents.
- To safely remove the card, eject it from your Mac Mini's operating system before physically pulling it out.

Image: A close-up shot of the TF/SD card reader on the docking station, showing a CompactFlash card inserted, demonstrating high-speed reading and writing capabilities.
6. Entretien
Proper maintenance ensures the longevity and optimal performance of your docking station.
- Nettoyage: Use a soft, dry, lint-free cloth to wipe the exterior of the chassis. Avoid abrasive cleaners or solvents.
- Prévention de la poussière : The elevated design helps reduce dust buildup. Periodically check the ventilation holes for any accumulated dust and gently clean with compressed air if necessary.
- Résistance à l'eau : The bottom support foot structure and anti-slip silicone provide a degree of water resistance against minor spills. However, avoid direct exposure to liquids. If liquid spills occur, immediately disconnect power and dry the unit thoroughly.

Image: The Mac Mini chassis docking station positioned on a desk with water spilled nearby, illustrating its dustproof, scratch-resistant, and water-resistant design, including the 12.5mm support foot waterproof design and bottom anti-slip silicone.
7. Dépannage
If you encounter issues with your docking station, refer to the following common problems and solutions.
| Problème | Cause possible | Solution |
|---|---|---|
| Mac Mini does not fit properly. | Incorrect orientation or model incompatibility. | Ensure the Mac Mini is oriented correctly and that your model is M4/M4 Pro 2024. Do not force the device. |
| USB ports not functioning. | Loose connection, driver issue, or device incompatibility. | Check all connections. Ensure your Mac Mini is fully seated. Try connecting the USB device directly to the Mac Mini to rule out device issues. Restart your Mac Mini. |
| TF/SD card not recognized. | Card not fully inserted, corrupted card, or format incompatibility. | Ensure the card is fully and correctly inserted. Try a different card. Check if the card is readable on another device. |
| Overheating concerns. | Blocked ventilation or excessive workload. | Ensure the chassis ventilation holes are clear. Place the unit in a well-ventilated area. Reduce heavy workloads if persistent. |
8. Spécifications
- Compatibilité des modèles : Mac Mini M4/M4 Pro (2024 models)
- Matériel: High-grade Aluminum Alloy
- Ports: 2 x USB 3.2 Gen2, 1 x TF (microSD) Card Slot, 1 x SD Card Slot
- Vitesse de transfert de données USB : Jusqu'à 10 Gbit/s
- Conception: Vertical Stand, Elevated Anti-Dust, Shock-absorbing interior
- Couleur (Produit actuel) : Pink (Other colors may be available separately)
- Fabricant: DJianTech
9. Garantie et assistance
This product comes with a standard manufacturer's warranty. For specific warranty details, please refer to the documentation provided at the time of purchase or contact your retailer. For technical support or further assistance, please contact the manufacturer or your point of purchase.
Fabricant: DJianTech
ASIN: B0FHFLJDX5


