1. Introduction
Thank you for choosing the OSRAM LEDSTIXX USB Light Stick. This manual provides essential information for the safe and efficient use of your new light stick. Please read these instructions carefully before installation and operation, and retain them for future reference.
The OSRAM LEDSTIXX is a versatile, rechargeable LED light stick designed for flexible illumination in various indoor environments. It features a durable aluminum body, 3-level dimming, and a rotatable design for optimal light positioning.
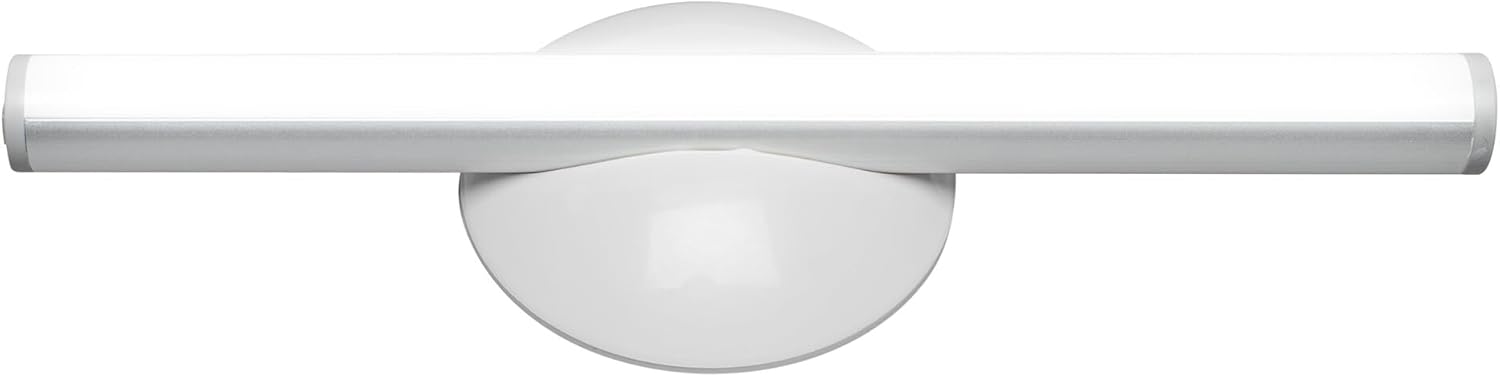
Illustration 1.1 : Avant view of the OSRAM LEDSTIXX USB Light Stick.
2. Consignes de sécurité
- Ce produit est destiné à un usage intérieur uniquement.
- N’exposez pas l’appareil à des températures extrêmes, à la lumière directe du soleil ou à une forte humidité.
- Do not attempt to open, modify, or repair the device. This may void the warranty and pose a safety risk.
- Tenir hors de portée des enfants.
- Utilisez uniquement le câble USB fourni ou un équivalent certifié pour la charge.
- Avant l'installation, assurez-vous que la surface de montage est propre et sèche.
3. Contenu du colis
Vérifiez que tous les éléments sont présents dans le colis :
- 1x OSRAM LEDSTIXX USB Light Stick (Silver)
- Installation accessories (mounting bracket, adhesive pads)
- Câble de chargement USB
- Manuel d'utilisation
4. Configuration et installation
The LEDSTIXX offers flexible mounting options. Follow these steps for installation:
- Choisissez un emplacement : Select a clean, dry, and flat surface for mounting. Common applications include under cabinets, inside wardrobes, or near mirrors.
- Préparez la surface : Clean the chosen surface thoroughly to ensure optimal adhesion of the mounting bracket.
- Fixez le support de montage : Peel the protective film from the adhesive pad on the back of the mounting bracket. Firmly press the bracket onto the desired surface for at least 30 seconds. Allow the adhesive to set for a few hours before attaching the light stick.
- Attach the Light Stick: The LEDSTIXX light stick attaches magnetically to the mounting bracket. Simply place the light stick onto the bracket. It can be rotated and oriented as needed.
- Chargement : Before first use, fully charge the light stick using the provided USB cable. Connect the USB cable to the charging port on the light stick and to a standard USB power source (e.g., computer, USB wall adapter). The charging indicator will show the charging status.
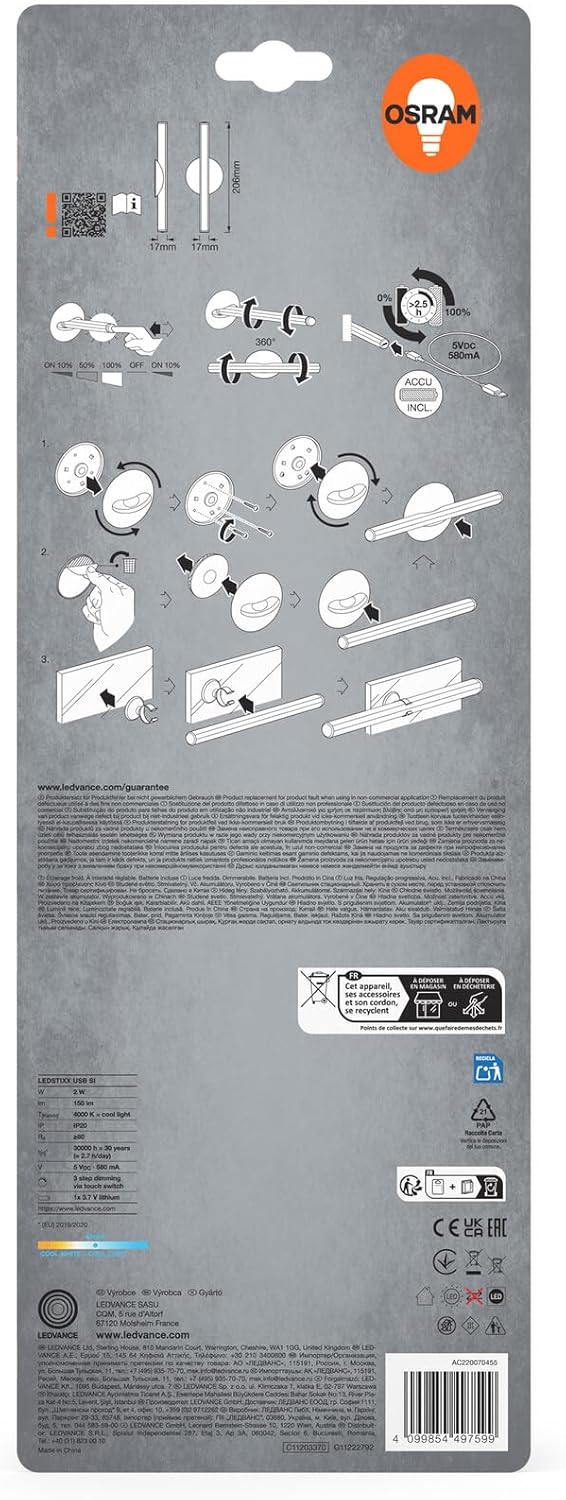
Image 4.1: Visual guide for installing the OSRAM LEDSTIXX using the adhesive mounting bracket.
5. Fonctionnement
The OSRAM LEDSTIXX features simple touch control for power and dimming.
- Marche/Arrêt : Briefly touch the control area on the light stick to turn it on or off.
- Atténuation: The light stick has 3 dimming levels. After turning it on, repeatedly touch the control area to cycle through the brightness levels (e.g., 100% > 50% > 25% > Off).
- Indicateur de charge : A small LED indicator will show the charging status. Typically, red indicates charging and green indicates fully charged.
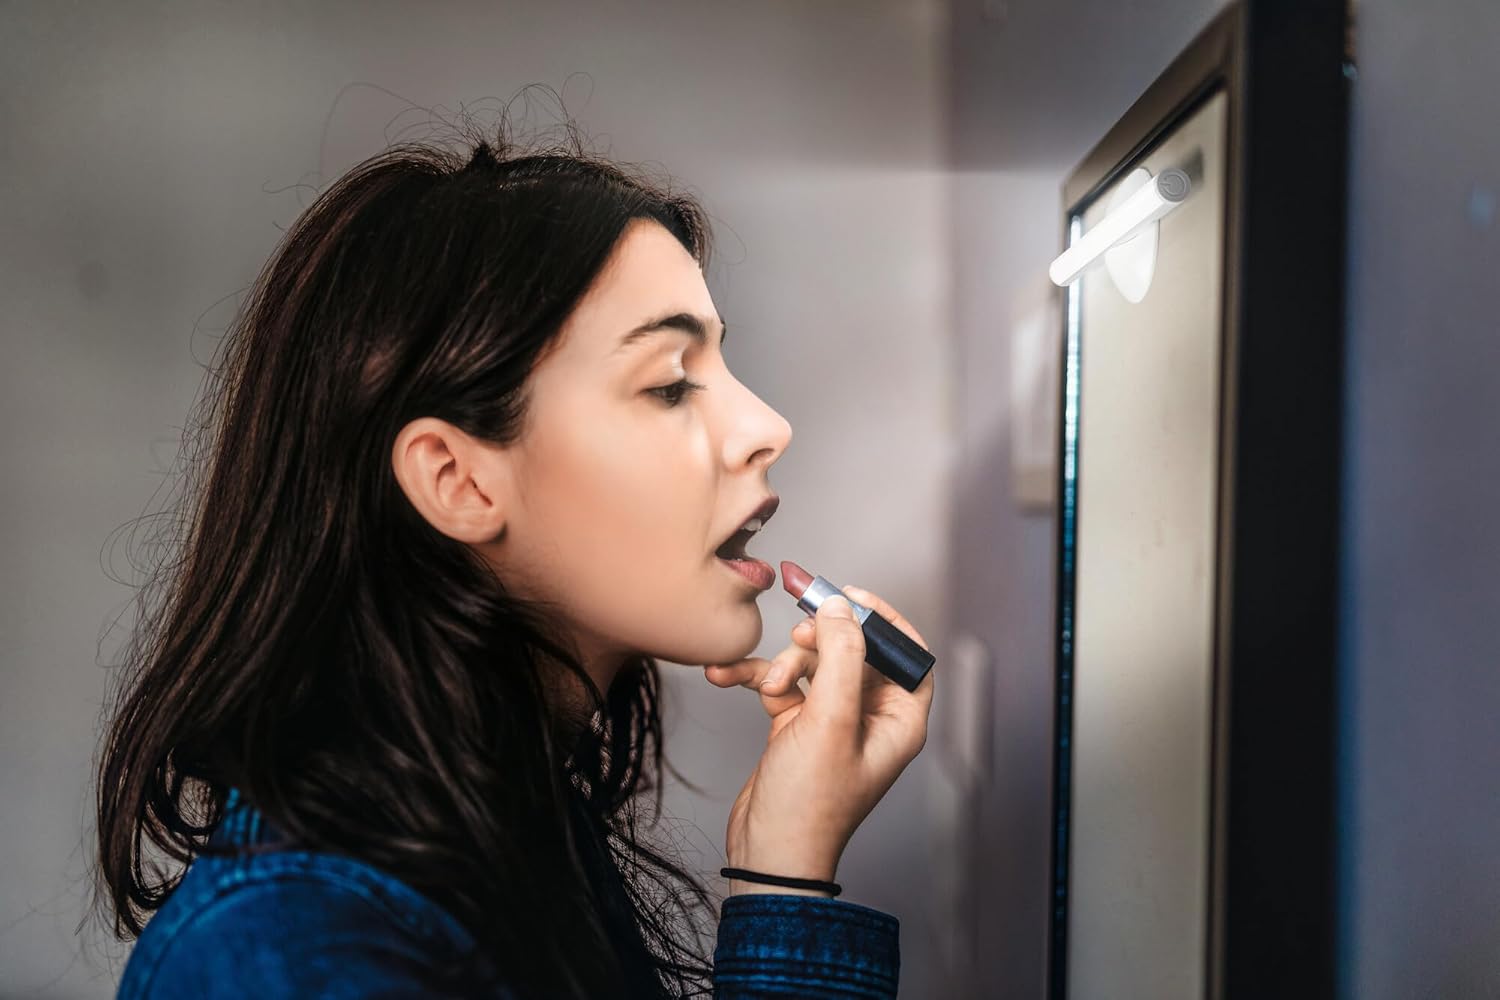
Image 5.1: The LEDSTIXX providing neutral white light for tasks such as applying makeup.
6. Entretien
- Nettoyage: Wipe the light stick with a soft, dry cloth. Do not use abrasive cleaners or solvents.
- Entretien de la batterie: Pour prolonger la durée de vie de la batterie, évitez de la décharger complètement et fréquemment. Rechargez l'appareil régulièrement, surtout si vous ne l'utilisez pas pendant une période prolongée.
- Stockage: Store the light stick in a cool, dry place when not in use.
7. Dépannage
| Problème | Cause possible | Solution |
|---|---|---|
| La lumière ne s'allume pas. | La batterie est déchargée. | Charge the light stick using the USB cable. |
| La lumière est faible ou vacille. | Batterie faible. | Recharge the light stick. |
| Light stick does not adhere to surface. | Surface is dirty or uneven. Adhesive not fully set. | Clean the surface thoroughly. Allow adhesive to set for several hours before attaching the light stick. |
| Cannot change brightness levels. | Fonctionnement incorrect. | Ensure you are briefly touching the control area repeatedly to cycle through the 3 dimming levels. |
8. Spécifications
| Fonctionnalité | Détail |
|---|---|
| Marque | OSRAM |
| Nom du modèle | LEDstixx USB Silver |
| Numéro de modèle | 4099854497599 |
| Matériel | Aluminium |
| Couleur | Argent |
| Source de lumière | LED intégrée |
| Flux lumineux | 150 lumens |
| Température de couleur | 4000 Kelvin (Blanc neutre) |
| Quoitage | 2 watts |
| Voltage | 5 Volt (USB) |
| Source d'énergie | Battery powered (Rechargeable Lithium Battery) |
| Atténuation | 3 niveaux |
| Résistance à l'eau | Résistant à l'eau (IP44) |
| Dimensions (L x l x H) | 20.6 cm x 1.7 cm x 1.7 cm |
| Poids du produit | 85 gramme |
| Label d'efficacité énergétique de l'UE | G (View ÉPREL) |
| Pays d'origine | Chine |

Image 8.1: Dimensional drawing of the OSRAM LEDSTIXX, showing its length of 206mm and width of 17mm.
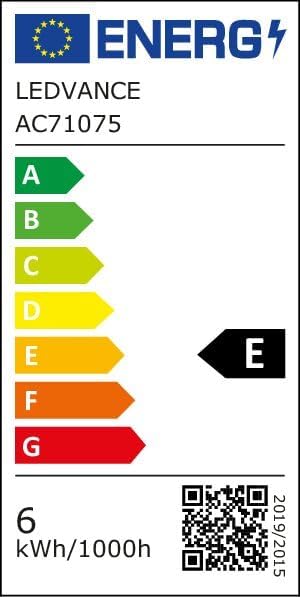
Image 8.2: EU Energy Efficiency Label for the LEDSTIXX, indicating class G and 6 kWh/1000h consumption.
9. Garantie et assistance
OSRAM products are manufactured to high-quality standards. For warranty information and customer support, please refer to the official OSRAM webConsultez le site web ou contactez votre revendeur local. Conservez votre preuve d'achat pour toute réclamation au titre de la garantie.