Introduction
This manual provides comprehensive instructions for the setup, operation, maintenance, and troubleshooting of your KOORUI GN10 27-inch QHD 240Hz Mini-LED Gaming Monitor. Please read this manual thoroughly before using the product to ensure proper functionality and to prevent damage.
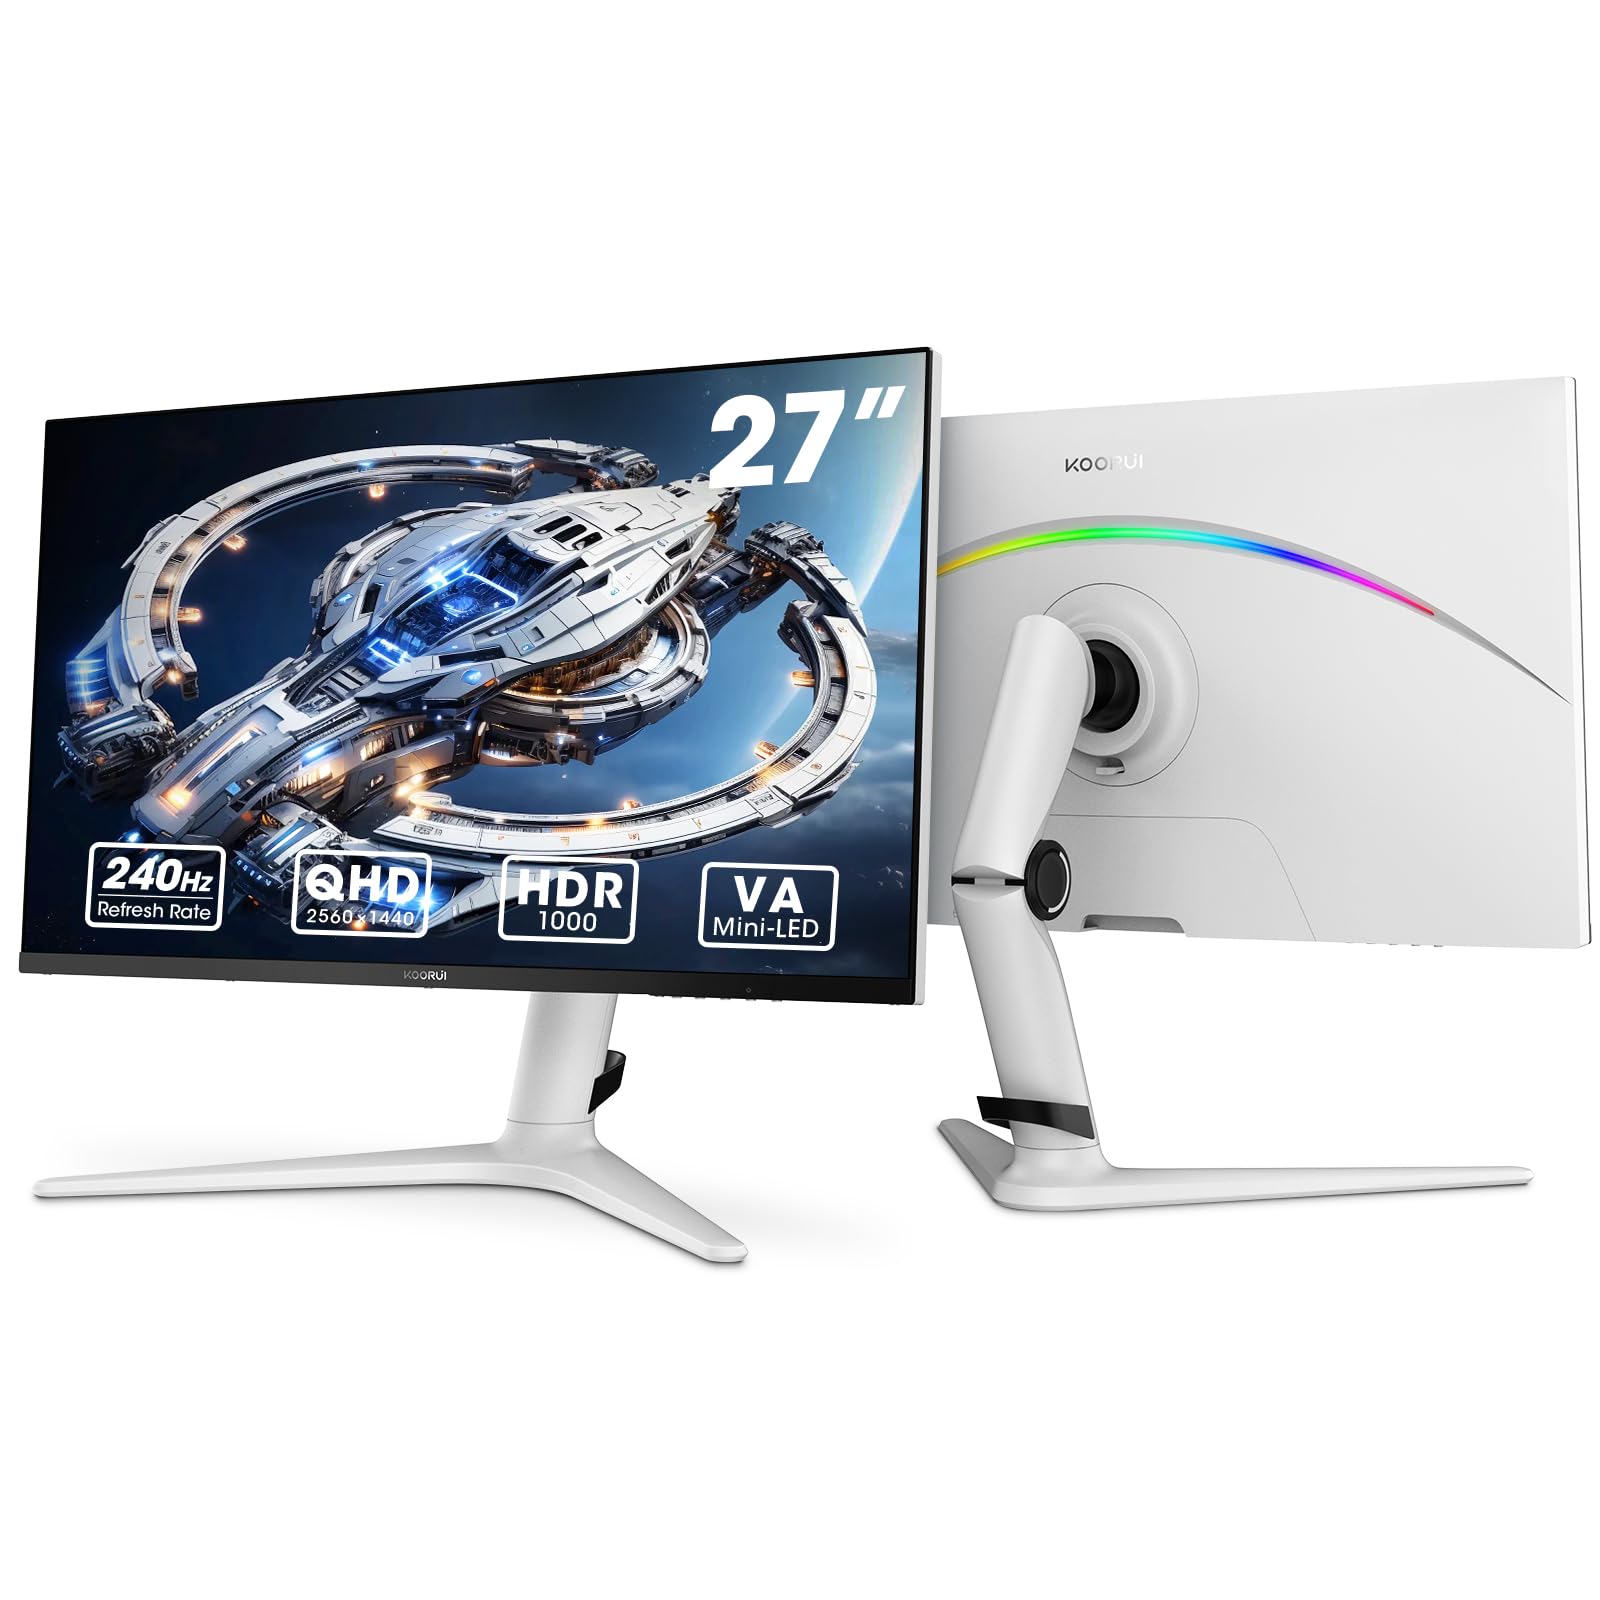
Figure 1: KOORUI GN10 27-inch QHD 240Hz Mini-LED Gaming Monitor.
1. Installation
1.1 Déballage et contenu de l'emballage
Retirez soigneusement tous les composants de l'emballage. Vérifiez que tous les éléments énumérés ci-dessous sont présents :
- KOORUI GN10 Monitor
- Support pour écran (base et bras)
- Câble d'alimentation
- Câble HDMI (x2)
- Câble DisplayPort (DP)
- Manuel de l'utilisateur (ce document)
1.2 Assemblage du support
Suivez ces étapes pour assembler le support de l'écran :
- Attach the stand arm to the monitor panel. Ensure it clicks securely into place or is fastened with screws if provided.
- Connect the stand base to the stand arm. Tighten any screws to secure the base.
- Placez le moniteur assemblé sur une surface stable et plane.

Figure 2: Monitor stand showing height, tilt, swivel, and pivot adjustments.
The ergonomic stand allows for height, tilt, swivel, and pivot adjustments to optimize your viewangle de vue.

Figure 3 : Dimensions du moniteur pour la planification de l'installation.
1.3 Connexion aux appareils
The monitor supports multiple input sources. Connect your computer or gaming console using the provided cables.
- DisplayPort (DP) : For optimal performance, especially at 240Hz refresh rate and QHD resolution, use the DisplayPort cable.
- HDMI: Two HDMI 2.0 ports are available for connecting other devices such as gaming consoles (PS5, Xbox, Switch) or additional computers.
- Sortie audio: Connectez des haut-parleurs externes ou un casque à la prise de sortie audio 3.5 mm.

Figure 4 : Arrière view of the monitor showing available ports (Audio Out, DP 1.4, HDMI 2.0 x2) and VESA mount points.
1.4 Mise sous tension initiale
- Branchez le câble d'alimentation au moniteur, puis à une prise de courant.
- Press the power button, usually located on the back or bottom of the monitor, to turn it on.
- The monitor will automatically detect the input source. If not, use the OSD menu to select the correct input.
2. Mode d'emploi
2.1 Menu d'affichage à l'écran (OSD)
The OSD menu allows you to adjust various monitor settings. Access the OSD menu using the joystick or buttons typically located on the back or bottom of the monitor.
Les options courantes du menu OSD incluent :
- Paramètres d'image : Brightness, Contrast, Sharpness, Gamma.
- Paramètres de couleur : Color Temperature, Hue, Saturation, Color Space (sRGB, DCI-P3).
- Sélection d'entrée : Basculez manuellement entre les entrées DisplayPort et HDMI.
- Audio: Réglage du volume de la sortie audio.
- Fonctionnalités de jeu : Adaptive Sync, Response Time (Overdrive), Game Modes.
- Paramètres OSD : Langue, délai d'expiration de l'affichage à l'écran, transparence.
2.2 Paramètres d'affichage
The KOORUI GN10 monitor offers advanced display features for an enhanced visual experience.
- Résolution: The native resolution is QHD (2560 x 1440). Ensure your connected device is set to this resolution for optimal clarity.
- Taux de rafraîchissement : Supports up to 240Hz. Configure your graphics card settings to utilize this high refresh rate for smoother motion.
- Temps de réponse : Features a 1ms (GtG) response time, reducing motion blur and ghosting in fast-paced content.
- HDR 1000 : High Dynamic Range 1000 provides superior contrast and color depth. Enable HDR in your operating system and monitor settings for compatible content.

Figure 5: Visual comparison illustrating the enhanced contrast and detail with HDR 1000 enabled.
Figure 6: Comparison of QHD (2560x1440) and FHD (1920x1080) resolutions, highlighting increased detail with QHD.
2.3 Fonctionnalités de jeu
The monitor includes features designed to enhance your gaming experience:
- Adaptive Sync (G-Sync Compatible): Synchronizes the monitor's refresh rate with your GPU's frame rate to eliminate screen tearing and stuttering. Ensure this feature is enabled in both the monitor OSD and your graphics card control panel.
- Game Display Modes: Access specific on-screen overlays via the OSD menu, such as:
- Réticule : Fournit un réticule à l'écran pour une visée améliorée.
- Minuteur: Displays a countdown timer.
- Compteur FPS : Shows your current frames per second.
- RTS Counter: A specific counter for Real-Time Strategy games.

Figure 7: Illustration of various exclusive game display modes and Adaptive Sync functionality.

Figure 8: Visual representation of smooth gaming experience with 240Hz refresh rate and 1ms response time.
2.4 éclairages RVB
The monitor features a crescent RGB light strip on the back. This lighting can be customized through the OSD menu to match your preference or gaming setup.

Figure 9 : Arrière view of the monitor highlighting the customizable RGB light strip.
3. Entretien
3.1 Nettoyage du moniteur
Pour préserver l'apparence et les performances de votre moniteur, suivez ces consignes de nettoyage :
- Éteignez toujours le moniteur et débranchez le câble d'alimentation avant de le nettoyer.
- Utilisez un chiffon doux et non pelucheux légèrement dampterminer avec de l'eau ou un nettoyant pour écrans non abrasif.
- Ne vaporisez pas le nettoyant directement sur l'écran. Appliquez-le d'abord sur le chiffon.
- Évitez d'utiliser de l'alcool, de l'ammoniaque ou des nettoyants abrasifs, car ils peuvent endommager la surface de l'écran.
- Essuyez délicatement l'écran pour enlever la poussière et les traces de doigts.
- Nettoyer le moniteur casing avec un chiffon doux et sec.
3.2 Entretien général
- Évitez de placer des objets lourds sur le moniteur ou ses câbles.
- N’exposez pas le moniteur à la lumière directe du soleil, à une chaleur excessive ou à un froid extrême.
- Tenez le moniteur éloigné des liquides et des environnements à forte humidité.
- Assurez une ventilation adéquate autour du moniteur pour éviter toute surchauffe.
4. Dépannage
Si vous rencontrez des problèmes avec votre moniteur, consultez les problèmes et solutions courants suivants :
| Problème | Cause possible | Solution |
|---|---|---|
| Aucune image à l'écran |
|
|
| Image clignotante ou déformée |
|
|
| Aucun son ne sort de la sortie audio. |
|
|
| Adaptive Sync not working |
|
|
Si le problème persiste après avoir essayé ces solutions, veuillez contacter le support client.
5. Spécifications
| Fonctionnalité | Détail |
|---|---|
| Marque | KOORUI |
| Numéro de modèle | GN10 |
| Taille de l'écran | 27 pouces |
| Résolution | QHD Wide 1440p (2560 x 1440) |
| Rapport hauteur/largeur | 16:9 |
| Surface de l'écran | Mat |
| Rapport de contraste | 20,000,000:1 |
| Taux de rafraîchissement | 240 Hz |
| Technologie d'affichage | Mini-LED |
| ViewAngle d'attaque | 178 degrés |
| Luminosité | 350 XNUMX Candela |
| Gamme de couleurs | 100 % sRGB, 95 % DCI-P3 |
| Temps de réponse | 1 milliseconde (GtG) |
| Ports HDMI | 2 2.0 (HDMI XNUMX) |
| DisplayPort | 1 (DP 1.4) |
| Sortie audio | Oui |
| Synchronisation adaptative | Compatible avec G-Sync |
| Fonctionnalités supplémentaires | Flicker-Free, Frameless, Height Adjustable, Tilt Adjustable, Swivel Adjustable, Rotatable |
| Couleur | Blanc/Gris |
| Type de montage | Desk Mount, VESA 75x75mm compatible |
6. Garantie et assistance
6.1 Informations sur la garantie
The KOORUI GN10 monitor comes with a Garantie limitée de 3 ans. The display screen is backed for 1 year, and other accessories for 3 years. A 12-month replacement service is also provided for eligible issues.
This warranty covers manufacturing defects and malfunctions under normal use. It does not cover damage caused by misuse, accidents, unauthorized modifications, or external factors.
6.2 Assistance clientèle
For technical assistance, warranty claims, or inquiries regarding missing accessories, please contact KOORUI customer support. Have your product model (GN10) and purchase information ready when contacting support.
Contact information can typically be found on the KOORUI official websur le site ou via les canaux d'assistance de votre revendeur.
7. Démonstration vidéo du produit
Vidéo 1 : Présentation vidéo officielle du produitasing the KOORUI GN10 Gaming Monitor's features and design.